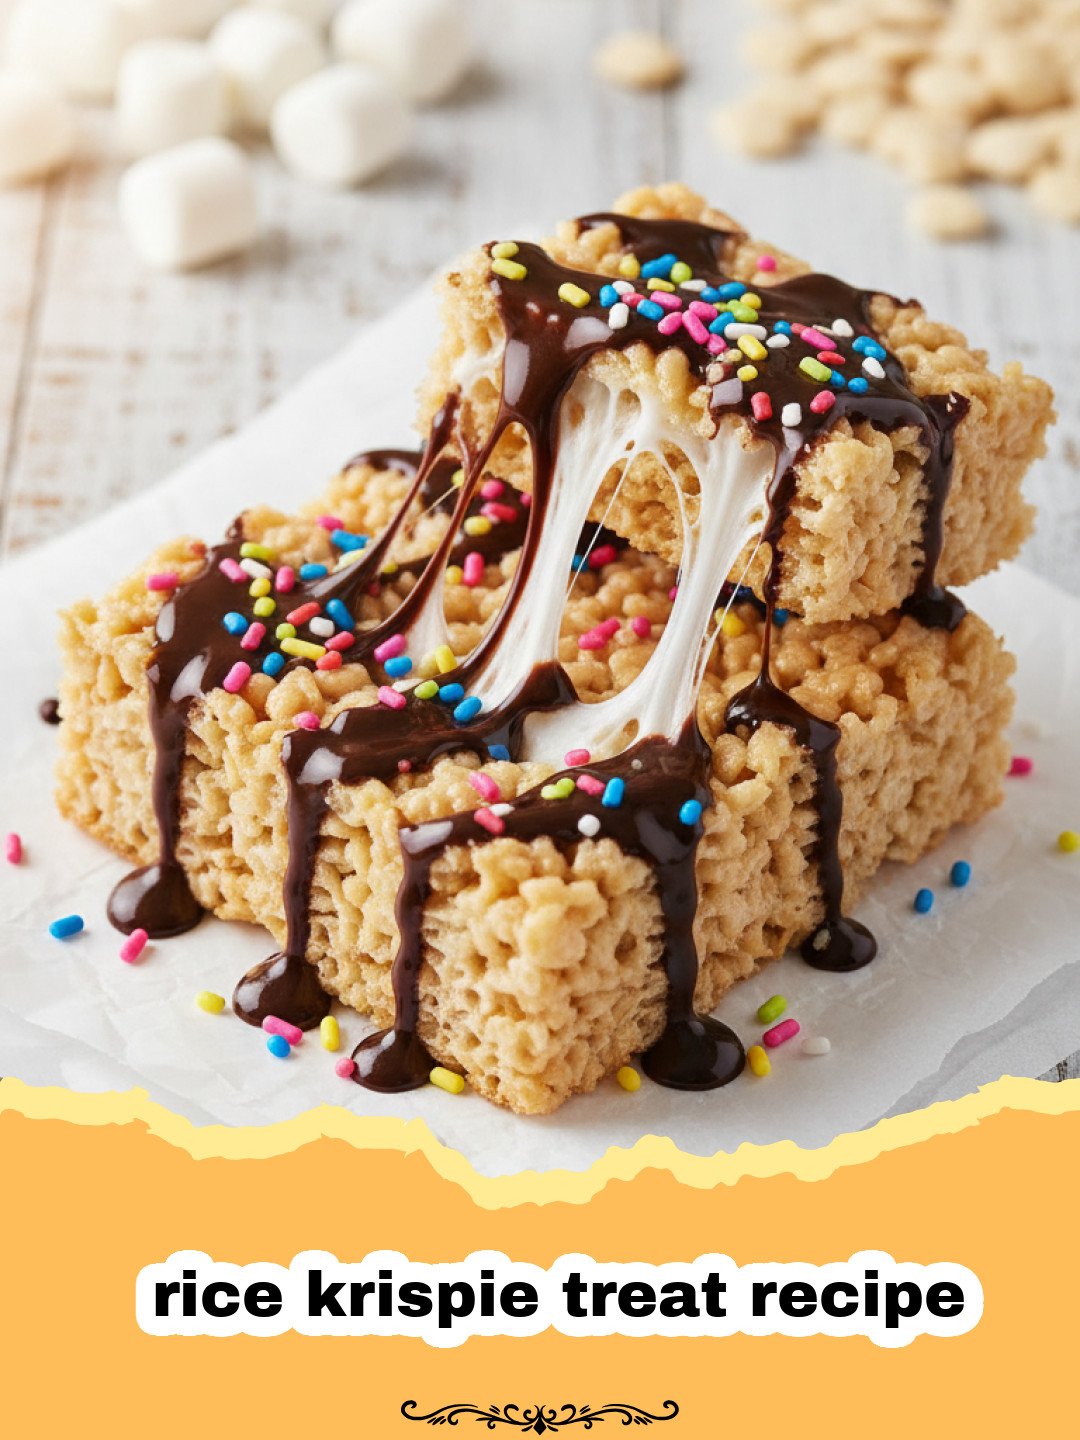
There’s something uniquely magical about the humble rice krispie treat recipe. For me, it takes me straight back to my grandmother’s kitchen, a haven of warmth and comforting aromas. I remember standing on a wobbly stool, my small hands eagerly waiting to help stir the giant pot of melting marshmallows. The sticky sweet aroma filled the air, promising an afternoon of gooey, crunchy delights. It wasn’t just about the simple combination of butter, marshmallows, and crispy rice cereal; it was about the shared laughter, the slightly burnt bits of marshmallow on the spoon (the chef’s treat!), and the pure, unadulterated joy of biting into that perfectly chewy square. This wasn’t a fancy dessert, but it was our dessert, a testament to how simple ingredients, made with love, could create the most memorable moments. Today, I’m thrilled to share with you the classic rice krispie treat recipe that has graced generations of family gatherings and after-school snacks, ensuring those moments of simple bliss continue for you too.
This isn’t just any rice krispie treat recipe; it’s the one that will bring back all those childhood memories, the one that’s perfectly balanced between chewy and crispy, and utterly irresistible. It’s a no-bake wonder that’s perfect for any occasion, from last-minute dessert cravings to a quick treat for a school bake sale. Let’s dive into making these timeless treats!
Why This Rice Krispie Treat Recipe is a Must-Try
- Effortlessly Simple & Quick: This is arguably one of the easiest and fastest desserts you can make. With minimal ingredients and a no-bake process, you can have a batch of delicious treats ready in under 20 minutes, making this rice krispie treat recipe perfect for spontaneous cravings or unexpected guests.
- Universally Loved: From toddlers to grandparents, who doesn’t love a good rice krispie treat? Its sweet, crunchy, and chewy texture appeals to almost everyone, making it a guaranteed crowd-pleaser at parties, potlucks, or as an everyday snack. This classic rice krispie treat recipe stands the test of time.
- Incredibly Versatile: While the classic version is perfect on its own, this rice krispie treat recipe serves as a fantastic base for endless customizations. Add chocolate, sprinkles, peanut butter, or even a hint of extract to tailor it to your taste or the occasion.
- No Special Equipment Needed: You don’t need any fancy gadgets or an oven for this recipe. A large pot, a spatula, and a baking pan are all you require, making this rice krispie treat recipe accessible for even the most minimalist kitchens.
Seriously, if you’re looking for a dessert that delivers on taste, convenience, and pure joy, this rice krispie treat recipe is it!
Key Ingredient Notes for the Best Rice Krispie Treat Recipe
While the rice krispie treat recipe uses just a few ingredients, the quality and freshness of each play a crucial role in the final outcome. Don’t underestimate the power of these simple components!
Fresh Marshmallows Make All the Difference
This is perhaps the most critical component of a perfect rice krispie treat recipe. Stale marshmallows lead to tough, brittle treats. Always use fresh, soft marshmallows. Miniature marshmallows melt more quickly and evenly, which is ideal, but large ones cut into quarters work just as well. If you can’t find mini marshmallows, simply chop larger ones. The gooey factor in this rice krispie treat recipe relies heavily on their freshness.
Butter: Unsalted is Best, Browned is Even Better
While any butter will work, unsalted butter allows you to control the overall saltiness of your rice krispie treat recipe. For an extra layer of nutty, caramelized flavor, try browning your butter before adding the marshmallows. Simply melt the butter over medium-low heat, swirling occasionally, until it turns a light golden brown and smells fragrant. Be careful not to burn it! This simple step elevates this humble rice krispie treat recipe to a gourmet experience. It’s a pro tip that truly makes a difference.
Rice Krispies: Don’t Skimp on Freshness
Just like marshmallows, fresh cereal is key to that signature crunch. Stale cereal will result in a less satisfying texture. Also, while off-brand crispy rice cereals exist, the original Kellogg’s Rice Krispies tend to hold their texture best in this rice krispie treat recipe, maintaining that delightful ‘snap, crackle, pop’ even after being coated in marshmallow. Ensure your cereal is stored in an airtight container to keep it fresh.

Step-by-Step Guide with Pro Tips for the Perfect Rice Krispie Treat Recipe
Creating the perfect rice krispie treat recipe is all about technique. Follow these steps closely for gooey, chewy, and crispy perfection every time!
Step 1: Grease your pan. Lightly grease a 9×13 inch baking pan with butter or non-stick cooking spray. You can also line it with parchment paper, leaving an overhang on the sides, which makes lifting and cutting the treats much easier. This simple prep step prevents sticking and ensures your rice krispie treat recipe comes out cleanly.
Step 2: Melt the butter. In a large non-stick pot or Dutch oven, melt the butter over low to medium-low heat. Keep the heat low to prevent the butter from burning. For an enhanced flavor in your rice krispie treat recipe, you can brown the butter slightly at this stage, as mentioned in the ingredient notes.
Step 3: Add marshmallows and melt. Once the butter is melted, add the marshmallows to the pot. Stir constantly with a heat-proof spatula until the marshmallows are completely melted and smooth. This requires patience and continuous stirring to prevent scorching. Resist the urge to increase the heat, as this can make the marshmallows tough. Fully melted marshmallows are essential for a smooth and cohesive rice krispie treat recipe mixture.
Step 4: Remove from heat and add vanilla (optional). As soon as the marshmallows are fully melted and smooth, remove the pot from the heat. Stir in the vanilla extract, if using. The residual heat will incorporate it perfectly.
Step 5: Stir in the Rice Krispies. Add the Rice Krispies cereal to the marshmallow mixture. Working quickly, gently fold the cereal into the marshmallow until it’s evenly coated. Be careful not to crush the cereal too much, as this will reduce the crispiness of your finished rice krispie treat recipe. This is where the magic happens!
Step 6: Press into the prepared pan. Transfer the mixture to your greased or parchment-lined 9×13 inch baking pan. Using a buttered spatula or wax paper, gently press the mixture evenly into the pan. The key here is to press gently – do not compress the mixture too tightly, as this will make your treats hard and dense instead of chewy. A light, even press is all you need for the best rice krispie treat recipe texture.
Step 7: Cool and cut. Let the treats cool completely at room temperature for at least 30-60 minutes, or until firm. You can also pop them in the refrigerator for 15-20 minutes to speed up the cooling process, though room temperature cooling often yields a chewier texture. Once cool, use a sharp, buttered knife to cut them into squares or your desired shapes. For easy cutting, you can clean the knife between cuts. Store your finished rice krispie treat recipe in an airtight container.
Variations & Serving Suggestions for Your Rice Krispie Treat Recipe
While the classic rice krispie treat recipe is perfect as is, it’s also a fantastic canvas for creativity. Here are some ideas to customize and serve your delicious treats:
- Chocolate Drizzle: Melt some chocolate chips (milk, dark, or white) and drizzle it over the cooled treats. A sprinkle of sea salt on top of the chocolate is a delightful touch. This adds a layer of richness to your rice krispie treat recipe.
- Sprinkle Fun: Add colorful sprinkles into the mixture before pressing into the pan, or sprinkle them on top while the treats are still warm and sticky. Perfect for birthdays or holidays!
- Nutty Indulgence: Stir in a few tablespoons of peanut butter or almond butter with the melted marshmallows for a rich, nutty flavor. You can also add chopped nuts like pecans or walnuts for extra crunch.
- Holiday Themes: Use food coloring to tint the marshmallow mixture for festive colors. Add holiday-themed sprinkles or candies. Think green for St. Patrick’s Day, red and green for Christmas, or pastel colors for Easter.
- Extra Flavor Boost: Experiment with extracts! A hint of almond extract, peppermint extract (especially with chocolate drizzle), or even a touch of orange zest can transform your rice krispie treat recipe.
- Cereal Mix-ins: Get adventurous and mix in other cereals like Cheerios, Froot Loops, or even crushed cookies like Oreos for different textures and flavors.
- Serving Suggestions: These treats are fantastic on their own, but they also make a great addition to a dessert platter. They can be packed in lunchboxes, served at parties, or enjoyed as a comforting evening snack. Consider pairing them with a glass of milk or hot cocoa. For other simple, sweet delights, check out our Ultimate Award Winning Banana Bread Recipe.
Remember, the best way to store these is in an airtight container at room temperature for up to 3 days. To keep them fresh longer, you might consider using Basics Glass Food Storage containers which help maintain their chewiness. Avoid refrigerating them unless it’s a very hot day, as refrigeration can make them hard.
Nutrition Information
| Nutrient | Amount Per Serving |
|---|---|
| Calories | 150 kcal |
| Total Fat | 5g |
| Saturated Fat | 3g |
| Trans Fat | 0g |
| Cholesterol | 10mg |
| Sodium | 120mg |
| Total Carbohydrate | 28g |
| Fiber | 0g |
| Total Sugars | 18g |
| Protein | 1g |
(Please note: Nutrition facts are estimates and may vary based on specific ingredients and preparation methods.)
Conclusion
There you have it – the ultimate classic rice krispie treat recipe that promises simplicity, speed, and pure, unadulterated deliciousness. Whether you’re whipping them up for a party, a school snack, or simply to satisfy a nostalgic craving, this rice krispie treat recipe is a winner every time. It’s a testament to the fact that sometimes, the simplest things bring the most joy. So gather your ingredients, get ready to melt, and prepare to enjoy the sweet, crunchy, chewy perfection of homemade rice krispie treats. Happy making!
FAQs
How do I prevent my rice krispie treats from being too hard?
The key to soft, chewy rice krispie treats is to avoid over-compressing the mixture into the pan. Gently press it down until it’s just even. Also, ensure you don’t overcook the marshmallows; remove them from heat as soon as they’re smooth. Using fresh marshmallows is also crucial for a soft texture.
Can I make rice krispie treats without butter?
While butter adds essential flavor and helps prevent sticking, you can substitute it with coconut oil or a dairy-free margarine for a dairy-free version of this rice krispie treat recipe. The texture might be slightly different, but it will still be delicious.
How long do homemade rice krispie treats last?
Homemade rice krispie treats are best enjoyed within 2-3 days. Store them in an airtight container at room temperature to keep them fresh and chewy. Refrigerating them can make them hard, so it’s generally not recommended unless you live in a very hot and humid climate.
What are some popular variations of this rice krispie treat recipe?
This classic rice krispie treat recipe is incredibly versatile! Popular variations include adding chocolate chips, a chocolate drizzle, sprinkles, peanut butter, or different extracts like almond or peppermint. You can also mix in other cereals or crushed cookies for unique flavors and textures.
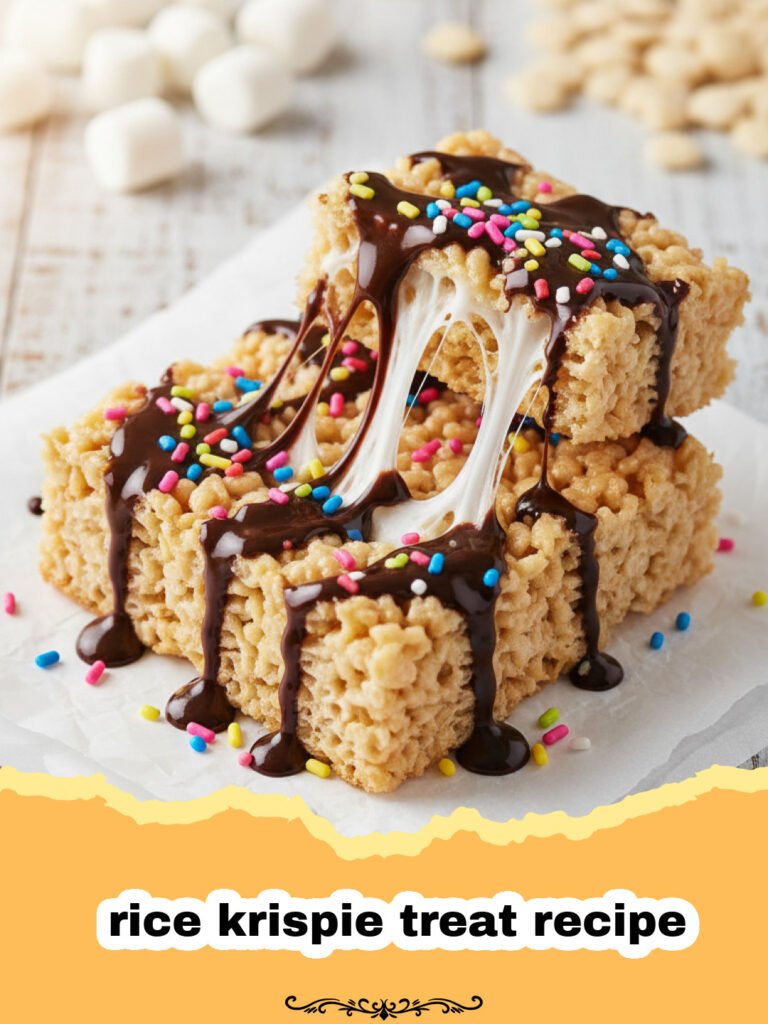
Classic No-Bake Rice Krispie Treat Recipe
This is the ultimate classic rice krispie treat recipe – perfectly gooey, chewy, and crispy, made with just three simple ingredients. A beloved no-bake dessert that brings back childhood memories and satisfies sweet cravings in minutes. Easy to customize and a guaranteed crowd-pleaser for any occasion.
- Total Time: 15 minutes
- Yield: 24 squares 1x
Ingredients
3 tablespoons unsalted butter (or salted, if preferred)
1 (10 ounce) package mini marshmallows (about 40 large marshmallows)
6 cups Kellogg’s Rice Krispies cereal
1/2 teaspoon vanilla extract (optional, but recommended)
Instructions
Step 1: Grease a 9×13 inch baking pan with butter or non-stick cooking spray, or line with parchment paper for easy removal.
Step 2: In a large non-stick pot or Dutch oven, melt the butter over low to medium-low heat. For an enhanced flavor, consider browning the butter slightly until golden and fragrant, taking care not to burn it.
Step 3: Add the mini marshmallows to the melted butter. Stir continuously with a heat-proof spatula until the marshmallows are completely melted and smooth. Ensure the heat remains low to prevent the marshmallows from becoming tough.
Step 4: Once the marshmallows are fully melted, remove the pot from the heat. Stir in the vanilla extract, if using, until well combined.
Step 5: Quickly add the Rice Krispies cereal to the marshmallow mixture. Gently fold and stir the cereal until it is evenly coated with the melted marshmallow. Avoid over-mixing or crushing the cereal to maintain its crispiness.
Step 6: Transfer the mixture to the prepared baking pan. Using a buttered spatula or a piece of wax paper, gently and evenly press the mixture into the pan. Do not press too firmly, as this can make the treats hard and dense. A light touch will result in a chewier texture.
Step 7: Allow the treats to cool completely at room temperature for at least 30-60 minutes, or until firm. Once cooled, use a sharp, buttered knife to cut them into squares. For best results, store in an airtight container at room temperature.
Notes
For best results, always use fresh marshmallows. Browning the butter adds a wonderful depth of flavor. Do not over-compress the mixture into the pan to ensure a chewy, not hard, treat.
- Prep Time: 10 minutes
- Cook Time: 5 minutes
- Category: Appetizers & Snacks
- Cuisine: American
Nutrition
- Serving Size: 1 square
- Calories: 150 kcal
- Sugar: 18g
- Sodium: 120mg
- Fat: 5g
- Saturated Fat: 3g
- Unsaturated Fat: 2g
- Trans Fat: 0g
- Carbohydrates: 28g
- Fiber: 0g
- Protein: 1g
- Cholesterol: 10mg
Keywords: rice krispie treat recipe, no-bake dessert, easy dessert, marshmallow treats, crispy treats, kid-friendly snack, quick recipe, classic dessert, comfort food