
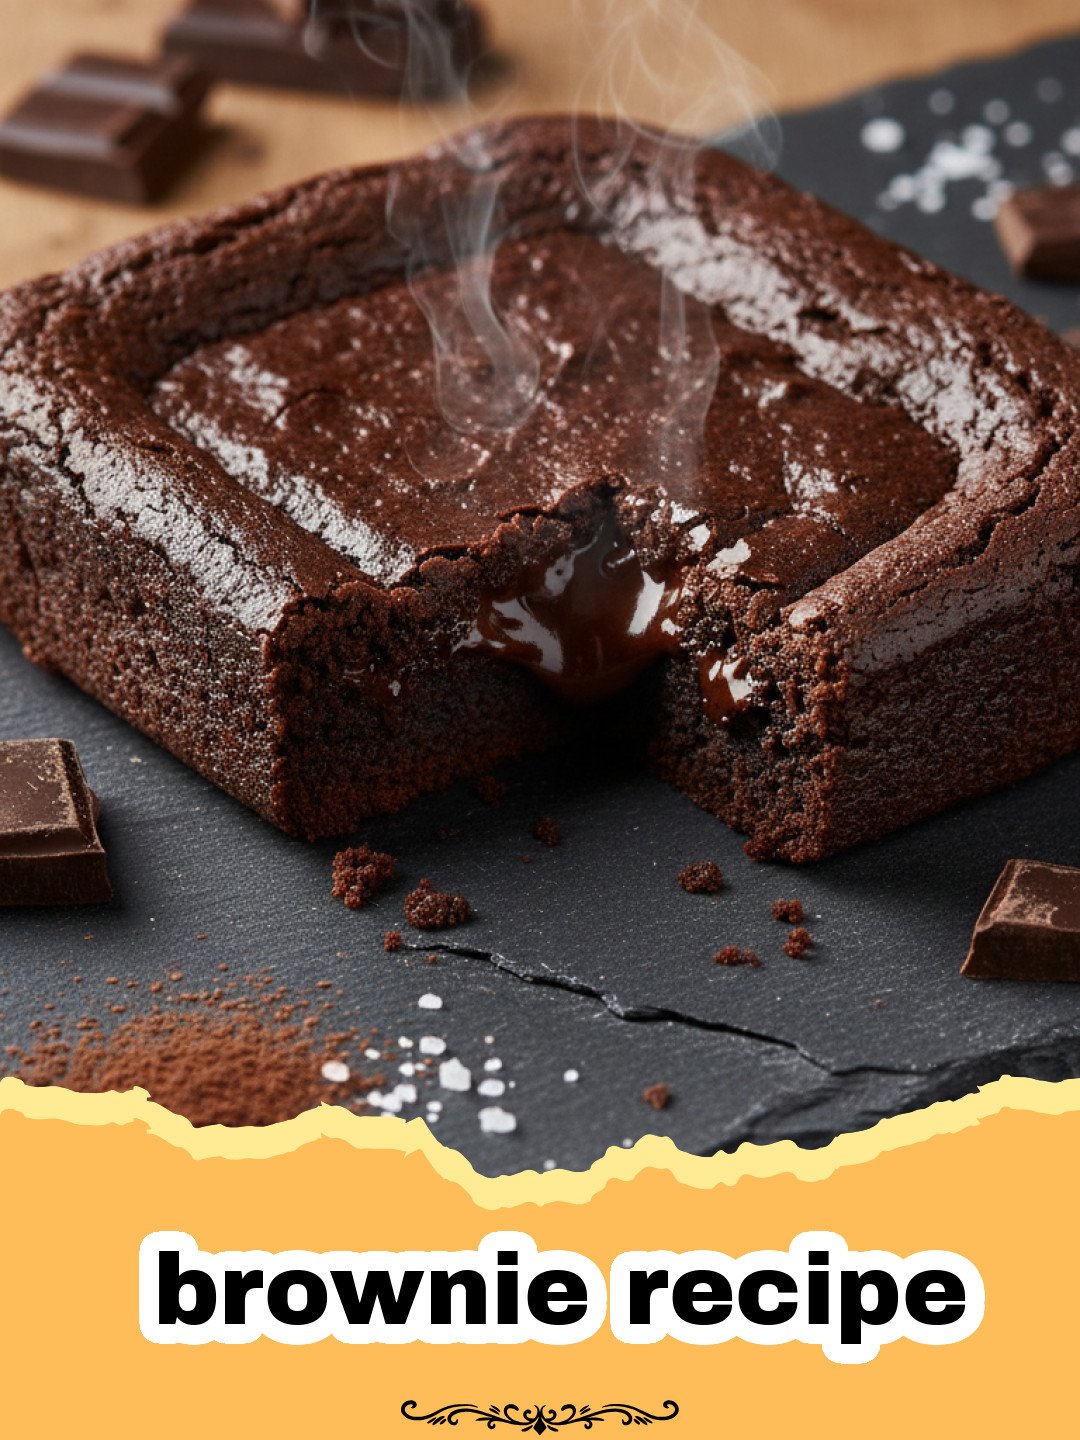
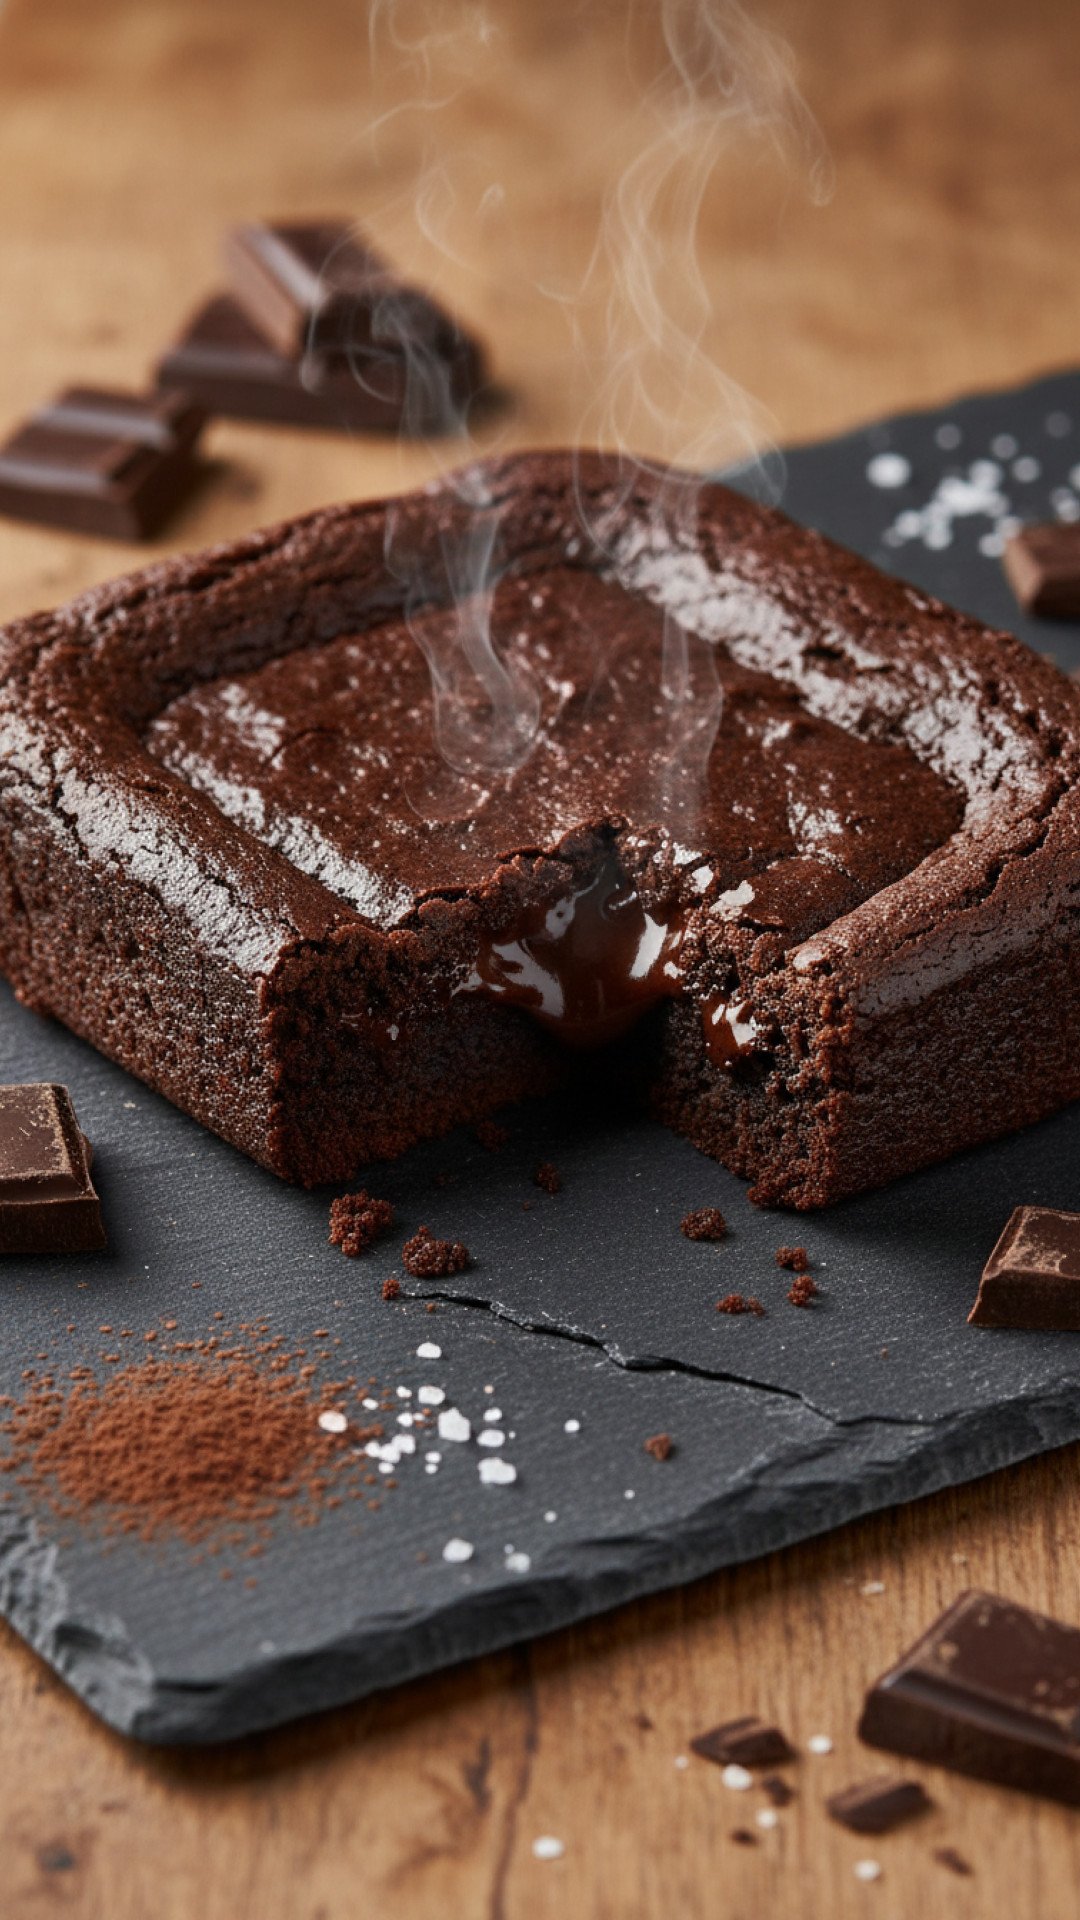
There is something truly magical about finding the perfect brownie recipe that delivers a crackly top and a center so fudgy it practically melts on your tongue. For years, I was a box-mix devotee, convinced that no homemade version could ever replicate that specific, nostalgic chewiness. My kitchen was a graveyard of cakey disappointments and crumbly messes until I finally cracked the code. This brownie recipe isn’t just a set of instructions; it is the culmination of dozens of late-night baking sessions, many bags of chocolate chips, and a deep-seated belief that dessert should be an experience. Growing up, my grandmother always had a tin of treats on her counter, and the smell of melting chocolate still transports me back to her sun-drenched kitchen. I wanted to recreate that feeling of warmth and indulgence, but with a modern, gourmet twist that makes every bite feel special. Whether you are baking for a birthday, a potluck, or just because it is a Tuesday and you need a win, this brownie recipe is your new secret weapon.
Why This Recipe is a Must-Try
- Unbeatable Texture: This brownie recipe yields a perfect balance between a dense, truffle-like fudge and a slight chew, avoiding the dry, cake-like texture of inferior versions.
- One-Bowl Convenience: We value your time and your sanity; this entire batter comes together in a single bowl, which means fewer dishes and more time for eating.
- Pantry Staples: You likely already have everything you need in your kitchen to whip up a batch of this brownie recipe right now.
- Customizable Richness: Whether you prefer dark chocolate or milk chocolate, this base is incredibly forgiving and adapts to your personal flavor preferences effortlessly.
While I love a good sourdough discard recipe for my morning treats, nothing beats this brownie recipe for pure, unadulterated dessert satisfaction. It is the kind of recipe you pass down to friends, scribbled on a sticky note because they simply can’t leave your house without knowing how you made them.
Key Ingredient Notes
The success of any brownie recipe depends heavily on the quality and state of your ingredients. First and foremost, let’s talk about the fat. We use unsalted butter because it allows us to control the sodium content while providing a rich, creamy mouthfeel that oil simply cannot match. When you melt the butter with the sugar, you are creating the foundation for that coveted shiny, crinkle top. The sugar partially dissolves into the fat, which is the secret to that meringue-like skin on the surface of the brownie.
Secondly, the choice of cocoa powder is paramount. I highly recommend using a high-quality Dutch-processed cocoa. This type of cocoa has been treated with an alkalizing agent to neutralize its natural acidity, resulting in a deeper, darker color and a smoother chocolate flavor. When you use this in your brownie recipe, you get a sophisticated profile that isn’t overly bitter. Finally, do not skip the salt. A half-teaspoon of fine sea salt acts as a flavor enhancer, cutting through the intense sweetness and making the chocolate notes sing. If you want to get really fancy, these brownies pair beautifully with festive treats like homemade peanut butter eggs during the spring holidays, creating a chocolate-peanut butter duo that is hard to beat.
Step-by-Step Guide with Pro Tips
To begin this brownie recipe, you must first preheat your oven to 350°F (175°C). This ensures that the moment your batter hits the oven, the leavening process and the setting of the structure begin immediately. Line an 8×8 inch baking pan with parchment paper, leaving an overhang on the sides. This “sling” method allows you to lift the entire block of brownies out once cooled, ensuring clean cuts every time.
Start by melting your butter. I prefer doing this in a large microwave-safe bowl in 30-second increments. Once melted, whisk in your granulated sugar while the butter is still hot. This is a critical step in our brownie recipe because the heat helps the sugar dissolve. Next, add your eggs one at a time, whisking vigorously after each addition. You want to see the batter turn slightly pale and glossy; this aeration contributes to the lift and the texture. Stir in the vanilla extract and the salt.
Now, it is time for the dry ingredients. Sift in your cocoa powder and flour directly over the wet mixture. Sifting is vital in a brownie recipe because cocoa powder is notorious for forming stubborn lumps that won’t break down during baking. Use a rubber spatula to fold the ingredients together just until no streaks of white flour remain. Over-mixing at this stage will develop the gluten, leading to a tough, bready brownie rather than a fudgy one. Fold in your chocolate chips or chunks for that extra hit of decadence. Pour the thick, velvety batter into your prepared pan and smooth the top. Bake for 25-30 minutes. The “toothpick test” is slightly different for a fudgy brownie recipe; you want a few moist crumbs to cling to the toothpick, rather than it coming out completely clean.
Variations & Serving Suggestions
One of the best things about this brownie recipe is how versatile it is. If you are a fan of textures, consider adding a cup of toasted walnuts or pecans to the batter. The crunch of the nuts provides a lovely contrast to the soft fudge. For a salted caramel version, swirl in some high-quality caramel sauce just before baking. You can also experiment with different extracts; a touch of almond extract or even peppermint can transform the flavor profile entirely. Once they are cooled, I store mine in Basics Glass Food Storage to keep them moist and fresh for several days, though they rarely last that long in my house!
When it comes to serving, these brownies are incredible on their own, but they also make a fantastic base for a sundae. Warm a square in the microwave for ten seconds, top with a scoop of vanilla bean ice cream, and drizzle with a bit of warm ganache. If you are hosting a party, you can cut them into tiny bite-sized squares and dust them with powdered sugar for an elegant look. No matter how you serve it, this brownie recipe is guaranteed to be the star of the show.
Nutrition Information
| Nutrient | Amount Per Serving |
|---|---|
| Calories | 280 kcal |
| Carbohydrate Content | 34 g |
| Cholesterol Content | 55 mg |
| Fat Content | 15 g |
| Fiber Content | 2 g |
| Protein Content | 3 g |
| Saturated Fat Content | 9 g |
| Serving Size | 1 brownie |
| Sodium Content | 110 mg |
| Sugar Content | 24 g |
| Trans Fat Content | 0 g |
| Unsaturated Fat Content | 5 g |
Conclusion
Mastering the perfect brownie recipe is a rite of passage for any home baker, and I am so excited for you to try this version. It has brought so much joy to my kitchen and I know it will do the same for yours. Remember, the secret is in the quality of the chocolate and the patience to let them cool slightly before diving in. Happy baking, and may your kitchen always smell like rich, delicious chocolate!
FAQs
How do I get the shiny crinkle top on my brownies?
The key to the shiny top in this brownie recipe is whisking the sugar into the hot melted butter and beating the eggs thoroughly. This helps create a thin, meringue-like layer that rises to the top during baking.
Can I use natural cocoa powder instead of Dutch-processed?
Yes, you can, but the brownies will be lighter in color and have a slightly more acidic, sharper chocolate flavor. Dutch-processed cocoa is recommended for that classic deep, dark brownie profile.
How should I store these brownies to keep them moist?
Store your brownies in an airtight container at room temperature for up to 4 days. Using glass storage containers is a great way to keep them from drying out.
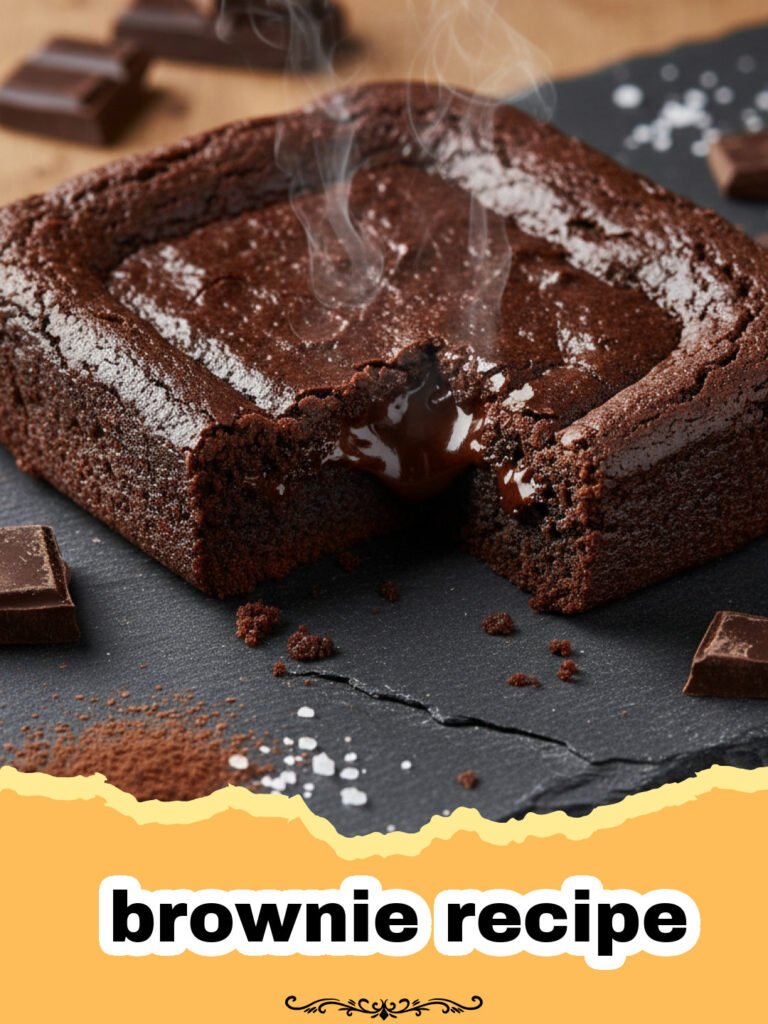
The Ultimate Fudgy Homemade Brownies
A foolproof brownie recipe that delivers an incredibly fudgy texture, a shiny crinkled top, and deep chocolate flavor in every bite.
- Total Time: 40 minutes
- Yield: 16 brownies 1x
Ingredients
1 cup (225g) unsalted butter, melted and warm
2 cups (400g) granulated sugar
4 large eggs, room temperature
1 tablespoon vanilla extract
3/4 cup (75g) Dutch-processed cocoa powder
1 cup (125g) all-purpose flour
1/2 teaspoon sea salt
1 cup semi-sweet chocolate chips
Instructions
Step 1: Preheat your oven to 350°F (175°C) and line an 8×8 inch square baking pan with parchment paper, leaving a slight overhang.
Step 2: In a large bowl, whisk together the melted butter and granulated sugar for about 1-2 minutes until well combined and slightly pale.
Step 3: Add the eggs one at a time, whisking vigorously after each addition until the batter is smooth and glossy.
Step 4: Stir in the vanilla extract and sea salt until incorporated.
Step 5: Sift the cocoa powder and all-purpose flour over the wet ingredients, then fold gently with a spatula just until combined.
Step 6: Fold in the chocolate chips, then pour the batter into the prepared pan and smooth the surface.
Step 7: Bake for 25-30 minutes, or until the edges are set and a toothpick inserted into the center comes out with a few moist crumbs.
Step 8: Allow the brownies to cool completely in the pan before lifting them out and slicing into 16 squares.
Notes
For the best results, use room temperature eggs to ensure they emulsify perfectly with the butter and sugar.
- Prep Time: 15 minutes
- Cook Time: 25 minutes
- Category: Baked Goods
- Cuisine: American
Nutrition
- Serving Size: 1 brownie
- Calories: 280 kcal
- Sugar: 24 g
- Sodium: 110 mg
- Fat: 15 g
- Saturated Fat: 9 g
- Unsaturated Fat: 5 g
- Trans Fat: 0 g
- Carbohydrates: 34 g
- Fiber: 2 g
- Protein: 3 g
- Cholesterol: 55 mg
Keywords: brownie recipe, fudgy brownies, homemade brownies, easy baking, chocolate dessert




