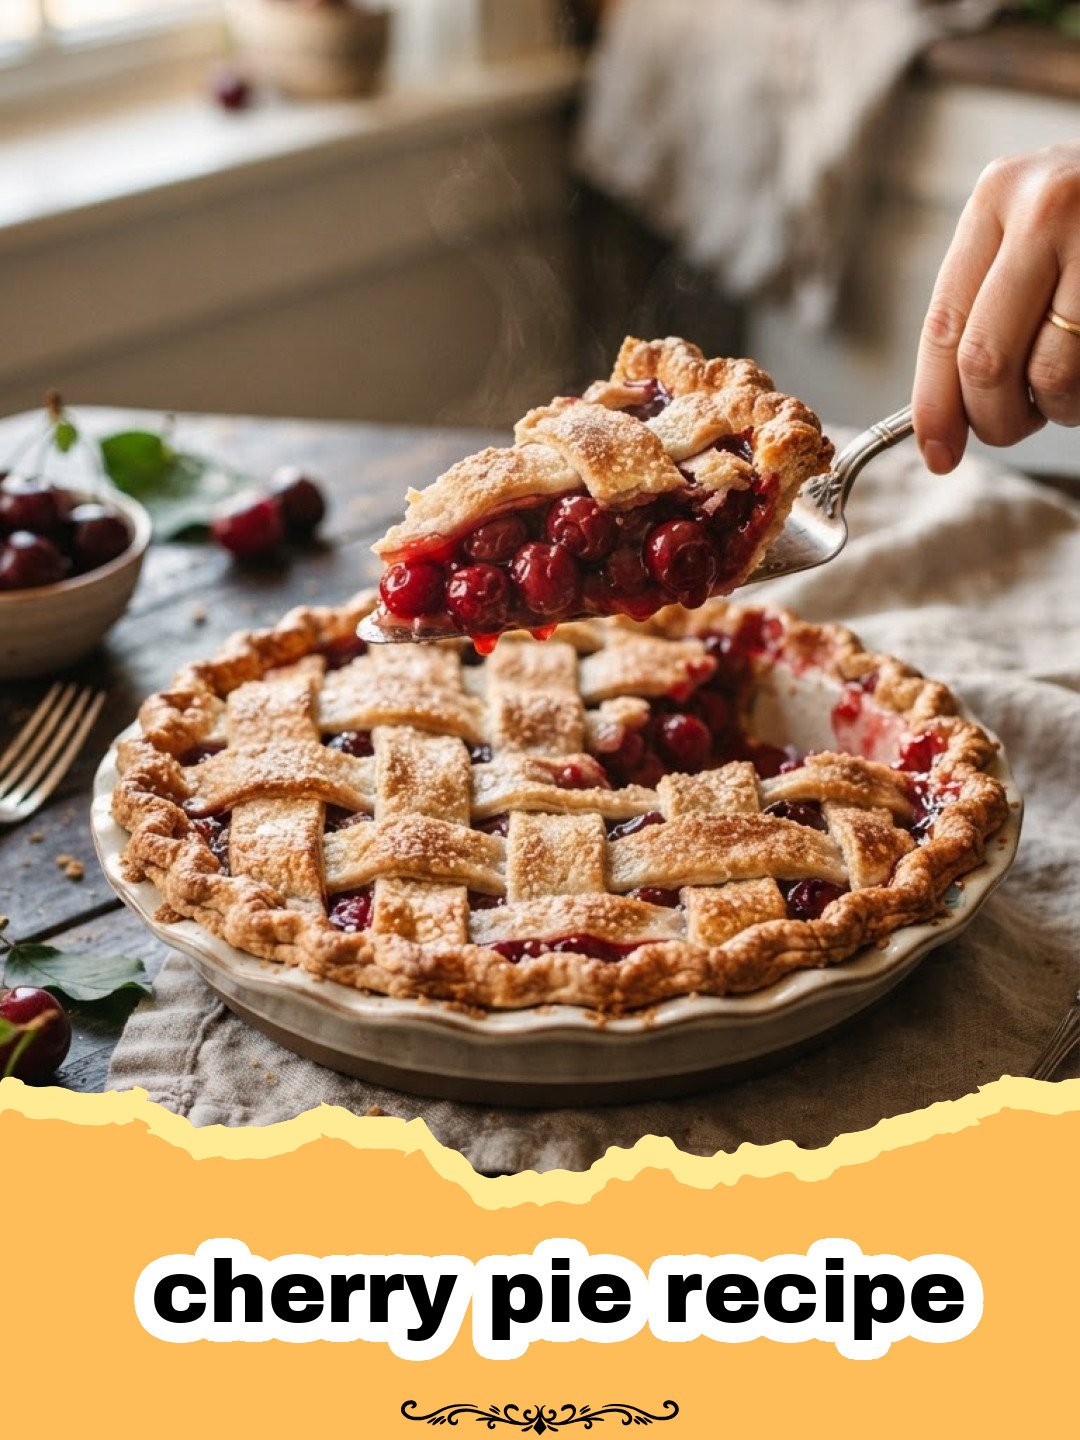
There are some flavors that just instantly transport you, aren’t there? For me, the aroma of a freshly baked cherry pie recipe takes me straight back to my grandmother’s bustling kitchen on a warm summer afternoon. I remember watching her, flour dusting her apron, as she meticulously pitted fresh cherries, their vibrant red juice staining her fingertips. The anticipation of that first slice, with its bubbly, sweet-tart filling peeking through a golden, lattice-top crust, was almost unbearable. It wasn’t just a dessert; it was a ritual, a celebration of summer’s bounty, and a tangible expression of her love. That memory, those flavors, are etched into my heart, and it’s the inspiration behind perfecting my own classic cherry pie recipe. Every time I bake it, I’m not just making a pie; I’m reliving those cherished moments and creating new ones. This recipe is more than just ingredients and steps; it’s a piece of history, a slice of joy, and a testament to the simple magic of home baking. Get ready to create your own unforgettable memories with this truly special cherry pie recipe!
Why This Cherry Pie Recipe is a Must-Try
Perfect Balance of Sweet and Tart:
We strike the ideal harmony between the natural sweetness of ripe cherries and a hint of tartness, ensuring every bite is a burst of balanced flavor. This isn’t just any cherry pie recipe; it’s one designed for flavor perfection.Flaky, Golden Crust:
Our detailed instructions guide you to a buttery, flaky pie crust that’s both easy to handle and incredibly delicious, providing the perfect counterpoint to the juicy filling. A good cherry pie recipe starts with a great crust!Versatile for Any Occasion:
Whether it’s a family gathering, a holiday feast, or a simple weeknight treat, this classic cherry pie recipe is always a crowd-pleaser and fits seamlessly into any menu.Nostalgic Comfort Food:
There’s something undeniably comforting about a homemade cherry pie. This recipe taps into that warm, nostalgic feeling, bringing joy and a sense of tradition to your table.
Key Ingredient Notes for Your Cherry Pie Recipe
Fresh vs. Frozen Cherries
While fresh cherries (preferably Montmorency sour cherries for that classic taste) are ideal for this cherry pie recipe when in season, don’t despair if they’re not available! High-quality frozen tart cherries work wonderfully. If using frozen, make sure to thaw them completely and drain off any excess liquid to prevent a watery filling. A little extra cornstarch might be needed if they seem particularly juicy. This flexibility ensures you can enjoy a delicious homemade cherry pie recipe year-round.
Cornstarch for Thickening
Cornstarch is our secret weapon for achieving that perfectly thick, gooey, yet not watery, cherry pie filling. It’s crucial for binding the cherry juices and sugar into a luscious consistency. Ensure you whisk it thoroughly with the sugar before adding it to the cherries to prevent lumps. Too little, and your pie will be runny; too much, and it can be gummy. Follow our measurements precisely for the ideal cherry pie recipe consistency.
Almond Extract
A small touch of almond extract is a game-changer in this cherry pie recipe. It subtly enhances the cherry flavor, adding a layer of complexity and a beautiful aromatic note that elevates the entire pie. Don’t skip it! If you’re not a fan of almond, a tiny splash of vanilla extract can be used as a substitute, but the almond truly complements the cherries wonderfully in this cherry pie recipe.
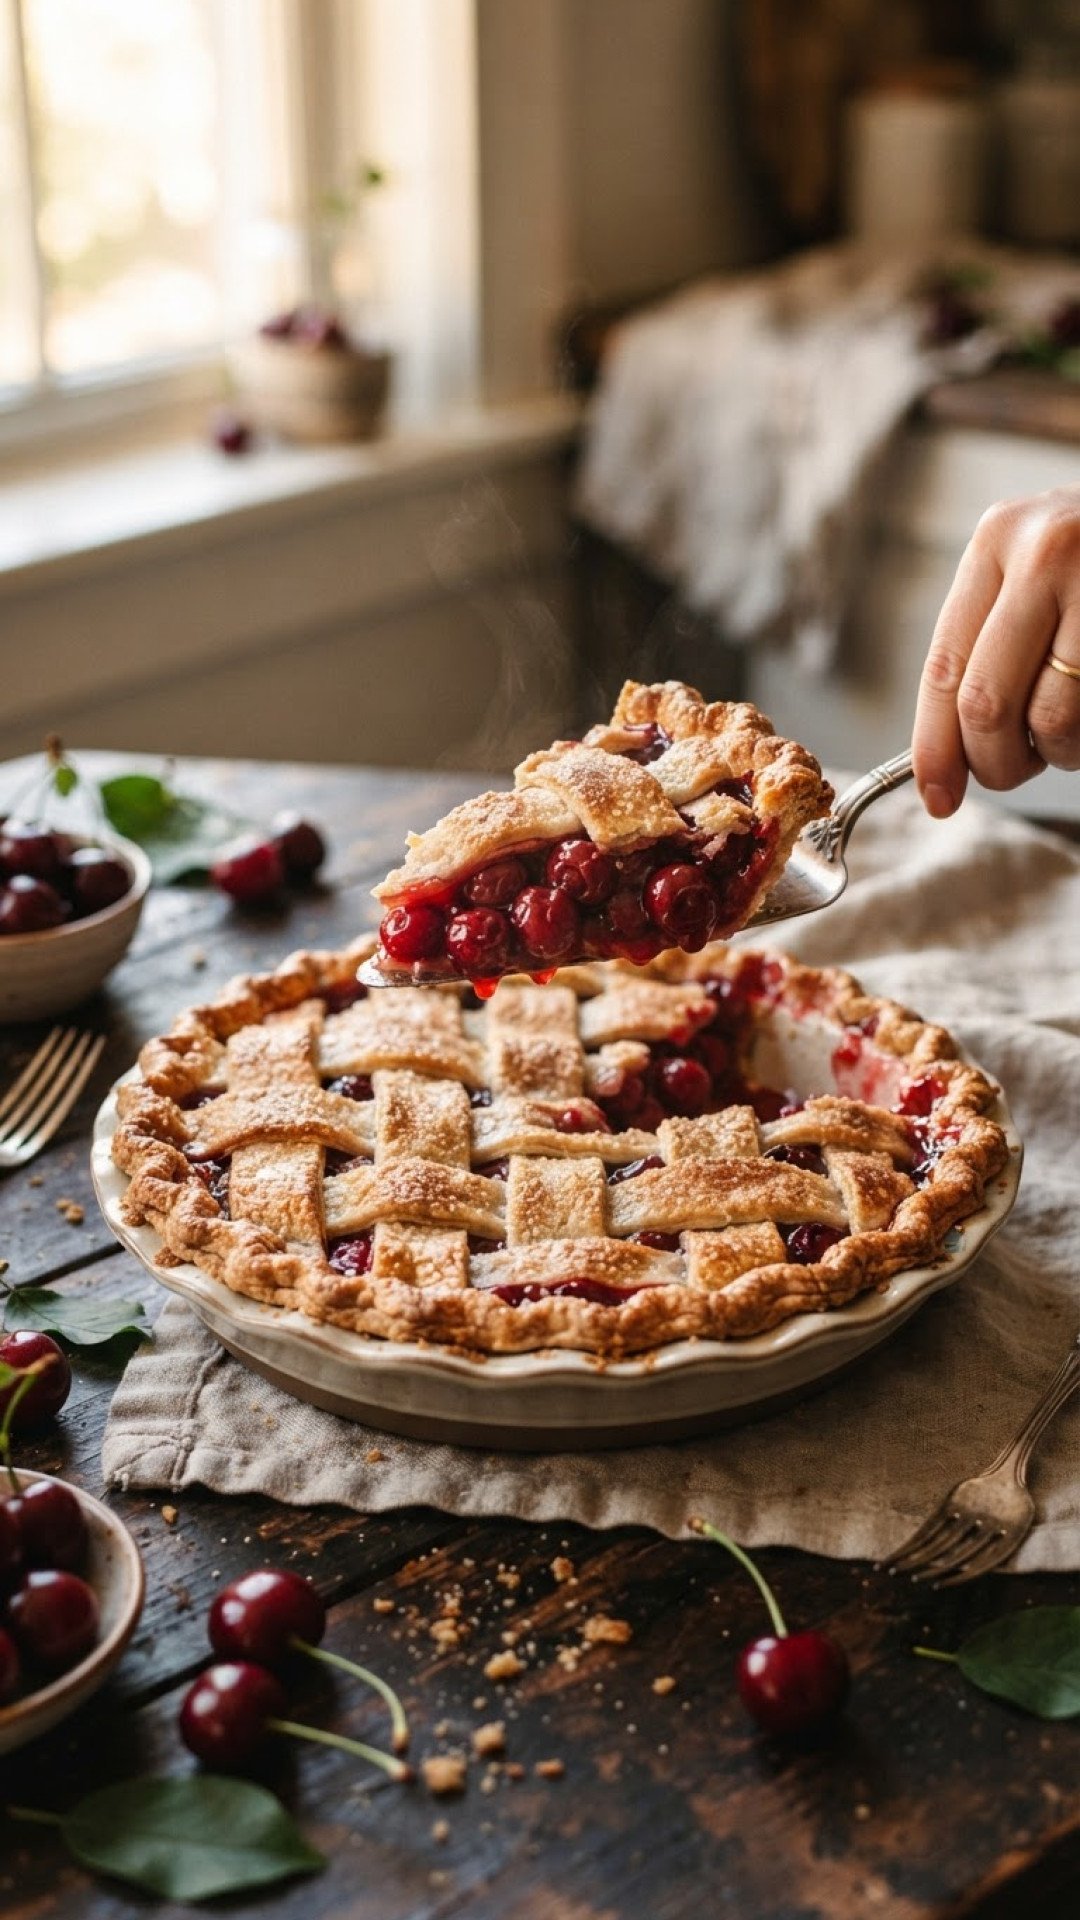
Step-by-Step Guide with Pro Tips for Your Cherry Pie Recipe
Creating the perfect cherry pie recipe is an art, but with these tips, you’ll master it!
For the Pie Crust:
You can use your favorite homemade pie crust recipe or a good quality store-bought one. For best results, ensure your butter is very cold and work quickly to avoid overworking the dough. Chill the dough for at least 30 minutes before rolling. This will make it easier to handle and contribute to a flakier crust, essential for a successful cherry pie recipe.
For the Cherry Filling:
- Step 1: In a large bowl, combine the pitted cherries (fresh or thawed and drained frozen), granulated sugar, cornstarch, lemon juice, and almond extract. Toss gently to coat all the cherries evenly. Let the mixture sit for about 10-15 minutes, allowing the cherries to release some of their juices and the sugar to begin dissolving. This step is crucial for an amazing cherry pie recipe.
- Step 2: While the cherries are resting, preheat your oven to 400°F (200°C). Prepare your pie dish by lightly greasing it if necessary.
Assembling Your Cherry Pie Recipe:
- Step 3: On a lightly floured surface, roll out one disc of pie dough into a 12-inch circle. Carefully transfer it to your 9-inch pie dish. Trim the edges, leaving about a 1/2-inch overhang.
- Step 4: Pour the cherry filling into the pie crust, spreading it evenly. Dot the top of the filling with small pieces of cold butter. This will add richness and help create a luscious, bubbly filling.
- Step 5: Roll out the second disc of pie dough. You can either place it whole over the filling and cut slits for venting, or create a beautiful lattice top. For a lattice, cut the dough into 1-inch strips and weave them over the filling. Trim and crimp the edges of both crusts together to seal, creating a decorative finish.
- Step 6: For a golden, shiny crust, brush the top crust with an egg wash (one egg beaten with a tablespoon of water) and sprinkle lightly with coarse sugar. This step adds visual appeal to your cherry pie recipe.
Baking Your Cherry Pie Recipe:
- Step 7: Place the pie on a baking sheet (to catch any potential drips) and bake at 400°F (200°C) for 15 minutes. This initial high heat helps set the crust.
- Step 8: Reduce the oven temperature to 375°F (190°C) and continue baking for another 45-55 minutes, or until the crust is deeply golden brown and the filling is bubbly and thick. If the crust starts to brown too quickly, loosely tent the edges with aluminum foil.
- Step 9: Once baked, remove the pie from the oven and let it cool completely on a wire rack for at least 3-4 hours (or even longer) before slicing. This cooling time is absolutely critical for the filling to set properly. Trying to cut a warm cherry pie recipe will result in a runny, messy slice!
Variations & Serving Suggestions for Your Cherry Pie Recipe
Creative Variations:
- Almond Crunch Topping: For an extra layer of texture, consider adding a streusel topping made with flour, sugar, cold butter, and sliced almonds instead of a full top crust. This adds a delightful crunch to your cherry pie recipe.
- Spiced Cherry Pie: Incorporate a pinch of cinnamon or a tiny dash of allspice into the cherry filling for a warmer, spicier note. This is particularly lovely during cooler months.
- Chocolate Cherry Pie: Before adding the top crust, sprinkle a handful of dark chocolate chips or chopped dark chocolate over the cherry filling. The combination of cherry and chocolate is divine in this cherry pie recipe.
- Lattice-Free Design: If a lattice seems daunting, simply place the second crust over the top, cut a few vents, and crimp the edges. You can also use cookie cutters to create decorative shapes for the top crust.
Serving Suggestions:
This classic cherry pie recipe is truly wonderful on its own, but it shines even brighter with a few accompaniments:
- Vanilla Bean Ice Cream: The classic pairing! A scoop of good quality vanilla bean ice cream melting over a warm slice of cherry pie is pure heaven.
- Freshly Whipped Cream: A dollop of lightly sweetened, freshly whipped cream adds a delicate richness that complements the fruit perfectly.
- Custard Sauce: For a more elegant presentation, serve slices of cherry pie with a drizzle of homemade vanilla custard sauce.
- Enjoy with Coffee or Tea: A slice of this comforting cherry pie recipe is also perfect with a hot cup of coffee or your favorite herbal tea.
Nutrition Information
Here’s a breakdown of the estimated nutrition for one serving of this delightful cherry pie recipe:
| Nutrient | Amount |
|---|---|
| Calories | 410 kcal |
| Carbohydrate Content | 58g |
| Cholesterol Content | 25mg |
| Fat Content | 19g |
| Fiber Content | 3g |
| Protein Content | 4g |
| Saturated Fat Content | 10g |
| Serving Size | 1 slice |
| Sodium Content | 180mg |
| Sugar Content | 35g |
| Trans Fat Content | 0.5g |
| Unsaturated Fat Content | 8g |
Please note that these values are estimates and can vary based on specific ingredients and preparation methods for your cherry pie recipe.
Conclusion
There’s nothing quite like the satisfaction of pulling a golden, bubbling cherry pie recipe out of your own oven. This classic dessert isn’t just about the incredible flavors; it’s about the joy of baking, the shared moments around the table, and the creation of new cherished memories. Whether it’s the peak of summer or you’re simply craving a taste of nostalgia, this homemade cherry pie recipe is sure to deliver. So roll up your sleeves, gather your ingredients, and get ready to bake a truly unforgettable pie. And remember, leftovers, if you have any, store beautifully in an airtight glass container for a few days. Happy baking!
FAQs
Can I use frozen cherries for this cherry pie recipe?
Yes, absolutely! If using frozen cherries for your cherry pie recipe, make sure to thaw them completely and drain off any excess liquid before mixing them with the other filling ingredients. This prevents the filling from becoming too watery. You may also need to add a touch more cornstarch if they seem particularly juicy.
How do I prevent a soggy bottom crust in my cherry pie?
To prevent a soggy bottom crust in your cherry pie recipe, there are a few key tips: ensure your cherries are well-drained if using frozen; use enough cornstarch to thicken the filling properly; pre-bake (blind bake) your bottom crust for about 10-15 minutes before adding the filling; and bake the pie on the lowest rack of your oven to allow more heat to reach the bottom.
What’s the best way to store leftover cherry pie?
Leftover cherry pie can be stored at room temperature for up to 2 days, loosely covered. For longer storage, refrigerate the pie, covered tightly, for up to 4-5 days. You can also freeze individual slices, wrapped well, for up to 3 months. Always allow the cherry pie recipe to cool completely before storing.
Can I make the cherry pie recipe ahead of time?
Yes, you can prepare parts of the cherry pie recipe ahead of time. The pie crust dough can be made and refrigerated for up to 3 days or frozen for up to 1 month. You can also prepare the cherry filling the day before and store it in the refrigerator. Assemble and bake the pie fresh for the best results.
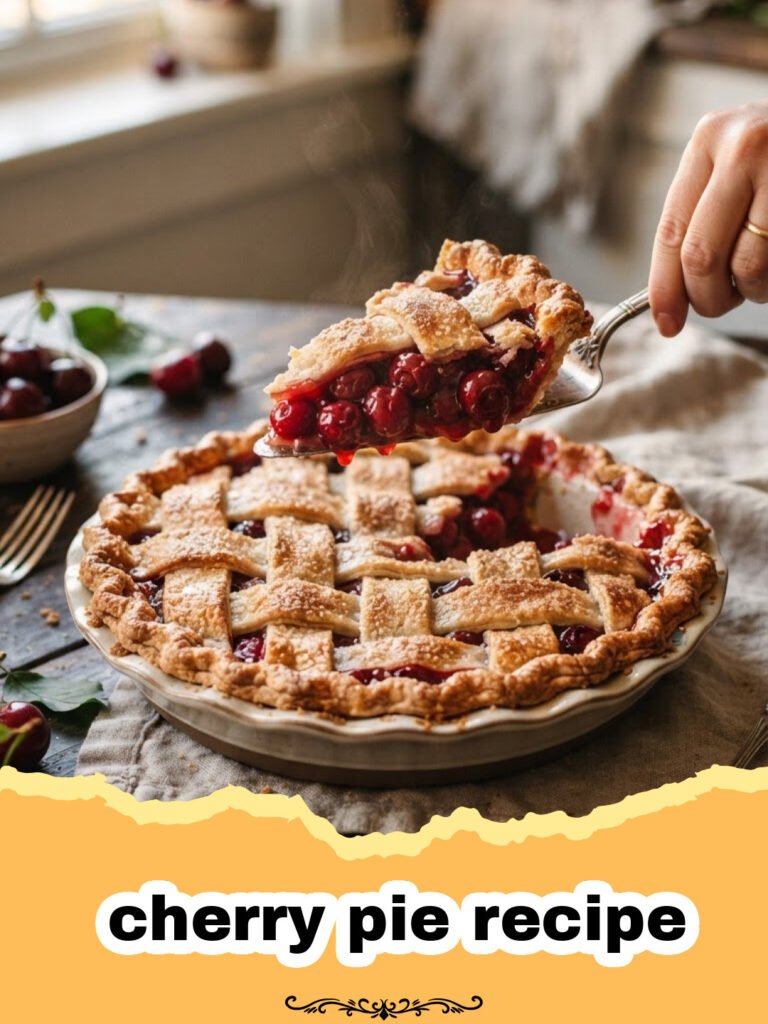
Classic Homemade Cherry Pie
A timeless and comforting cherry pie recipe featuring a flaky, buttery crust and a perfectly balanced sweet-tart cherry filling. This classic American dessert is perfect for any occasion.
- Total Time: 1 hour 50 minutes
- Yield: 8 servings 1x
Ingredients
2 discs homemade pie crust (or 1 box refrigerated pie crusts)
6 cups fresh or frozen pitted tart cherries, thawed and drained if frozen
1 cup granulated sugar (adjust to taste based on cherry sweetness)
1/4 cup cornstarch
1 tablespoon fresh lemon juice
1/2 teaspoon almond extract
2 tablespoons unsalted butter, cut into small pieces
1 large egg, beaten with 1 tablespoon water (for egg wash)
1 tablespoon coarse sugar (for sprinkling)
Instructions
Step 1: Prepare your pie crusts according to your favorite recipe, ensuring they are chilled. If using store-bought, let them come to room temperature for a few minutes before rolling.
Step 2: In a large bowl, combine the pitted cherries, granulated sugar, cornstarch, lemon juice, and almond extract. Toss gently to coat all the cherries evenly. Let the mixture sit for 10-15 minutes.
Step 3: Preheat your oven to 400°F (200°C). Roll out one disc of pie dough on a lightly floured surface into a 12-inch circle. Carefully transfer it to a 9-inch pie dish. Trim the edges, leaving about a 1/2-inch overhang.
Step 4: Pour the cherry filling into the pie crust, spreading it evenly. Dot the top of the filling with the small pieces of cold butter.
Step 5: Roll out the second disc of pie dough. You can either place it whole over the filling and cut slits for venting, or create a lattice top by cutting the dough into 1-inch strips and weaving them over the filling. Trim and crimp the edges of both crusts together to seal.
Step 6: Brush the top crust with the egg wash and sprinkle lightly with coarse sugar.
Step 7: Place the pie on a baking sheet and bake at 400°F (200°C) for 15 minutes.
Step 8: Reduce the oven temperature to 375°F (190°C) and continue baking for another 45-55 minutes, or until the crust is deeply golden brown and the filling is bubbly and thick. If the crust browns too quickly, tent the edges with aluminum foil.
Step 9: Remove the pie from the oven and let it cool completely on a wire rack for at least 3-4 hours before slicing and serving. This cooling time is essential for the filling to set properly.
Notes
For the flakiest crust, ensure your butter is very cold and avoid overworking the dough. If using fresh sour cherries, you might need slightly more sugar. Sweet cherries can also be used, but reduce sugar to 1/2-3/4 cup.
- Prep Time: 45 minutes
- Cook Time: 65 minutes
- Category: Baked Goods
- Cuisine: American
Nutrition
- Serving Size: 1 slice
- Calories: 410 kcal
- Sugar: 35g
- Sodium: 180mg
- Fat: 19g
- Saturated Fat: 10g
- Unsaturated Fat: 8g
- Trans Fat: 0.5g
- Carbohydrates: 58g
- Fiber: 3g
- Protein: 4g
- Cholesterol: 25mg
Keywords: cherry pie, homemade pie, fruit pie, dessert, baking, summer dessert, classic pie, tart cherry pie