I still remember the whirring sound of my grandmother’s old wooden ice cream maker, a relic from a bygone era that only saw the light of day on the hottest summer afternoons. The anticipation was almost unbearable as we children gathered around, taking turns cranking the handle, our little arms aching but our spirits high. There was a magic in watching simple ingredients transform into something so profoundly delicious, a creamy, cold masterpiece that tasted like pure joy. Those early experiences forged my love for all things frozen and sweet, and to this day, crafting home made ice cream recipes remains one of my favorite culinary pursuits. It’s more than just a dessert; it’s a memory in the making, a tradition passed down through generations, and a testament to the simple pleasures of life. Forget the store-bought tubs; nothing compares to the fresh, vibrant flavors and incredibly smooth texture of ice cream made right in your own kitchen. This isn’t just about following a recipe; it’s about embracing a craft, an art form that brings smiles to every face and cools the soul on a sweltering day. Whether you’re new to the world of frozen desserts or a seasoned churner, this guide to home made ice cream recipes will equip you with all the knowledge, tips, and inspiration you need to create your own frozen masterpieces. Let’s make some sweet, sweet memories!
Why These Home Made Ice Cream Recipes Are a Must-Try
- Unmatched Freshness and Flavor: When you make ice cream at home, you control the quality of every ingredient. This means using ripe, seasonal fruits, the finest dairy, and pure extracts, resulting in a flavor profile that is miles beyond anything you’ll find in a supermarket. These home made ice cream recipes celebrate pure, unadulterated taste.
- Customization Galore: Tired of limited flavor options? With home made ice cream recipes, your imagination is the only limit. You can adjust sweetness, add your favorite mix-ins, experiment with exotic spices, or even create dairy-free versions. It’s your canvas, your culinary masterpiece.
- No Mystery Ingredients: Say goodbye to artificial flavors, colors, and stabilizers. Our home made ice cream recipes focus on whole, recognizable ingredients, ensuring a healthier and more wholesome treat for you and your loved ones.
- A Fun and Rewarding Experience: The process of making ice cream, from heating the custard to watching it churn, is incredibly satisfying. It’s a wonderful activity to share with family and friends, creating not just a dessert, but lasting memories and a sense of accomplishment.
Key Ingredient Notes for Perfect Home Made Ice Cream Recipes
The foundation of truly exceptional home made ice cream recipes lies in understanding the role of each key ingredient. Quality truly makes a difference here, so don’t skimp!
Heavy Cream
This is the superstar of almost all home made ice cream recipes. Heavy cream (or whipping cream, which typically has a slightly higher fat content) provides the richness, body, and smooth texture that we all crave in ice cream. Its high-fat content is crucial for preventing ice crystal formation and creating that luxurious mouthfeel. Opt for cream with at least 36% milk fat for the best results. The higher the fat, the creamier your final product will be. Some recipes might call for a mix of heavy cream and whole milk, balancing richness with a slightly lighter texture.
Whole Milk
Whole milk works in tandem with heavy cream to create the ideal custard base for many home made ice cream recipes. While cream brings the fat, milk helps to dilute the fat slightly, preventing the ice cream from becoming too dense or cloyingly rich. It also contributes to the liquid volume needed for the custard and helps dissolve the sugar effectively. Always use whole milk for its fat content, which adds to the overall creaminess and flavor; skim or low-fat milk will result in a much icier texture.
Sugar (Granulated or Caster)
Beyond sweetness, sugar plays a vital role in the texture of home made ice cream recipes. It lowers the freezing point of the mixture, preventing it from freezing solid into an unscoopable block. The right amount of sugar ensures your ice cream remains soft and scoopable even when deeply frozen. Granulated sugar is standard, but caster sugar (superfine sugar) dissolves more quickly, which can be beneficial, especially when making no-churn versions. Don’t be tempted to drastically reduce the sugar content, as it will negatively impact the texture. If you’re looking for different flavor profiles, consider light brown sugar for a caramel note or honey/maple syrup, though these will alter the freezing point and may require slight adjustments to other liquids.
Step-by-Step Guide with Pro Tips for Irresistible Home Made Ice Cream Recipes
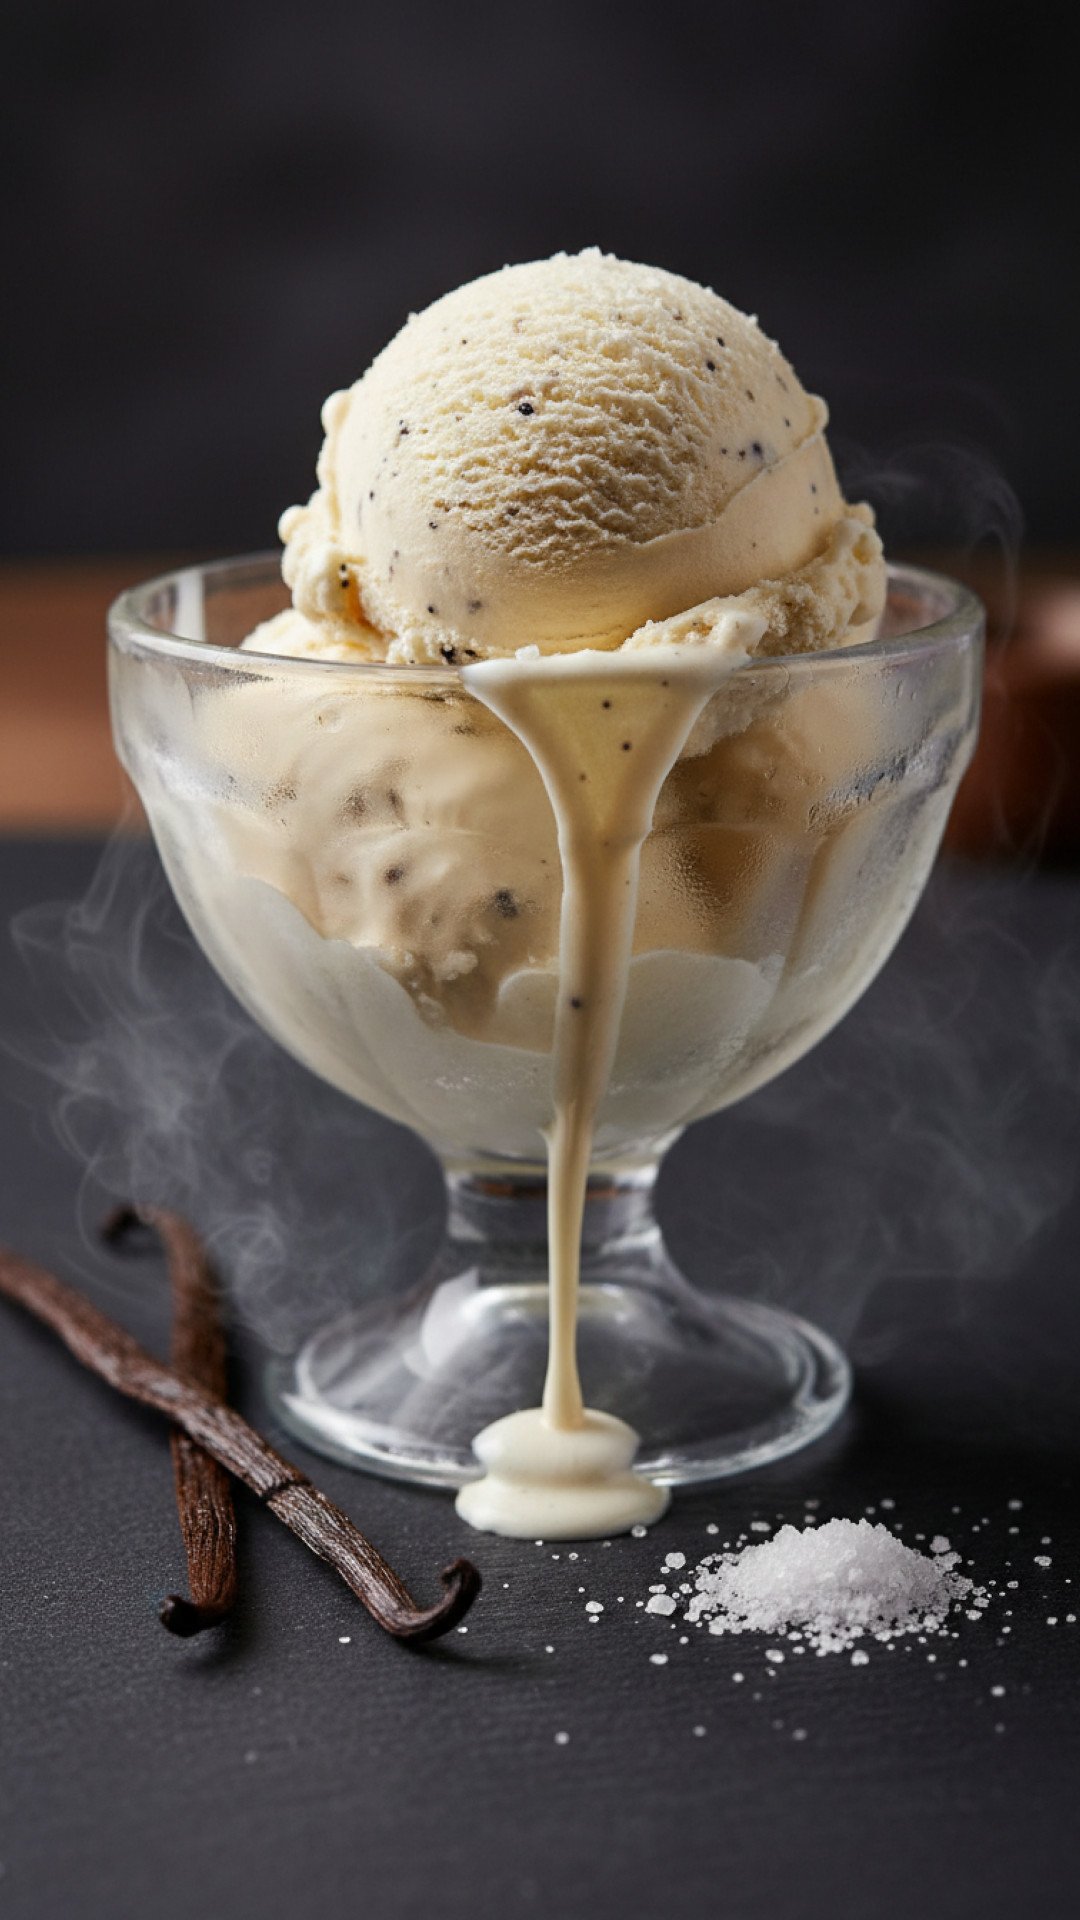
Making home made ice cream recipes from scratch might seem intimidating, but with a few pro tips, you’ll be churning like a pro in no time! This classic vanilla bean base can be easily adapted for countless flavors.
Ingredients:
- 2 cups heavy cream
- 1 cup whole milk
- ¾ cup granulated sugar
- 1 vanilla bean, split and scraped (or 2 tsp vanilla extract)
- Pinch of salt
- 5 large egg yolks
Instructions:
- Step 1: Combine the heavy cream, whole milk, half of the sugar (about 6 tablespoons), vanilla bean seeds and pod (if using), and salt in a medium saucepan. Heat over medium-low heat, stirring occasionally, until the mixture is hot and just barely simmering around the edges. Do not boil. Remove from heat and cover to steep for 15-20 minutes if using a vanilla bean. If using vanilla extract, add it at the end of the cooking process.
- Step 2: While the cream mixture is steeping, whisk the egg yolks and the remaining sugar in a medium bowl until pale yellow and slightly thickened. This is where the magic happens for that rich custard base integral to many home made ice cream recipes.
- Step 3: Temper the egg yolks: Slowly pour about half a cup of the hot cream mixture into the egg yolk mixture, whisking constantly. This gradually brings the temperature of the yolks up without scrambling them. Repeat with another half cup of hot cream.
- Step 4: Pour the tempered egg yolk mixture back into the saucepan with the remaining hot cream. Cook over medium-low heat, stirring constantly with a wooden spoon or spatula, until the custard thickens enough to coat the back of the spoon (it should reach about 175-180°F or 80-82°C on an instant-read thermometer). Do not boil or it will curdle.
- Step 5: Immediately strain the custard through a fine-mesh sieve into a clean bowl to remove any potential cooked egg bits or vanilla bean pod. This step is crucial for achieving a super smooth texture in your home made ice cream recipes.
- Step 6: Place the bowl of custard over an ice bath (a larger bowl filled with ice and a little water) and stir occasionally until thoroughly chilled. This rapid cooling helps prevent bacteria growth and maintains the custard’s smooth consistency. Once cool, cover the bowl with plastic wrap, pressing it directly onto the surface of the custard to prevent a skin from forming, and refrigerate for at least 4 hours, or preferably overnight, until very cold (around 40°F or 4°C). This chilling time is essential for the best texture and flavor development.
- Step 7: Churn the ice cream according to your ice cream maker’s instructions. Ensure your machine’s bowl is thoroughly frozen (usually 12-24 hours) before starting. The churning process usually takes 20-30 minutes, resulting in a soft-serve consistency. For an extra refreshing treat, you might also consider trying out a watermelon slushie recipe during the hottest days!
- Step 8: For a firmer ice cream, transfer the churned mixture to an airtight container. Press plastic wrap directly onto the surface to minimize ice crystal formation. Freeze for at least 4-6 hours, or until firm, before serving. For optimal storage, consider using glass food storage containers as they don’t absorb odors and keep ice cream fresh.
Variations & Serving Suggestions for Your Home Made Ice Cream Recipes
Once you’ve mastered the basic vanilla, the world of home made ice cream recipes opens up to endless possibilities. Here are some ideas to get your creative juices flowing:
Flavor Variations:
- Chocolate Dream: Add 4-6 ounces of finely chopped dark or semi-sweet chocolate to the hot cream mixture in Step 1, stirring until melted and smooth. For an extra punch, whisk in 2 tablespoons of unsweetened cocoa powder.
- Strawberry Swirl: Before churning, fold in 1 cup of puréed fresh strawberries (sweetened slightly with a tablespoon of sugar). You can also swirl in chunks of fresh berries at the end of churning. For another fruity delight, check out this amazing peach ice cream recipe.
- Mint Chip: Add 1 teaspoon of pure peppermint extract and a few drops of green food coloring (optional) to the chilled custard before churning. Fold in ½ cup of finely chopped chocolate or mini chocolate chips at the end of churning.
- Coffee Lover’s Delight: Steep 2 tablespoons of instant espresso powder or finely ground coffee beans in the hot cream mixture for a robust flavor.
- Nutty Indulgence: Fold in toasted, chopped nuts like pecans, walnuts, or almonds during the last few minutes of churning. A drizzle of caramel or fudge sauce wouldn’t hurt either!
Serving Suggestions:
- Classic Scoop: Serve your home made ice cream recipes in a simple bowl or cone. Let it sit at room temperature for a few minutes before scooping for the perfect texture.
- Sundae Bar: Set up a toppings bar with hot fudge, caramel sauce, whipped cream, sprinkles, chopped nuts, fresh fruit, and cherries.
- Affogato: Pour a shot of hot espresso over a scoop of vanilla ice cream.
- Ice Cream Sandwiches: Sandwich a scoop of your favorite flavor between two warm cookies or brownies.
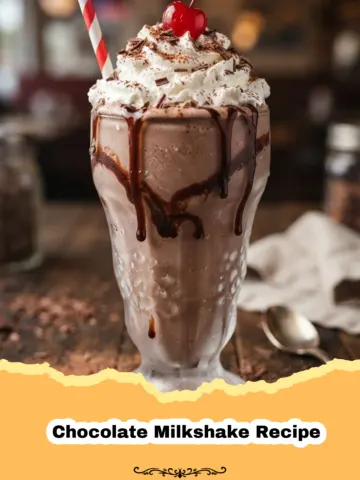
- Milkshakes: Blend your home made ice cream recipes with milk and any desired flavorings for a thick, creamy milkshake.
Nutrition Information
Here’s an estimated nutritional breakdown for a single serving of our classic vanilla home made ice cream recipe (approximately 1/2 cup), based on the ingredients listed. Please note that these values are estimates and can vary based on specific brands and exact measurements.
| Nutrient | Amount Per Serving |
|---|---|
| Calories | 280 kcal |
| Carbohydrate Content | 25 g |
| Cholesterol Content | 160 mg |
| Fat Content | 20 g |
| Fiber Content | 0 g |
| Protein Content | 4 g |
| Saturated Fat Content | 12 g |
| Serving Size | 0.5 cup (80g) |
| Sodium Content | 45 mg |
| Sugar Content | 23 g |
| Trans Fat Content | 0.5 g |
| Unsaturated Fat Content | 6 g |
Conclusion
There’s truly nothing quite like the satisfaction of creating your own home made ice cream recipes. From the rich, creamy texture to the burst of fresh, customizable flavors, it’s an experience that transcends a mere dessert. It’s an act of love, a touch of nostalgia, and a celebration of simple culinary delights. We hope this guide inspires you to dust off that ice cream maker, or perhaps invest in one, and start churning your way to frozen bliss. Experiment with flavors, share your creations, and most importantly, enjoy every single spoonful of your magnificent home made ice cream recipes. Happy churning!
FAQs
What is the best type of ice cream maker for home made ice cream recipes?
There are several types, each with pros and cons. Compressor ice cream makers are convenient as they don’t require pre-freezing the bowl, allowing for continuous batches. Freezer bowl machines are more affordable but require the bowl to be frozen for 12-24 hours beforehand. Rock salt and ice makers (like old-fashioned churns) are great for larger batches and a nostalgic experience. The ‘best’ depends on your budget, frequency of use, and counter space.
How do I prevent ice crystals in my home made ice cream?
Several factors help prevent ice crystals: using high-fat dairy (heavy cream, whole milk), incorporating enough sugar (which lowers the freezing point), churning the mixture until it’s thick and aerated, and storing it properly. Rapid chilling of the custard, placing plastic wrap directly on the surface of the churned ice cream before freezing, and using an airtight container also significantly reduce crystal formation. Some recipes also benefit from a touch of alcohol or corn syrup.
Can I make these home made ice cream recipes without an ice cream maker?
Yes, ‘no-churn’ home made ice cream recipes are very popular! They typically involve whipping heavy cream to stiff peaks and folding it into a sweetened condensed milk base. While the texture is different (often denser and softer than churned ice cream), it’s a delicious and easy alternative if you don’t own a machine. You can also use the ‘freezer bag method’ or periodically stir a partially frozen mixture in a shallow pan.
How long will home made ice cream last in the freezer?
For optimal flavor and texture, home made ice cream is best consumed within 1-2 weeks. After that, it can start to develop ice crystals and lose its creamy consistency. Always store it in an airtight container, pressed with plastic wrap directly on the surface, in the coldest part of your freezer to prolong its freshness and quality.
Classic Vanilla Bean Home Made Ice Cream
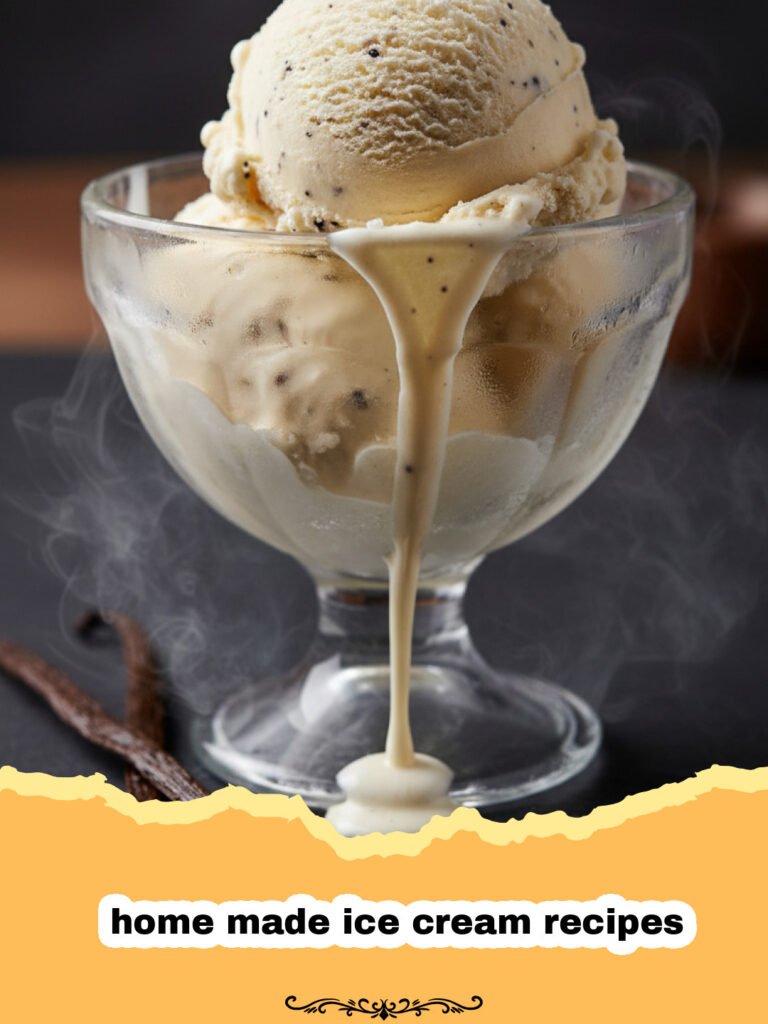
Indulge in the creamy, rich goodness of classic vanilla bean home made ice cream. This recipe offers a step-by-step guide to achieving the perfect texture and flavor, making it a delightful treat for any occasion. Perfect for customization with your favorite mix-ins!
- Total Time: 7 hours 45 minutes (includes chilling and freezing time)
- Yield: 1 quart (8 servings) 1x
Ingredients
2 cups heavy cream (at least 36% milk fat)
1 cup whole milk
¾ cup granulated sugar
1 vanilla bean, split and scraped (or 2 tsp pure vanilla extract)
Pinch of salt
5 large egg yolks
Instructions
Step 1: Combine the heavy cream, whole milk, half of the sugar (about 6 tablespoons), vanilla bean seeds and pod (if using), and salt in a medium saucepan. Heat over medium-low heat, stirring occasionally, until the mixture is hot and just barely simmering around the edges. Do not boil. Remove from heat and cover to steep for 15-20 minutes if using a vanilla bean. If using vanilla extract, add it at the end of the cooking process.
Step 2: While the cream mixture is steeping, whisk the egg yolks and the remaining sugar in a medium bowl until pale yellow and slightly thickened.
Step 3: Temper the egg yolks: Slowly pour about half a cup of the hot cream mixture into the egg yolk mixture, whisking constantly. Repeat with another half cup of hot cream.
Step 4: Pour the tempered egg yolk mixture back into the saucepan with the remaining hot cream. Cook over medium-low heat, stirring constantly with a wooden spoon or spatula, until the custard thickens enough to coat the back of the spoon (it should reach about 175-180°F or 80-82°C on an instant-read thermometer). Do not boil or it will curdle.
Step 5: Immediately strain the custard through a fine-mesh sieve into a clean bowl to remove any potential cooked egg bits or vanilla bean pod. This step is crucial for achieving a super smooth texture.
Step 6: Place the bowl of custard over an ice bath (a larger bowl filled with ice and a little water) and stir occasionally until thoroughly chilled. Once cool, cover the bowl with plastic wrap, pressing it directly onto the surface of the custard, and refrigerate for at least 4 hours, or preferably overnight, until very cold (around 40°F or 4°C).
Step 7: Churn the ice cream according to your ice cream maker’s instructions. Ensure your machine’s bowl is thoroughly frozen (usually 12-24 hours) before starting. The churning process usually takes 20-30 minutes, resulting in a soft-serve consistency.
Step 8: For a firmer ice cream, transfer the churned mixture to an airtight container. Press plastic wrap directly onto the surface to minimize ice crystal formation. Freeze for at least 4-6 hours, or until firm, before serving.
Notes
For best results, ensure all dairy products are full-fat and that your ice cream maker bowl is fully frozen. The custard base can be made up to 2 days in advance and stored in the refrigerator.
- Prep Time: 30 minutes
- Cook Time: 15 minutes
- Category: Appetizers & Snacks
- Cuisine: American
Nutrition
- Serving Size: 0.5 cup (80g)
- Calories: 280 kcal
- Sugar: 23 g
- Sodium: 45 mg
- Fat: 20 g
- Saturated Fat: 12 g
- Unsaturated Fat: 6 g
- Trans Fat: 0.5 g
- Carbohydrates: 25 g
- Fiber: 0 g
- Protein: 4 g
- Cholesterol: 160 mg
Keywords: homemade ice cream, ice cream recipes, vanilla ice cream, custard ice cream, dessert recipes, summer treats, easy ice cream, ice cream maker recipes, creamy ice cream