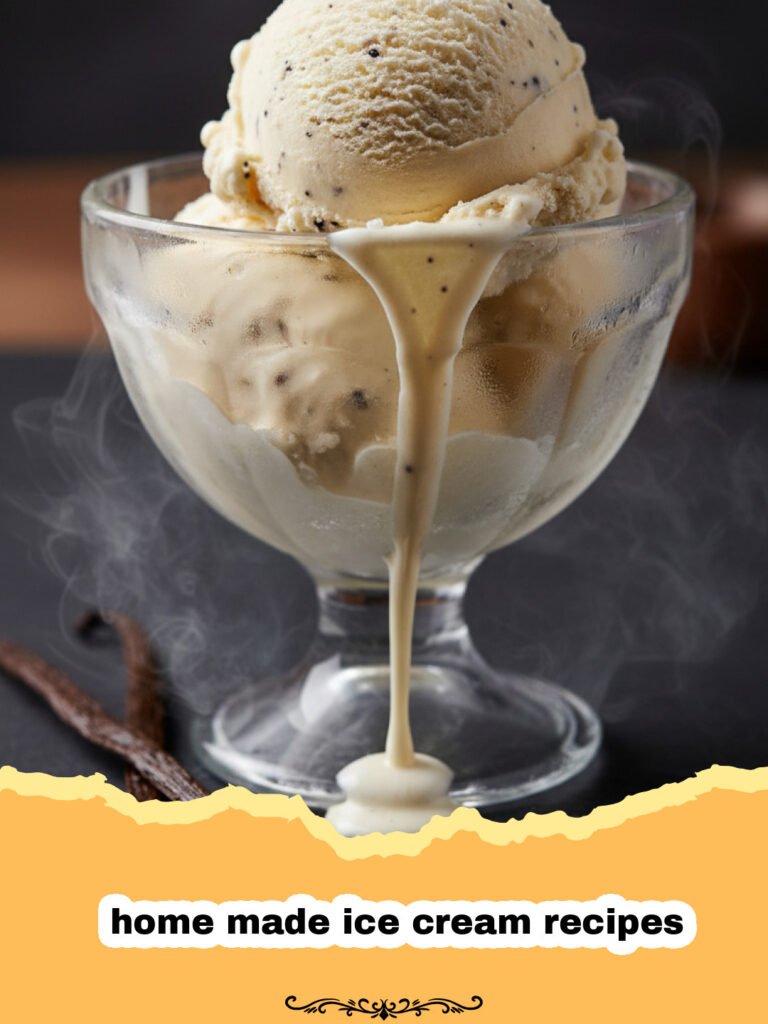
Ingredients
2 cups heavy cream (at least 36% milk fat)
1 cup whole milk
¾ cup granulated sugar
1 vanilla bean, split and scraped (or 2 tsp pure vanilla extract)
Pinch of salt
5 large egg yolks
Instructions
Step 1: Combine the heavy cream, whole milk, half of the sugar (about 6 tablespoons), vanilla bean seeds and pod (if using), and salt in a medium saucepan. Heat over medium-low heat, stirring occasionally, until the mixture is hot and just barely simmering around the edges. Do not boil. Remove from heat and cover to steep for 15-20 minutes if using a vanilla bean. If using vanilla extract, add it at the end of the cooking process.
Step 2: While the cream mixture is steeping, whisk the egg yolks and the remaining sugar in a medium bowl until pale yellow and slightly thickened.
Step 3: Temper the egg yolks: Slowly pour about half a cup of the hot cream mixture into the egg yolk mixture, whisking constantly. Repeat with another half cup of hot cream.
Step 4: Pour the tempered egg yolk mixture back into the saucepan with the remaining hot cream. Cook over medium-low heat, stirring constantly with a wooden spoon or spatula, until the custard thickens enough to coat the back of the spoon (it should reach about 175-180°F or 80-82°C on an instant-read thermometer). Do not boil or it will curdle.
Step 5: Immediately strain the custard through a fine-mesh sieve into a clean bowl to remove any potential cooked egg bits or vanilla bean pod. This step is crucial for achieving a super smooth texture.
Step 6: Place the bowl of custard over an ice bath (a larger bowl filled with ice and a little water) and stir occasionally until thoroughly chilled. Once cool, cover the bowl with plastic wrap, pressing it directly onto the surface of the custard, and refrigerate for at least 4 hours, or preferably overnight, until very cold (around 40°F or 4°C).
Step 7: Churn the ice cream according to your ice cream maker’s instructions. Ensure your machine’s bowl is thoroughly frozen (usually 12-24 hours) before starting. The churning process usually takes 20-30 minutes, resulting in a soft-serve consistency.
Step 8: For a firmer ice cream, transfer the churned mixture to an airtight container. Press plastic wrap directly onto the surface to minimize ice crystal formation. Freeze for at least 4-6 hours, or until firm, before serving.
Notes
For best results, ensure all dairy products are full-fat and that your ice cream maker bowl is fully frozen. The custard base can be made up to 2 days in advance and stored in the refrigerator.
- Prep Time: 30 minutes
- Cook Time: 15 minutes
- Category: Appetizers & Snacks
- Cuisine: American
Nutrition
- Serving Size: 0.5 cup (80g)
- Calories: 280 kcal
- Sugar: 23 g
- Sodium: 45 mg
- Fat: 20 g
- Saturated Fat: 12 g
- Unsaturated Fat: 6 g
- Trans Fat: 0.5 g
- Carbohydrates: 25 g
- Fiber: 0 g
- Protein: 4 g
- Cholesterol: 160 mg
Keywords: homemade ice cream, ice cream recipes, vanilla ice cream, custard ice cream, dessert recipes, summer treats, easy ice cream, ice cream maker recipes, creamy ice cream
