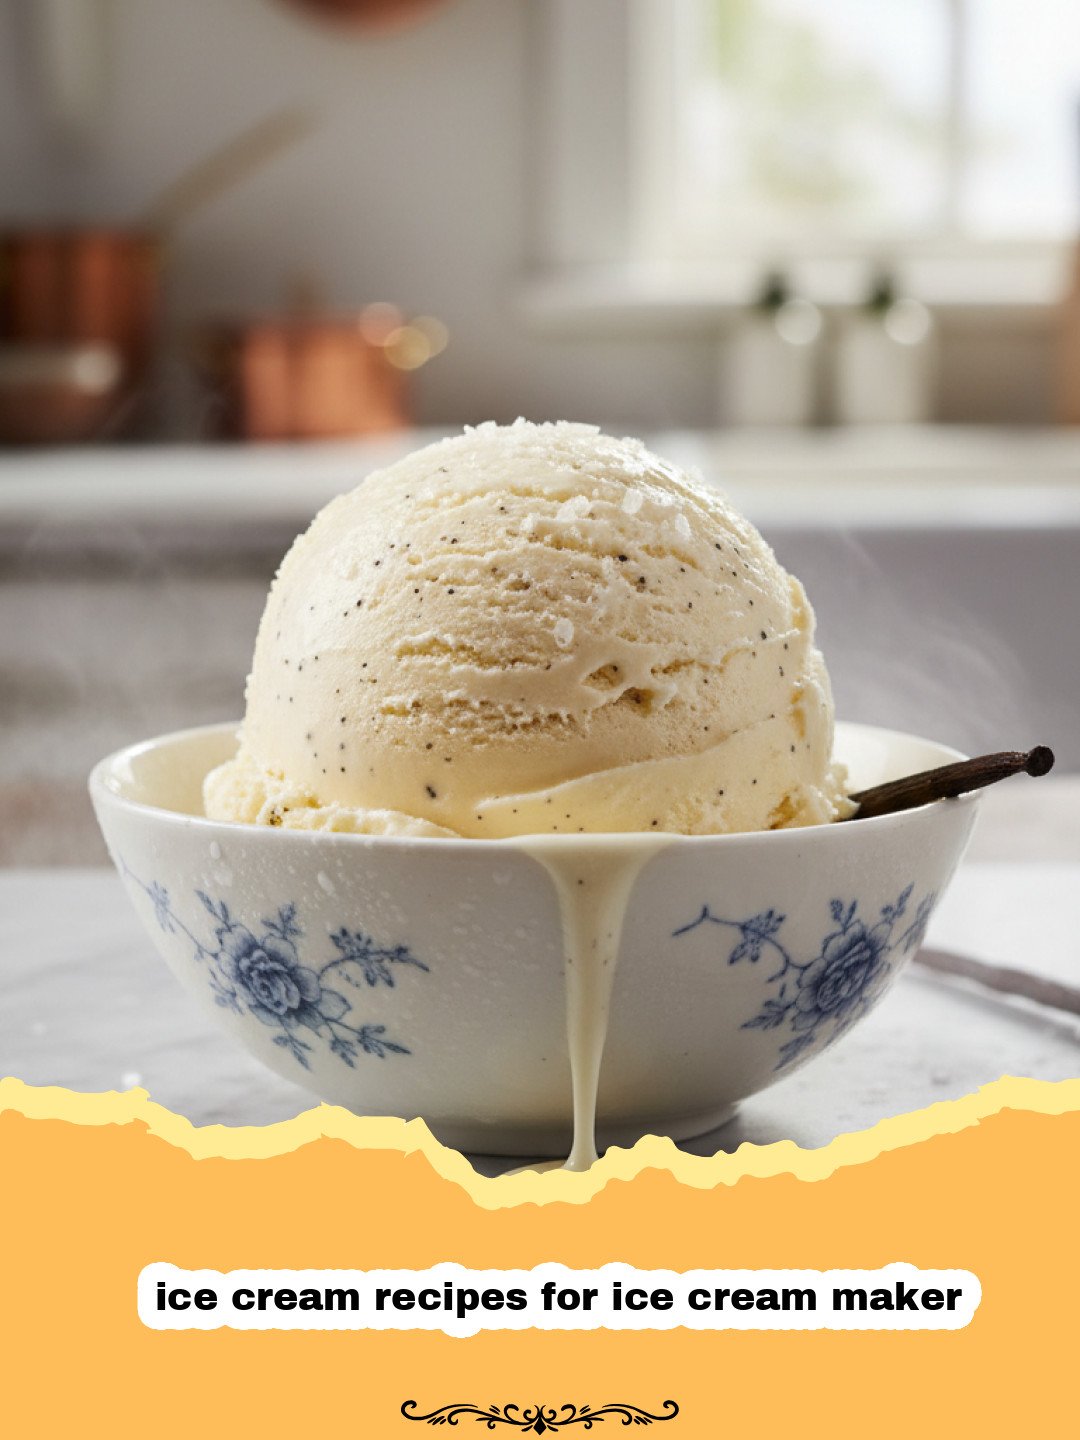
There’s something truly magical about homemade ice cream. It’s not just a dessert; it’s a memory in the making, a labor of love that transforms simple ingredients into pure joy. I remember summer afternoons at my grandma’s house, the rhythmic churn of her old-fashioned ice cream maker filling the air. We’d gather around, little hands taking turns cranking the handle, anticipation building with every turn. The first scoop, rich and creamy, bursting with fresh vanilla, was always worth the wait. It tasted like sunshine, laughter, and endless summer days. Now, with modern appliances, making ice cream at home is easier than ever, and exploring various ice cream recipes for ice cream maker has become a favorite pastime. If you’re ready to recreate that nostalgic bliss or forge new delicious memories, you’ve come to the right place. This recipe isn’t just about making ice cream; it’s about embracing the simple pleasure of creating something extraordinary with your own hands. Forget store-bought pints – once you taste the unparalleled freshness and customize your own flavors, you’ll be hooked. Let’s dive into the world of delightful ice cream recipes for ice cream maker and discover the secrets to perfect scoops every time.
Why This Recipe is a Must-Try
- Unbeatable Freshness: Nothing compares to the vibrant taste of freshly made ice cream, free from artificial flavors or stabilizers. This recipe highlights pure vanilla bean for an authentic experience.
- Creamy Perfection: We use a combination of heavy cream and whole milk, along with egg yolks, to create an incredibly smooth, rich, and velvety texture that melts exquisitely in your mouth.
- Customizable Base: This vanilla bean recipe serves as the perfect canvas for endless variations. Want chocolate? Add cocoa. Craving fruit? Swirl in purees. It’s one of the most versatile ice cream recipes for ice cream maker you’ll find.
- Fun & Rewarding: The process of making your own ice cream, especially with an ice cream maker, is incredibly satisfying. It’s a fantastic activity to do with family and friends, creating lasting memories.
Key Ingredient Notes
Vanilla Beans vs. Extract
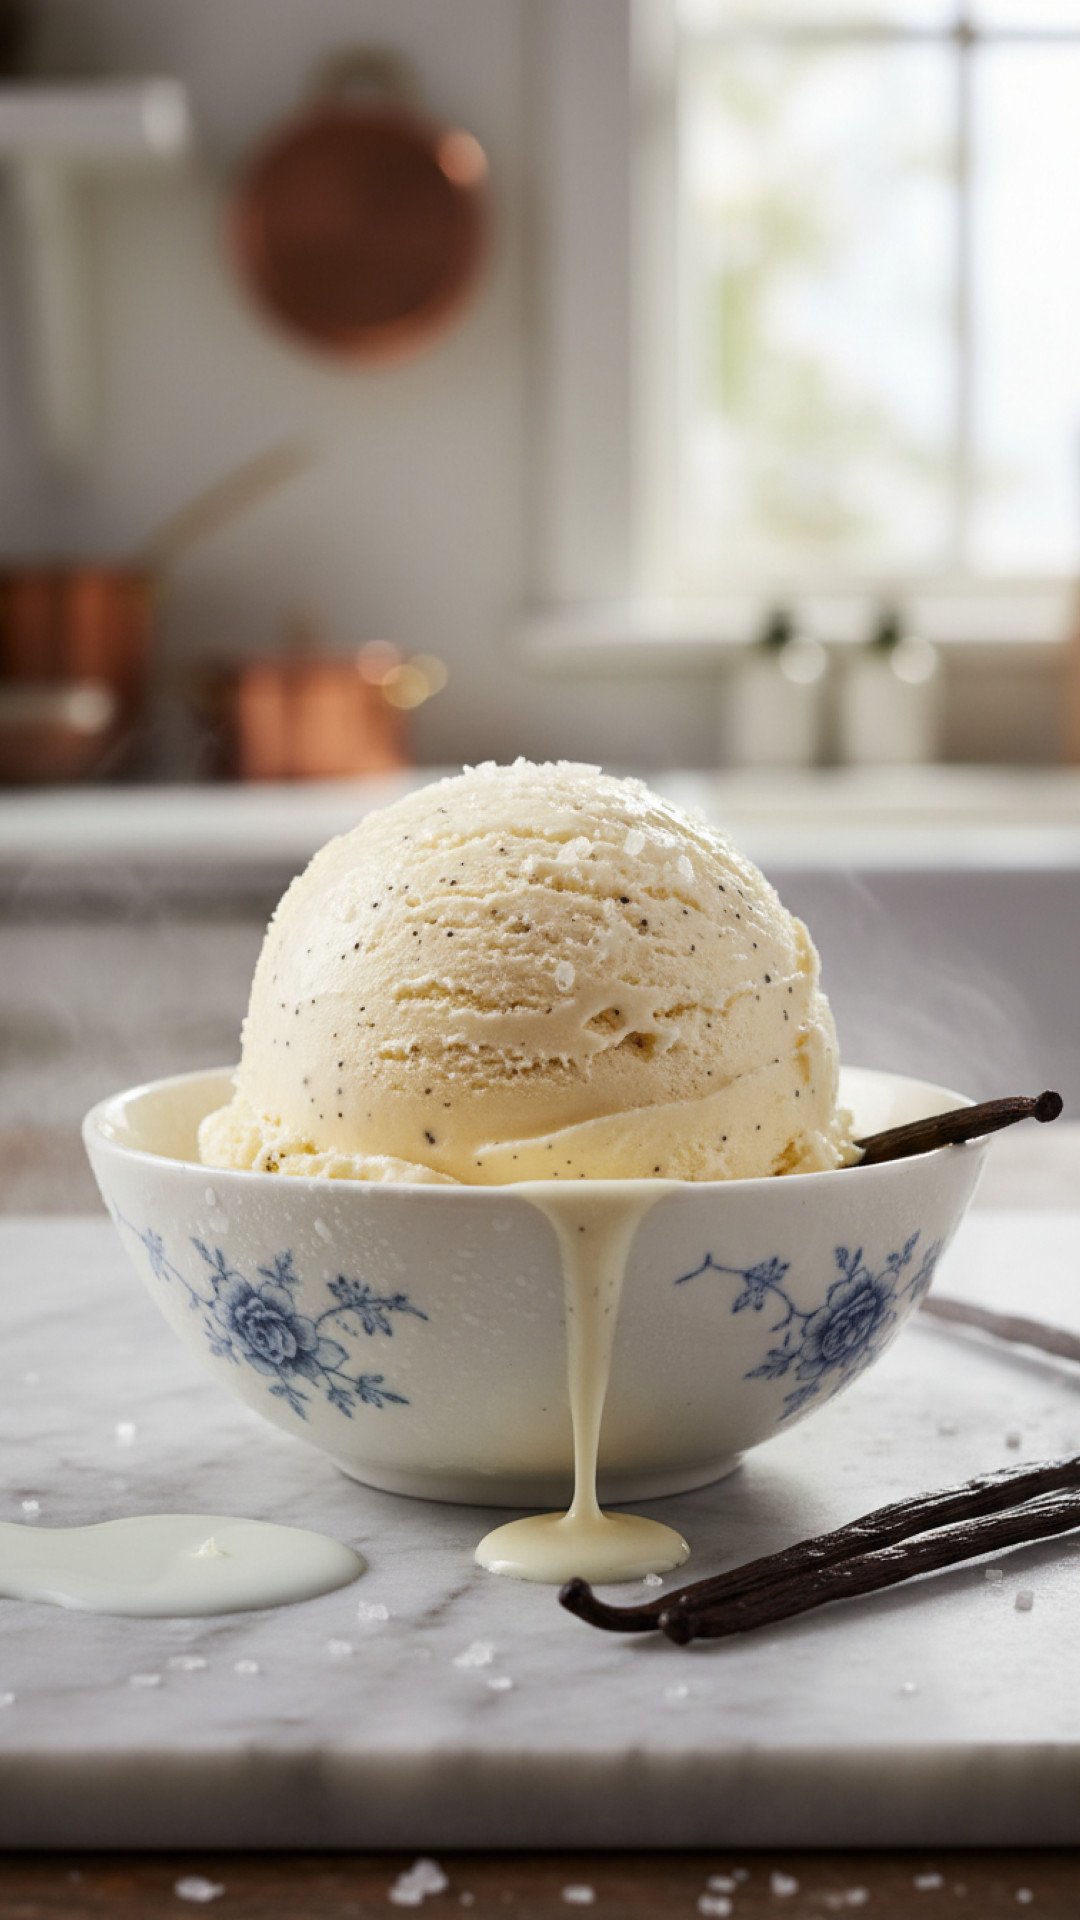
While good quality vanilla extract can certainly be used, opting for a real vanilla bean elevates this recipe to another level. The tiny specks of vanilla caviar infuse the custard with a profound, complex flavor that extract simply can’t replicate. If using a vanilla bean, split it lengthwise and scrape out the seeds to simmer with the milk and cream. If you must use extract, use 2-3 teaspoons of high-quality pure vanilla extract, adding it after the custard has cooled.
Full-Fat Dairy is Your Friend
For truly decadent and creamy results, resist the urge to substitute lower-fat dairy products. Heavy cream (also known as whipping cream) and whole milk are essential here. The high-fat content contributes significantly to the ice cream’s smooth texture and prevents it from becoming icy. When searching for the best ice cream recipes for ice cream maker, always prioritize full-fat dairy for that luxurious mouthfeel.
Egg Yolks for Custard Base
Egg yolks are the secret to a rich, French-style custard base. They act as an emulsifier, binding water and fat together, which results in a smoother, less icy ice cream. They also add richness and a beautiful golden hue. Tempering the egg yolks carefully is crucial to avoid scrambling them; this involves gradually whisking a small amount of hot liquid into the yolks before adding them back to the main mixture. This technique is a hallmark of truly amazing ice cream recipes for ice cream maker.
Step-by-Step Guide with Pro Tips
Making the Custard Base (The Key to Greatness!)
Step 1: In a medium saucepan, combine the heavy cream, whole milk, granulated sugar (reserving 1/4 cup), and the scraped vanilla bean seeds and pod. Heat over medium heat, stirring occasionally, until small bubbles form around the edges and the mixture is hot but not boiling. Remove from heat, cover, and let it steep for at least 30 minutes (or longer for more intense vanilla flavor). This steeping process is crucial for infusing flavor into your ice cream recipes for ice cream maker.
Step 2: While the cream mixture is steeping, whisk the egg yolks with the reserved 1/4 cup of sugar in a separate medium bowl until pale yellow and slightly thickened. This aeration helps create a lighter, more ethereal base.
Step 3: After steeping, remove the vanilla bean pod from the cream mixture. Return the cream mixture to medium-low heat. Slowly ladle about 1/2 cup of the hot cream mixture into the egg yolk mixture, whisking constantly to temper the yolks. This prevents the eggs from scrambling. Repeat with another 1/2 cup of hot cream.
Step 4: Pour the tempered egg yolk mixture back into the saucepan with the remaining hot cream. Cook over medium-low heat, stirring constantly with a wooden spoon or heatproof spatula, until the mixture thickens enough to coat the back of the spoon (it should reach about 175-180°F or 80-82°C). Do NOT boil. This is the cornerstone of many classic ice cream recipes for ice cream maker.
Cooling and Chilling
Step 5: Immediately strain the custard through a fine-mesh sieve into a clean bowl to remove any potential bits of cooked egg or vanilla pod. This step ensures a silky-smooth texture, which is vital for the best ice cream recipes for ice cream maker.
Step 6: Place the bowl of strained custard over an ice bath (a larger bowl filled with ice and a little water) and stir occasionally until it cools down completely, about 20-30 minutes. This rapid cooling prevents bacterial growth and stops the cooking process.
Step 7: Once cooled, cover the bowl tightly with plastic wrap, pressing the wrap directly onto the surface of the custard to prevent a skin from forming. Refrigerate for at least 4 hours, or preferably overnight, until thoroughly chilled. A well-chilled base is paramount for successful churning in all ice cream recipes for ice cream maker.
Churning and Freezing
Step 8: Pour the chilled custard into your ice cream maker’s frozen bowl, following the manufacturer’s instructions. Churn for 20-30 minutes, or until the ice cream has thickened to the consistency of soft-serve. The churning time will vary based on your machine and ambient temperature. This is where the magic of ice cream recipes for ice cream maker truly comes alive!
Step 9: Transfer the soft ice cream to an airtight container. For best results, use a shallow, wide container that allows for even freezing. I often use Basics Glass Food Storage containers for this, as they store well and are easy to clean. Press a piece of parchment paper or plastic wrap directly onto the surface of the ice cream to prevent ice crystals from forming. Freeze for at least 4-6 hours, or overnight, until firm.
Variations & Serving Suggestions
Flavorful Twists
- Chocolate Chip: Fold in 1 cup of mini chocolate chips or chopped dark chocolate during the last 5 minutes of churning.
- Strawberry Swirl: Puree 1 cup of fresh strawberries with 2 tablespoons of sugar. Swirl into the soft ice cream as you transfer it to the freezer container.
- Coffee Infusion: Add 2 tablespoons of instant espresso powder to the cream mixture in Step 1 and dissolve before steeping.
- Mint Chocolate Chip: Add 1 teaspoon of peppermint extract and a few drops of green food coloring (optional) to the cooled custard before churning. Fold in chocolate chips during the last few minutes.
- Cookie Dough: Mix in chunks of homemade or store-bought edible cookie dough during the last few minutes of churning.
These variations prove that ice cream recipes for ice cream maker are incredibly adaptable!
Serving Suggestions
- Classic Sundae: Top with hot fudge, whipped cream, sprinkles, and a cherry.
- Affogato: Place a scoop of vanilla ice cream in a mug and pour a shot of hot espresso over it.
- Ice Cream Sandwiches: Sandwich a scoop between two homemade Ultimate Fudgy Brownies or warm cookies.
- Fruit Compote: Serve with a warm berry compote for a delightful contrast in temperature and texture.
- Pie A La Mode: A perfect accompaniment to any warm pie, like apple or cherry. Consider pairing it with a slice of The Ultimate No-Bake Chocolate Icebox Cake for an extra decadent dessert experience.
Nutrition Information
| Nutrient | Amount Per Serving (1/2 cup) |
|---|---|
| Calories | 250 kcal |
| Carbohydrate Content | 25g |
| Cholesterol Content | 80mg |
| Fat Content | 16g |
| Fiber Content | 0g |
| Protein Content | 4g |
| Saturated Fat Content | 10g |
| Serving Size | 0.5 cup |
| Sodium Content | 50mg |
| Sugar Content | 22g |
| Trans Fat Content | 0.5g |
| Unsaturated Fat Content | 5g |
Conclusion
Making your own ice cream with an ice cream maker is a journey of culinary delight that brings immense satisfaction and incredible flavor. This vanilla bean ice cream recipe is a testament to the fact that the best desserts are often made with simple, high-quality ingredients and a little patience. Whether you stick to the classic vanilla or venture into exciting variations, these ice cream recipes for ice cream maker will undoubtedly become a staple in your kitchen. So, dust off that ice cream maker, gather your ingredients, and get ready to churn out spoonfuls of happiness. Enjoy the process, savor the flavor, and share the joy of homemade ice cream with those you love. Happy churning!
FAQs
What is the secret to making creamy, not icy, homemade ice cream?
The secret to creamy, non-icy ice cream lies in several factors: using full-fat dairy (heavy cream and whole milk), incorporating egg yolks to create a rich custard base (which acts as an emulsifier), thoroughly chilling the base before churning, and ensuring your ice cream maker bowl is completely frozen. These elements help reduce ice crystal formation, resulting in a smoother texture, essential for top-tier ice cream recipes for ice cream maker.
Can I make this ice cream without an ice cream maker?
While this recipe is specifically designed for ice cream makers for optimal results, you can try a no-churn method. After chilling the custard, pour it into a freezer-safe container. Freeze for 30-45 minutes, then remove and whisk vigorously or beat with an electric mixer to break up ice crystals. Repeat this process every 30-45 minutes for about 3-4 hours until it reaches a scoopable consistency. However, an ice cream maker will yield a significantly smoother texture, which is why we focus on ice cream recipes for ice cream maker.
How long does homemade ice cream last in the freezer?
Homemade ice cream is best enjoyed within 1-2 weeks. After that, its texture and flavor can start to degrade, and ice crystals may form. Always store it in an airtight container with plastic wrap pressed directly onto the surface to minimize air exposure and prevent freezer burn, which is key for preserving any of your favorite ice cream recipes for ice cream maker.
What are some common mistakes to avoid when making ice cream?
Common mistakes include not chilling the base sufficiently before churning (leads to longer churning times and icier ice cream), not tempering the egg yolks correctly (can result in scrambled eggs in your custard), using low-fat dairy (reduces creaminess), and not covering the ice cream properly during freezing (causes ice crystals). Following these tips will ensure success with all ice cream recipes for ice cream maker.
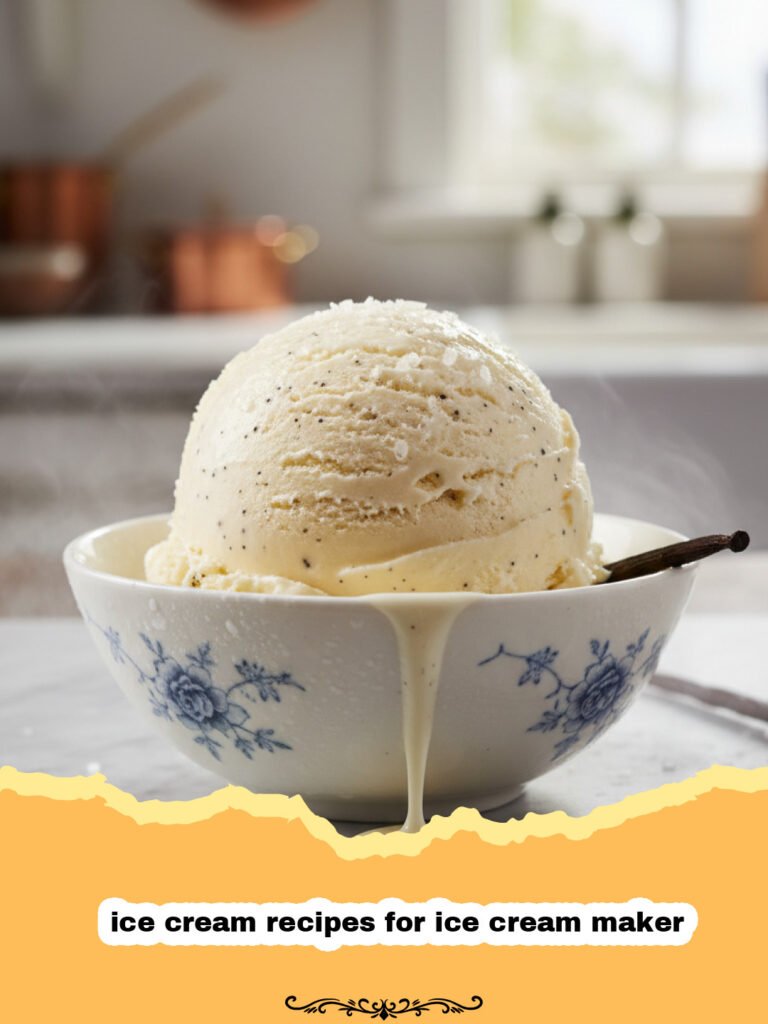
Homemade Vanilla Bean Ice Cream (for Ice Cream Maker)
Indulge in the creamy, rich flavor of homemade vanilla bean ice cream made effortlessly with your ice cream maker. This classic recipe yields a velvety texture and intense vanilla flavor, perfect on its own or as a base for endless variations. It’s one of the quintessential ice cream recipes for ice cream maker owners.
- Total Time: 5 hours 40 minutes (includes chilling time)
- Yield: 1 quart (8 servings) 1x
Ingredients
2 cups heavy cream
1 cup whole milk
3/4 cup granulated sugar, divided
1 vanilla bean, split and scraped (or 2–3 tsp pure vanilla extract, added after cooling)
5 large egg yolks
Pinch of salt
Instructions
Step 1: In a medium saucepan, combine the heavy cream, whole milk, 1/2 cup of granulated sugar, and the scraped vanilla bean seeds and pod. Heat over medium heat, stirring occasionally, until small bubbles form around the edges and the mixture is hot but not boiling. Remove from heat, cover, and let it steep for at least 30 minutes (or longer for more intense vanilla flavor).
Step 2: While the cream mixture is steeping, whisk the egg yolks with the remaining 1/4 cup of sugar and a pinch of salt in a separate medium bowl until pale yellow and slightly thickened.
Step 3: After steeping, remove the vanilla bean pod from the cream mixture. Return the cream mixture to medium-low heat. Slowly ladle about 1/2 cup of the hot cream mixture into the egg yolk mixture, whisking constantly to temper the yolks. Repeat with another 1/2 cup of hot cream.
Step 4: Pour the tempered egg yolk mixture back into the saucepan with the remaining hot cream. Cook over medium-low heat, stirring constantly with a wooden spoon or heatproof spatula, until the mixture thickens enough to coat the back of the spoon (it should reach about 175-180°F or 80-82°C). Do NOT boil.
Step 5: Immediately strain the custard through a fine-mesh sieve into a clean bowl to remove any potential bits of cooked egg or vanilla pod.
Step 6: Place the bowl of strained custard over an ice bath (a larger bowl filled with ice and a little water) and stir occasionally until it cools down completely, about 20-30 minutes.
Step 7: Once cooled, cover the bowl tightly with plastic wrap, pressing the wrap directly onto the surface of the custard. Refrigerate for at least 4 hours, or preferably overnight, until thoroughly chilled.
Step 8: Pour the chilled custard into your ice cream maker’s frozen bowl, following the manufacturer’s instructions. Churn for 20-30 minutes, or until the ice cream has thickened to the consistency of soft-serve.
Step 9: Transfer the soft ice cream to an airtight freezer-safe container. Press a piece of parchment paper or plastic wrap directly onto the surface of the ice cream to prevent ice crystals from forming. Freeze for at least 4-6 hours, or overnight, until firm.
Notes
Ensure your ice cream maker’s bowl is frozen solid for at least 24 hours before churning. For a deeper vanilla flavor, you can steep the vanilla bean in the cream mixture overnight in the refrigerator before proceeding with step 2. Remember to press plastic wrap directly onto the surface of the custard during chilling and the finished ice cream during freezing to prevent ice crystal formation.
- Prep Time: 30 minutes
- Cook Time: 10 minutes
- Category: How To
- Cuisine: American
Nutrition
- Serving Size: 0.5 cup
- Calories: 250 kcal
- Sugar: 22g
- Sodium: 50mg
- Fat: 16g
- Saturated Fat: 10g
- Unsaturated Fat: 5g
- Trans Fat: 0.5g
- Carbohydrates: 25g
- Fiber: 0g
- Protein: 4g
- Cholesterol: 80mg
Keywords: ice cream recipes for ice cream maker, homemade ice cream, vanilla ice cream, ice cream machine recipes, easy ice cream recipe, custard ice cream, dessert, summer treat, vanilla bean