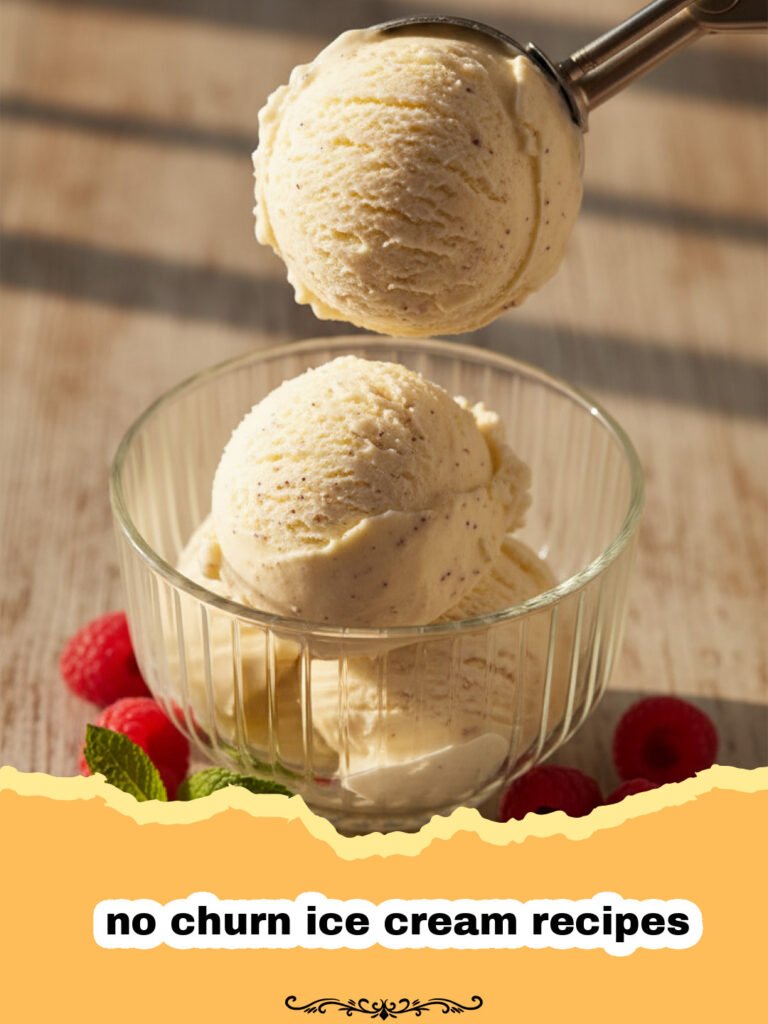
Ingredients
2 cups (480ml) cold heavy cream (at least 36% milk fat)
1 (14-ounce/397g) can sweetened condensed milk
1 teaspoon pure vanilla extract
Optional: pinch of salt
Instructions
Step 1: Chill your mixing bowl and whisk attachment (if using a stand mixer) or beaters (if using a hand mixer) in the freezer for 10-15 minutes. This helps the heavy cream whip up faster and achieve maximum volume.
Step 2: In the chilled bowl, pour the very cold heavy cream. Begin whipping on medium-low speed, gradually increasing to medium-high. Whip until stiff peaks form. This means when you lift the whisk, the peaks hold their shape firmly. Be careful not to over-whip, or it will become grainy.
Step 3: In a separate large bowl, combine the sweetened condensed milk and vanilla extract (and any other liquid flavorings like almond extract or a dash of coffee liqueur). Stir until well combined. This is where your base flavor begins.
Step 4: Gently fold about one-third of the whipped cream into the sweetened condensed milk mixture. This lightens the condensed milk base, making it easier to incorporate the rest of the cream without deflating it.
Step 5: Add the remaining whipped cream to the sweetened condensed milk mixture. Using a spatula, gently fold until just combined. Over-mixing will deflate the cream, leading to a less airy and icy ice cream. The goal is to retain as much air as possible.
Step 6: At this stage, fold in any desired add-ins like chocolate chips, chopped nuts, fruit purées, cookie crumbles, or swirls of caramel/fudge. Again, fold gently to distribute them evenly without overworking the mixture.
Step 7: Transfer the ice cream mixture into a freezer-safe container. Cover tightly with plastic wrap, pressing the wrap directly onto the surface of the ice cream to prevent ice crystals from forming. Then, secure the lid.
Step 8: Freeze for at least 6 hours, or preferably overnight, until firm.
Step 9: When ready to serve, let the ice cream sit at room temperature for 5-10 minutes to soften slightly for easier scooping. Enjoy your homemade, machine-free treat!
Notes
For best results, ensure your heavy cream is very cold before whipping. Do not overmix the whipped cream into the condensed milk mixture to maintain aeration and creaminess. Experiment with different mix-ins and flavorings after Step 6.
- Prep Time: 15 minutes
- Cook Time: 0 minutes
- Category: How To
- Cuisine: American
Nutrition
- Serving Size: 1/2 cup
- Calories: 310 kcal
- Sugar: 26g
- Sodium: 60mg
- Fat: 22g
- Saturated Fat: 14g
- Unsaturated Fat: 7g
- Trans Fat: 1g
- Carbohydrates: 28g
- Fiber: 0g
- Protein: 4g
- Cholesterol: 85mg
Keywords: no churn ice cream, homemade ice cream, easy ice cream, vanilla ice cream, dessert without machine, simple dessert, ice cream recipe, no churn vanilla
