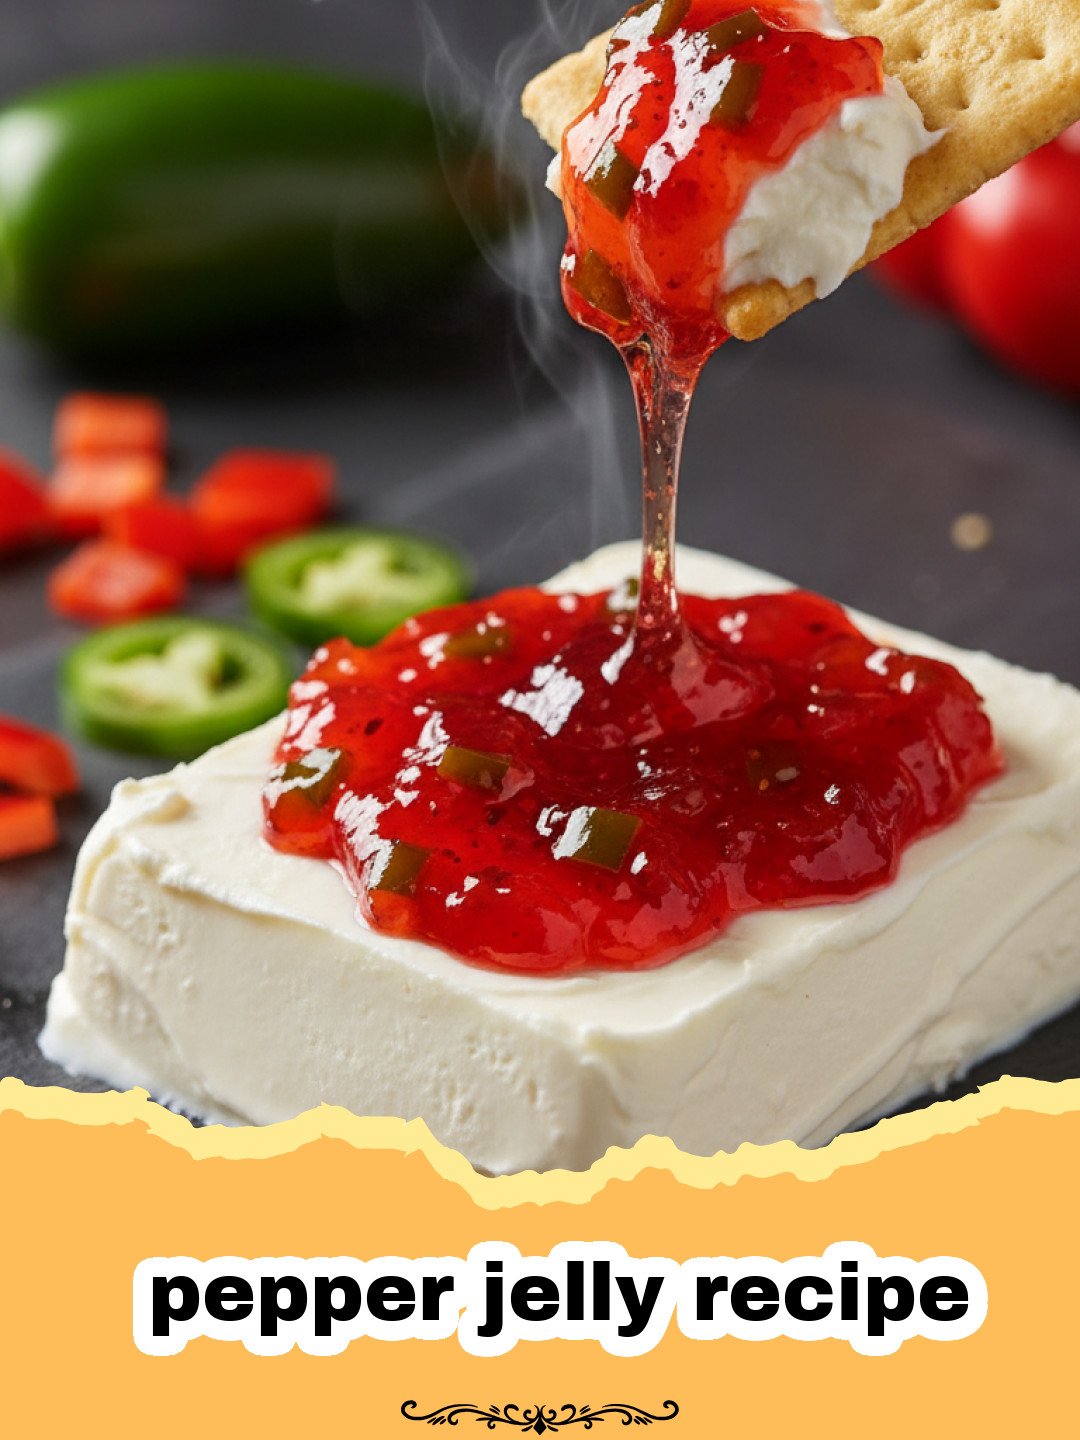
There’s something inherently magical about opening a jar of homemade preserves, and for me, that magic often comes in the form of a vibrant, shimmering pepper jelly. My journey with a proper pepper jelly recipe began years ago, during a visit to a quaint country fair. I remember walking past rows of colorful jellies, jams, and pickles, each promising a burst of flavor. One vendor had a small sample of pepper jelly with cream cheese and crackers. The first bite was an explosion: sweet, then a gentle warmth, followed by a savory tang. It was unlike anything I’ve ever tasted, and I was instantly hooked. I bought a jar, devoured it within days, and then, armed with a newfound culinary obsession, embarked on a quest to master my own homemade pepper jelly recipe. It took a few attempts; some jars were too runny, others too spicy, but eventually, I found the perfect balance. Now, it’s a staple in my pantry, a go-to for impromptu appetizers, a secret ingredient in glazes, and a cherished gift for friends and family. This pepper jelly recipe isn’t just about making jelly; it’s about capturing that perfect blend of heat and sweetness, and the joy of creating something truly special with your own hands. Get ready to transform simple ingredients into a dazzling culinary star with this incredible pepper jelly recipe!
Why This Pepper Jelly Recipe is a Must-Try
- Unbeatable Flavor Profile: This pepper jelly recipe perfectly balances sweet, spicy, and tangy notes, creating a complex flavor that’s utterly addictive. It’s not just heat; it’s a symphony of tastes!
- Incredibly Versatile: From a simple cracker topping to a sophisticated glaze for meats, this pepper jelly recipe offers endless possibilities. It’s a true workhorse in the kitchen.
- Surprisingly Easy to Make: Don’t let the canning process intimidate you. This pepper jelly recipe is straightforward, even for beginner preservers, and the results are incredibly rewarding.
- Perfect for Gifting: Homemade pepper jelly makes for a thoughtful and delicious gift during the holidays or for any occasion. Jar it up, add a ribbon, and you have a gourmet present!
Key Ingredient Notes for Your Pepper Jelly Recipe
The success of your pepper jelly recipe hinges on a few key players. Understanding their role will ensure your jelly turns out perfectly every time.
Bell Peppers (Red & Green)
While you can use any color, a mix of red and green bell peppers provides both a vibrant color and a balanced flavor. Red bell peppers offer a sweeter, fruitier note, while green bell peppers provide a slightly more herbaceous and traditional ‘pepper’ taste. Ensure they are fresh and firm for the best results in this pepper jelly recipe. They form the bulk of the flavor and texture, so don’t skimp on quality.
Jalapeños (And Your Preferred Heat)
Jalapeños are where the ‘pepper’ in pepper jelly truly shines. For a milder pepper jelly recipe, remove the seeds and white membranes, as these contain most of the capsaicin (the heat-inducing compound). For a spicier kick, leave some or all of the seeds in. If you’re feeling adventurous, you can even substitute a few jalapeños for a hotter pepper like a serrano or habanero, but proceed with caution! Always wear gloves when handling hot peppers to avoid skin irritation.
Pectin (The Secret to a Perfect Set)
Pectin is a natural gelling agent found in fruits. In this pepper jelly recipe, we use commercial liquid pectin to ensure a reliable set. Without it, your jelly might end up more like a syrup. Follow the instructions on the pectin package carefully, as different brands or types (liquid vs. powdered) can have slightly different usage instructions. Adding it at the right time and ensuring a rolling boil are crucial steps for a successful pepper jelly recipe.
Step-by-Step Guide with Pro Tips for Your Pepper Jelly Recipe
Preparation is Key
Before you even start cooking, proper preparation is vital for this pepper jelly recipe. Sterilize your canning jars and lids by washing them in hot soapy water, rinsing well, and then placing the jars in a boiling water canner. Cover with water and boil for 10 minutes. Keep them hot until ready to fill. Place lids in a small saucepan with simmering (not boiling) water. This ensures your homemade pepper jelly recipe is safe for storage.
Step 1: Prepare Your Peppers
Wash and finely chop your bell peppers and jalapeños. A food processor makes this task quick and easy, but be careful not to over-process them into a paste. You want small, uniform pieces. Remember, for less heat in your pepper jelly recipe, remove the seeds and membranes from the jalapeños.
Step 2: Combine and Cook
In a large, heavy-bottomed pot or Dutch oven, combine the chopped peppers, apple cider vinegar, and sugar. Stir well to combine. Bring the mixture to a rolling boil over high heat, stirring constantly to prevent scorching. Maintain a full, rolling boil for exactly 1 minute. This initial boil is important for the sugar to dissolve and the flavors to meld.
Step 3: Add the Pectin
Remove the pot from the heat. Immediately add the liquid pectin, stirring vigorously for 1 minute until fully incorporated. Return the pot to high heat and bring it back to a rolling boil. Boil hard for another 1 minute, stirring constantly. This step is critical for activating the pectin and ensuring your pepper jelly recipe sets properly.
Step 4: Test for a Set
To check if your pepper jelly recipe will set, place a small plate in the freezer before you start cooking. After the final boil, spoon a small amount of the hot jelly onto the cold plate. Place it back in the freezer for 1-2 minutes. If the jelly wrinkles when you push it with your finger, it’s ready! If not, boil for another minute and retest. This ensures a perfect consistency for your pepper jelly recipe.
Step 5: Fill Jars and Process
Carefully ladle the hot pepper jelly into your sterilized hot jars, leaving about 1/4 inch headspace. Wipe the rims clean with a damp cloth, center the lids, and screw on the bands until fingertip tight. Place the filled jars into the boiling water canner, ensuring they are covered by at least 1 inch of water. Bring to a rolling boil and process for 10 minutes (adjust for altitude if necessary). This crucial step for any canning-based pepper jelly recipe ensures long-term stability and safety.
Step 6: Cool and Store
Turn off the heat, remove the canner lid, and let the jars sit in the hot water for 5 minutes. Carefully remove the jars from the canner and place them on a clean towel on your countertop, ensuring they are not touching. Let them cool completely for 12-24 hours without disturbing them. You should hear the lids ‘pop’ as they seal. Once cooled, check the seals by pressing on the center of the lid – if it doesn’t flex, it’s sealed. Store your finished pepper jelly recipe jars in a cool, dark place. For storing leftovers after opening, consider using Basics Glass Food Storage containers.
Variations & Serving Suggestions for Your Pepper Jelly Recipe
Creative Variations
- Fruit & Pepper Jelly: Elevate your pepper jelly recipe by adding a touch of fruit! Try blending in 1/2 cup of finely minced peaches, cranberries, or even strawberries (like in this strawberry cupcake recipe for another sweet treat!) during the initial cooking stage. This adds another layer of sweetness and complexity.
- Herb Infusion: For an aromatic twist, add a few sprigs of fresh rosemary or thyme during the initial boil. Remove them before jarring. This gives your pepper jelly recipe an earthy undertone.
- Spicier Kick: For those who crave more heat, substitute some of the jalapeños with hotter peppers like habaneros or Scotch bonnets. Remember to wear gloves!
- Smoky Flavor: A dash of liquid smoke (1/4 to 1/2 teaspoon) can add a wonderful smoky depth to your pepper jelly recipe.
Delicious Serving Suggestions
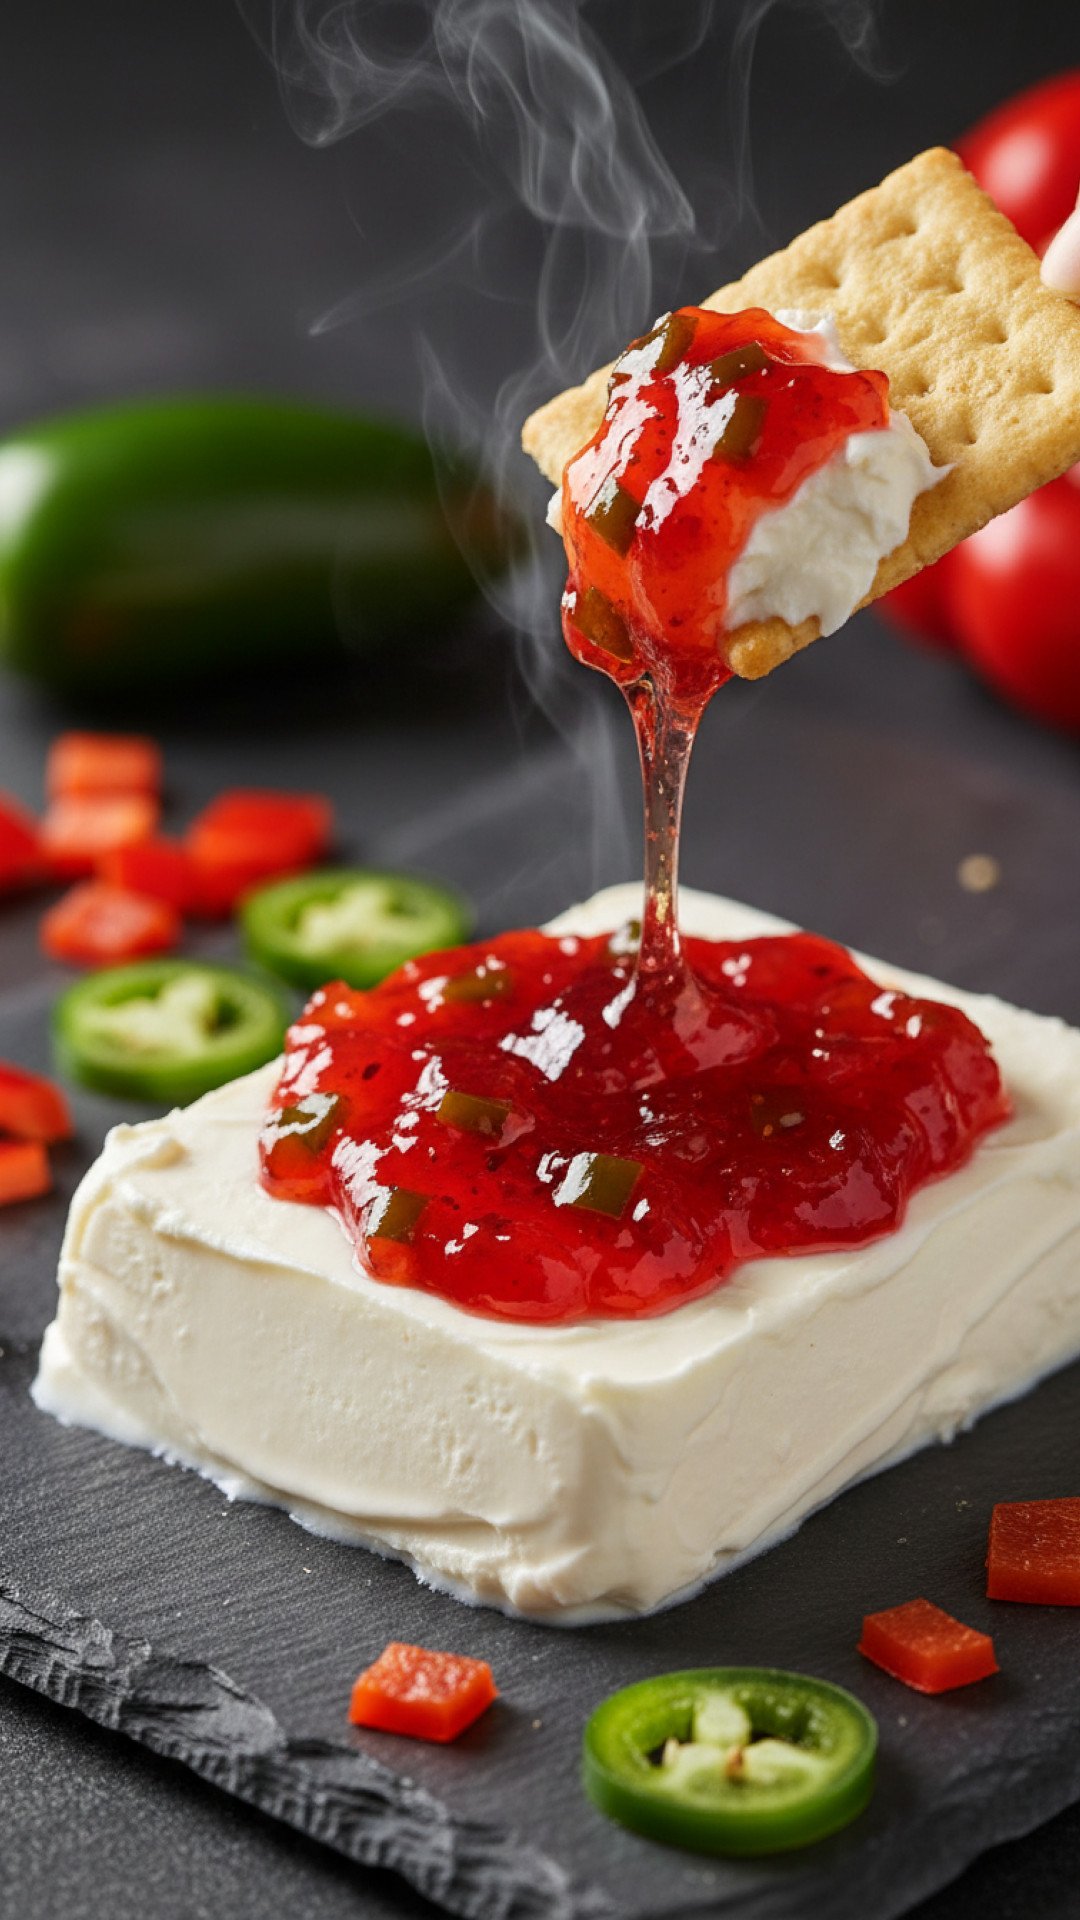
- Classic Appetizer: The most popular way to enjoy this pepper jelly recipe is spooned over a block of cream cheese, served with crackers or crusty bread. It’s a party favorite!
- Glaze for Meats: Brush it over roasted chicken, pork loin, or salmon during the last 15-20 minutes of cooking for a beautiful, sweet-and-spicy glaze. Your weeknight dinners just got an upgrade!
- Sandwich Spread: Use it as a zesty condiment in grilled cheese sandwiches, turkey clubs, or even a sophisticated ham and brie sandwich.
- Cheese Board Star: A jar of homemade pepper jelly is a must-have addition to any cheese board, pairing beautifully with sharp cheddars, creamy bries, and tangy goat cheeses.
- Salad Dressing Base: Whisk a spoonful of pepper jelly with olive oil, a splash of vinegar, and a pinch of salt and pepper for a unique sweet-and-spicy vinaigrette.
- Breakfast Treat: Don’t limit it to savory! Spread a thin layer on toast, bagels, or even alongside eggs for a surprising morning kick.
- Beyond the Jar: Think outside the box! You could even use it to make a dipping sauce for homemade dill pickles or as a base for a sweet chili sauce.
Nutrition Information
| Nutrient | Amount Per Serving |
|---|---|
| Serving Size | 1 tbsp (15g) |
| Calories | 55 |
| Total Fat | 0g |
| Saturated Fat | 0g |
| Trans Fat | 0g |
| Cholesterol | 0mg |
| Sodium | 5mg |
| Total Carbohydrates | 14g |
| Dietary Fiber | 0g |
| Sugars | 14g |
| Protein | 0g |
*Nutritional information is an estimate based on ingredients and cooking methods. Actual values may vary.
Conclusion
And there you have it – your very own sweet and spicy homemade pepper jelly recipe, ready to impress and delight! There’s immense satisfaction in transforming simple garden ingredients into something so vibrant, versatile, and utterly delicious. This isn’t just a condiment; it’s a jar full of homemade love, perfect for sharing, gifting, or simply enjoying yourself. So go ahead, whip up a batch (or two!) of this fantastic pepper jelly recipe, and taste the magic of homemade preserving. Happy cooking!
FAQs
How do I know if my pepper jelly recipe has set correctly?
The best way to check for a set is using the cold plate test. Place a small spoon of hot jelly onto a plate that has been chilled in the freezer for a few minutes. Return the plate to the freezer for 1-2 minutes. If the jelly wrinkles when you gently push it with your finger, it has reached the setting point. If it’s too runny, you may need to boil it for another minute and retest, or consider adding a bit more pectin according to package directions, though this is rarely needed if instructions are followed.
Can I adjust the spice level in this pepper jelly recipe?
Absolutely! The spice level in this pepper jelly recipe is primarily controlled by the jalapeu00f1o peppers. For a milder jelly, make sure to remove all the seeds and white membranes from the jalapeu00f1os, as these contain most of the capsaicin (the heat). For a spicier version, you can leave some or all of the seeds in, or even substitute some jalapeu00f1os with hotter peppers like serranos or a small amount of habanero, being mindful of the increased heat.
How long does homemade pepper jelly last?
When properly processed using the boiling water bath method and sealed correctly, homemade pepper jelly can last for up to 1 year in a cool, dark place. Once a jar is opened, it should be stored in the refrigerator and consumed within 3-4 weeks for the best quality and safety.
What are some creative ways to serve pepper jelly?
Beyond the classic cream cheese and crackers, pepper jelly is incredibly versatile! Use it as a glaze for roasted chicken, pork, or salmon; spread it in grilled cheese sandwiches; add it to a cheese board with various cheeses; whisk it into a vinaigrette for a sweet and spicy salad dressing; or even use it as a flavorful condiment for breakfast items like toast or bagels.

Sweet & Spicy Homemade Pepper Jelly
A classic pepper jelly recipe that perfectly balances the sweetness of bell peppers with the fiery kick of jalapeños, all set into a beautiful, shimmering jelly perfect for appetizers, glazes, and more. This versatile spread is easy to make and a fantastic addition to any pantry.
- Total Time: 50 minutes
- Yield: 6–7 (8 oz) jars 1x
Ingredients
2 large red bell peppers, stemmed, cored, and finely chopped
2 large green bell peppers, stemmed, cored, and finely chopped
4–6 jalapeño peppers, stemmed, finely chopped (seeds and membranes removed for less heat)
1 1/2 cups apple cider vinegar (5% acidity)
5 cups granulated sugar
1 pouch (6 oz) liquid fruit pectin
Instructions
Step 1: Sterilize your canning jars and lids. Wash jars in hot soapy water, rinse, and place in a boiling water canner. Cover with water and boil for 10 minutes. Keep hot until ready to fill. Place lids in a small saucepan with simmering water.
Step 2: In a large, heavy-bottomed pot or Dutch oven, combine the finely chopped bell peppers, jalapeños, apple cider vinegar, and granulated sugar. Stir well.
Step 3: Bring the mixture to a full, rolling boil over high heat, stirring constantly to prevent scorching. Boil hard for exactly 1 minute.
Step 4: Remove the pot from the heat. Immediately add the liquid fruit pectin, stirring vigorously for 1 minute until fully incorporated.
Step 5: Return the pot to high heat and bring it back to a full, rolling boil. Boil hard for another 1 minute, stirring constantly.
Step 6: Test for a set: Spoon a small amount of hot jelly onto a cold plate (previously chilled in the freezer). Return to the freezer for 1-2 minutes. If the jelly wrinkles when pushed with a finger, it’s ready. If not, boil for another minute and retest.
Step 7: Carefully ladle the hot pepper jelly into the sterilized hot jars, leaving 1/4 inch headspace. Wipe the jar rims clean with a damp cloth, center the lids, and screw on the bands until fingertip tight.
Step 8: Place the filled jars into the boiling water canner, ensuring they are covered by at least 1 inch of water. Bring to a rolling boil and process for 10 minutes (adjust for altitude if necessary).
Step 9: Turn off the heat, remove the canner lid, and let the jars sit in the hot water for 5 minutes. Carefully remove the jars and place them on a clean towel on your countertop to cool completely for 12-24 hours without disturbing them. Check seals by pressing on the lid; if it doesn’t flex, it’s sealed. Store in a cool, dark place.
Notes
Always wear gloves when handling jalapeños or other hot peppers to prevent skin irritation. Adjust the amount of jalapeños (or remove seeds) to control the spice level to your preference. Ensure your canning jars are properly sterilized for safe long-term storage.
- Prep Time: 30 minutes
- Cook Time: 20 minutes
- Category: Appetizers & Snacks
- Cuisine: American
Nutrition
- Serving Size: 1 tbsp (15g)
- Calories: 55
- Sugar: 14g
- Sodium: 5mg
- Fat: 0g
- Saturated Fat: 0g
- Unsaturated Fat: 0g
- Trans Fat: 0g
- Carbohydrates: 14g
- Fiber: 0g
- Protein: 0g
- Cholesterol: 0mg
Keywords: pepper jelly, pepper jelly recipe, homemade pepper jelly, sweet spicy jelly, jalapeño jelly, canning recipe, appetizer spread, condiment recipe, easy jelly recipe