
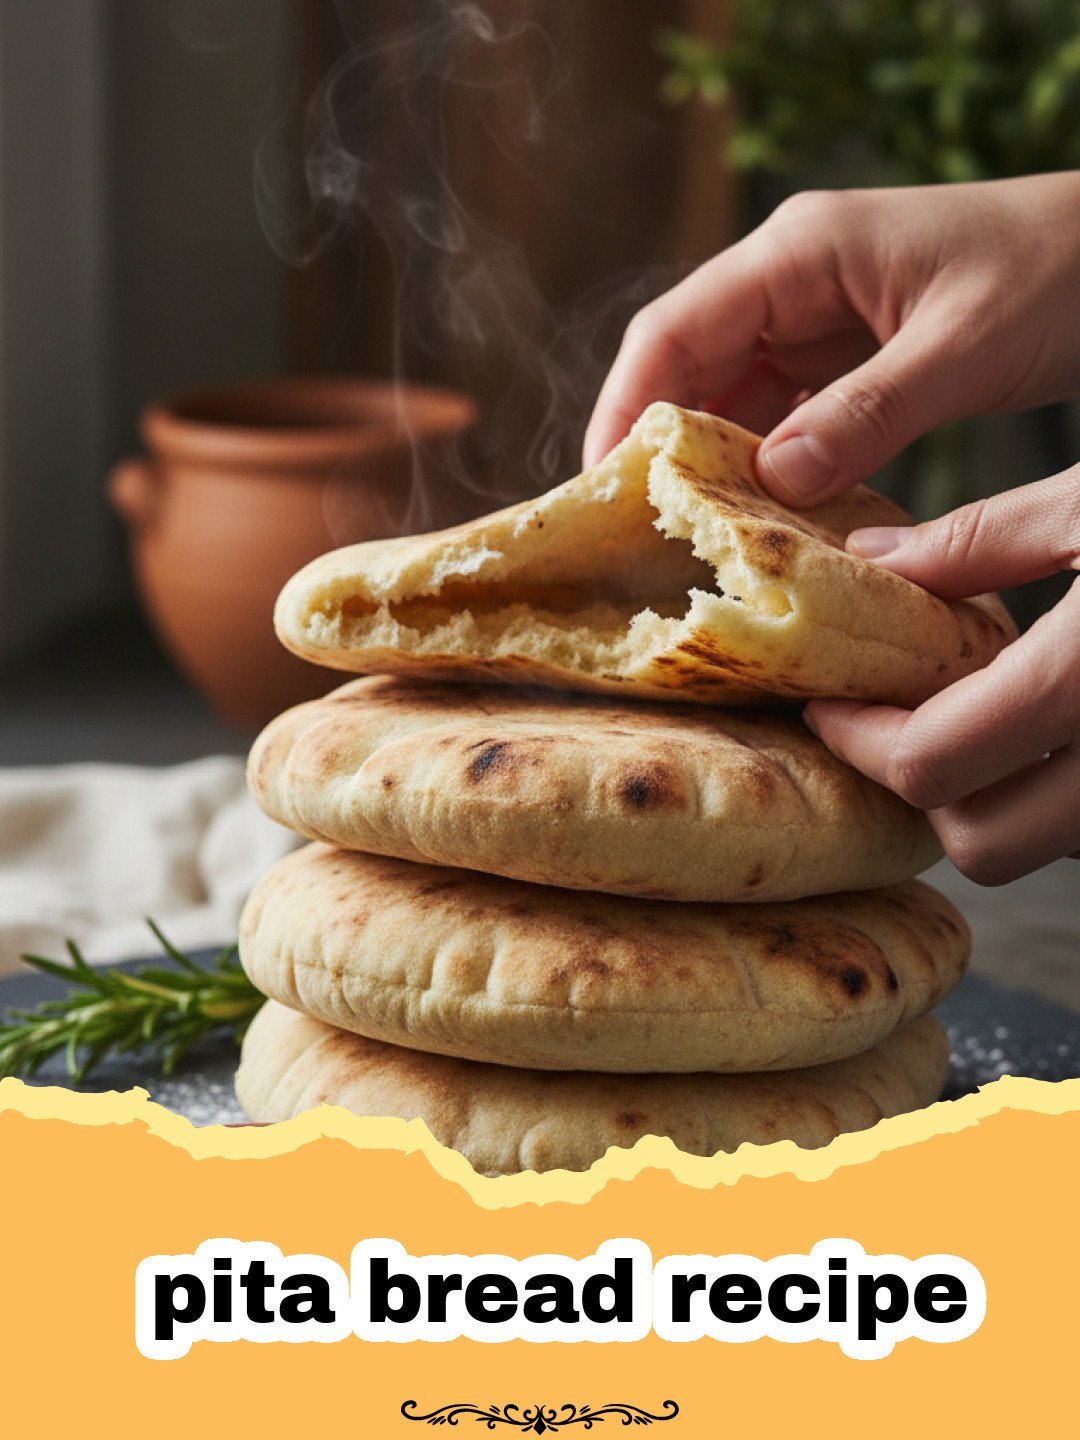
Learning to master a homemade pita bread recipe is like unlocking a secret level in the world of baking. I still remember the first time I stood in my tiny kitchen, peering through the oven window with bated breath, waiting for that magical moment when a flat disc of dough suddenly inflates into a golden balloon. It felt like pure kitchen sorcery. Before I discovered the joy of this pita bread recipe, I was used to the dry, cardboard-like versions found in grocery stores. But once you taste a warm, pillowy pita fresh from your own oven or skillet, there is simply no going back. The aroma of toasted wheat and yeast fills your home, promising a meal that is both comforting and authentic. Whether you are planning a Mediterranean feast or just want a better vessel for your midday sandwich, mastering this pita bread recipe will change your culinary life forever.
Why This Recipe is a Must-Try
- Unbeatable Freshness: Unlike store-bought versions that sit on shelves for days, this pita bread recipe produces bread that is soft, fragrant, and free of preservatives.
- The Perfect Pocket: Our method ensures a reliable steam-pocket every time, making it the ideal container for your favorite fillings.
- Simple Ingredients: You likely already have everything you need in your pantry—flour, water, yeast, sugar, and salt.
- Versatility: This dough can be baked in a high-heat oven or cooked on a stovetop skillet, giving you flexibility based on your kitchen setup.
Key Ingredient Notes
The success of any pita bread recipe depends heavily on the quality and state of your ingredients. First and foremost, let’s talk about yeast. For this pita bread recipe, I recommend using active dry yeast or instant yeast. If you use active dry yeast, make sure to bloom it in warm water with a pinch of sugar until it is frothy. This ensures your yeast is alive and ready to lift that dough. Another critical component is the flour. While all-purpose flour works beautifully for a soft texture, adding a bit of bread flour can provide extra structure and chew. When you are preparing your dough, using a high-quality container like the Basics Glass Food Storage set for the proofing stage allows you to see the dough as it doubles in size while keeping it perfectly hydrated. Finally, don’t skimp on the salt; it is the primary flavor enhancer that prevents your bread from tasting bland.
Step-by-Step Guide with Pro Tips
Creating the perfect pita bread recipe requires a balance of technique and patience. The process begins with mixing your dry ingredients and gradually adding warm water and olive oil. The water should be around 110°F; too hot and you’ll kill the yeast, too cold and it won’t activate properly. Once a shaggy mass forms, it is time to knead. Kneading is essential in this pita bread recipe because it develops the gluten network that traps steam, which is exactly what creates that iconic pocket. You want a dough that is smooth and slightly tacky but not sticking to your hands.
After the first rise, which should take about an hour in a warm spot, you will gently deflate the dough and divide it into equal portions. One of my favorite pro tips for a successful pita bread recipe is the second rest. After shaping your dough into small balls, let them rest for another 15-20 minutes. This relaxes the gluten, making it much easier to roll them into flat circles without the dough snapping back. When rolling, aim for a thickness of about 1/4 inch. If you roll them too thin, they might turn into crackers; too thick, and they won’t have enough internal steam pressure to puff up.
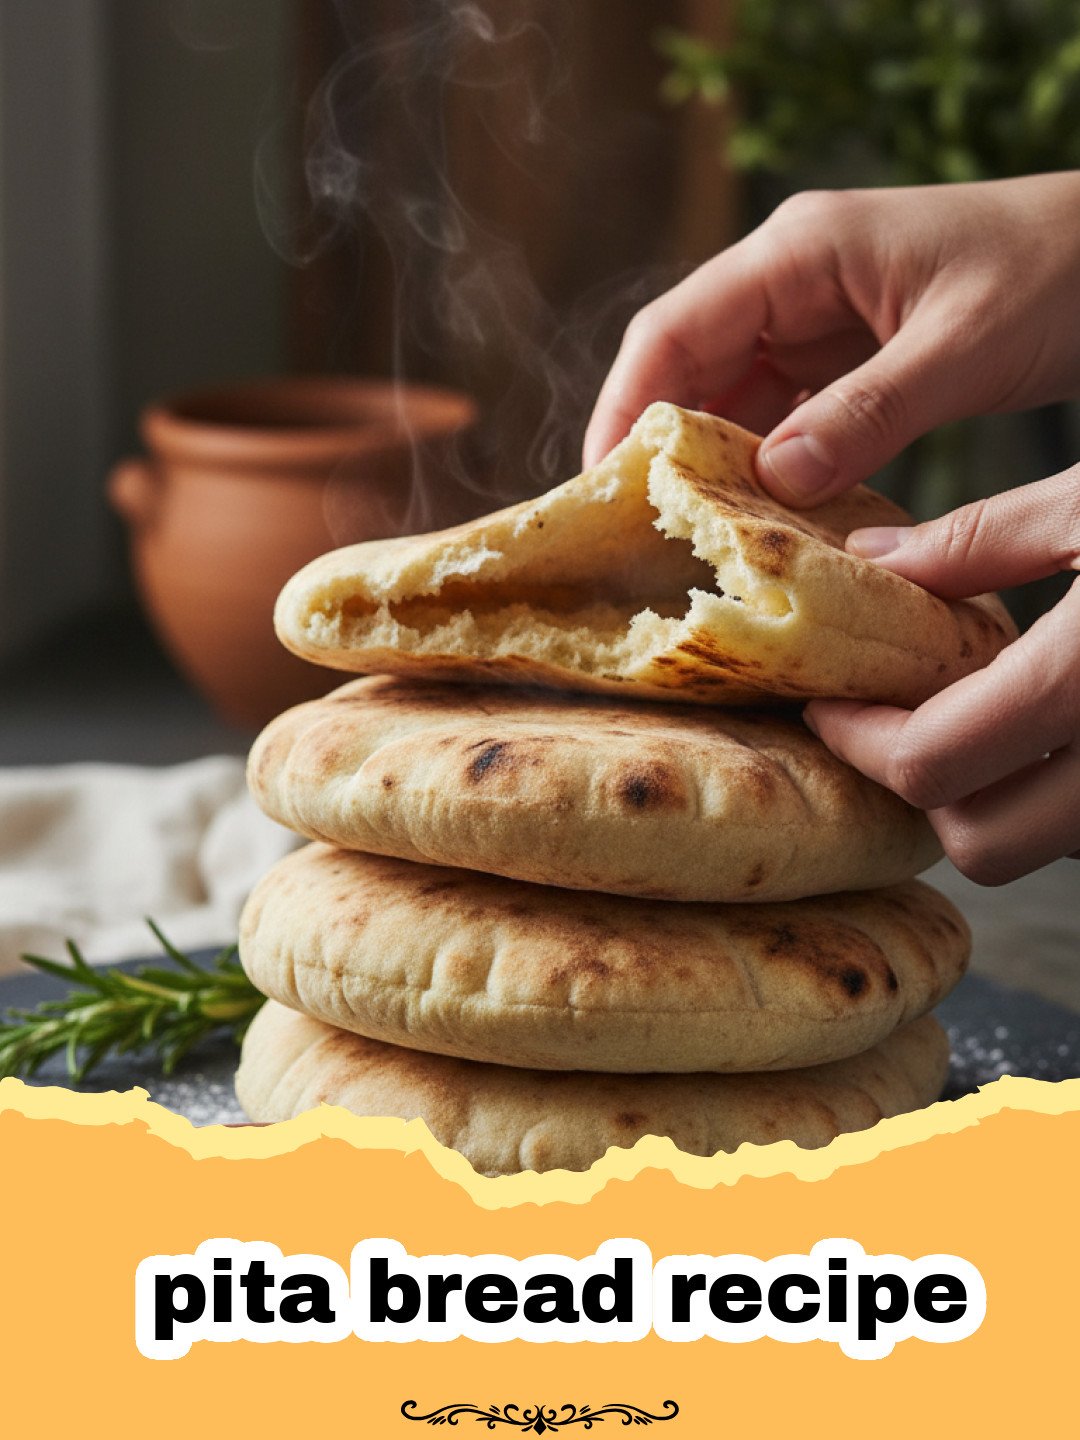
Now comes the heat. To get that signature puff in your pita bread recipe, you need intense, concentrated heat. If using an oven, a preheated baking stone or heavy-duty baking sheet is a must. If using a skillet, cast iron is your best friend. The dough needs that immediate thermal shock to turn the internal moisture into steam rapidly. This rapid expansion is what separates the top and bottom layers of the dough, creating the pocket. Keep a close eye on them; they only need a few minutes per side. Once they puff, remove them and immediately wrap them in a clean kitchen towel. This traps the remaining steam, keeping the pita bread recipe results soft and pliable rather than crispy.
Variations & Serving Suggestions
Once you have mastered the basic pita bread recipe, the variations are endless. You can incorporate whole wheat flour for a nuttier flavor and more fiber—just remember to increase the water slightly as whole wheat is more absorbent. Another popular twist is adding dried herbs like oregano or thyme directly into the dough. For a true Mediterranean experience, brush the finished bread with olive oil and sprinkle with za’atar spice. When it comes to serving, there is nothing better than pairing your fresh bread with a cool, creamy dip. I highly recommend serving these alongside a bowl of The Ultimate Authentic Tzatziki Sauce Recipe for a refreshing snack. If you are looking for something heartier, use these pitas to wrap up sliced steak from The Ultimate Seared Steak Salad with Balsamic Vinaigrette. The pockets are also perfect for falafel, hummus, or even as a base for mini breakfast pizzas with scrambled eggs and feta cheese.
Nutrition Information
Understanding the nutritional profile of your homemade baked goods is helpful for meal planning. Below is the estimated nutrition for one serving of our pita bread recipe.
| Nutrient | Amount per Serving |
|---|---|
| Calories | 165 kcal |
| Serving Size | 1 Pita |
| Carbohydrate Content | 32g |
| Protein Content | 5g |
| Fat Content | 2g |
| Saturated Fat Content | 0.3g |
| Fiber Content | 1.5g |
| Sugar Content | 1g |
| Sodium Content | 300mg |
| CholesterolContent | 0mg |
| TransFatContent | 0g |
| UnsaturatedFatContent | 1.5g |
Conclusion
Making this pita bread recipe at home is a rewarding experience that brings a touch of artisanal flair to your kitchen. From the initial kneading of the dough to the satisfying sight of the bread puffing in the oven, every step connects you more deeply to the food you eat. I hope this guide empowers you to ditch the store-bought bags and embrace the fluffy, warm perfection of homemade pitas. Don’t be discouraged if your first few don’t puff perfectly—they will still taste delicious, and with a little practice, you will be a pita pro in no time. Happy baking!
FAQs
Why did my pita bread not puff up?
The most common reason a pita bread recipe fails to puff is lack of heat. Your oven or skillet must be very hot (500u00b0F or medium-high stovetop). Also, ensure there are no holes or thin spots in the dough, as steam will escape rather than inflating the pocket.
Can I make this pita bread recipe in advance?
Yes! You can store the cooked pitas in an airtight container at room temperature for 2 days or freeze them for up to 3 months. To reheat, wrap them in foil and place in a 350u00b0F oven for a few minutes until soft.
Can I use whole wheat flour for this recipe?
Absolutely. You can replace half or all of the all-purpose flour with whole wheat flour. Note that whole wheat flour absorbs more liquid, so you may need to add an extra tablespoon or two of water to keep the dough soft.
Ultimate Fluffy Homemade Pita Bread
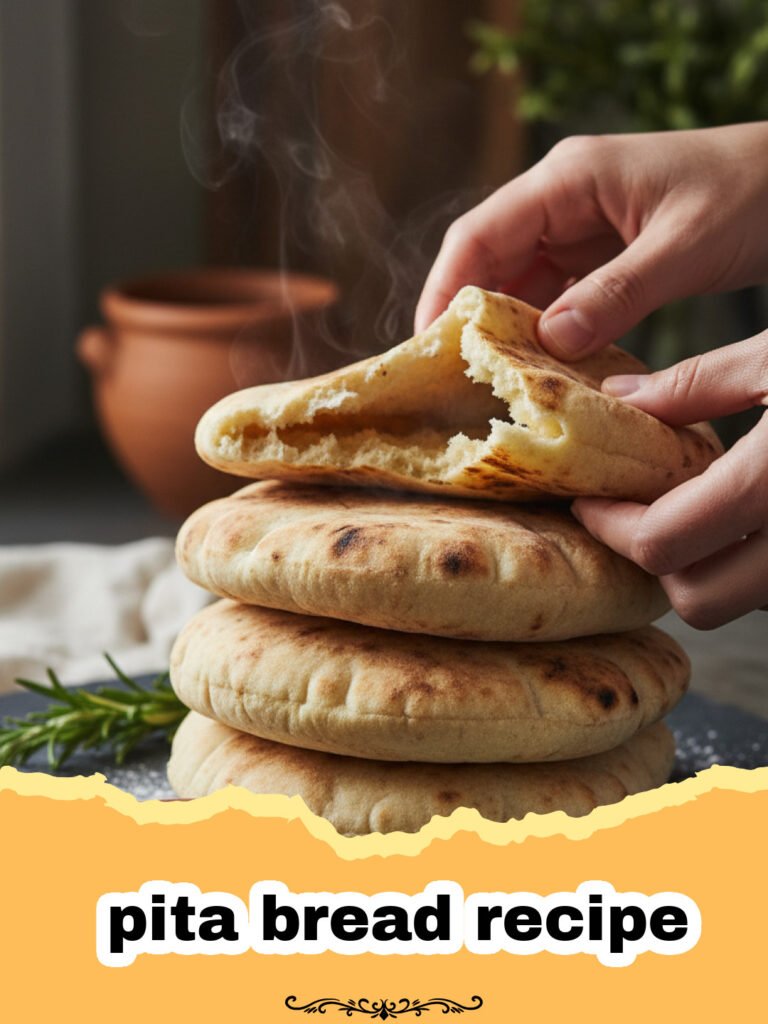
A foolproof pita bread recipe for soft, pillowy flatbreads with a perfect internal pocket every time.
- Total Time: 1 hour 45 minutes
- Yield: 8 pitas 1x
Ingredients
2 teaspoons active dry yeast
1 teaspoon granulated sugar
1 cup warm water (105-110°F)
2.5 to 3 cups all-purpose flour
2 tablespoons olive oil
1.5 teaspoons salt
Instructions
Step 1: In a large bowl or the bowl of a stand mixer, combine the warm water, sugar, and yeast. Let it sit for about 5-10 minutes until the mixture becomes foamy and bubbly.
Step 2: Add 1 cup of the flour and the olive oil to the yeast mixture. Whisk until smooth. Add the salt and another cup of flour, then begin mixing with a wooden spoon or dough hook.
Step 3: Gradually add the remaining flour until a soft dough forms. Knead the dough on a lightly floured surface for 5-7 minutes (or in the stand mixer) until it is smooth, elastic, and slightly tacky.
Step 4: Place the dough in a lightly oiled bowl, cover with a damp cloth, and let it rise in a warm, draft-free area for about 1 hour or until it has doubled in size.
Step 5: Gently punch down the dough and divide it into 8 equal pieces. Roll each piece into a smooth ball. Cover the balls and let them rest for an additional 15 minutes.
Step 6: On a floured surface, use a rolling pin to flatten each ball into a circle about 6-7 inches wide and 1/4 inch thick. Be careful not to create creases or thin spots.
Step 7: Preheat a cast-iron skillet over medium-high heat or a baking stone in an oven at 500°F. Cook each pita for about 1-2 minutes on the first side until bubbles form, then flip.
Step 8: Cook for another 1-2 minutes on the second side until the pita puffs up completely. Remove and immediately wrap in a clean towel to keep soft.
Notes
Ensure your skillet or oven is extremely hot before adding the dough to guarantee a good puff.
- Prep Time: 1 hour 30 minutes
- Cook Time: 15 minutes
- Category: Baked Goods
- Cuisine: Mediterranean
Nutrition
- Serving Size: 1 Pita
- Calories: 165 kcal
- Sugar: 1g
- Sodium: 300mg
- Fat: 2g
- Saturated Fat: 0.3g
- Unsaturated Fat: 1.5g
- Trans Fat: 0g
- Carbohydrates: 32g
- Fiber: 1.5g
- Protein: 5g
- Cholesterol: 0mg
Keywords: pita bread recipe, homemade pita, flatbread, mediterranean bread, pita pockets




