
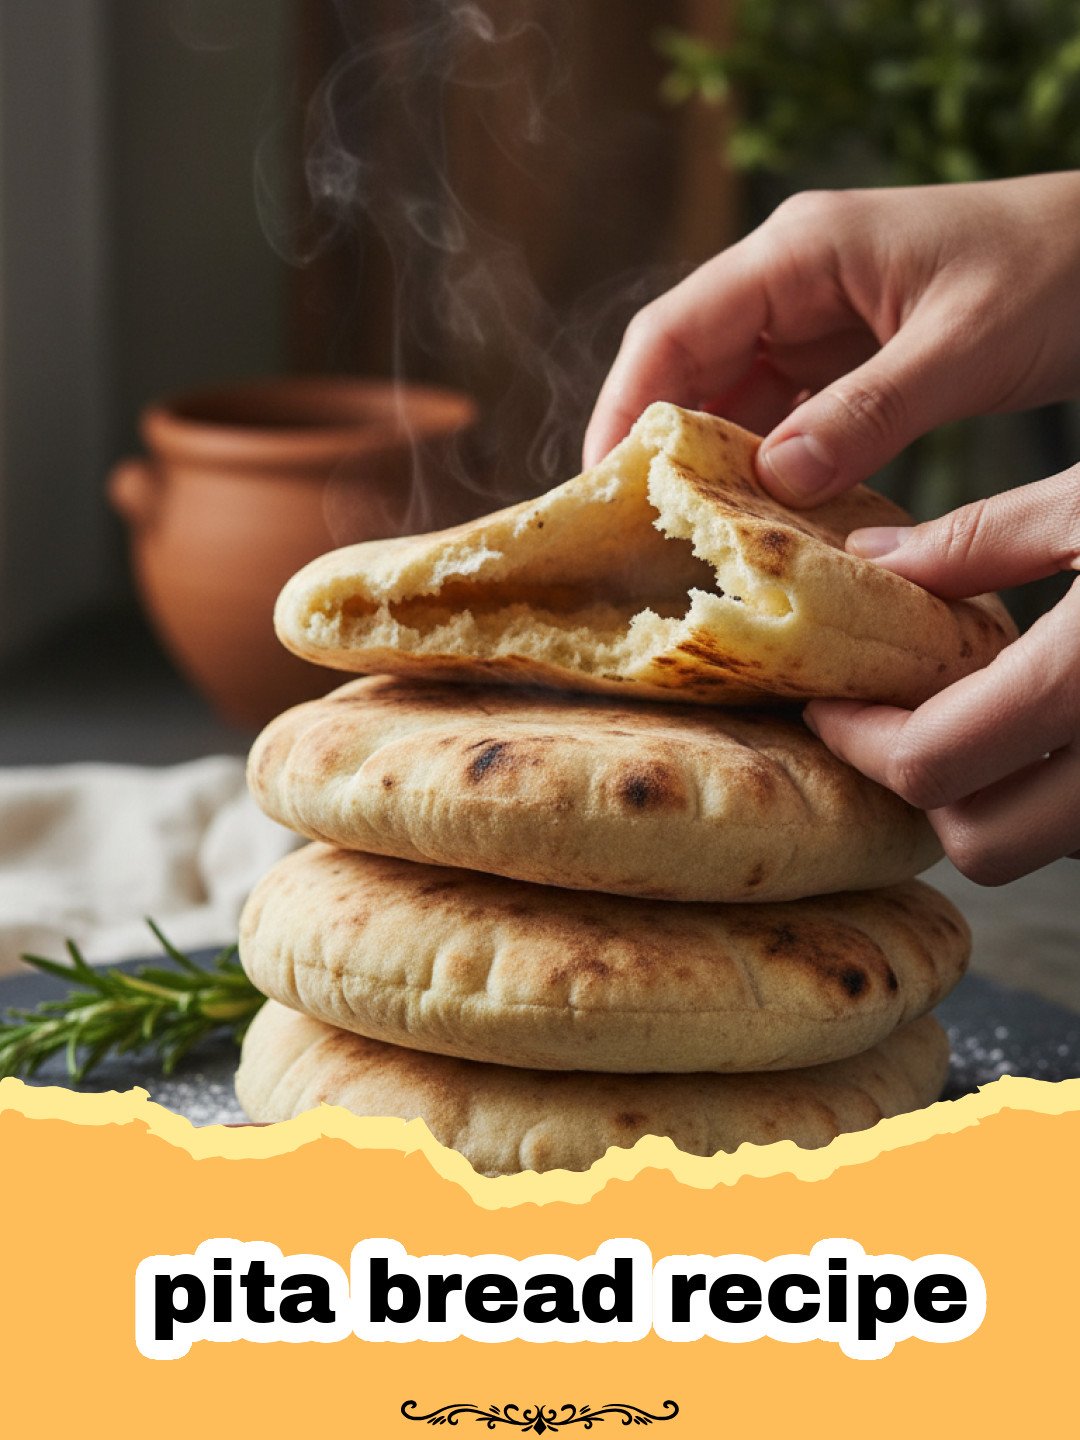
Creating the ultimate pita bread recipe at home is more than just a culinary task; it is an act of love that transforms simple pantry staples into edible clouds of joy. I remember the first time I attempted to recreate the scent of a small, hidden bakery I found in the winding streets of Tel Aviv. The air there was thick with the aroma of toasted flour and yeast, a perfume so intoxicating that it lingered in my memory for years. When I returned home, I spent months experimenting in my kitchen, trying to find that exact balance of softness and strength. This pita bread recipe is the culmination of those efforts, a labor of love that ensures you never have to settle for dry, store-bought cardboard again. There is something truly magical about watching the dough puff up in the oven, creating that iconic pocket that is just waiting to be filled with savory delights. Whether you are a seasoned baker or a novice, mastering this pita bread recipe will elevate your home cooking to a whole new level.
Why This Pita Bread Recipe is a Must-Try
- Incredible Texture: Unlike the stiff pitas found in grocery stores, this pita bread recipe produces loaves that are incredibly soft, pliable, and light.
- Pure Ingredients: By following this pita bread recipe, you avoid the preservatives and artificial softeners often found in commercial brands.
- Total Versatility: This pita bread recipe serves as the perfect vessel for everything from falafel and hummus to breakfast sandwiches and pizza bases.
- Foolproof Success: We have broken down the science of the “puff” so that every single pita you bake using this pita bread recipe results in a perfect pocket.
Key Ingredient Notes
When preparing a pita bread recipe, the quality of your flour is paramount. I recommend using a high-quality all-purpose flour or a bread flour with a moderate protein content. Bread flour will give you a slightly chewier result, which many people prefer for a sturdier pocket. Another critical component of this pita bread recipe is the yeast. Freshness is key; if your yeast doesn’t bloom properly in the warm water, your pitas won’t rise. I always store my extra dough in Basics Glass Food Storage to keep it fresh in the refrigerator for a few days, which actually develops the flavor further through cold fermentation.
The liquid temperature is also a deciding factor for any successful pita bread recipe. You want your water to be between 105°F and 115°F. Too hot, and you will kill the yeast; too cold, and it won’t activate. A standard pita bread recipe also relies on a touch of sugar or honey to feed the yeast and help the bread achieve that beautiful golden-brown char during the quick bake. Do not skip the olive oil; it provides the necessary fat to keep the crumb tender and moist.
Step-by-Step Guide to the Best Pita Bread Recipe
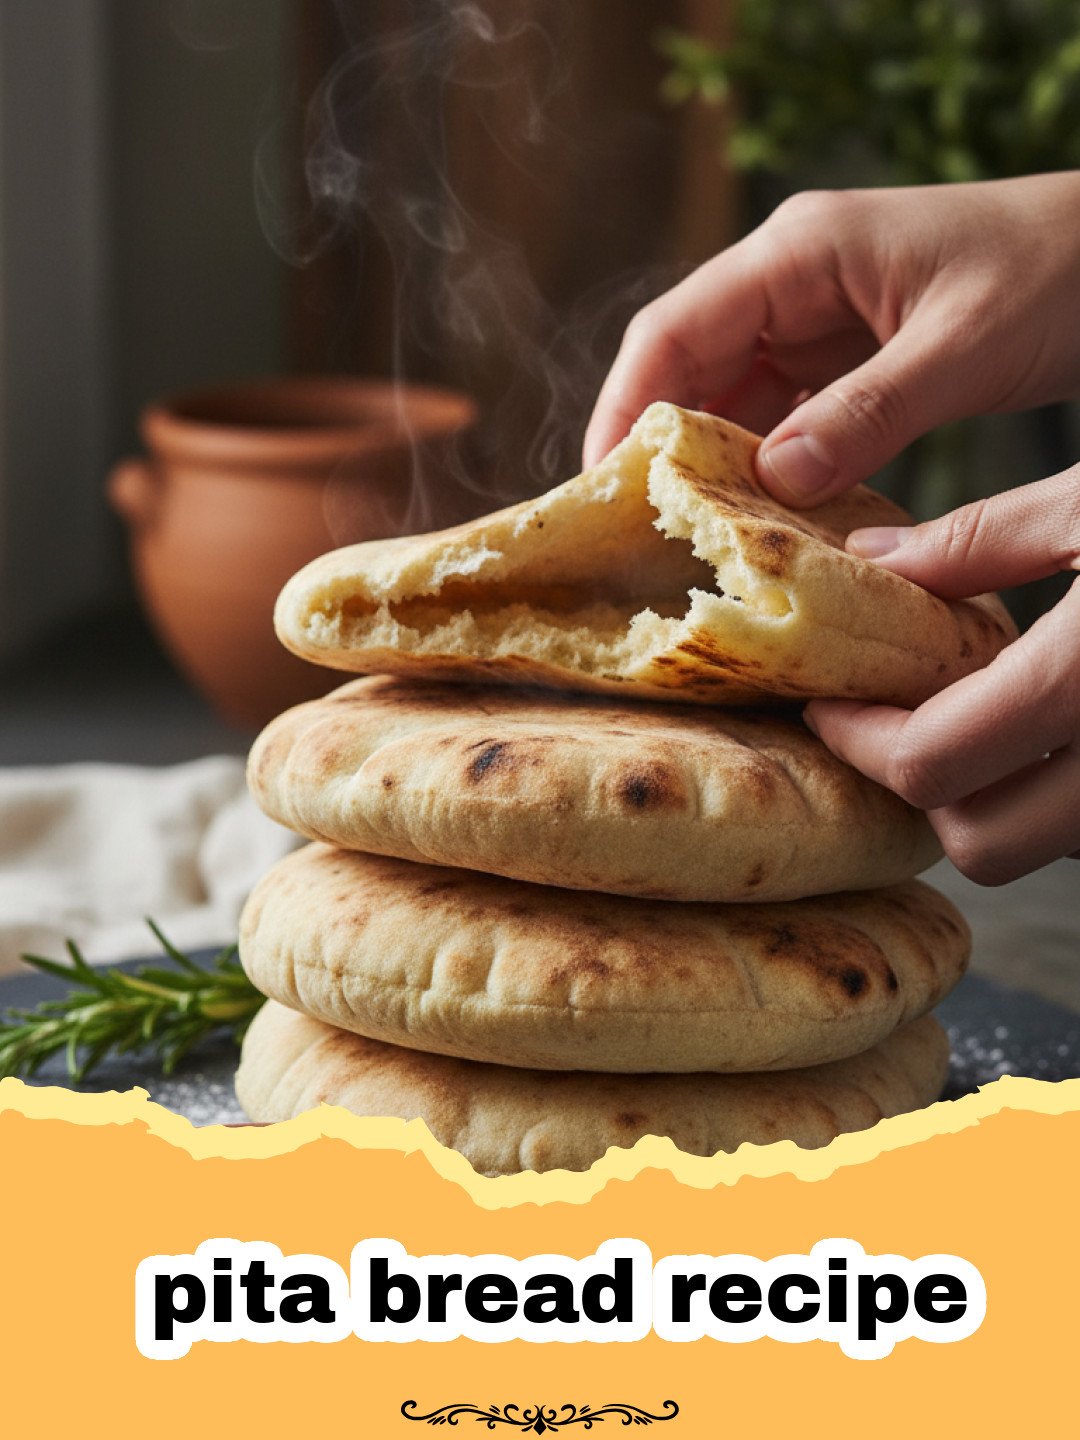
Start your pita bread recipe by proofing the yeast in warm water with a teaspoon of sugar. Once it becomes frothy, you can begin adding your dry ingredients. The kneading process is perhaps the most therapeutic part of this pita bread recipe. You want to develop enough gluten so that the dough can stretch thin without tearing, which is essential for trapping the steam that creates the pocket. If you find the dough too sticky, resist the urge to dump in cups of flour; a slightly tacky dough often leads to a lighter pita.
Proper rising time is critical in any pita bread recipe. Allow the dough to double in size in a warm, draft-free spot. Once risen, the way you handle the dough balls determines the final outcome. Be gentle. Overworking the dough at this stage can lead to a tough texture. Rolling the dough evenly is the secret technique within this pita bread recipe. If one side is significantly thinner than the other, the steam will escape, and you won’t get that satisfying puff. High heat is the final requirement. Whether you use a baking stone or a heavy cast iron skillet, ensure it is screaming hot before the dough hits the surface. This thermal shock is what creates the steam explosion inside the bread, a highlight of this pita bread recipe experience.
To ensure your hard work stays soft, wrap the finished pitas in a clean kitchen towel immediately after they come out of the oven. This traps the remaining steam and softens the crust. If you are looking for something to serve alongside your fresh bread, I highly recommend pairing it with The Ultimate Authentic Tzatziki Sauce Recipe for a truly Mediterranean feast. For a more substantial meal, you might even consider stuffing these pitas with slices from The Ultimate Seared Steak Salad.
Variations and Serving Suggestions
Once you have mastered the basic pita bread recipe, the possibilities for customization are endless. You can incorporate whole wheat flour for a nuttier, more fibrous version, though you may need slightly more water. Adding dried herbs like oregano or za’atar directly into the dough of this pita bread recipe adds a wonderful aromatic dimension. For a garlic-infused treat, brush the hot pitas with garlic butter and fresh parsley the moment they emerge from the heat.
Serving this pita bread recipe is where the fun really begins. Beyond the traditional dips, try using them as individual pizza crusts or cutting them into triangles and air-frying them into crunchy pita chips. Using this pita bread recipe to make fresh wraps for lunch will make you the envy of the office. There is simply no comparison between a fresh, homemade pita and anything you can buy in a store.
Nutrition Information
Below is the estimated nutritional breakdown for one serving of this pita bread recipe. These values are based on standard ingredients and provide a clear picture of what you are consuming.
| Nutrient | Amount per Serving |
|---|---|
| Calories | 165 kcal |
| Total Fat | 3 g |
| Saturated Fat | 0.5 g |
| Trans Fat | 0 g |
| Unsaturated Fat | 2.2 g |
| Cholesterol | 0 mg |
| Sodium | 290 mg |
| Total Carbohydrates | 31 g |
| Dietary Fiber | 1.5 g |
| Sugars | 1 g |
| Protein | 5 g |
Conclusion
Finally, this pita bread recipe is about more than just food; it’s about the satisfaction of creating something fundamental and delicious with your own two hands. I hope you love this pita bread recipe as much as I do and that it becomes a staple in your household for years to come. Remember, practice makes perfect, and each time you bake, you’ll get a better feel for the dough and the heat. Happy baking!
FAQs
Why didn’t my pita bread puff up into a pocket?
The most common reasons are an insufficiently heated oven or baking surface, or rolling the dough unevenly. The high heat is necessary to turn the moisture in the dough into steam instantly, which creates the pocket.
Can I make this pita bread recipe with whole wheat flour?
Yes, you can substitute up to half of the all-purpose flour with whole wheat flour. You may need to add an extra tablespoon or two of water as whole wheat flour absorbs more liquid.
How should I store homemade pita bread?
Store pitas in an airtight container or zip-top bag at room temperature for up to 3 days. For longer storage, they freeze beautifully for up to 3 months. Just reheat in a toaster or oven before serving.
Homemade Fluffy Pita Bread
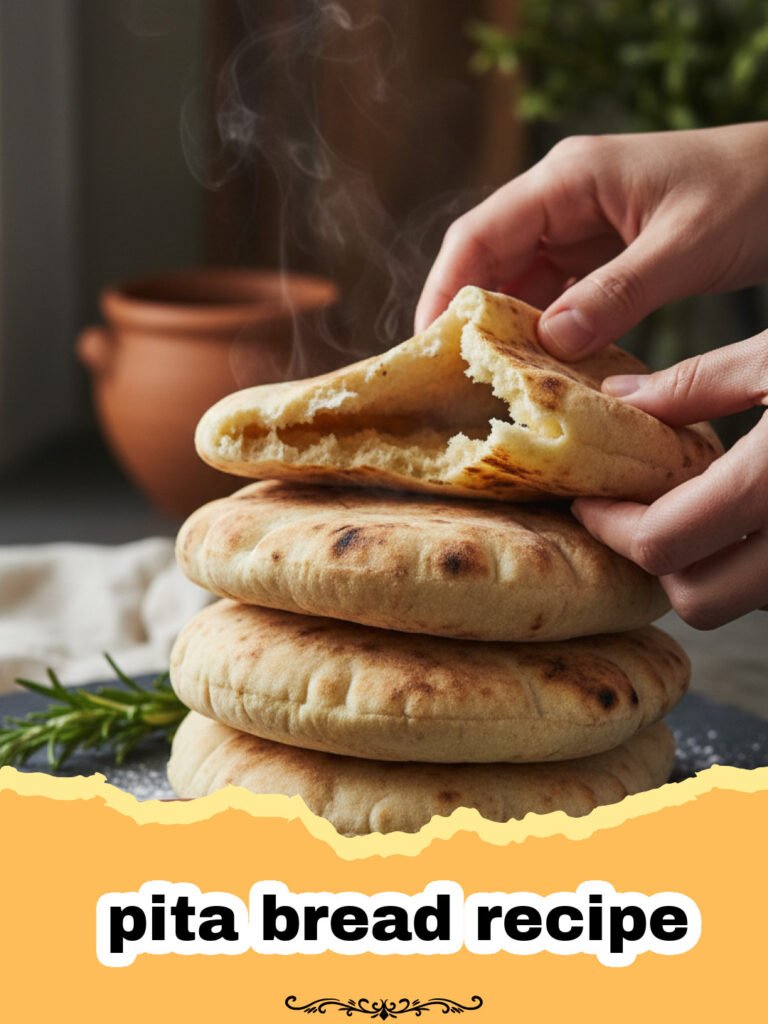
A foolproof pita bread recipe that yields soft, pillowy loaves with perfect pockets every time, using simple pantry ingredients.
- Total Time: PT1H45M
- Yield: 8 pitas 1x
Ingredients
2 1/4 tsp Active dry yeast (1 packet)
1 cup Warm water (105-115°F)
1 tsp Granulated sugar
3 cups All-purpose flour (plus extra for dusting)
1 1/2 tsp Salt
2 tbsp Extra virgin olive oil
Instructions
Step 1: In a large bowl or the bowl of a stand mixer, combine the warm water, sugar, and yeast. Stir gently and let sit for 5-10 minutes until the mixture is frothy and activated.
Step 2: Add 1 cup of the flour and the olive oil to the yeast mixture. Whisk until a loose batter forms.
Step 3: Add the salt and the remaining flour gradually. If using a stand mixer, use the dough hook on low speed. If by hand, use a wooden spoon until the dough comes together.
Step 4: Knead the dough for 5-7 minutes by machine or 10 minutes by hand on a floured surface until it is smooth, elastic, and slightly tacky but not sticking to your fingers.
Step 5: Lightly oil a bowl, place the dough inside, and cover with a damp cloth. Let it rise in a warm spot for about 1 hour or until doubled in size.
Step 6: Gently punch down the dough and divide it into 8 equal pieces. Roll each piece into a smooth ball. Cover the balls and let them rest for another 15-20 minutes.
Step 7: Preheat your oven to 475°F (245°C) with a baking stone or heavy baking sheet inside. Alternatively, preheat a cast iron skillet over medium-high heat on the stove.
Step 8: On a floured surface, roll each dough ball into a circle about 6 inches wide and 1/4 inch thick. Bake for 2-3 minutes per side until puffed and slightly browned. Wrap in a towel immediately to keep soft.
Notes
Ensure your oven and baking surface are fully preheated for the best puff. If using a skillet, a lid can help trap steam for a softer finish.
- Prep Time: PT1H30M
- Cook Time: PT15M
- Category: Baked Goods
- Cuisine: Middle Eastern
Nutrition
- Serving Size: 1 pita
- Calories: 165 kcal
- Sugar: 1 g
- Sodium: 290 mg
- Fat: 3 g
- Saturated Fat: 0.5 g
- Unsaturated Fat: 2.2 g
- Trans Fat: 0 g
- Carbohydrates: 31 g
- Fiber: 1.5 g
- Protein: 5 g
- Cholesterol: 0 mg
Keywords: pita bread recipe, homemade pita, mediterranean bread, easy baking, fluffy pita pockets




