
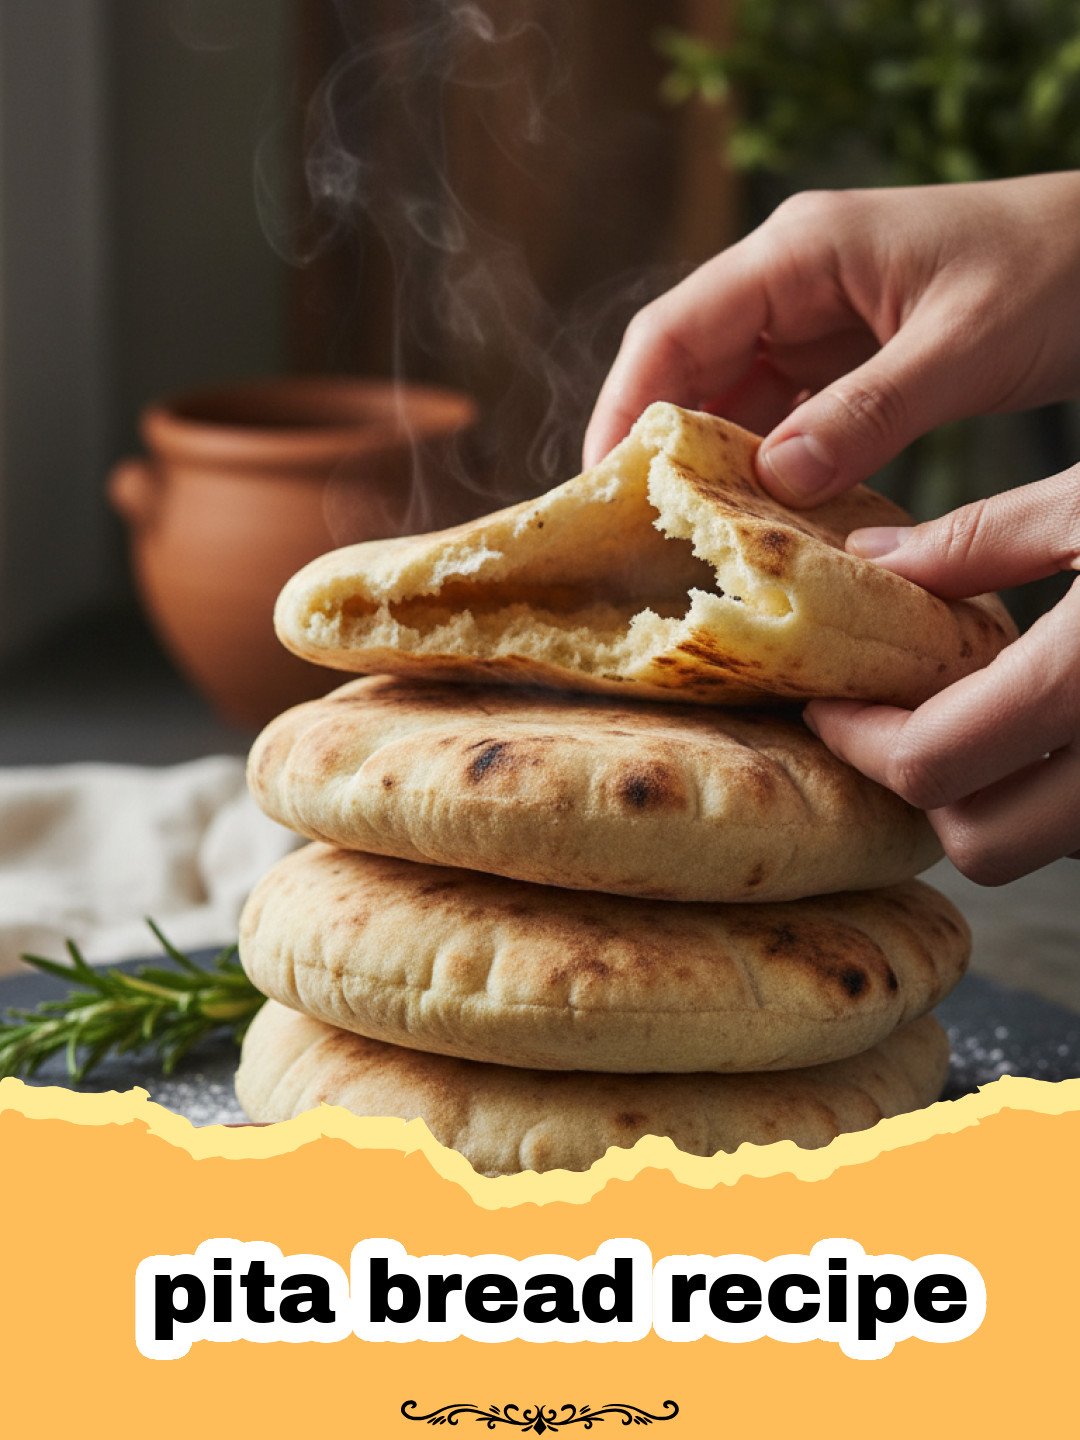
This pita bread recipe has been a staple in my kitchen for over a decade, ever since I first smelled the intoxicating aroma of fresh flatbread while wandering through an outdoor market in Old Jerusalem. There is something truly magical about watching a flat disc of dough transform into a puffed-up balloon in a matter of seconds inside a hot oven. For years, I relied on store-bought versions that were often dry, crumbly, and frankly, disappointing. Once I realized that a pita bread recipe could be executed with just five basic pantry staples, my Sunday meal prep changed forever. Making your own bread isn’t just about the flavor—though the flavor is vastly superior—it is about the tactile joy of kneading the dough and the satisfaction of knowing exactly what goes into your food. This pita bread recipe provides that soft, pillowy texture that perfectly cradles everything from falafel to grilled meats.
Why This Recipe is a Must-Try
If you have never made bread at home, this pita bread recipe is the perfect place to start because of its simplicity and high reward. Here is why you need to save this one to your favorites:
- Superior Texture: Unlike the cardboard-like store-bought versions, this pita bread recipe results in a soft, flexible bread that won’t crack when folded.
- Budget-Friendly: With just flour, water, yeast, salt, and a dash of oil, this pita bread recipe costs pennies per serving compared to artisanal bakery prices.
- No Preservatives: You can skip the calcium propionate and other additives found in commercial brands, keeping your pita bread recipe clean and healthy.
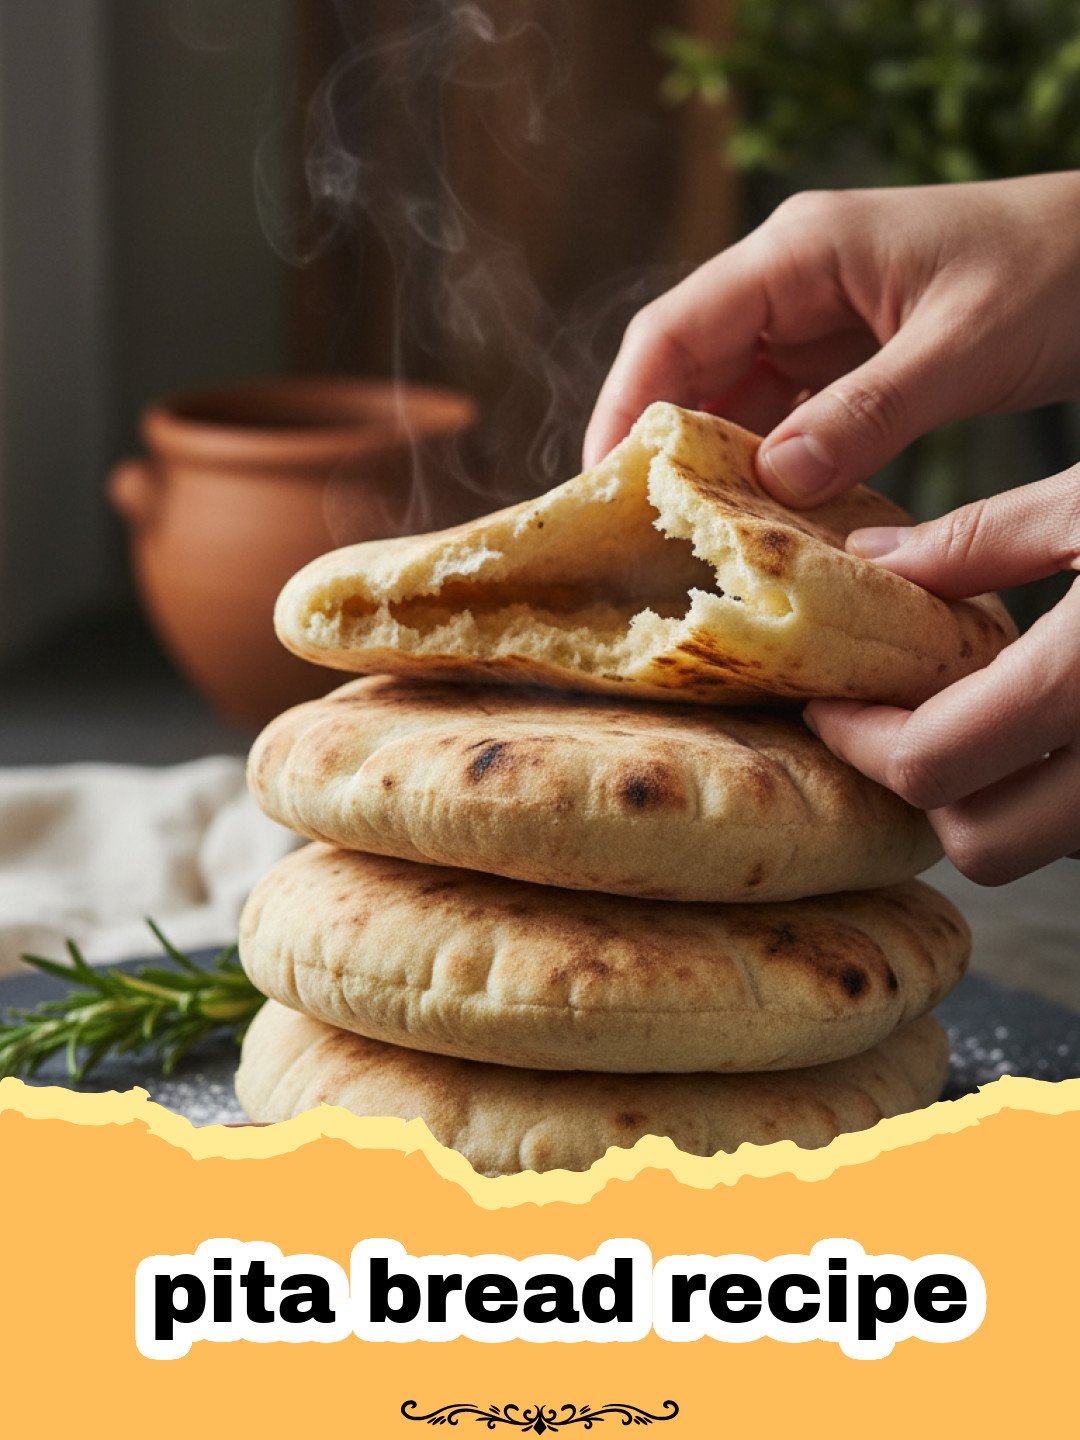
- The Wow Factor: There is no kitchen trick more impressive than showing guests how a pita bread recipe creates its own natural pocket through the power of steam.
Key Ingredient Notes
To master this pita bread recipe, you need to understand the role of your ingredients. While the list is short, the quality and preparation of these items make a significant difference in the final product.
The Flour Choice
For this pita bread recipe, I recommend using a high-quality all-purpose flour or a ’00’ bread flour. The protein content in the flour determines the elasticity of the dough. You want enough gluten to trap the steam that creates the pocket, but not so much that the bread becomes tough. If you want a heartier pita bread recipe, you can swap out up to 50% of the white flour for whole wheat, though you may need to add a tablespoon or two of extra water.
The Yeast and Water Temperature
Active dry yeast or instant yeast both work perfectly for this pita bread recipe. The critical factor is the water temperature. It should be lukewarm—think of a baby’s bathwater, around 105°F to 110°F. If the water is too hot, it will kill the yeast; if it is too cold, the yeast won’t activate, and your pita bread recipe will result in flat, heavy discs instead of fluffy clouds.
Step-by-Step Guide with Pro Tips
Success with any pita bread recipe lies in the technique. It starts with a well-hydrated dough and ends with a very hot cooking surface. When you begin your pita bread recipe, ensure your kitchen is draft-free so the dough can rise properly.
Step 1: Activate the Yeast. In a large bowl, combine your warm water, yeast, and a pinch of sugar. Let it sit for about 5-10 minutes until it becomes foamy. This is a crucial step in the pita bread recipe to ensure your yeast is alive. If it doesn’t foam, discard and start over with fresh yeast.
Step 2: Mixing the Dough. Gradually add the flour, salt, and olive oil. Stir with a wooden spoon until a shaggy dough forms. At this stage of the pita bread recipe, the dough might look a bit messy, but don’t worry—the kneading process will smooth it out. Turn the dough onto a floured surface and knead for about 8-10 minutes. You are looking for a smooth, elastic consistency that springs back when poked.
Step 3: The First Rise. Lightly oil a bowl and place your dough inside. Cover it with a damp cloth and let it rise in a warm spot for about an hour, or until doubled in size. This slow fermentation is what gives the pita bread recipe its distinct, yeasty flavor. Once risen, gently deflate the dough and divide it into 8 equal pieces. Roll them into smooth balls and let them rest for another 15 minutes.
Pro Tip: Do not skip the resting phase! Resting the dough allows the gluten to relax, making it much easier to roll out the pita bread recipe into circles without the dough snapping back. While the dough rests, preheat your oven to its highest setting (usually 500°F) with a baking stone or inverted baking sheet inside. A blazing hot surface is the secret to the “puff” in any pita bread recipe.
Step 4: Rolling and Baking. Roll each ball into a circle about 1/4 inch thick. Work one or two at a time. Carefully place the dough onto the hot stone. Bake for 2-3 minutes. You will see it puff up beautifully! Remove and immediately wrap in a clean kitchen towel to keep them soft. This pita bread recipe relies on the steam trapped in the towel to soften the exterior crust.
Variations & Serving Suggestions
Once you have mastered the basic pita bread recipe, the possibilities are endless. You can brush the tops with garlic butter and fresh parsley for a savory twist, or sprinkle them with za’atar before baking. This pita bread recipe is the perfect vessel for a variety of Mediterranean dishes. I highly recommend pairing it with The Ultimate Authentic Tzatziki Sauce Recipe for a refreshing snack. If you are looking for a more substantial meal, use these pitas to scoop up the sauce from The Ultimate Creamy Boursin Chicken.
For storage, once the pitas have cooled completely, I recommend using Basics Glass Food Storage to keep them fresh for up to three days. You can also freeze them for up to three months—just reheat them in a toaster or oven when you’re ready for another round of this pita bread recipe. For a dessert variation, brush the baked pita with melted butter and sprinkle with cinnamon sugar for a quick sweet treat.
Nutrition Information
The following nutritional data is an estimate per serving for this pita bread recipe. Actual values may vary based on specific ingredient brands used.
| Nutrient | Amount per Serving |
|---|---|
| Calories | 165 kcal |
| Carbohydrates | 32g |
| Protein | 5g |
| Fat | 2g |
| Fiber | 1g |
| Sodium | 290mg |
As you can see, this pita bread recipe is a relatively low-fat option for your daily bread needs, especially when compared to buttery brioche or heavy rolls.
Conclusion
Baking your own bread is a journey of patience and passion, and this pita bread recipe is the ultimate reward. Whether you are stuffing them with fresh veggies or using them as a side for your favorite dips, the freshness and quality of homemade pita cannot be beaten. I hope this pita bread recipe becomes as much of a favorite in your household as it has in mine. Don’t be discouraged if your first few don’t puff perfectly—they will still taste incredible! Keep practicing this pita bread recipe, and soon you’ll be a flatbread pro. Happy baking!
FAQs
Why didn’t my pita bread puff up?
The most common reason a pita bread recipe doesn’t produce a pocket is that the oven or the baking surface wasn’t hot enough. Make sure to preheat your oven to 500u00b0F and let the baking stone get screaming hot before adding the dough.
Can I use whole wheat flour for this recipe?
Yes! You can substitute up to half of the all-purpose flour with whole wheat flour. Keep in mind you may need a little extra water, and the texture will be slightly denser.
How do I store leftover pita bread?
Store completely cooled pita in an airtight container or zip-top bag at room temperature for up to 3 days. For longer storage, you can freeze them for up to 3 months.
Soft Homemade Pita Bread
A foolproof pita bread recipe that creates soft, pillowy flatbreads with a perfect inner pocket for stuffing your favorite fillings.
- Total Time: 1 hour 35 minutes
- Yield: 8 pitas 1x
Ingredients
2 teaspoons active dry yeast
1/2 teaspoon sugar
1 cup lukewarm water (105-110°F)
3 cups all-purpose flour
1 1/2 teaspoons salt
2 tablespoons olive oil
Instructions
Step 1: In a large bowl, whisk together the lukewarm water, yeast, and sugar. Let stand for 5 to 10 minutes until the mixture becomes foamy.
Step 2: Add 2 cups of the flour, the salt, and the olive oil to the yeast mixture. Stir until a shaggy dough forms. Gradually add the remaining 1 cup of flour as needed.
Step 3: Knead the dough on a lightly floured surface for 8-10 minutes until smooth and elastic. Place in a greased bowl, cover, and let rise in a warm place for 1 hour until doubled in size.
Step 4: Punch down the dough and divide into 8 equal pieces. Roll each into a ball and let rest for 15 minutes covered with a towel.
Step 5: Preheat your oven to 500°F (260°C) with a baking sheet or pizza stone inside. Roll each ball into a 6-inch circle.
Step 6: Bake the pitas on the hot stone for 2-3 minutes until they puff up. Remove and wrap in a clean towel immediately to soften.
Notes
Ensure your oven is extremely hot to achieve the characteristic pocket. If your dough doesn’t puff, it will still be a delicious flatbread!
- Prep Time: 1 hour 20 minutes
- Cook Time: 15 minutes
- Category: Baked Goods
- Cuisine: Mediterranean
Nutrition
- Serving Size: 1 pita
- Calories: 165
- Sugar: 0.5g
- Sodium: 290mg
- Fat: 2g
- Saturated Fat: 0.3g
- Unsaturated Fat: 1.5g
- Trans Fat: 0g
- Carbohydrates: 32g
- Fiber: 1g
- Protein: 5g
- Cholesterol: 0mg
Keywords: pita bread recipe, homemade pita, flatbread recipe, mediterranean bread, soft pita




