
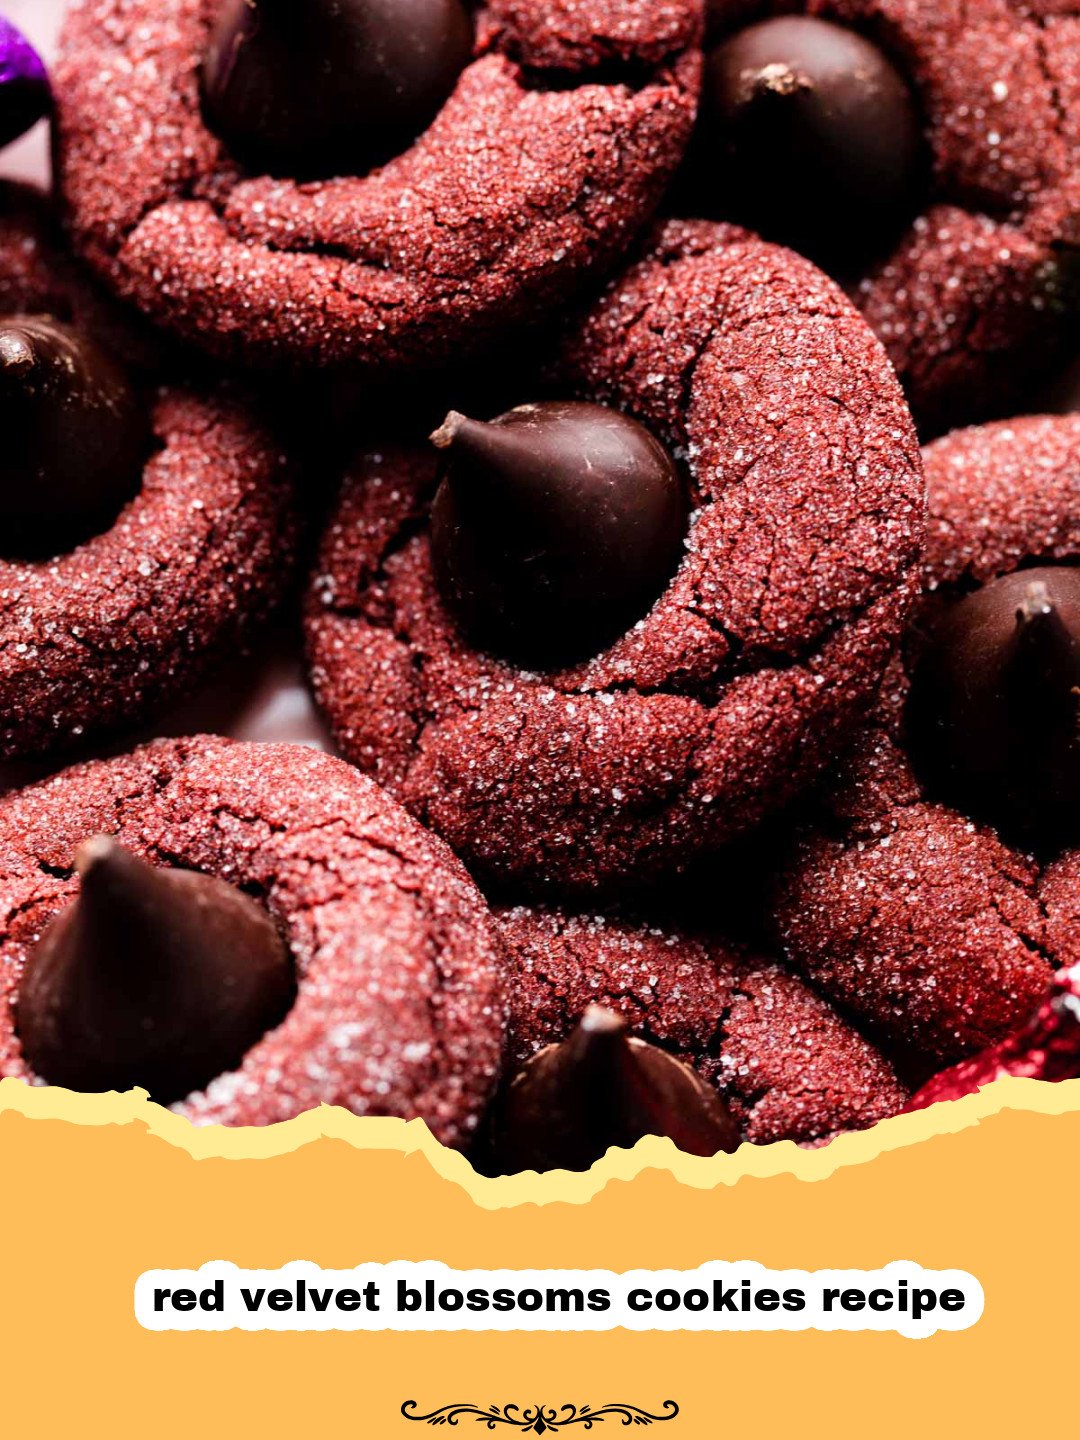
There’s something truly magical about the holidays, isn’t there? For me, it always brings back memories of my grandmother’s kitchen, filled with the scent of cinnamon, sugar, and endless love. Every year, without fail, she’d pull out her cherished recipe box, its worn edges telling tales of countless festive seasons. Among the stained, handwritten cards, one always stood out: the recipe for her famous red velvet blossoms cookies recipe. These aren’t just any cookies; they’re tiny canvases of festive cheer, a vibrant red cookie base perfectly complemented by a snowy white candy kiss in the center. As a child, I’d watch, mesmerized, as she meticulously rolled each ball of dough in powdered sugar, anticipating the moment I could press the chocolate kiss into its soft center. The anticipation, the vibrant color, and that perfect crinkled texture – it was pure joy. Now, as an adult, I find myself recreating those moments, sharing the same warmth and deliciousness with my own family. This red velvet blossoms cookies recipe is more than just a sweet treat; it’s a taste of nostalgia, a bite of tradition, and a wonderful way to create new cherished memories. Get ready to bake a batch of pure happiness!
The allure of a red velvet cookie is undeniable, and when you combine that with the delightful simplicity of a blossom cookie, you get something truly special. This isn’t just about baking; it’s about making memories, filling your home with incredible aromas, and indulging in a cookie that tastes as good as it looks. Let’s dive into why this particular red velvet blossoms cookies recipe will become a staple in your kitchen.
Why This Red Velvet Blossoms Cookies Recipe is a Must-Try
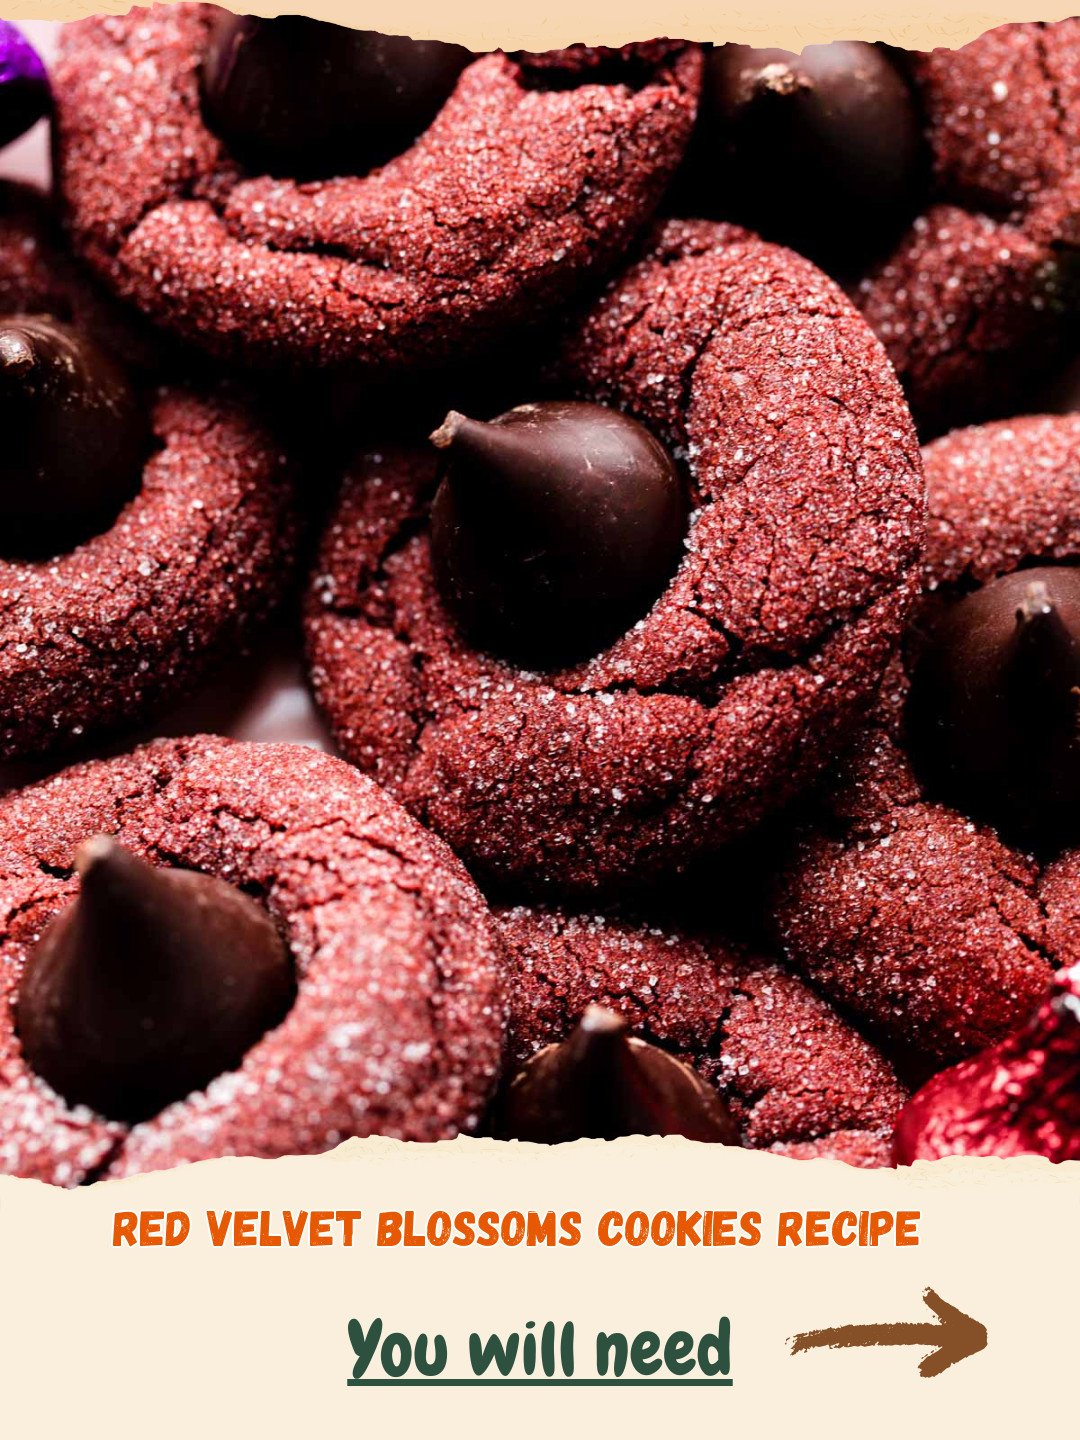
- Visually Stunning: The vibrant red hue of the cookie, contrasted with the snowy powdered sugar coating and the creamy white Hershey’s Kiss, makes these cookies an absolute showstopper. They are perfect for holiday platters, cookie exchanges, or simply brightening any day. This red velvet blossoms cookies recipe will impress everyone.
- Irresistible Flavor Profile: This cookie boasts that classic red velvet flavor – a delicate balance of rich cocoa, a subtle tang from the buttermilk, and a delightful sweetness. The chocolate kiss adds an extra layer of melt-in-your-mouth goodness that’s hard to resist.
- Perfectly Tender & Chewy: Thanks to a precise combination of ingredients and techniques, these cookies come out with a soft, chewy center and slightly crisp edges, along with that iconic crinkled exterior from the powdered sugar. Every bite of this red velvet blossoms cookies recipe is pure bliss.
- Easy & Fun to Make: While they look impressive, this recipe is surprisingly straightforward. It’s a fantastic baking project for all skill levels, and even kids love helping to roll the dough and press in the chocolate kisses. It’s an enjoyable way to spend time in the kitchen.
Key Ingredient Notes for Your Red Velvet Blossoms Cookies Recipe
Understanding the role of a few key ingredients can elevate your red velvet blossoms cookies recipe from good to absolutely phenomenal. Here’s what you need to know:
- Natural Unsweetened Cocoa Powder: This is crucial. Unlike Dutch-processed cocoa, natural cocoa powder is acidic. It reacts with the baking soda in the recipe, which helps to activate the leavening and also contributes to the distinctive red velvet tang and color. Using Dutch-processed cocoa here would result in a less vibrant color and a different flavor profile. Don’t skimp on quality; a good cocoa powder will make a noticeable difference in your red velvet blossoms cookies recipe.
- Buttermilk: The secret to that signature tender crumb and slight tang is buttermilk. Its acidity helps tenderize the gluten in the flour, resulting in a softer, more moist cookie. If you don’t have buttermilk on hand, don’t fret! You can easily make a substitute by adding 1 tablespoon of white vinegar or lemon juice to a liquid measuring cup, then filling the rest with regular milk (dairy or non-dairy works) until it reaches 1 cup. Let it sit for 5-10 minutes until it slightly curdles. This simple trick ensures your red velvet blossoms cookies recipe achieves the perfect texture.
- Gel Food Coloring: For that vibrant, deep red associated with red velvet, gel food coloring is your best friend. Liquid food coloring can add too much moisture to your dough, potentially altering the texture, and it often doesn’t achieve the same intensity of color. A good quality gel food coloring will give you a rich, beautiful red without compromising the dough’s consistency for your red velvet blossoms cookies recipe. Start with a smaller amount and add more until you reach your desired shade.
- Powdered Sugar: This isn’t just for decoration; it creates that lovely crinkled effect as the cookies bake. Rolling the dough balls first in granulated sugar and then generously in powdered sugar ensures a thick, stable coating that won’t melt away entirely in the oven, giving your red velvet blossoms cookies recipe its signature look.
Step-by-Step Guide with Pro Tips for Red Velvet Blossoms Cookies
Ready to bake these beauties? Follow these detailed steps for the perfect batch of red velvet blossoms cookies recipe.
Step 1: Preheat your oven to 350°F (175°C). Line two large baking sheets with parchment paper or silicone baking mats. This ensures even baking and easy cleanup for your red velvet blossoms cookies recipe.
Step 2: In a medium bowl, whisk together the all-purpose flour, natural unsweetened cocoa powder, baking soda, and a pinch of salt. Set aside. Sifting these dry ingredients helps prevent lumps and ensures they are evenly distributed throughout the dough.
Step 3: In a large bowl, using an electric mixer, beat together the softened unsalted butter and granulated sugar on medium-high speed until light and fluffy, about 2-3 minutes. This creaming process incorporates air, which contributes to the cookies’ light texture.
Step 4: Beat in the large egg and vanilla extract until well combined. Scrape down the sides of the bowl as needed to ensure everything is fully incorporated. This is a crucial step for a homogenous dough for your red velvet blossoms cookies recipe.
Step 5: Gradually add the buttermilk and red gel food coloring to the wet ingredients. Mix on low speed until the color is evenly distributed and the mixture is smooth. Be patient here to achieve that signature vibrant red for your red velvet blossoms cookies recipe.
Step 6: With the mixer on low speed, gradually add the dry ingredients to the wet ingredients, mixing until just combined. Be careful not to overmix, as this can develop the gluten too much, leading to tough cookies. Stop mixing as soon as no streaks of flour remain.
Step 7: Place the dough in the refrigerator for at least 30 minutes to chill. This step is important because it makes the dough easier to handle, prevents the cookies from spreading too much during baking, and helps the flavors meld. Chilling is a secret weapon for any blossom cookie, including this red velvet blossoms cookies recipe.
Step 8: While the dough chills, unwrap 48 Hershey’s Kisses and set them aside. Prepare two shallow bowls: one with ¼ cup granulated sugar and the other with ½ cup powdered sugar.
Step 9: Remove the chilled dough from the refrigerator. Roll the dough into 1-inch balls (about 1 tablespoon each). First, roll each ball in the granulated sugar, then generously roll it in the powdered sugar, ensuring it’s completely coated. This double roll creates the beautiful crinkled effect.
Step 10: Place the sugar-coated dough balls about 2 inches apart on the prepared baking sheets. Give them enough space to spread slightly without touching. This spacing is important for the perfect appearance of your red velvet blossoms cookies recipe.
Step 11: Bake for 8-10 minutes, or until the edges are just set and the centers are still slightly soft. Do not overbake! Overbaked cookies will be dry. The cookies will puff up slightly and then flatten as they cool. This timing is key for a chewy red velvet blossoms cookies recipe.
Step 12: Immediately upon removing the baking sheets from the oven, gently press one unwrapped Hershey’s Kiss into the center of each warm cookie. The warmth of the cookie will slightly melt the base of the chocolate, helping it adhere. If the cookie cracks slightly, that’s okay, it adds to their rustic charm.
Step 13: Allow the cookies to cool on the baking sheets for 5-10 minutes before transferring them to a wire rack to cool completely. This allows the cookies to set and the chocolate to firm up. Store leftover cookies in an airtight container at room temperature for up to 3-4 days. I often use durable Basics Glass Food Storage containers to keep them fresh.
Variations & Serving Suggestions for Your Red Velvet Blossoms Cookies Recipe
This red velvet blossoms cookies recipe is fantastic on its own, but there are plenty of ways to customize and enjoy them!
- Chocolate Kiss Alternatives: Don’t limit yourself to milk chocolate kisses! Experiment with white chocolate kisses, dark chocolate kisses, or even peppermint kisses for a festive twist during the holidays. Caramel kisses could also be a delightful surprise.
- Cream Cheese Frosting Drizzle: For an extra touch of classic red velvet decadence, whip up a simple cream cheese frosting and drizzle it over the cooled cookies. This adds another layer of flavor that complements the cookies beautifully.
- Festive Garnish: Before baking, you can gently press a few red or green sprinkles into the top of the dough balls (before rolling in sugar) for an extra pop of color. After pressing the chocolate kiss, a tiny sprinkle of edible glitter can make these cookies sparkle!
- Spice it Up: A tiny pinch of ground cinnamon or a touch of almond extract in the dough can add a subtle layer of complexity to your red velvet blossoms cookies recipe.
- Serving Suggestions: These cookies are perfect alongside a warm cup of coffee, a glass of cold milk, or as a delightful addition to any dessert platter. They also make fantastic edible gifts, especially when paired with other homemade treats like our The Ultimate Crispy Homemade Baked Chicken Tenders Recipe for a full meal or our The Ultimate Cream Cheese Salsa Dip for Parties as a starter!
Nutrition Information
| Nutrient | Amount Per Serving |
|---|---|
| Calories | 180 kcal |
| Carbohydrate Content | 28g |
| Cholesterol Content | 20mg |
| Fat Content | 7g |
| Fiber Content | 1g |
| Protein Content | 2g |
| Saturated Fat Content | 4g |
| Serving Size | 1 cookie |
| Sodium Content | 110mg |
| Sugar Content | 20g |
| Trans Fat Content | 0g |
| Unsaturated Fat Content | 3g |
And there you have it – your very own batch of delightful red velvet blossoms cookies recipe! These cookies are a testament to how simple ingredients can come together to create something truly extraordinary. Whether you’re baking them for a special occasion, a quiet evening in, or to share a piece of your heart with loved ones, they are sure to bring smiles and warmth. So go ahead, embrace the joy of baking, and let this classic red velvet blossoms cookies recipe become a cherished part of your culinary repertoire. Happy baking!
FAQs
What gives red velvet cookies their signature red color?
The vibrant red color in red velvet cookies primarily comes from red gel food coloring. Traditionally, a chemical reaction between acidic ingredients like buttermilk and vinegar with cocoa powder used to enhance the red hue, but modern recipes rely more heavily on food coloring for a consistent, bright red.
Can I make red velvet blossoms cookies ahead of time?
Yes, absolutely! You can prepare the cookie dough and store it in an airtight container in the refrigerator for up to 3-4 days. Alternatively, you can roll the dough balls in sugar and freeze them on a baking sheet before transferring them to a freezer-safe bag. Bake from frozen, adding a couple of extra minutes to the baking time, and press in the kisses as usual.
What can I use if I don’t have buttermilk for this red velvet blossoms cookies recipe?
If you don’t have buttermilk, you can easily make a substitute. Add 1 tablespoon of white vinegar or lemon juice to a liquid measuring cup, then fill the rest with regular milk (dairy or non-dairy) until it reaches 1 cup. Let it sit for 5-10 minutes until it slightly curdles. This will work perfectly in your red velvet blossoms cookies recipe.
Why do my red velvet blossoms cookies spread too much?
Cookies spreading too much can be due to a few factors: the butter being too warm (ensure it’s softened, not melted), not chilling the dough long enough, or using too much leavening agent. Ensure your oven temperature is accurate and don’t skip the dough chilling step for the best results with your red velvet blossoms cookies recipe.
Red Velvet Blossoms Cookies
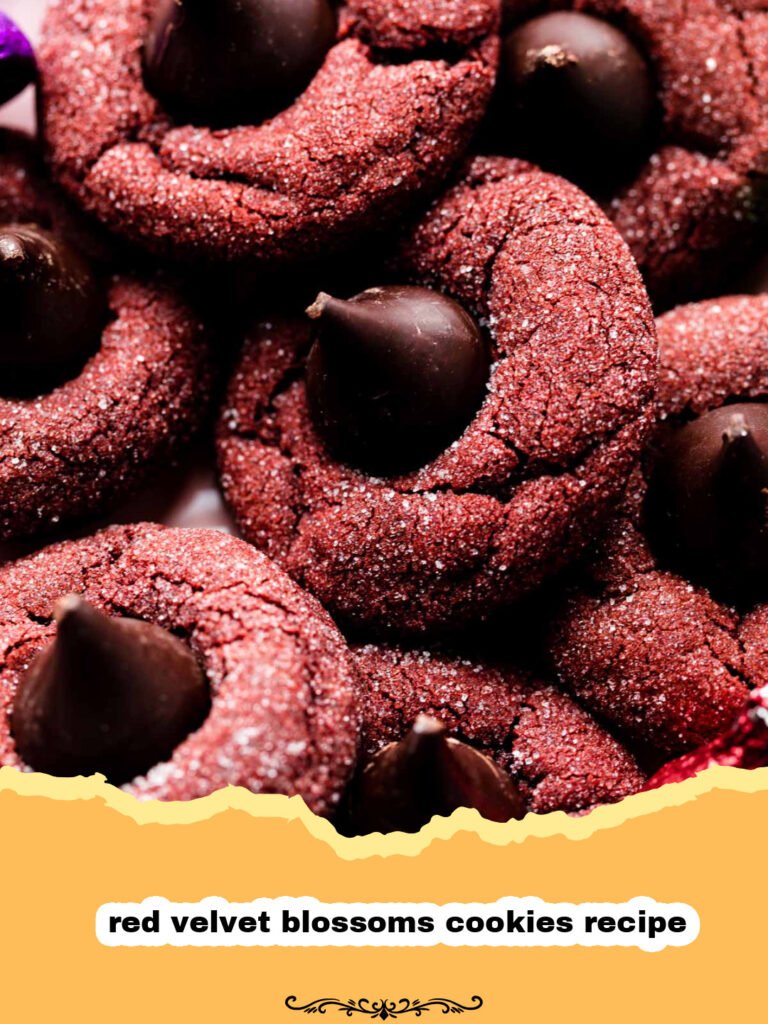
A delightful red velvet blossoms cookies recipe featuring a soft, chewy red velvet base rolled in powdered sugar and topped with a creamy Hershey’s Kiss. Perfect for holidays and special occasions!
- Total Time: 40 minutes
- Yield: 48 cookies 1x
Ingredients
2 ¼ cups all-purpose flour
¼ cup natural unsweetened cocoa powder
1 teaspoon baking soda
½ teaspoon salt
½ cup (1 stick) unsalted butter, softened
1 ½ cups granulated sugar, divided
1 large egg
1 teaspoon vanilla extract
½ cup buttermilk
1–2 tablespoons red gel food coloring (to desired vibrancy)
½ cup powdered sugar
48 Hershey’s Kisses, unwrapped
Instructions
Step 1: Preheat your oven to 350°F (175°C). Line two large baking sheets with parchment paper or silicone baking mats.
Step 2: In a medium bowl, whisk together the all-purpose flour, natural unsweetened cocoa powder, baking soda, and salt. Set aside.
Step 3: In a large bowl, using an electric mixer, beat together the softened unsalted butter and 1 cup of granulated sugar on medium-high speed until light and fluffy, about 2-3 minutes.
Step 4: Beat in the egg and vanilla extract until well combined, scraping down the sides of the bowl as needed.
Step 5: Gradually add the buttermilk and red gel food coloring to the wet ingredients. Mix on low speed until the color is evenly distributed and the mixture is smooth.
Step 6: With the mixer on low speed, gradually add the dry ingredients to the wet ingredients, mixing until just combined. Be careful not to overmix.
Step 7: Place the dough in the refrigerator for at least 30 minutes to chill. This makes the dough easier to handle.
Step 8: While the dough chills, unwrap the Hershey’s Kisses and set aside. Prepare two shallow bowls: one with the remaining ½ cup granulated sugar and the other with the ½ cup powdered sugar.
Step 9: Remove the chilled dough from the refrigerator. Roll the dough into 1-inch balls (about 1 tablespoon each). First, roll each ball in the granulated sugar, then generously roll it in the powdered sugar until completely coated.
Step 10: Place the sugar-coated dough balls about 2 inches apart on the prepared baking sheets.
Step 11: Bake for 8-10 minutes, or until the edges are just set and the centers are still slightly soft. Do not overbake.
Step 12: Immediately upon removing the baking sheets from the oven, gently press one unwrapped Hershey’s Kiss into the center of each warm cookie.
Step 13: Allow the cookies to cool on the baking sheets for 5-10 minutes before transferring them to a wire rack to cool completely. Store leftover cookies in an airtight container at room temperature.
Notes
For the best results, use good quality gel food coloring to achieve a vibrant red. Chilling the dough is essential for easier handling and preventing excessive spreading.
- Prep Time: 30 minutes
- Cook Time: 10 minutes
- Category: Baked Goods
- Cuisine: American
Nutrition
- Serving Size: 1 cookie
- Calories: 180 kcal
- Sugar: 20g
- Sodium: 110mg
- Fat: 7g
- Saturated Fat: 4g
- Unsaturated Fat: 3g
- Trans Fat: 0g
- Carbohydrates: 28g
- Fiber: 1g
- Protein: 2g
- Cholesterol: 20mg
Keywords: red velvet cookies, blossom cookies, red velvet blossoms, holiday cookies, christmas cookies, cookie recipe, easy cookie recipe, chocolate kiss cookies, baked goods




