
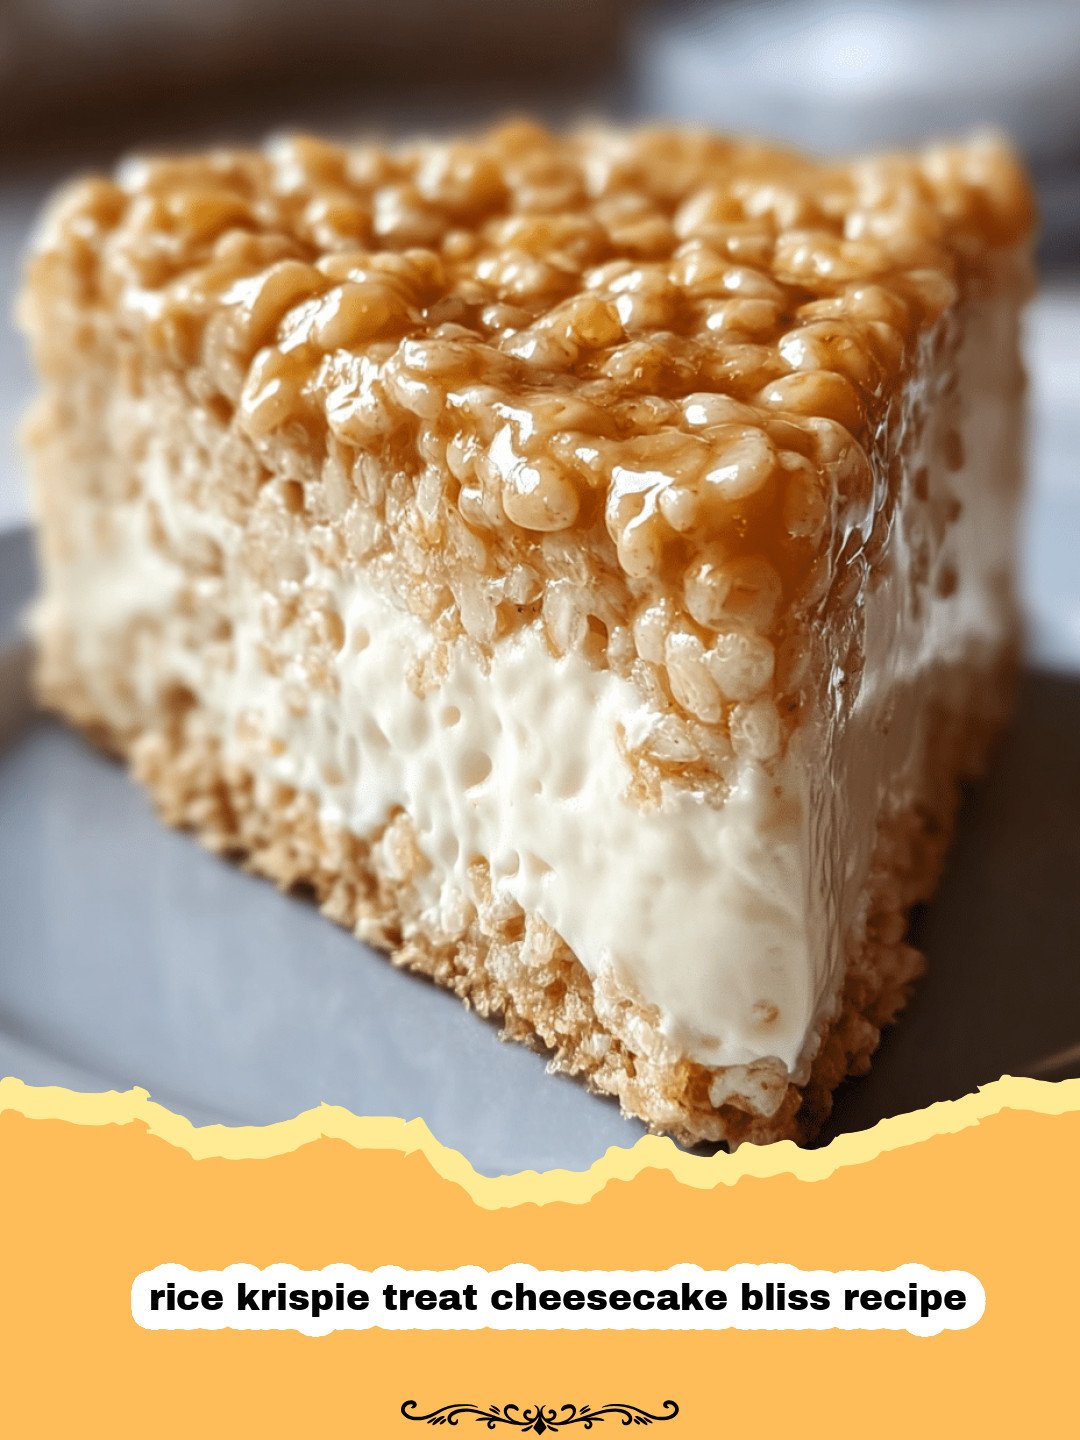
Oh, the nostalgia! There are few things that bring me back to my childhood kitchen quite like the sticky, sweet crunch of a classic Rice Krispie Treat. I remember countless afternoons, with my mom melting butter and marshmallows on the stove, the aroma filling our home. The joy of pressing the warm, gooey mixture into a pan, knowing that in just a short while, I’d be biting into that crispy, chewy square. Fast forward to today, and while I still adore the original, my palate has matured, craving something a little more decadent, a touch more sophisticated. That’s where the idea for this spectacular rice krispie treat cheesecake bliss recipe was born. I wanted to capture that whimsical crunch while elevating it with the creamy, tangy goodness of cheesecake, all without even turning on the oven. It’s a marriage made in dessert heaven, a symphony of textures and flavors that will transport you back to simpler times, yet delight your grown-up taste buds. This no-bake wonder is perfect for any occasion, from casual family dinners to elegant gatherings, and I promise you, it will be the star of the show. Get ready to experience pure bliss with every single bite.
Why This Rice Krispie Treat Cheesecake Bliss Recipe is a Must-Try
- Effortless No-Bake Perfection: Say goodbye to hot kitchens and complicated baking steps! This rice krispie treat cheesecake bliss recipe requires no oven time, making it ideal for warm weather or when you just want a quick, impressive dessert without the fuss.
- Unforgettable Texture Play: The genius of this recipe lies in its contrasting textures. You get the irresistible crunchy, chewy base of the classic Rice Krispie Treat perfectly complemented by a silky-smooth, creamy cheesecake filling. It’s a textural dream!
- Crowd-Pleasing Flavor Profile: This isn’t just a dessert; it’s an experience. The familiar comfort of the cereal treat combined with the luxurious tang of cream cheese creates a universally loved flavor that appeals to both kids and adults. It’s truly a rice krispie treat cheesecake bliss recipe for everyone.
- Customizable & Versatile: While incredible on its own, this rice krispie treat cheesecake bliss recipe is also a fantastic canvas for your creativity. Add different toppings, mix-ins, or even flavor extracts to make it uniquely yours, adapting it for any holiday or celebration.
Key Ingredient Notes for Your Rice Krispie Treat Cheesecake Bliss Recipe
Crafting the perfect rice krispie treat cheesecake bliss recipe starts with understanding your core ingredients. While seemingly simple, a few tips can make all the difference in achieving that ultimate texture and flavor.
Marshmallows: The Gooey Heart
For the Rice Krispie Treat crust, the quality and freshness of your marshmallows are paramount. I always recommend using fresh, soft mini marshmallows. They melt more evenly and quickly, resulting in a smoother, more pliable base that won’t become too hard once cooled. Stale marshmallows can lead to a crumbly, less cohesive crust. If you’re using large marshmallows, cut them into smaller pieces to aid in faster, more uniform melting. This ensures your rice krispie treat cheesecake bliss recipe base is perfect every time.
Cream Cheese: The Silky Foundation
When it comes to the cheesecake filling, full-fat cream cheese is non-negotiable. Please, do not opt for low-fat or whipped versions; they simply won’t provide the rich, creamy texture and stability needed for a truly blissful cheesecake. Make sure your cream cheese is softened to room temperature before you begin. This allows it to whip up smoothly, without lumps, creating that velvety, melt-in-your-mouth consistency that is characteristic of a great no-bake cheesecake. It’s the secret to the exquisite creaminess in this rice krispie treat cheesecake bliss recipe.
Heavy Cream: For Lightness and Volume
Heavy whipping cream (at least 36% milk fat) is essential for adding lightness and structure to the cheesecake filling. It needs to be very cold to whip properly into stiff peaks. Cold cream whips faster and holds its shape better, which is crucial for achieving an airy yet stable cheesecake. Without adequately whipped cream, your filling might be too dense or prone to weeping. Ensure your bowl and beaters are also cold for the best results. This ingredient truly elevates the texture of this rice krispie treat cheesecake bliss recipe, making it wonderfully ethereal.
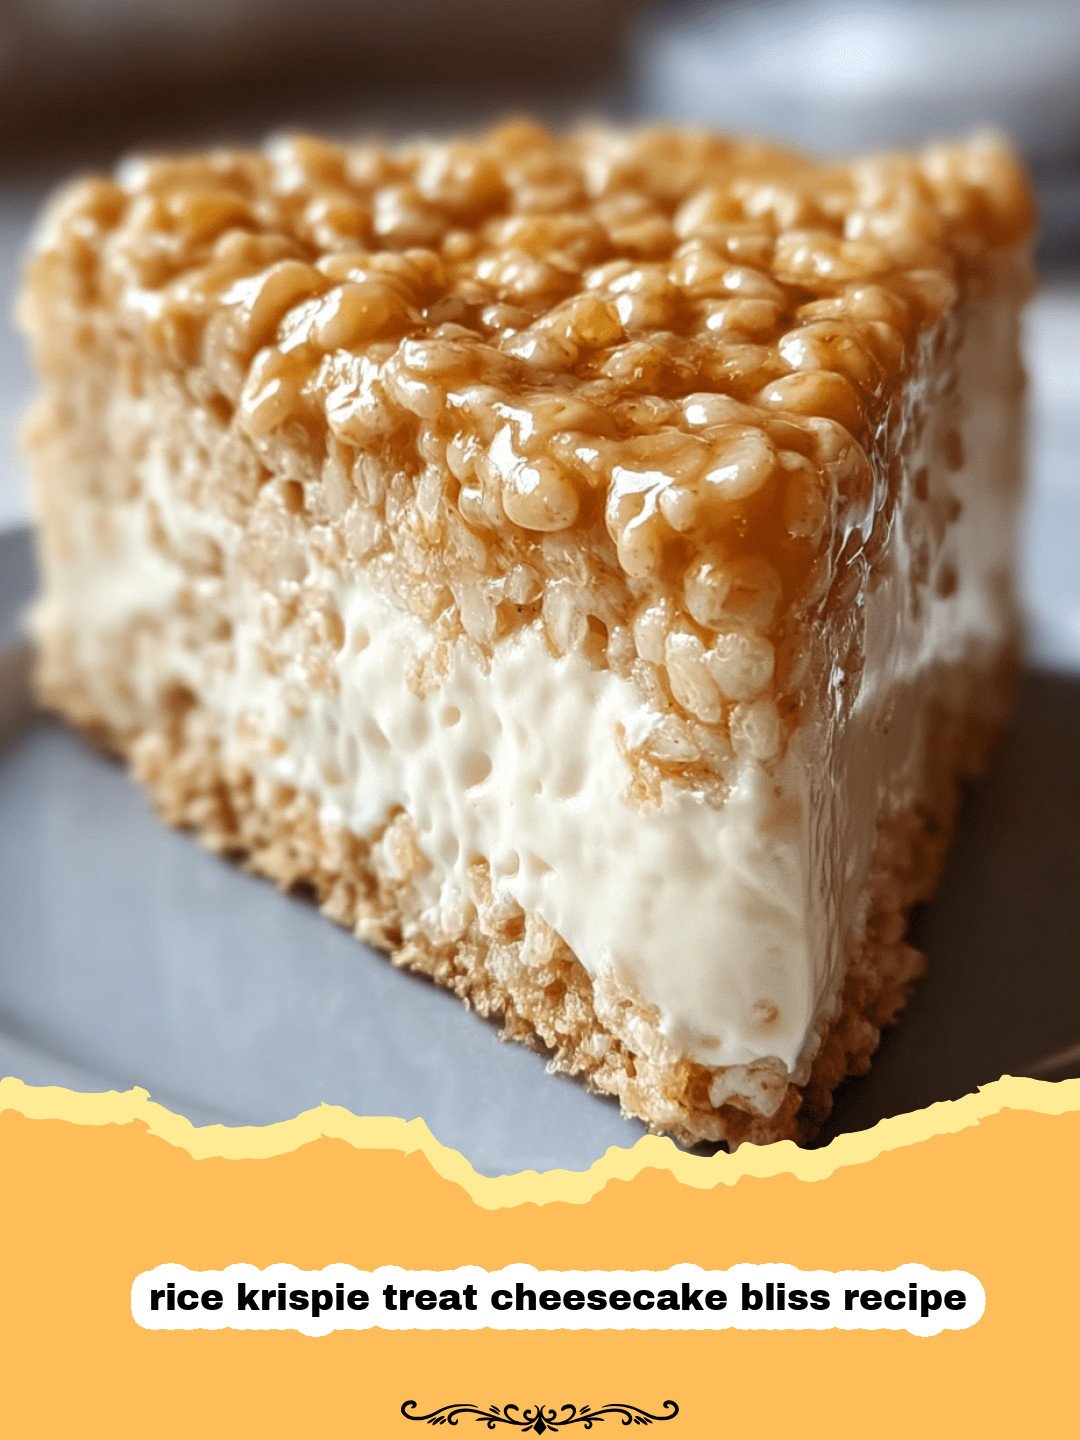
Step-by-Step Guide with Pro Tips for this Rice Krispie Treat Cheesecake Bliss Recipe
Let’s dive into making this show-stopping rice krispie treat cheesecake bliss recipe. Follow these steps carefully, and you’ll be enjoying dessert perfection in no time!
For the Rice Krispie Treat Crust:
- Step 1: Grease a 9-inch springform pan with butter or cooking spray. Line the bottom with parchment paper for easy removal, if desired.
- Step 2: In a large, microwave-safe bowl (or a large pot over medium-low heat), melt 1/2 cup (1 stick) unsalted butter.
- Step 3: Add 10 ounces of mini marshmallows to the melted butter. Stir until the marshmallows are completely melted and smooth. Remove from heat.
- Step 4: Quickly stir in 6 cups of Rice Krispies cereal until fully coated.
- Step 5: Press the Rice Krispie mixture evenly into the bottom of the prepared springform pan. Use a piece of parchment paper or buttered hands to press it down firmly and create a compact, even crust. Set aside to cool and firm up while you prepare the filling.
For the No-Bake Cheesecake Filling:
- Step 6: In a large mixing bowl, beat 16 ounces of softened full-fat cream cheese with 1 cup of powdered sugar until smooth and creamy. Make sure there are no lumps!
- Step 7: Add 1 teaspoon of vanilla extract and 1/4 teaspoon of salt to the cream cheese mixture, beating until just combined.
- Step 8: In a separate, very cold bowl, whip 1 1/2 cups of cold heavy cream until stiff peaks form. Be careful not to over-whip, as it can turn grainy.
- Step 9: Gently fold the whipped cream into the cream cheese mixture using a spatula, until no streaks remain. Do this in two additions to maintain the airiness of the whipped cream.
Assembly and Chilling:
- Step 10: Pour the cheesecake filling over the cooled Rice Krispie Treat crust in the springform pan. Smooth the top with an offset spatula or the back of a spoon.
- Step 11: Cover the cheesecake loosely with plastic wrap and refrigerate for at least 6 hours, or preferably overnight, to allow it to set completely. This chilling time is crucial for the cheesecake to firm up and for the flavors to meld beautifully.
Garnish and Serve:
- Step 12: Once chilled, carefully remove the sides of the springform pan. If using parchment paper on the bottom, you can slide it onto your serving platter.
- Step 13: Garnish with extra mini marshmallows, sprinkles, chocolate shavings, or a drizzle of chocolate fudge sauce just before serving. Each slice of this rice krispie treat cheesecake bliss recipe is a delightful experience!
Variations & Serving Suggestions for Your Rice Krispie Treat Cheesecake Bliss Recipe
This rice krispie treat cheesecake bliss recipe is already a showstopper, but with a few tweaks, you can make it truly your own! Here are some creative ideas to inspire you:
Flavor Variations:
- Chocolate Lover’s Dream: Add 1/2 cup of melted, cooled semi-sweet chocolate to the cheesecake filling for a rich chocolate swirl. Or, mix in 1/2 cup of mini chocolate chips. You could even use cocoa Rice Krispies for the base!
- Fruity & Fresh: Fold in 1/2 cup of finely diced fresh strawberries or raspberries into the cheesecake filling. Garnish with more fresh berries for a burst of color and tartness. This contrasts wonderfully with the sweet rice krispie treat cheesecake bliss recipe.
- Caramel Delight: Drizzle warm caramel sauce over the top of the set cheesecake before serving, perhaps with a sprinkle of flaky sea salt for a salted caramel twist. This would be fantastic with some chopped pecans, reminiscent of a delicious Butter Pecan Praline Bites.
- Mint Chocolate Magic: Add 1/2 teaspoon of mint extract to the cheesecake filling and a few drops of green food coloring for a festive touch. Garnish with crushed chocolate mints or mini chocolate chips.
Serving Suggestions:
- The Classic: Serve a generous slice on its own, allowing the textures and flavors of this rice krispie treat cheesecake bliss recipe to shine.
- With a Sauce Drizzle: Offer a variety of sauces on the side – chocolate fudge, raspberry coulis, or extra caramel – allowing guests to customize their slice.
- Coffee Companion: This rich dessert pairs beautifully with a hot cup of coffee, espresso, or a glass of cold milk.
- Party Perfect: Cut into smaller squares or bars for easy-to-handle party treats. This is especially convenient if you are bringing it to a potluck or gathering.
Whatever variation you choose, this rice krispie treat cheesecake bliss recipe is sure to impress!
Nutrition Information
Here’s a breakdown of the estimated nutrition information per serving for our delightful rice krispie treat cheesecake bliss recipe:
| Nutrient | Amount Per Serving |
|---|---|
| Calories | 480 kcal |
| Carbohydrate Content | 55g |
| Cholesterol Content | 75mg |
| Fat Content | 28g |
| Fiber Content | 1g |
| Protein Content | 5g |
| Saturated Fat Content | 17g |
| Serving Size | 1 slice (1/12 of cake) |
| Sodium Content | 210mg |
| Sugar Content | 40g |
| Trans Fat Content | 0.5g |
| Unsaturated Fat Content | 9g |
Conclusion
And there you have it – the ultimate rice krispie treat cheesecake bliss recipe, a no-bake wonder that marries two beloved desserts into one unforgettable creation. This recipe truly is a testament to how simple ingredients can come together to create something extraordinary. Whether you’re making it for a special occasion or just to treat yourself, the combination of crunchy, chewy, and creamy will leave everyone wanting more. Don’t forget, leftovers store beautifully in an airtight container in the refrigerator for up to 3-4 days. I often use Basics Glass Food Storage for this. So go ahead, whip up this amazing rice krispie treat cheesecake bliss recipe and share a little bit of joy. You might just find your new favorite dessert. For another decadent cheesecake experience, check out our Triple Chocolate Mousse Cheesecake Slices!
FAQs
Can I make this Rice Krispie Treat Cheesecake Bliss recipe ahead of time?
Absolutely! This no-bake rice krispie treat cheesecake bliss recipe is perfect for making in advance. It needs at least 6 hours to chill and set, but can be made up to 2-3 days ahead of time and stored, covered, in the refrigerator. In fact, making it ahead often allows the flavors to meld even more beautifully.
How do I prevent my Rice Krispie Treat crust from getting too hard?
To ensure your rice krispie treat cheesecake bliss recipe crust remains perfectly chewy and not overly hard, make sure not to overcook the marshmallows when melting them with butter. Also, avoid packing the mixture too densely into the pan. A firm but not rock-hard press is ideal. Using fresh marshmallows also helps maintain a softer texture.
What are some good topping ideas for this Rice Krispie Treat Cheesecake Bliss recipe?
The topping possibilities for this rice krispie treat cheesecake bliss recipe are endless! Popular choices include fresh berries (strawberries, raspberries), chocolate shavings, a drizzle of chocolate fudge or caramel sauce, whipped cream, or extra mini marshmallows. For a bit of crunch, you could add chopped nuts or sprinkles.
Can I use low-fat cream cheese for the cheesecake filling?
While you technically could, it is highly recommended to use full-fat cream cheese for this rice krispie treat cheesecake bliss recipe. Low-fat cream cheese often contains more water, which can lead to a less stable and less creamy filling. Full-fat cream cheese provides the rich texture and structural integrity essential for a delicious no-bake cheesecake.
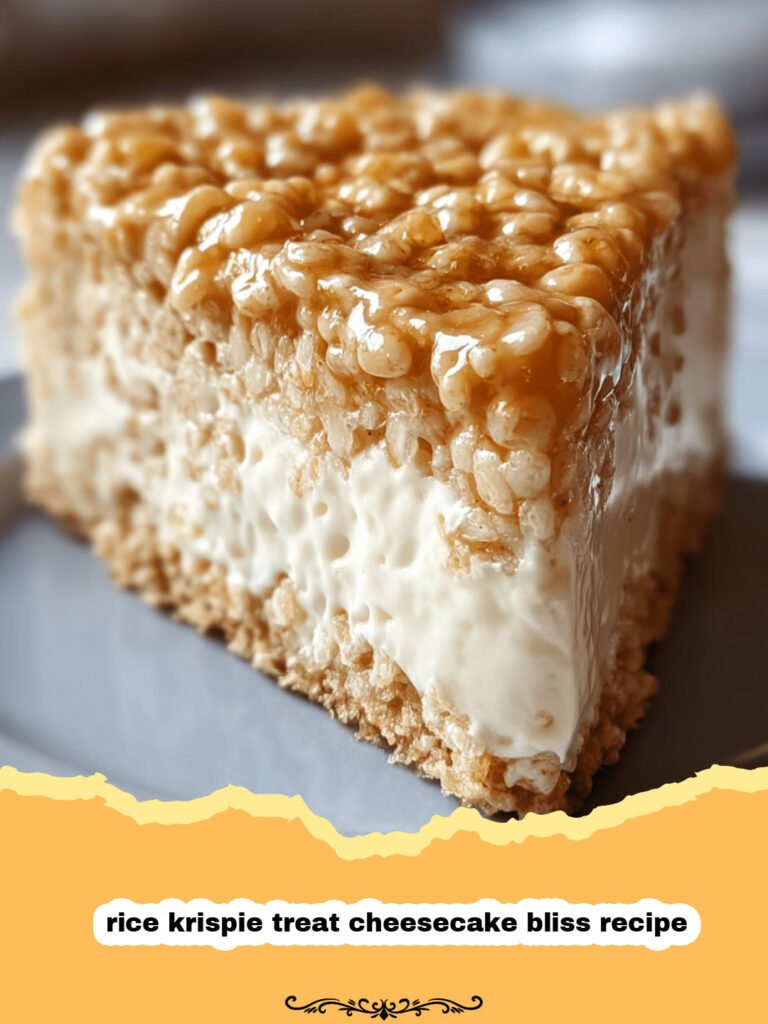
Rice Krispie Treat Cheesecake Bliss
A delightful no-bake cheesecake featuring a crispy, chewy Rice Krispie Treat crust topped with a rich, creamy vanilla cheesecake filling. This dessert brings together childhood nostalgia with sophisticated flavor, perfect for any occasion.
- Total Time: 6 hours 30 minutes (includes chilling)
- Yield: 12 servings 1x
Ingredients
1/2 cup (1 stick) unsalted butter
10 ounces mini marshmallows (about 6 cups)
6 cups Rice Krispies cereal
16 ounces (2 blocks) full-fat cream cheese, softened
1 cup powdered sugar
1 teaspoon vanilla extract
1/4 teaspoon salt
1 1/2 cups cold heavy cream
Instructions
Step 1: Grease a 9-inch springform pan with butter or cooking spray. Line the bottom with parchment paper for easy removal, if desired.
Step 2: In a large, microwave-safe bowl, melt 1/2 cup (1 stick) unsalted butter. Add 10 ounces of mini marshmallows and stir until completely melted and smooth. Alternatively, melt butter and marshmallows in a large pot over medium-low heat.
Step 3: Remove from heat and quickly stir in 6 cups of Rice Krispies cereal until fully coated.
Step 4: Press the Rice Krispie mixture evenly into the bottom of the prepared springform pan. Use a piece of parchment paper or buttered hands to press it down firmly and create a compact, even crust. Set aside to cool and firm up while you prepare the filling.
Step 5: In a large mixing bowl, beat 16 ounces of softened full-fat cream cheese with 1 cup of powdered sugar until smooth and creamy. Ensure there are no lumps.
Step 6: Add 1 teaspoon of vanilla extract and 1/4 teaspoon of salt to the cream cheese mixture, beating until just combined.
Step 7: In a separate, very cold bowl, whip 1 1/2 cups of cold heavy cream until stiff peaks form. Be careful not to over-whip.
Step 8: Gently fold the whipped cream into the cream cheese mixture using a spatula, until no streaks remain. Do this in two additions to maintain the airiness.
Step 9: Pour the cheesecake filling over the cooled Rice Krispie Treat crust in the springform pan. Smooth the top with an offset spatula or the back of a spoon.
Step 10: Cover the cheesecake loosely with plastic wrap and refrigerate for at least 6 hours, or preferably overnight, to allow it to set completely.
Step 11: Once chilled, carefully remove the sides of the springform pan. If using parchment paper on the bottom, you can slide it onto your serving platter.
Step 12: Garnish with extra mini marshmallows, sprinkles, chocolate shavings, or a drizzle of chocolate fudge sauce just before serving.
Notes
Ensure all ingredients, especially cream cheese and heavy cream, are at the correct temperature as specified for optimal texture. Chilling time is crucial for the cheesecake to set properly. For easier slicing, run a thin, warm knife under hot water before each cut.
- Prep Time: 30 minutes
- Cook Time: 0 minutes
- Category: Baked Goods
- Cuisine: American
Nutrition
- Serving Size: 1 slice (1/12 of cake)
- Calories: 480 kcal
- Sugar: 40g
- Sodium: 210mg
- Fat: 28g
- Saturated Fat: 17g
- Unsaturated Fat: 9g
- Trans Fat: 0.5g
- Carbohydrates: 55g
- Fiber: 1g
- Protein: 5g
- Cholesterol: 75mg
Keywords: rice krispie treat cheesecake bliss recipe, no-bake cheesecake, rice krispie treat crust, dessert recipe, easy cheesecake, sweet treat, marshmallow dessert, party dessert




