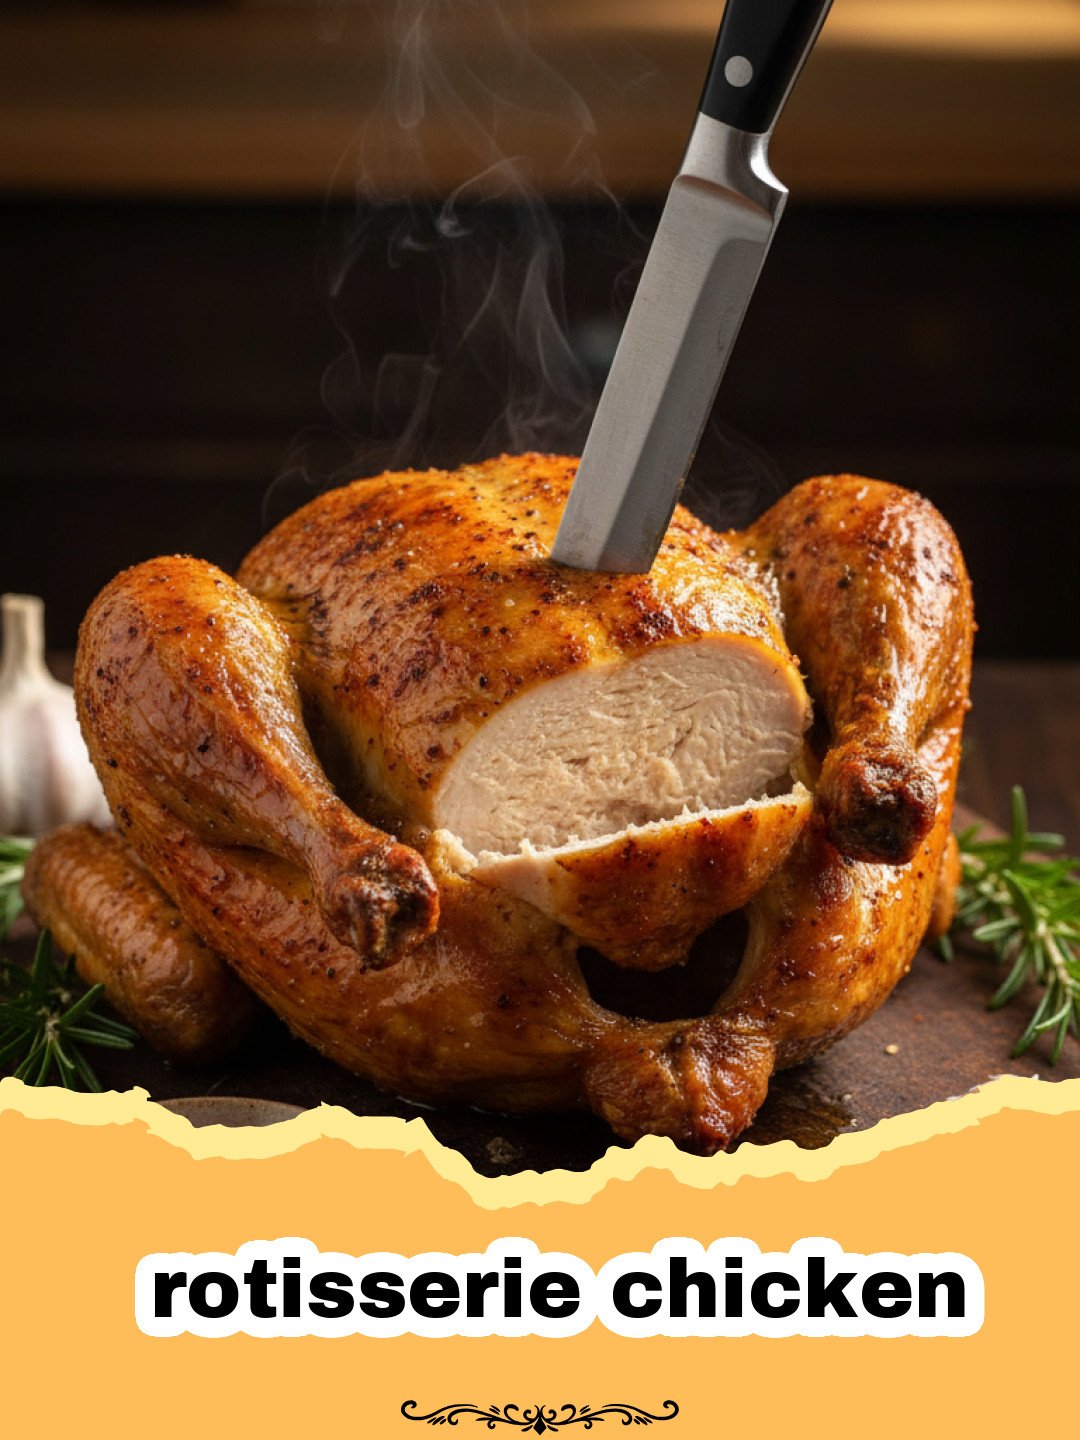
Ah, the humble rotisserie chicken. For many, it’s a Weeknight Warrior, a savior from the grocery store deli promising a quick, easy, and satisfying dinner. I remember vividly those bustling Saturday afternoons after my sister’s soccer games. Mom, always rushing, would swing by the supermarket, and the aroma of that golden-brown, perfectly roasted rotisserie chicken would hit us the moment we walked in. It was a beacon of comfort, a promise of a delicious meal without the fuss, often accompanied by a simple bag of salad and some crusty bread. Fast forward to my own busy adult life, and I found myself craving that same effortless perfection, but with a desire to control the ingredients and achieve an even deeper, more robust flavor. That’s when I embarked on my quest to master the homemade version. What started as a convenience quest transformed into a culinary revelation, proving that you don’t need a fancy rotisserie machine to achieve that signature juicy interior and irresistibly crispy skin. This recipe for homemade rotisserie chicken isn’t just a meal; it’s a testament to bringing restaurant-quality comfort into your own kitchen with surprisingly little effort.
Why This Homemade Rotisserie Chicken is a Must-Try
Unbeatable Flavor and Juiciness
Unlike many store-bought versions that can sometimes be dry or overly salty, this homemade rotisserie chicken recipe ensures a consistently moist and tender interior, infused with aromatic herbs and spices. Every bite is packed with savory goodness.
Crispy, Golden Skin Every Time
Achieving that coveted, crackling crispy skin is a hallmark of a great rotisserie chicken. Our method focuses on techniques that guarantee a beautifully browned, crunchy exterior that contrasts perfectly with the succulent meat beneath.
Economical and Versatile
Buying a whole chicken and roasting it yourself is often more cost-effective than purchasing pre-cooked birds. Plus, the versatility of homemade rotisserie chicken is endless! Enjoy it as the star of your dinner, or shred the leftovers for salads, sandwiches, tacos, or even a flavorful ground chicken skillet.
Customizable to Your Taste
With this recipe, you have complete control over the seasoning. Want more garlic? Go for it! Craving a spicy kick? Add some cayenne. You can tailor the flavors of your rotisserie chicken to perfectly suit your palate.
Surprisingly Easy for a Restaurant-Quality Meal
Don’t let the impressive results fool you; making a perfect rotisserie chicken at home is simpler than you might think. With a few key steps and a little patience, you’ll be serving up a show-stopping meal that tastes like it came from a gourmet kitchen.
Key Ingredient Notes for Your Perfect Rotisserie Chicken
While the process for making a delicious rotisserie chicken is straightforward, the quality and preparation of a few key ingredients can elevate your meal from good to absolutely extraordinary.
The Whole Chicken
Choosing the right chicken is paramount. I recommend a whole chicken weighing between 3 to 5 pounds. This size cooks more evenly and thoroughly in a home oven. Look for a fresh, healthy-looking bird. If frozen, ensure it’s completely thawed before you begin. Patting the chicken thoroughly dry with paper towels before seasoning is a non-negotiable step for achieving that irresistible crispy skin. Moisture on the skin prevents browning and crisping.
Herbs and Spices: The Flavor Foundation
The magic of a great rotisserie chicken often lies in its seasoning blend. My go-to includes a generous mix of garlic powder, onion powder, paprika (smoked or sweet, depending on your preference), dried thyme, dried rosemary, salt, and black pepper. Fresh herbs like rosemary sprigs and thyme tucked into the cavity also add incredible aroma and depth. Don’t be shy with the seasoning; a whole chicken needs a good amount to ensure flavor penetrates beyond the skin. For an extra punch, consider adding a touch of dried oregano or even a pinch of cayenne pepper for a subtle warmth.
Butter or Olive Oil: For Golden Crispness
Whether you choose softened unsalted butter or good quality olive oil, a thin coating over the entire chicken is crucial. This not only helps the seasoning adhere but also promotes a beautiful golden-brown color and incredibly crispy skin. Butter adds a richer flavor, while olive oil keeps it a bit lighter. You can also combine the two for the best of both worlds. The fat acts as a conductor for heat, ensuring the skin gets wonderfully crisp as the rotisserie chicken roasts.
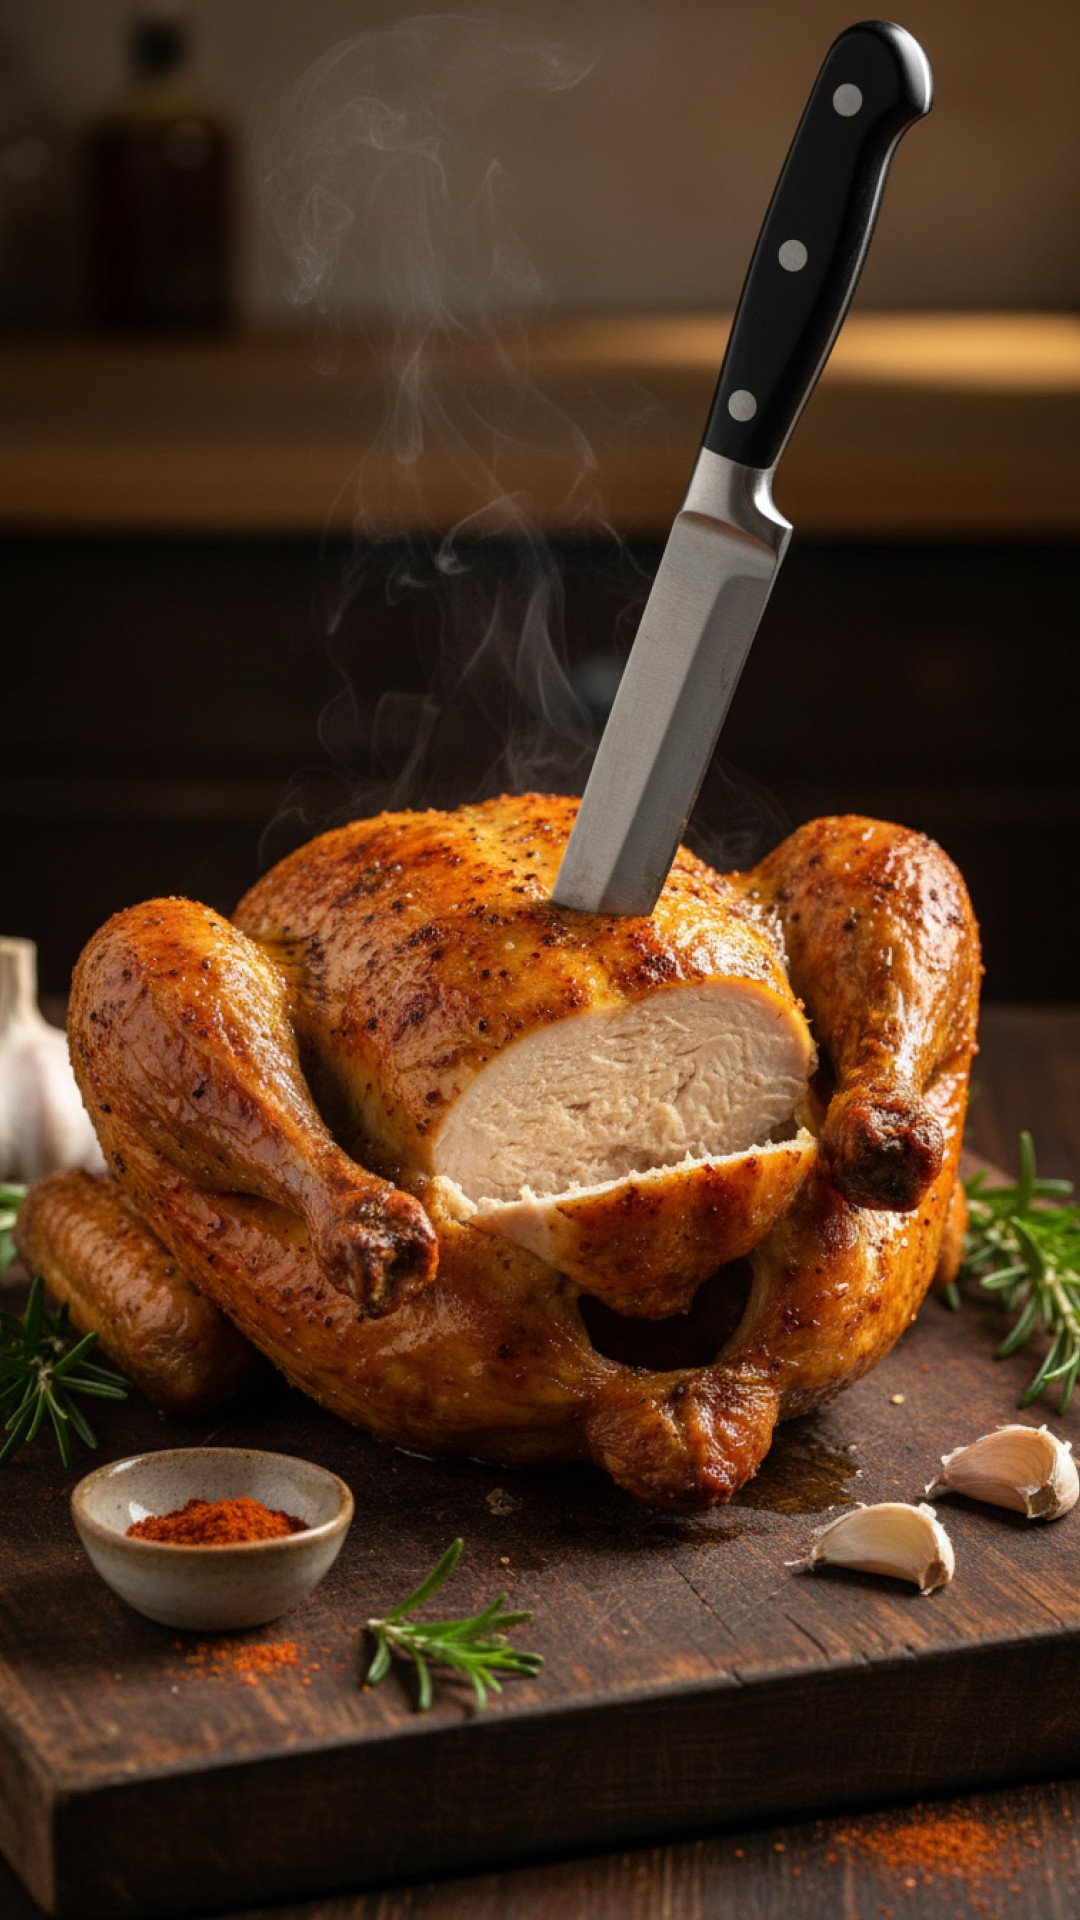
Step-by-Step Guide to Your Best Homemade Rotisserie Chicken with Pro Tips
Get ready to create a masterpiece. This detailed guide will walk you through every step to ensure your homemade rotisserie chicken is a resounding success.
Preparation is Key
Step 1: Begin by removing the chicken from its packaging. Take out the giblets and neck from the cavity (you can save these for stock if you like). Pat the entire chicken, inside and out, thoroughly dry with paper towels. This step is critical for crispy skin on your rotisserie chicken.
Step 2: In a small bowl, combine your chosen seasonings: 1 tablespoon salt, 1 teaspoon black pepper, 1 teaspoon garlic powder, 1 teaspoon onion powder, 1 teaspoon paprika, 1/2 teaspoon dried thyme, and 1/2 teaspoon dried rosemary. Mix well.
Step 3: Place the dried chicken on a cutting board or a clean work surface. If using softened butter, gently rub it all over the chicken, under the skin (especially over the breast meat) and on top of the skin. If using olive oil, drizzle it evenly and rub to coat. This layer of fat is essential for a moist rotisserie chicken.
Step 4: Generously sprinkle the seasoning mix over the entire chicken, ensuring all surfaces are covered. Don’t forget to season the cavity lightly too. For extra flavor, place a few lemon wedges, garlic cloves, and sprigs of fresh rosemary and thyme inside the cavity.
Step 5: (Optional but recommended for even cooking): Truss the chicken. Using kitchen twine, tie the legs together, then bring the wings underneath the body, tucking them in tightly. This helps the chicken cook more evenly and prevents the wing tips from burning, giving you a perfectly shaped rotisserie chicken.
Roasting to Perfection
Step 6: Preheat your oven to 425°F (220°C). Place the seasoned and trussed chicken on a roasting rack set inside a shallow roasting pan. If you don’t have a rack, you can create one with a few carrots and celery stalks, or crumpled aluminum foil balls to lift the chicken off the pan, allowing for better air circulation and crispier skin for your rotisserie chicken.
Step 7: Roast the chicken at 425°F (220°C) for 15-20 minutes, until the skin begins to turn golden brown. This initial high heat blast helps crisp the skin beautifully.
Step 8: Reduce the oven temperature to 375°F (190°C). Continue roasting for another 60-90 minutes, or until an instant-read thermometer inserted into the thickest part of the thigh (without touching the bone) registers 165°F (74°C). The total cooking time for a rotisserie chicken will vary depending on its size and your oven.
Step 9: During the last 30 minutes of cooking, you can baste the chicken every 15 minutes with the pan juices for extra flavor and moisture. However, for maximum crispiness of the rotisserie chicken skin, you can skip basting, as the fat rub already does a great job.
Resting and Serving
Step 10: Once the chicken reaches the internal temperature of 165°F (74°C), carefully remove it from the oven. Transfer the rotisserie chicken to a clean cutting board and tent loosely with aluminum foil. Let it rest for at least 15-20 minutes. This resting period is crucial; it allows the juices to redistribute throughout the meat, ensuring every slice of your rotisserie chicken is incredibly tender and juicy.
Step 11: Carve your perfectly roasted rotisserie chicken and serve warm. Enjoy!
Variations & Serving Suggestions for Your Homemade Rotisserie Chicken
This homemade rotisserie chicken is a blank canvas for culinary creativity. Here are some ideas to keep your meals exciting:
Flavor Variations:
- Lemon-Herb: Add extra lemon slices to the cavity and zest to the seasoning rub.
- Spicy Southwest: Incorporate chili powder, cumin, and a pinch of cayenne into your rub. Serve with a squeeze of lime.
- Mediterranean: Use dried oregano, marjoram, and a touch of allspice. Stuff the cavity with quartered onions and garlic.
- Garlic & Rosemary: Increase garlic powder and fresh rosemary. You can even make a garlic-rosemary butter to rub under the skin.
Serving Suggestions:
The beauty of a rotisserie chicken is its versatility. It pairs wonderfully with almost anything! Here are some classic and creative ideas:
- Classic Comfort: Serve alongside creamy baked mac and cheese, mashed potatoes, or roasted root vegetables like carrots and parsnips.
- Light & Fresh: A simple green salad with a vinaigrette dressing, or a vibrant quinoa salad makes for a perfect complement to your rotisserie chicken.
- International Flair: Shred the leftover rotisserie chicken for tacos, burritos, quesadillas, or even a quick chicken curry.
- Breakfast/Brunch: Leftover shredded rotisserie chicken can be folded into omelets or frittatas.
- Soup Star: The carcass and leftover meat are fantastic for making homemade chicken broth or a hearty chicken noodle soup. Don’t let any part of your delicious rotisserie chicken go to waste!
For an optimal roasting experience, consider investing in a durable roasting pan with a V-rack. It ensures even cooking and easier cleanup.
Nutrition Information
Below is an estimated nutritional breakdown for one serving of this homemade rotisserie chicken recipe. Please note that these values can vary based on specific ingredients and preparation methods.
| Calories: | 350 kcal |
| Carbohydrate Content: | 2g |
| Cholesterol Content: | 110mg |
| Fat Content: | 25g |
| Fiber Content: | 0.5g |
| Protein Content: | 30g |
| Saturated Fat Content: | 8g |
| Serving Size: | 4 oz (112g) |
| Sodium Content: | 380mg |
| Sugar Content: | 0.5g |
| Trans Fat Content: | 0.1g |
| Unsaturated Fat Content: | 15g |
Conclusion
Making your own rotisserie chicken at home is a rewarding experience that yields incredibly delicious results. This recipe proves that you don’t need a special machine to achieve that coveted juicy meat and crispy skin that defines a perfect rotisserie chicken. It’s a comforting, versatile, and economical meal that’s perfect for busy weeknights, special occasions, or simply when you’re craving that classic flavor. So next time you’re at the grocery store, skip the pre-cooked bird and grab a whole chicken instead. You’ll be amazed at how simple it is to create a homemade rotisserie chicken that surpasses any store-bought option. Happy roasting!
FAQs
How do I get crispy skin on my homemade rotisserie chicken?
To achieve crispy skin on your rotisserie chicken, it’s crucial to thoroughly pat the chicken dry with paper towels before applying any seasoning or fat. An initial high-temperature roast (425u00b0F for 15-20 minutes) helps to crisp the skin quickly. Also, avoid overcrowding the roasting pan to allow for proper air circulation around the chicken.
What internal temperature should a rotisserie chicken be cooked to?
Your homemade rotisserie chicken is safely cooked when an instant-read thermometer inserted into the thickest part of the thigh (without touching the bone) registers 165u00b0F (74u00b0C). Always allow the chicken to rest for 15-20 minutes after cooking to redistribute juices, which can cause the temperature to rise a few more degrees.
Can I brine the chicken for a more juicy result?
Absolutely! Brining your whole chicken for 2-4 hours before drying and seasoning can significantly enhance its juiciness and flavor. A basic brine consists of water, salt, and optionally some sugar and aromatics. Just ensure you rinse the chicken thoroughly after brining and pat it very dry before roasting.
How can I use leftover rotisserie chicken?
Leftover rotisserie chicken is incredibly versatile! You can shred it for sandwiches, tacos, burritos, quesadillas, or as a topping for salads. It’s also excellent in soups, stews, casseroles, or even for making a quick chicken salad. Don’t forget to use the carcass to make a flavorful homemade chicken stock!
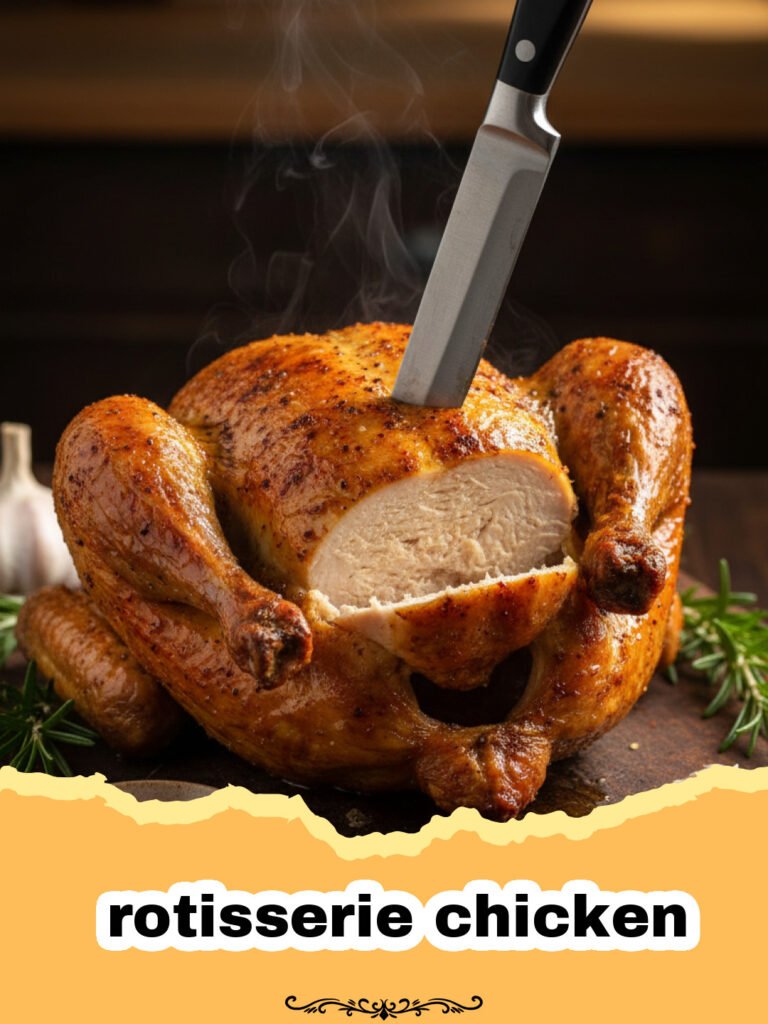
Homemade Rotisserie Chicken
The ultimate recipe for a perfectly juicy, flavorful, and crispy homemade rotisserie chicken, easily achievable in your own oven with simple ingredients.
- Total Time: 1 hour 50 minutes to 2 hours 20 minutes
- Yield: 6–8 servings 1x
Ingredients
1 whole chicken (3–5 pounds), giblets removed
1 tablespoon salt
1 teaspoon black pepper
1 teaspoon garlic powder
1 teaspoon onion powder
1 teaspoon paprika (sweet or smoked)
1/2 teaspoon dried thyme
1/2 teaspoon dried rosemary
2 tablespoons unsalted butter, softened, or olive oil
Optional: lemon wedges, garlic cloves, fresh rosemary and thyme sprigs for cavity
Optional: kitchen twine for trussing
Instructions
Step 1: Begin by removing the chicken from its packaging. Take out the giblets and neck from the cavity. Pat the entire chicken, inside and out, thoroughly dry with paper towels. This step is critical for crispy skin.
Step 2: In a small bowl, combine your chosen seasonings: 1 tablespoon salt, 1 teaspoon black pepper, 1 teaspoon garlic powder, 1 teaspoon onion powder, 1 teaspoon paprika, 1/2 teaspoon dried thyme, and 1/2 teaspoon dried rosemary. Mix well.
Step 3: Place the dried chicken on a cutting board or a clean work surface. If using softened butter, gently rub it all over the chicken, under the skin (especially over the breast meat) and on top of the skin. If using olive oil, drizzle it evenly and rub to coat.
Step 4: Generously sprinkle the seasoning mix over the entire chicken, ensuring all surfaces are covered. Don’t forget to season the cavity lightly too. For extra flavor, place a few lemon wedges, garlic cloves, and sprigs of fresh rosemary and thyme inside the cavity.
Step 5: (Optional but recommended for even cooking): Truss the chicken. Using kitchen twine, tie the legs together, then bring the wings underneath the body, tucking them in tightly. This helps the chicken cook more evenly and prevents the wing tips from burning.
Step 6: Preheat your oven to 425°F (220°C). Place the seasoned and trussed chicken on a roasting rack set inside a shallow roasting pan.
Step 7: Roast the chicken at 425°F (220°C) for 15-20 minutes, until the skin begins to turn golden brown. This initial high heat blast helps crisp the skin beautifully.
Step 8: Reduce the oven temperature to 375°F (190°C). Continue roasting for another 60-90 minutes, or until an instant-read thermometer inserted into the thickest part of the thigh (without touching the bone) registers 165°F (74°C).
Step 9: During the last 30 minutes of cooking, you can baste the chicken every 15 minutes with the pan juices for extra flavor and moisture. However, for maximum crispiness of the skin, you can skip basting.
Step 10: Once the chicken reaches the internal temperature of 165°F (74°C), carefully remove it from the oven. Transfer the chicken to a clean cutting board and tent loosely with aluminum foil. Let it rest for at least 15-20 minutes.
Step 11: Carve your perfectly roasted chicken and serve warm. Enjoy!
Notes
For an even juicier chicken, consider a quick brine (2-4 hours in a salt and sugar solution) before drying and seasoning. Always use an instant-read thermometer to ensure the chicken reaches a safe internal temperature of 165°F (74°C) in the thickest part of the thigh.
- Prep Time: 20 minutes
- Cook Time: 1 hour 30 minutes to 2 hours
- Category: Main Dishes
- Cuisine: American
Nutrition
- Serving Size: 4 oz (112g)
- Calories: 350 kcal
- Sugar: 0.5g
- Sodium: 380mg
- Fat: 25g
- Saturated Fat: 8g
- Unsaturated Fat: 15g
- Trans Fat: 0.1g
- Carbohydrates: 2g
- Fiber: 0.5g
- Protein: 30g
- Cholesterol: 110mg
Keywords: rotisserie chicken recipe, homemade rotisserie chicken, oven roasted chicken, whole chicken recipe, juicy chicken, crispy skin chicken, easy chicken recipe, main dish chicken