Ingredients
2 cups all-purpose flour
1 cup fine table salt
1 cup warm water (approximately)
Instructions
Step 1: In a large mixing bowl, combine the all-purpose flour and fine table salt. Mix them thoroughly to ensure even distribution of the salt.
Step 2: Gradually add the warm water, about half a cup at a time, stirring with a spoon after each addition. Continue adding water slowly until a shaggy dough begins to form.
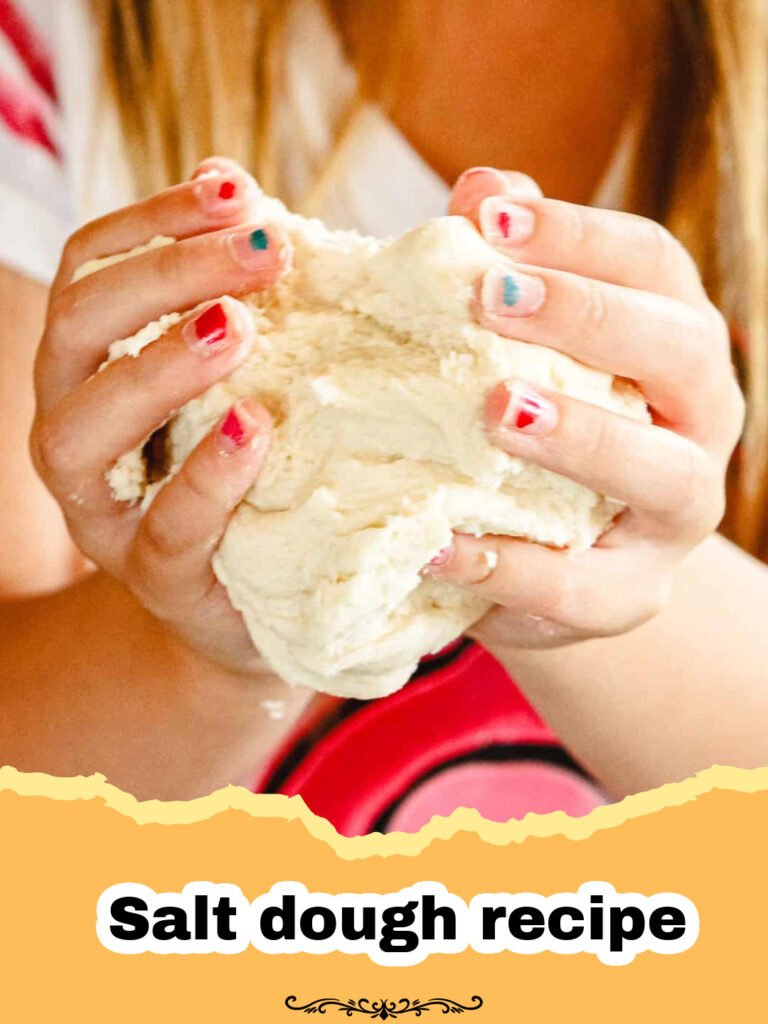
Step 3: Turn the dough out onto a lightly floured surface. Knead the dough for 5-10 minutes until it becomes smooth, elastic, and no longer sticky. Adjust with small amounts of flour or water if needed.
Step 4: Roll out the dough to your desired thickness (typically ¼ to ½ inch for most crafts) using a rolling pin. Ensure an even thickness for uniform drying.
Step 5: Use cookie cutters, knives (with adult supervision), or your hands to cut and mold your desired shapes. For ornaments, remember to poke a hole at the top for hanging before drying.
Step 6: Carefully transfer your salt dough creations to a baking sheet lined with parchment paper, leaving some space between each piece.
Step 7: Bake in a preheated oven at the lowest possible temperature (around 200°F or 95°C) for 2-4 hours or longer, depending on the thickness of your items. The goal is to dry and harden, not to bake. They are done when completely hard to the touch.
Step 8: Once completely dry, turn off the oven and let the creations cool completely on the baking sheet inside the oven or on a wire rack. This slow cooling helps prevent cracking.
Step 9: Your salt dough crafts are now ready for decorating! Paint with acrylics, add glitter, or seal with a clear varnish for durability and shine. Sealing protects against humidity.
Notes
Always use fine table salt for the best texture. The baking time is actually a slow drying process; keeping the oven temperature low is key to preventing cracks. For best results and longevity, seal your finished salt dough creations with a clear varnish, especially if they will be exposed to humidity. Unused dough can be stored tightly wrapped in plastic in the refrigerator for up to a week.
- Prep Time: 15 minutes
- Cook Time: 2-4 hours (drying time)
- Category: Crafts & DIY
- Cuisine: N/A (Craft)
Nutrition
- Serving Size: 100g (for craft, not consumption)
- Calories: ~350 kcal
- Sugar: 0g
- Sodium: ~18,000 mg
- Fat: ~1g
- Saturated Fat: 0g
- Unsaturated Fat: ~1g
- Trans Fat: 0g
- Carbohydrates: ~70g
- Fiber: ~2g
- Protein: ~10g
- Cholesterol: 0 mg
Keywords: salt dough recipe, salt dough crafts, easy crafts, kids crafts, homemade ornaments, DIY projects, non-toxic crafts, crafting with kids
