
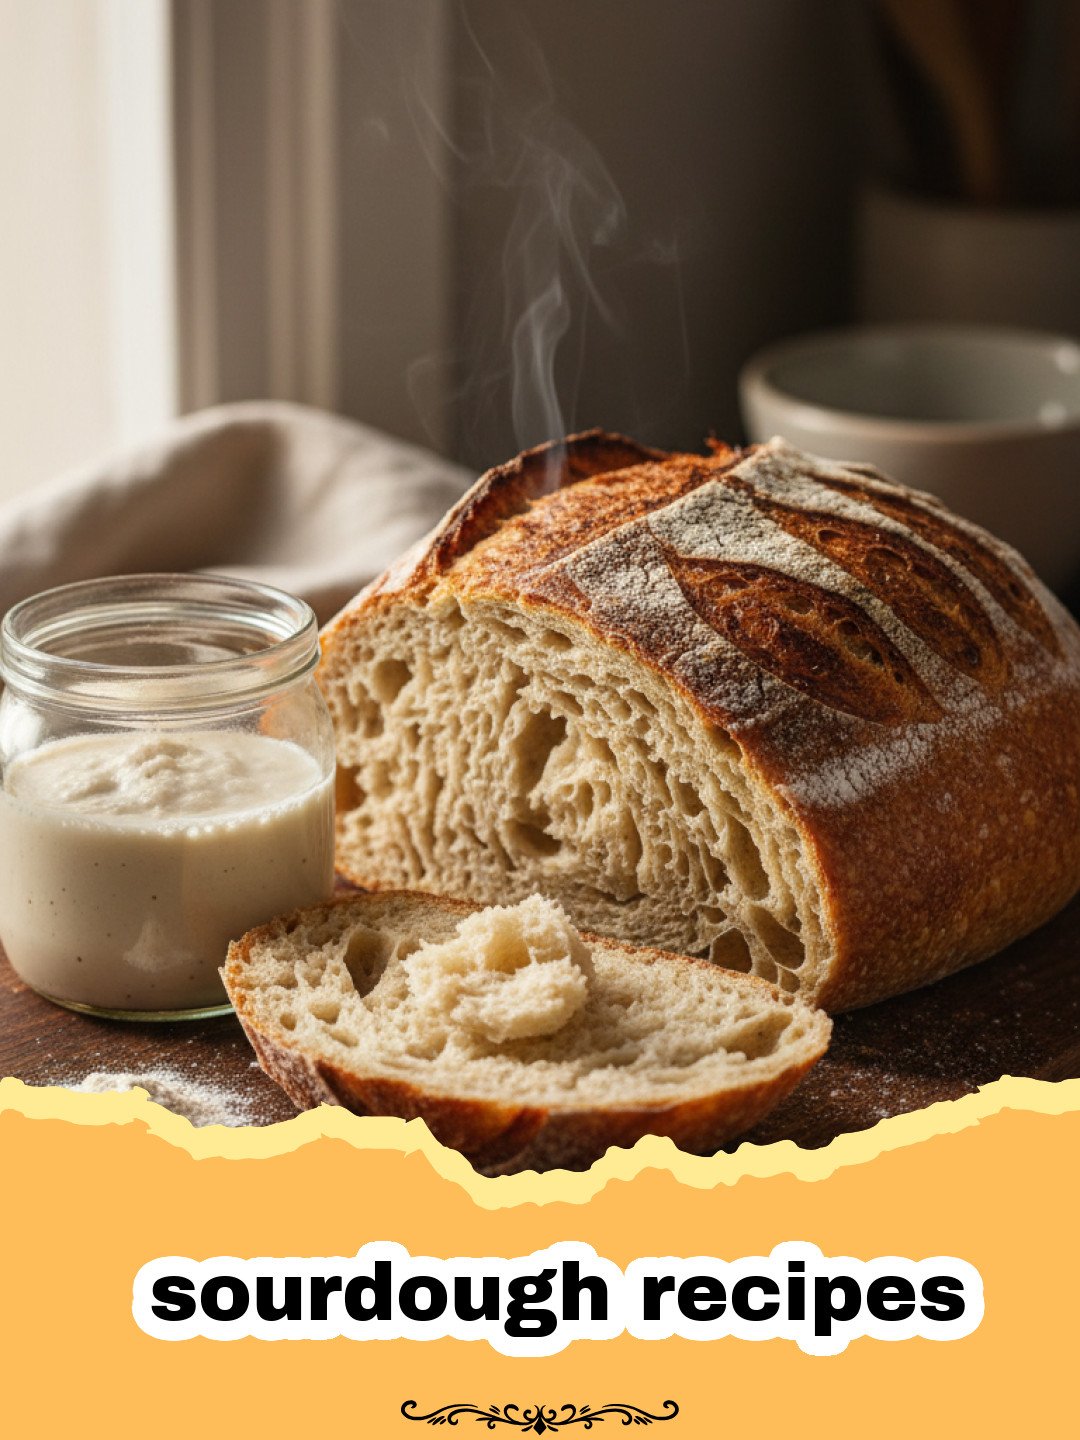
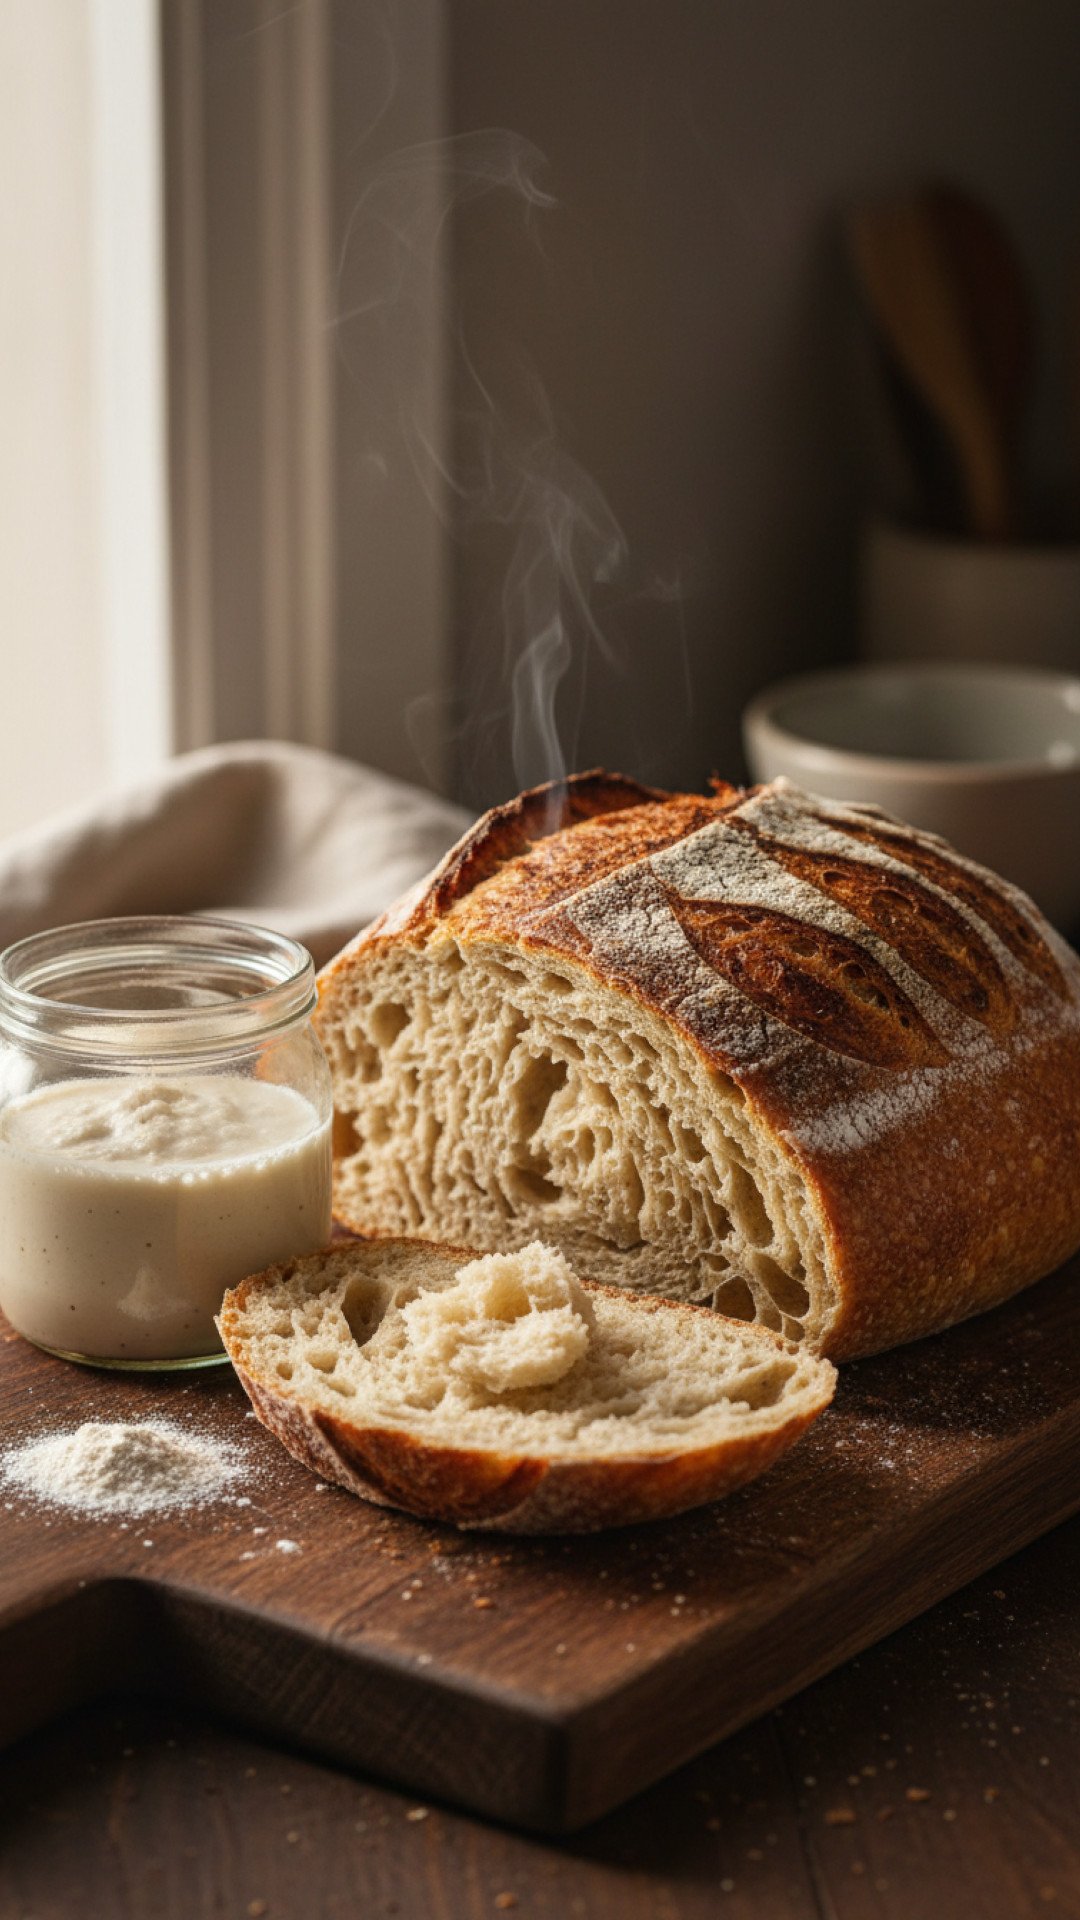
Ah, the magic of sourdough. For years, I watched from afar, intimidated by the seemingly complex world of active starters, bulk fermentation, and elusive oven springs. My kitchen, once a battlefield of failed attempts at various bread recipes, seemed particularly unsuited for the delicate art of naturally leavened bread. But then, one crisp autumn morning, armed with a jar of bubbly starter gifted by a generous friend, I decided to dive headfirst into the world of authentic sourdough recipes. The first few loaves were, to put it mildly, humble. Dense, a little sour in the wrong way, and often shaped more like a UFO than a rustic boule. But with each attempt, I learned, I adapted, and slowly, surely, the magic started to happen. The crackle of the crust, the soft, airy crumb, the unmistakable tangy aroma filling my home – there’s truly nothing like it. This journey led me to develop what I believe is the ultimate artisan sourdough recipe, perfect for anyone looking to bake a truly spectacular loaf right from their own kitchen, whether you’re a seasoned baker or just starting your sourdough adventure.
Why This Recipe is a Must-Try
- Achieve the Perfect Crust and Crumb: Say goodbye to dense, gummy bread. This recipe focuses on techniques that guarantee a beautifully golden, shatteringly crisp crust and an open, airy crumb structure with that signature chew.
- Deep, Complex Flavor Profile: The long fermentation process allows for the development of rich, nuanced flavors that are impossible to achieve with commercial yeast. It’s tangy, earthy, and incredibly satisfying.
- Therapeutic Baking Experience: There’s a meditative quality to working with sourdough. From feeding your starter to shaping your dough, each step is a hands-on experience that connects you to the ancient art of bread making.
- Customizable to Your Liking: Once you master the basic technique, the possibilities for adapting this sourdough recipe are endless, from adding seeds and herbs to experimenting with different flours.
- Health Benefits: Sourdough bread is often easier to digest and offers improved nutrient absorption compared to conventional bread due to the natural fermentation process. These sourdough recipes are not just delicious but also good for you!
Key Ingredient Notes
While the beauty of sourdough lies in its simplicity – just flour, water, salt, and starter – the quality and type of these ingredients play a crucial role in the final outcome of your sourdough recipes.
The Sourdough Starter: Your Bubbly Heartbeat
Your sourdough starter is the living, breathing heart of your bread. For this artisan sourdough recipe, you need an active and ripe starter. What does that mean? It should be fed 4-12 hours before you plan to mix your dough, show significant signs of activity (lots of bubbles, at least doubled in size), and pass the float test (a small spoonful dropped in water should float). A strong starter is key to a good rise and open crumb. If your starter isn’t robust, your sourdough recipes might fall flat.
Flour Power: Bread Flour vs. All-Purpose
For best results with this sourdough recipe, I highly recommend using a high-protein bread flour (around 12-14% protein content). Bread flour has a stronger gluten network, which is essential for trapping the gasses produced by your starter, leading to that desirable open crumb. While you can use all-purpose flour, your loaf might be a bit denser. Some bakers like to use a small percentage of whole wheat or rye flour for added flavor and nutrition, which can also contribute to fantastic sourdough recipes.
Salt: More Than Just Flavor
Salt isn’t just for seasoning; it plays a vital role in controlling fermentation, strengthening the gluten, and impacting the crust color. Use a good quality non-iodized salt, such as fine sea salt or kosher salt. Avoid iodized table salt as the iodine can sometimes interfere with the yeast activity. Precise measurement of salt is important in all sourdough recipes to ensure optimal texture and taste.
Step-by-Step Guide with Pro Tips
Baking beautiful sourdough loaves from these sourdough recipes is a journey, not a race. Take your time, trust the process, and enjoy the transformation of simple ingredients into something extraordinary.
Step 1: The Autolyse (30 minutes – 1 hour)
In a large mixing bowl, combine 350g active sourdough starter, 500g bread flour, and 350g lukewarm water. Mix until no dry flour remains. The dough will be shaggy and sticky. Cover the bowl with a damp cloth or plastic wrap and let it rest for 30 minutes to 1 hour. This step, called autolyse, allows the flour to fully hydrate and gluten development to begin, making the dough easier to work with later. It’s a foundational step for many successful sourdough recipes.
Step 2: Adding the Salt (10 minutes)
Sprinkle 10g fine sea salt over the dough. With wet hands, gently incorporate the salt by squeezing and folding the dough for about 5-10 minutes. The dough will become smoother and more elastic. Continue mixing until the salt is fully integrated. This is a crucial step in preparing your dough for the long fermentation typical of sourdough recipes.
Step 3: Bulk Fermentation & Stretch and Folds (3-5 hours)
This is where the magic happens! Cover your bowl again and let it rest at room temperature (ideally 75-78°F / 24-25°C). Over the next 3-5 hours, perform a series of ‘stretch and folds’ every 30-45 minutes. To do this, wet your hands, grab a portion of the dough from the edge, stretch it upwards, and fold it over the center. Rotate the bowl and repeat 3-4 times until all sides have been stretched and folded. Do this 4-6 times throughout the bulk fermentation period. The dough will become noticeably stronger, smoother, and more elastic, and you’ll see bubbles forming. This technique is fundamental to developing gluten and achieving an airy crumb in sourdough recipes. For easy storage of your starter or any leftover ingredients, consider using Basics Glass Food Storage containers.
Step 4: Pre-Shaping (20 minutes)
Gently turn the dough out onto a lightly floured surface. Divide it if making multiple loaves. Gently shape each portion into a loose round or rectangle. Be careful not to degas the dough too much. Let it rest, uncovered, for 20 minutes. This allows the gluten to relax, making the final shaping easier and preventing tearing. This gentle handling is key to preserving the gas generated in sourdough recipes.
Step 5: Final Shaping
Lightly flour your hands and work surface. Gently flatten the dough into a rough rectangle. Fold the bottom third up towards the middle, then fold the top third down, creating an envelope shape. Turn the dough over and gently pull it towards you to create surface tension, forming a taut boule or bâtard. Place the shaped dough seam-side up into a floured banneton (proofing basket) or a bowl lined with a floured tea towel. This tight shaping is essential for maintaining structure during baking, a hallmark of excellent sourdough recipes.
Step 6: Cold Proofing (8-16 hours)
Cover the banneton with plastic wrap or a shower cap and place it in the refrigerator for 8-16 hours (or even up to 24 hours). Cold proofing slows down fermentation, develops deeper flavors, and makes the dough much easier to handle and score. This step is non-negotiable for superior sourdough recipes.
Step 7: Baking (45-55 minutes)
Preheat your oven to 450°F (232°C) with your Dutch oven inside for at least 30-45 minutes. Carefully remove the hot Dutch oven. Gently invert the cold dough into the hot Dutch oven. Score the top of the dough with a sharp razor blade or lame – a single long slash, a cross, or a decorative pattern. This allows the steam to escape and controls where the bread expands, creating that beautiful oven spring. Cover the Dutch oven and bake for 30 minutes. Remove the lid and bake for another 15-25 minutes, or until the crust is a deep golden brown and the internal temperature reaches 200-210°F (93-99°C). Consistent temperature is critical for successful sourdough recipes.
Step 8: Cooling
Transfer the baked sourdough loaf to a wire rack and let it cool completely for at least 1-2 hours before slicing. This allows the internal structure to set and prevents a gummy crumb. Resist the urge to cut into it too soon! Patience is a virtue, especially with sourdough recipes.
Variations & Serving Suggestions
Once you’ve mastered this basic artisan sourdough recipe, the world of sourdough baking truly opens up. You can easily adapt these sourdough recipes to suit your palate and purpose:
Add-Ins for Flavor & Texture:
- Seeded Sourdough: Incorporate 1/4 to 1/2 cup of mixed seeds (sesame, poppy, sunflower, flax) during the initial mix or during the first few stretch and folds. You can toast them lightly beforehand for extra flavor.
- Herbed Sourdough: Fresh or dried herbs like rosemary, thyme, or oregano can be kneaded in. About 1-2 tablespoons of dried herbs or 1/4 cup of fresh, chopped herbs works wonderfully.
- Cheese Sourdough: Add 1/2 to 1 cup of shredded hard cheese (like Gruyere or cheddar) during the last few stretch and folds for a savory treat.
- Olive & Walnut Sourdough: Fold in chopped olives and walnuts for a Mediterranean twist. These sourdough recipes are incredibly versatile!
Serving Suggestions:
- Classic Avocado Toast: Nothing beats a thick slice of fresh sourdough topped with smashed avocado, a sprinkle of flaky sea salt, and red pepper flakes.
- Hearty Sandwiches: The sturdy crust and open crumb make sourdough perfect for holding up to robust fillings. Think gourmet grilled cheese, a classic BLT, or a vibrant veggie sandwich.
- With Soups & Stews: Sourdough’s tangy profile cuts through rich, hearty dishes beautifully. It’s perfect for dipping into a warm bowl of soup or soaking up stew juices. For another great bread-accompanying dish, consider our braised cabbage with bacon and onions.
- Bruschetta or Crostini: Toast thin slices, rub with garlic, drizzle with olive oil, and top with fresh tomatoes and basil for an appetizer.
- Sourdough Discard Creations: Don’t let any discard go to waste! Use it to make delicious pancakes or crackers. Check out our Fluffy Sourdough Discard Pancakes for a fantastic way to use your excess starter.
Nutrition Information
| Nutrient | Amount per Serving |
|---|---|
| Calories | 280 kcal |
| Carbohydrate Content | 55g |
| Cholesterol Content | 0mg |
| Fat Content | 1g |
| Fiber Content | 2g |
| Protein Content | 10g |
| Saturated Fat Content | 0g |
| Serving Size | 1 slice (approx. 70g) |
| Sodium Content | 350mg |
| Sugar Content | 0g |
| Trans Fat Content | 0g |
| Unsaturated Fat Content | 1g |
Conclusion
Embracing the art of sourdough baking with these artisan sourdough recipes is one of the most rewarding culinary journeys you can embark on. Each loaf tells a story, a testament to patience, process, and the simple magic of fermentation. From the satisfying crackle of the crust to the complex flavors that dance on your palate, homemade sourdough is an experience unlike any other. Don’t be discouraged by initial imperfections; every bake is a lesson, bringing you closer to your perfect loaf. So go ahead, feed your starter, mix your dough, and prepare to fill your home with the incredible aroma and taste of your very own artisan sourdough bread. Happy baking with your new favorite sourdough recipes!
FAQs
How do I know if my sourdough starter is active enough for these sourdough recipes?
Your sourdough starter is active enough if it has at least doubled in volume 4-12 hours after being fed, shows many visible bubbles on the surface and sides, and passes the float test. To perform the float test, drop a small spoonful of starter into a glass of water; if it floats, it’s ready to use in your sourdough recipes.
What is the purpose of cold proofing in this artisan sourdough recipe?
Cold proofing, or retarding the dough in the refrigerator, serves several crucial purposes for artisan sourdough recipes. It significantly slows down fermentation, allowing for deeper flavor development, creating a more complex tangy taste. It also makes the dough firmer and easier to handle for scoring and transferring to the Dutch oven, leading to a better oven spring and crust.
Can I use all-purpose flour instead of bread flour for sourdough recipes?
While you can use all-purpose flour, bread flour is highly recommended for these sourdough recipes. Bread flour has a higher protein content, which translates to a stronger gluten network. This strength is vital for trapping the gasses produced by fermentation, resulting in a more open, airy crumb and a better rise. Using all-purpose flour may lead to a denser loaf.
Why do I need a Dutch oven for baking this sourdough bread?
A Dutch oven creates a steamy environment around the dough during the initial baking phase, mimicking a professional bakery oven. This steam prevents the crust from setting too quickly, allowing the dough to expand maximally (oven spring) and develop a thin, crisp crust. Without adequate steam, the crust can harden prematurely, restricting expansion and resulting in a denser loaf. It’s a key tool for achieving perfect sourdough recipes.
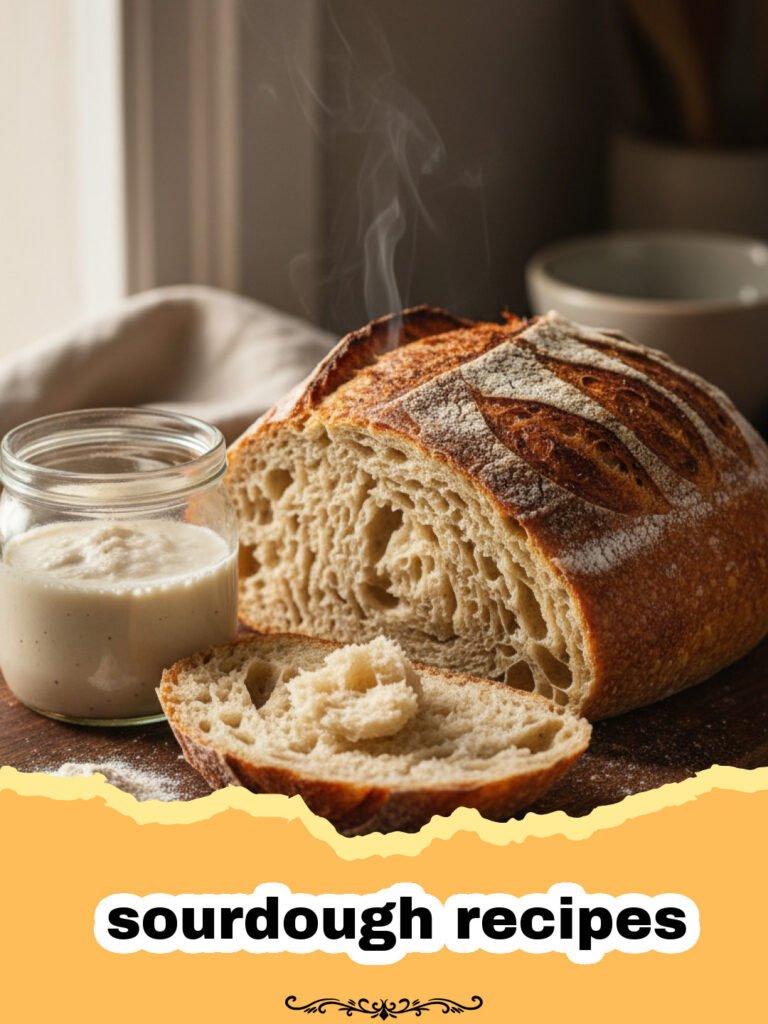
Artisan Sourdough Bread
A comprehensive, beginner-friendly recipe for baking a perfect artisan sourdough loaf with a crispy crust and an open, airy crumb. This recipe guides you through each step, from autolyse to cold proofing and baking, ensuring a delicious and satisfying result.
- Total Time: 10 hours 20 minutes (includes cold proofing)
- Yield: 1 large loaf (approx. 12–16 slices) 1x
Ingredients
350g active sourdough starter
500g bread flour (high protein)
350g lukewarm water
10g fine sea salt
Instructions
Step 1: In a large mixing bowl, combine 350g active sourdough starter, 500g bread flour, and 350g lukewarm water. Mix until no dry flour remains and the dough is shaggy and sticky. Cover with a damp cloth or plastic wrap and let it rest for 30 minutes to 1 hour (autolyse).
Step 2: Sprinkle 10g fine sea salt over the dough. With wet hands, gently incorporate the salt by squeezing and folding the dough for about 5-10 minutes until it becomes smoother and more elastic.
Step 3: Cover the bowl and let it rest at room temperature (ideally 75-78°F / 24-25°C). Perform 4-6 sets of ‘stretch and folds’ every 30-45 minutes over the next 3-5 hours. The dough should become strong and bubbly.
Step 4: Gently turn the dough out onto a lightly floured surface. Shape it into a loose round or rectangle. Let it rest, uncovered, for 20 minutes to relax the gluten.
Step 5: Lightly flour your hands and work surface. Gently flatten the dough, then fold the bottom third up, and the top third down. Turn the dough over and gently pull it towards you to create surface tension. Place the shaped dough seam-side up into a floured banneton or a bowl lined with a floured tea towel.
Step 6: Cover the banneton and place it in the refrigerator for 8-16 hours for cold proofing. This develops flavor and makes the dough easier to handle.
Step 7: Preheat your oven to 450°F (232°C) with a Dutch oven inside for 30-45 minutes. Carefully invert the cold dough into the hot Dutch oven. Score the top of the dough with a sharp blade. Cover and bake for 30 minutes.
Step 8: Remove the lid from the Dutch oven and continue baking for another 15-25 minutes, or until the crust is deep golden brown and the internal temperature is 200-210°F (93-99°C).
Step 9: Transfer the baked sourdough loaf to a wire rack and let it cool completely for at least 1-2 hours before slicing to allow the internal structure to set.
Notes
Ensure your sourdough starter is active and bubbly for the best results. The room temperature during bulk fermentation significantly impacts timing; adjust based on your environment. Don’t rush the cooling process!
- Prep Time: 1 hour 30 minutes
- Cook Time: 50 minutes
- Category: Baked Goods
- Cuisine: European
Nutrition
- Serving Size: 1 slice (approx. 70g)
- Calories: 280 kcal
- Sugar: 0g
- Sodium: 350mg
- Fat: 1g
- Saturated Fat: 0g
- Unsaturated Fat: 1g
- Trans Fat: 0g
- Carbohydrates: 55g
- Fiber: 2g
- Protein: 10g
- Cholesterol: 0mg
Keywords: sourdough bread, artisan bread, sourdough recipes, homemade bread, baking, sourdough starter, bread recipe, naturally leavened, crusty bread, beginner sourdough




