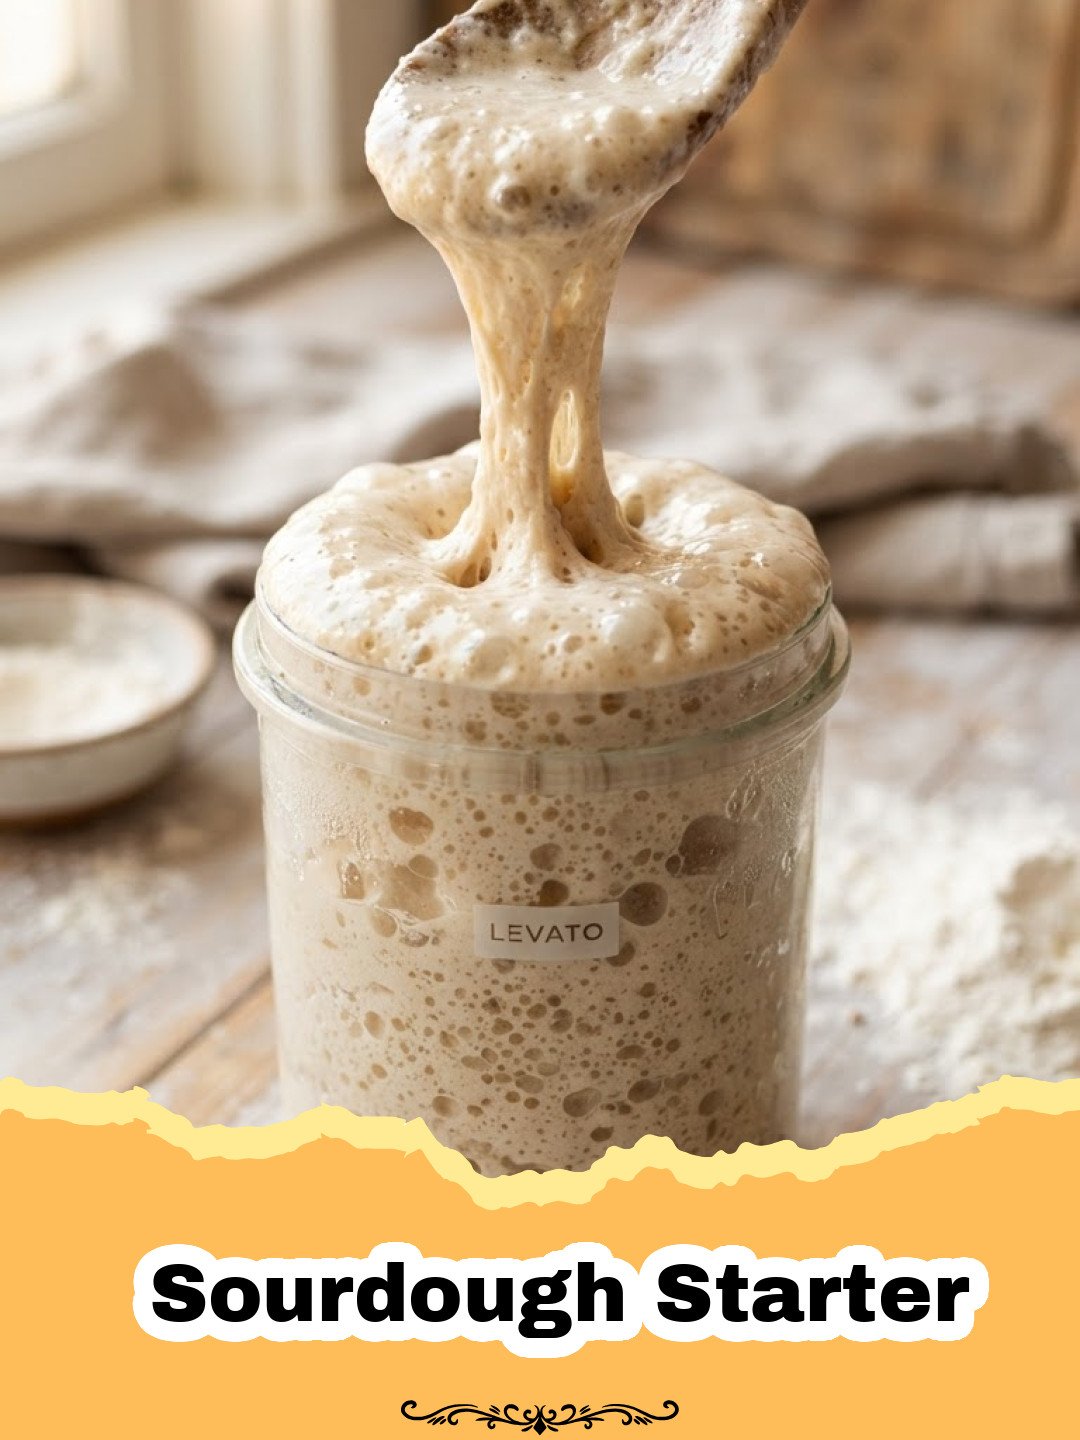
Ah, the magical world of sourdough! I remember the first time I attempted to make a Sourdough Starter. It was during the early days of the pandemic, a time when many of us found solace in our kitchens, eager to bake and create. My sourdough journey began with a tiny jar, flour, and water, armed with nothing but YouTube videos and a fervent hope. The first few days were filled with anxiety – was it bubbling enough? Did it smell right? Was that mold?! (Spoiler: it wasn’t). There were moments of doubt, moments when I nearly gave up on my sluggish, unreactive mixture. But then, one morning, like a sleepy bear waking from hibernation, my starter, whom I affectionately named ‘Bubbles,’ sprang to life. The sweet, tangy aroma filled my kitchen, and those first few glorious bubbles meant success! It felt like I had birthed a tiny, edible pet. Fast forward to today, and Bubbles is a thriving, robust Sourdough Starter, the heart of countless loaves of bread, pizza crusts, and even pancakes. This journey taught me patience, observation, and the profound satisfaction of creating something truly alive from basic ingredients. If you’ve ever dreamt of baking your own artisan bread, your journey begins right here, with this guide to cultivating your very own vibrant Sourdough Starter.
Why This Sourdough Starter is a Must-Try
- Unlock a World of Flavor: A homemade Sourdough Starter imbues your baked goods with an unparalleled tangy, complex flavor profile that simply can’t be replicated with commercial yeast.
- Experience the Joy of Slow Fermentation: Beyond flavor, sourdough offers a meditative, rewarding baking experience. It’s about nurturing a living culture and observing its natural processes.
- Improved Digestibility & Nutrition: The long fermentation process of sourdough helps break down starches and gluten, making bread more digestible for many, and potentially increasing nutrient availability.
- Economic and Sustainable Baking: Once you have a thriving Sourdough Starter, you’ll rarely need to buy commercial yeast again, making it a sustainable and cost-effective way to bake.
Key Ingredient Notes
While making a Sourdough Starter requires just two basic ingredients, the quality of these can significantly impact your success.
Flour: The Fuel for Your Fermentation
Choosing the right flour is crucial. I highly recommend using organic, unbleached all-purpose flour or, even better, organic unbleached bread flour. Why organic and unbleached? These flours retain more of their natural microbes, which are essential for kickstarting and sustaining your sourdough culture. Bleached flours have been stripped of these vital microorganisms and treated with chemicals that can inhibit fermentation. While whole wheat flour can also be used, I find it sometimes leads to a very dense starter in the beginning, and its higher protein content can make it a bit trickier for beginners to gauge consistency. Unbleached all-purpose flour provides a good balance for developing a strong, active Sourdough Starter.
Water: More Than Just Hydration
The type of water you use is just as important as your flour. Tap water often contains chlorine or chloramines, which are disinfectants added to kill bacteria – including the beneficial bacteria you want to cultivate in your Sourdough Starter. To avoid this, use filtered water, bottled spring water, or simply leave your tap water out in an open container for 24 hours to allow the chlorine to dissipate. If your tap water contains chloramines, you’ll need a good filter as they don’t evaporate easily. Using good quality water ensures your microbes have the best environment to flourish.
Step-by-Step Guide with Pro Tips
Creating your own Sourdough Starter is a patient process, but incredibly rewarding. Follow these steps carefully, and soon you’ll have your own bubbly friend.
What you’ll need: A clean, large glass jar (at least 1-quart capacity), a kitchen scale for precise measurements, a rubber spatula, a breathable cover (like cheesecloth or a loose lid), and a warm spot (70-78°F / 21-26°C).
- Step 1: The Initial Mix (Day 1): In your clean glass jar, combine 60g (approximately 1/2 cup) unbleached all-purpose flour with 60g (approximately 1/4 cup) filtered water. Mix thoroughly with a rubber spatula until there are no dry spots and the mixture is smooth, like a thick pancake batter. Scrape down the sides of the jar. Cover loosely with a lid or cheesecloth, and place it in a warm spot in your kitchen.
- Step 2: Awakening (Day 2): You might not see much activity yet, and that’s perfectly normal. Today, you’re just letting it rest and allowing the wild yeasts and bacteria to begin their work. Resist the urge to peek too often or disturb it.
- Step 3: First Feeding & Discard (Day 3): This is where the magic begins! Gently stir your starter. You might see a few tiny bubbles, and it might smell slightly sour. Discard about half (approximately 60g or 1/4 cup) of the starter. Now, feed the remaining starter with 60g unbleached all-purpose flour and 60g filtered water. Mix well, cover loosely, and return to its warm spot. This discard step is crucial for managing the acidity and encouraging stronger microbial growth.
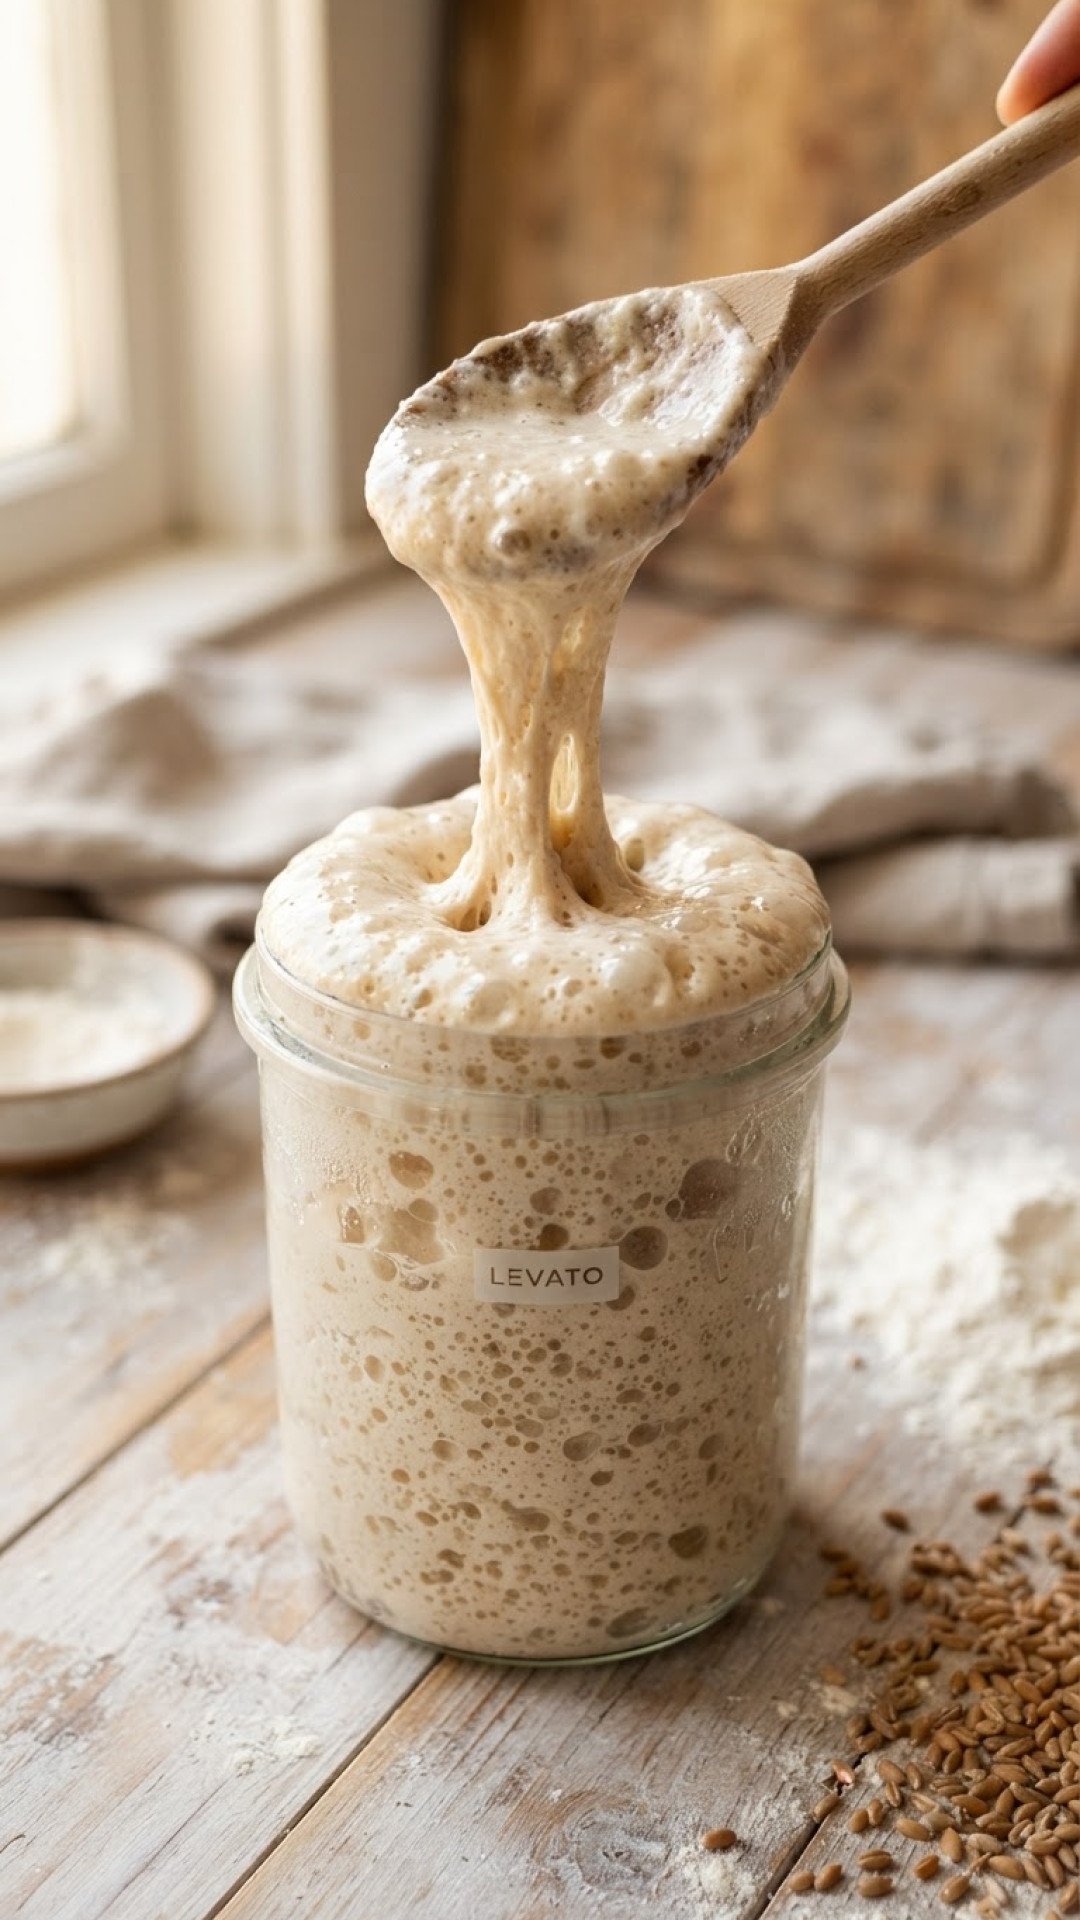
- Step 4: Regular Feeding & Observation (Day 4-7+): Continue the daily discard and feeding routine: discard half (60g), feed with 60g flour and 60g water. You should start to see more consistent activity. Look for bubbles forming on the surface and throughout the mixture. The starter should double in size within 4-8 hours after feeding and then fall back down. It should also smell pleasantly yeasty and sour, like fermented fruit or yogurt. If it smells like nail polish remover, it’s very hungry – feed it more frequently or discard more.
- Step 5: When is it Ready? (Usually Day 7-10): Your Sourdough Starter is considered active and ready to bake with when it consistently doubles in size within 4-6 hours of being fed, has many bubbles, and smells pleasantly tangy. A simple float test can confirm its readiness: drop a small spoonful of starter into a glass of water. If it floats, it’s active and ready to bake!
- Step 6: Maintenance Mode: Once active, you can maintain your Sourdough Starter on your counter with daily feedings, or store it in the refrigerator for less frequent feedings (once a week). If refrigerating, feed it, let it sit at room temperature for an hour or two, then place it in the fridge. When you want to bake, take it out, feed it once or twice at room temperature until it’s active again. For an even easier approach, consider using a good quality glass food storage container, such as these Basics Glass Food Storage containers, which are excellent for both feeding and refrigeration.
Pro Tips for a Happy Sourdough Starter:
- Consistency Matters: Aim for a thick pancake batter consistency. If it’s too thick, add a tiny bit more water; too thin, a tiny bit more flour.
- Warmth is Key: A consistently warm environment (70-78°F) is ideal for yeast and bacteria activity. If your kitchen is cold, find a warmer spot, like near a water heater, or use a proofing box.
- Don’t Fear the Discard: Discarding seems wasteful, but it’s essential for keeping your starter balanced and active. You can even use the discard in other recipes, like these amazing High-Protein Bagels or even savory crackers!
- Listen to Your Starter: Pay attention to its smell and activity. It will tell you if it’s happy or hungry.
- Keep it Clean: While some wild yeasts are good, keep your jar clean to prevent unwanted mold or bacteria from taking over.
Variations & Serving Suggestions
Once you have a vibrant Sourdough Starter, the baking world is your oyster! Don’t limit yourself to just plain loaves.
- Different Flours: Experiment with feeding your starter different flours. A rye Sourdough Starter, for example, will have a more robust, earthy flavor. You can maintain a small portion of your starter with rye for specific recipes.
- Flavor Infusions: While not directly a variation of the starter itself, your discard can be infused! Add herbs like rosemary or dried garlic to discard pancakes or crackers for a savory twist.
- Beyond Bread: Your active Sourdough Starter can be used for so much more than just bread. Think sourdough pizza crust, fluffy sourdough pancakes, tangy sourdough waffles, chewy sourdough pretzels, or even a delicious focaccia like in The Ultimate Guide to Artisanal Sourdough Focaccia with Rosemary. The possibilities are endless once you master your starter.
Nutrition Information
Understanding the nutritional profile of your Sourdough Starter is interesting, though it’s important to note that nutritional values can vary based on flour type and hydration. The following is an approximate breakdown for 100g of active starter, primarily used for feeding and general information:
| Nutrient | Amount per Serving (100g) |
|---|---|
| Calories | 175 kcal |
| Carbohydrate Content | 35 g |
| Cholesterol Content | 0 mg |
| Fat Content | 0.5 g |
| Fiber Content | 1.5 g |
| Protein Content | 5 g |
| Saturated Fat Content | 0.1 g |
| Sodium Content | 2 mg |
| Sugar Content | 0 g |
| Trans Fat Content | 0 g |
| Unsaturated Fat Content | 0.3 g |
*Note: Nutritional information is an estimate and can vary based on specific ingredients and processing.
Conclusion
Embarking on the journey of creating your own Sourdough Starter is a rewarding adventure that connects you to an age-old tradition of baking. It demands patience and observation, but the satisfaction of nurturing a living culture and producing truly artisanal baked goods is unparalleled. From that first bubbling jar to countless loaves of crusty bread, your sourdough companion will bring a unique flavor and soul to your kitchen. Don’t be afraid to experiment, learn from your starter, and most importantly, enjoy the process. Happy baking!
FAQs
What is the best type of flour to use for a sourdough starter?
For the best results, use organic, unbleached all-purpose flour or unbleached bread flour. These flours contain the natural microbes necessary for healthy fermentation. Avoid bleached flours as they lack these vital microorganisms.
How often should I feed my sourdough starter?
During the initial creation phase (Days 3-7+), you should feed your sourdough starter once every 24 hours. Once it’s active and mature, if kept at room temperature, it still needs daily feeding. If stored in the refrigerator, you can feed it once a week.
My sourdough starter isn’t bubbling. What am I doing wrong?
Lack of bubbling could be due to a few factors: an insufficient warm environment (ideally 70-78u00b0F / 21-26u00b0C), chlorinated water, or bleached flour. Ensure you’re using filtered water and unbleached flour, and try to find a warmer spot for your starter. Patience is also key; sometimes it just takes a few extra days to activate.
What can I do with sourdough starter discard?
Don’t throw it away! Sourdough starter discard can be used in a variety of delicious recipes. Common uses include pancakes, waffles, crackers, muffins, quick breads, and even cookies. It adds a wonderful tang and depth of flavor to baked goods without needing to be active and bubbly.
How to Make and Maintain a Sourdough Starter
Learn the ancient art of cultivating your own vibrant sourdough starter from scratch with just two ingredients: flour and water. This comprehensive guide will walk you through the daily steps, offering pro tips to ensure a thriving, bubbly starter ready for all your sourdough baking adventures.
- Total Time: 7-10 days (initial creation), 10 minutes daily (maintenance)
- Yield: 1 active Sourdough Starter
Ingredients
Unbleached All-Purpose Flour (or Bread Flour)
Filtered Water (chlorine-free)
Instructions
Step 1: In a clean, large glass jar (at least 1-quart capacity), combine 60g (approximately 1/2 cup) unbleached all-purpose flour with 60g (approximately 1/4 cup) filtered water. Mix thoroughly with a rubber spatula until there are no dry spots and the mixture is smooth, like a thick pancake batter. Scrape down the sides of the jar. Cover loosely with a lid or cheesecloth, and place it in a warm spot (70-78°F / 21-26°C).
Step 2: For Day 2, simply let the mixture rest. You might not see much activity, which is normal as the wild yeasts and bacteria are just beginning their work.
Step 3: On Day 3, gently stir your starter. Discard about half (approximately 60g or 1/4 cup) of the starter. Feed the remaining starter with 60g unbleached all-purpose flour and 60g filtered water. Mix well, cover loosely, and return to its warm spot. This discard step is crucial for managing acidity and encouraging growth.
Step 4: From Day 4 onwards, continue the daily discard and feeding routine: discard half (60g), then feed with 60g flour and 60g water. You should start to observe more consistent activity, such as bubbles forming on the surface and throughout the mixture. The starter should double in size within 4-8 hours after feeding and then fall back down. It should smell pleasantly yeasty and sour.
Step 5: Your Sourdough Starter is typically ready to bake with around Day 7-10 when it consistently doubles in size within 4-6 hours of feeding, exhibits numerous bubbles, and has a pleasant tangy aroma. To confirm, drop a small spoonful into a glass of water; if it floats, it’s active.
Step 6: To maintain, you can continue daily feedings at room temperature, or store your Sourdough Starter in the refrigerator with weekly feedings. If refrigerating, feed it, let it sit for an hour or two at room temperature, then place it in the fridge. Before baking, remove it from the fridge and perform 1-2 room-temperature feedings until active again.
Notes
Keep your starter in a consistently warm environment for optimal activity (70-78°F / 21-26°C). Always use unbleached flour and chlorine-free water. Don’t be afraid to discard; it’s essential for a healthy, active starter. Leftover discard can be used in many recipes, such as crackers or pancakes.
- Prep Time: 10 minutes
- Cook Time: 0 minutes
- Category: How To
- Cuisine: American
Nutrition
- Serving Size: 100g
- Calories: 175 kcal
- Sugar: 0 g
- Sodium: 2 mg
- Fat: 0.5 g
- Saturated Fat: 0.1 g
- Unsaturated Fat: 0.3 g
- Trans Fat: 0 g
- Carbohydrates: 35 g
- Fiber: 1.5 g
- Protein: 5 g
- Cholesterol: 0 mg
Keywords: sourdough starter, how to make sourdough starter, sourdough bread, wild yeast, sourdough culture, baking, homemade bread, fermentation, sourdough basics, starter recipe