Ingredients
Unbleached All-Purpose Flour (or Bread Flour)
Filtered Water (chlorine-free)
Instructions
Step 1: In a clean, large glass jar (at least 1-quart capacity), combine 60g (approximately 1/2 cup) unbleached all-purpose flour with 60g (approximately 1/4 cup) filtered water. Mix thoroughly with a rubber spatula until there are no dry spots and the mixture is smooth, like a thick pancake batter. Scrape down the sides of the jar. Cover loosely with a lid or cheesecloth, and place it in a warm spot (70-78°F / 21-26°C).
Step 2: For Day 2, simply let the mixture rest. You might not see much activity, which is normal as the wild yeasts and bacteria are just beginning their work.
Step 3: On Day 3, gently stir your starter. Discard about half (approximately 60g or 1/4 cup) of the starter. Feed the remaining starter with 60g unbleached all-purpose flour and 60g filtered water. Mix well, cover loosely, and return to its warm spot. This discard step is crucial for managing acidity and encouraging growth.
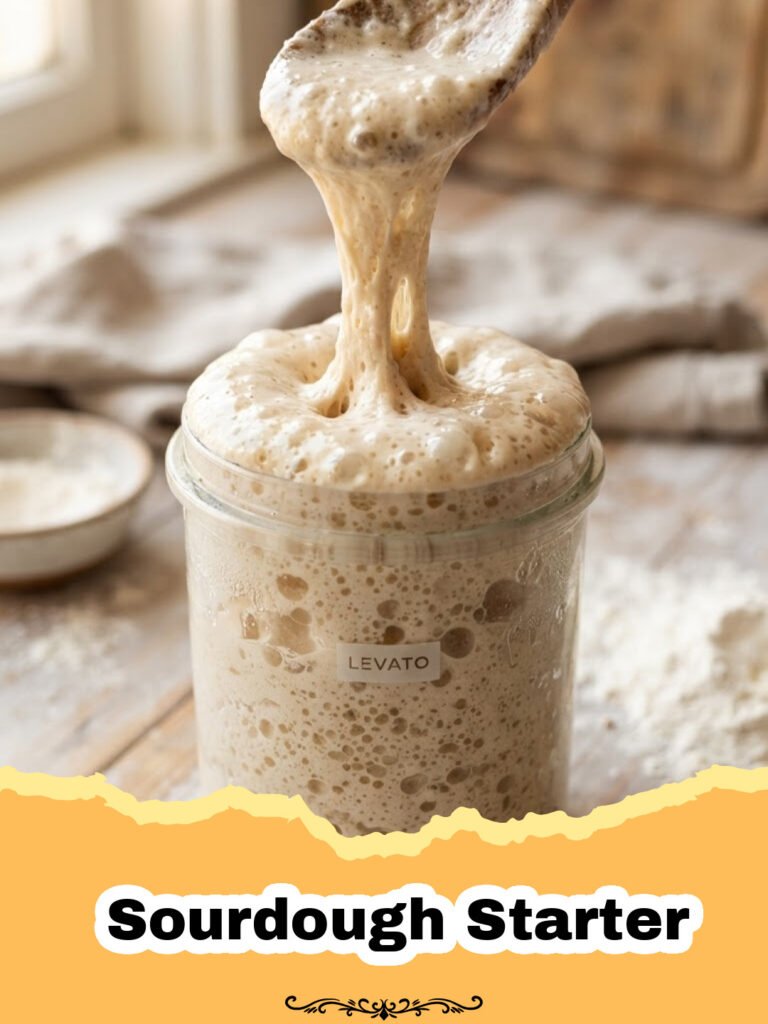
Step 4: From Day 4 onwards, continue the daily discard and feeding routine: discard half (60g), then feed with 60g flour and 60g water. You should start to observe more consistent activity, such as bubbles forming on the surface and throughout the mixture. The starter should double in size within 4-8 hours after feeding and then fall back down. It should smell pleasantly yeasty and sour.
Step 5: Your Sourdough Starter is typically ready to bake with around Day 7-10 when it consistently doubles in size within 4-6 hours of feeding, exhibits numerous bubbles, and has a pleasant tangy aroma. To confirm, drop a small spoonful into a glass of water; if it floats, it’s active.
Step 6: To maintain, you can continue daily feedings at room temperature, or store your Sourdough Starter in the refrigerator with weekly feedings. If refrigerating, feed it, let it sit for an hour or two at room temperature, then place it in the fridge. Before baking, remove it from the fridge and perform 1-2 room-temperature feedings until active again.
Notes
Keep your starter in a consistently warm environment for optimal activity (70-78°F / 21-26°C). Always use unbleached flour and chlorine-free water. Don’t be afraid to discard; it’s essential for a healthy, active starter. Leftover discard can be used in many recipes, such as crackers or pancakes.
- Prep Time: 10 minutes
- Cook Time: 0 minutes
- Category: How To
- Cuisine: American
Nutrition
- Serving Size: 100g
- Calories: 175 kcal
- Sugar: 0 g
- Sodium: 2 mg
- Fat: 0.5 g
- Saturated Fat: 0.1 g
- Unsaturated Fat: 0.3 g
- Trans Fat: 0 g
- Carbohydrates: 35 g
- Fiber: 1.5 g
- Protein: 5 g
- Cholesterol: 0 mg
Keywords: sourdough starter, how to make sourdough starter, sourdough bread, wild yeast, sourdough culture, baking, homemade bread, fermentation, sourdough basics, starter recipe
