
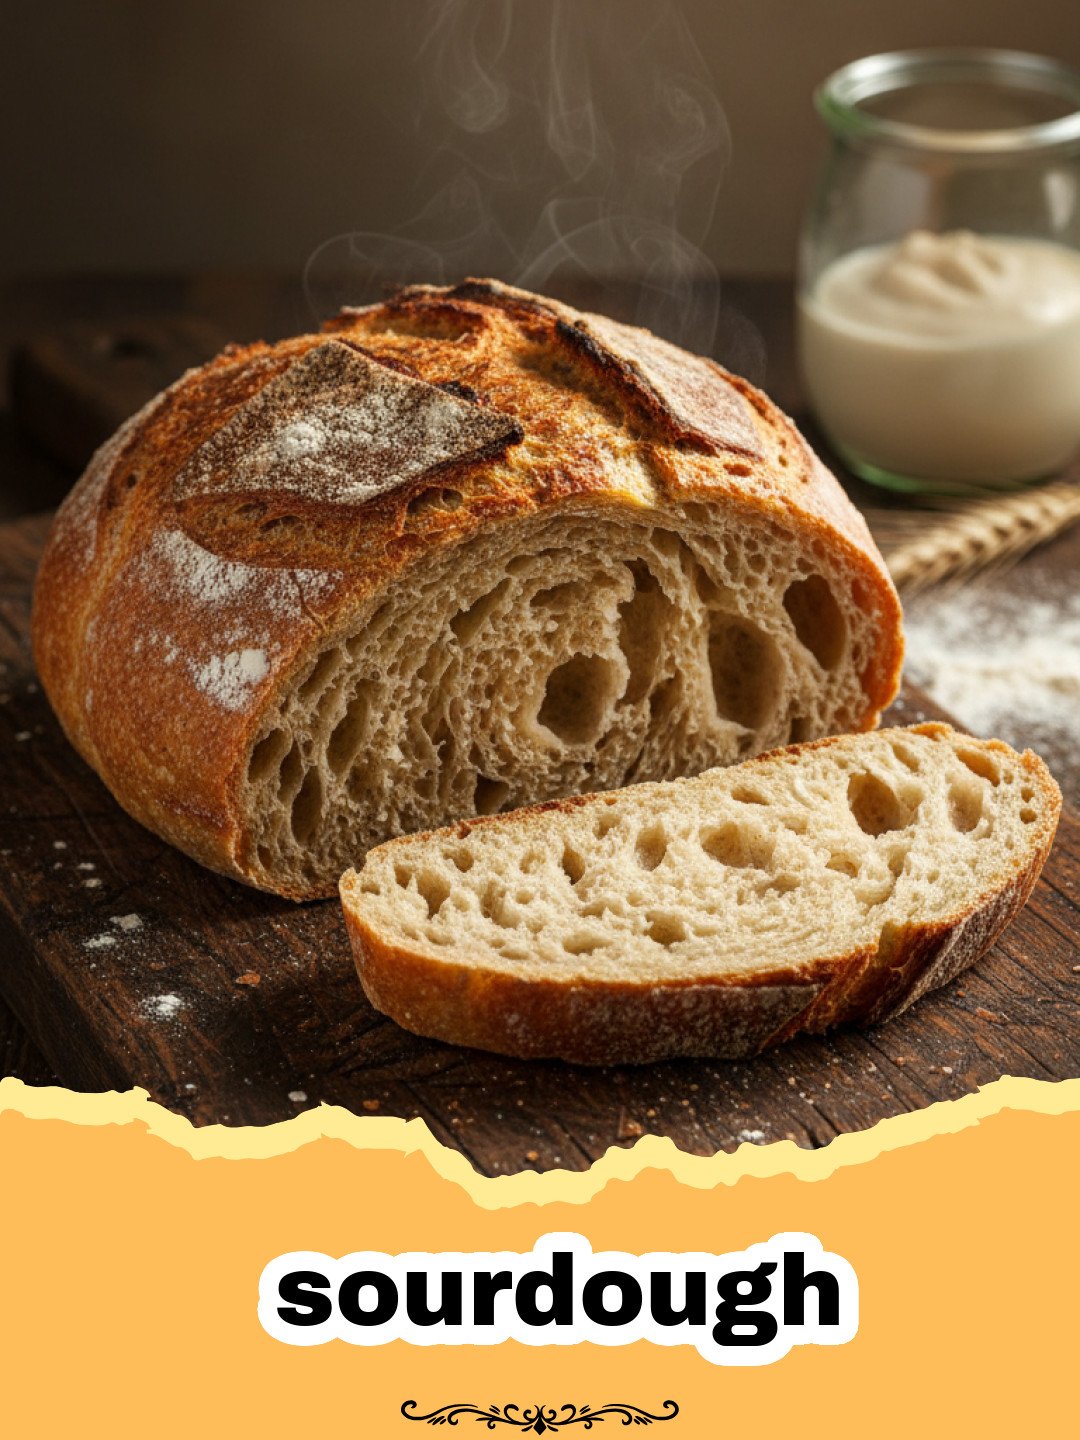
My journey with sourdough began, as many good stories do, with a little bit of fear and a lot of curiosity. I remember the day vividly. It was a cold, rainy Saturday, perfect for staying indoors, and my kitchen felt particularly welcoming. I had been admiring the beautiful, rustic loaves popping up on social media, their crackling crusts and airy interiors calling to me. But the thought of nurturing a starter, understanding terms like “autolyse” and “stretch and fold,” felt incredibly daunting. My first attempt at a loaf was, well, humble. It was flat, dense, and tasted more like a sad cracker than the artisanal bread I craved. I almost gave up, telling myself that this kind of baking was for advanced bakers, for those with magic hands and infinite patience. But something about the process, the simple alchemy of flour, water, salt, and time, kept pulling me back. I tried again, learning from each mistake, obsessing over hydration levels and proofing times. Slowly, something shifted. My starter, lovingly named “Bubbles,” began to thrive. My loaves started to rise, developing those coveted ears and a deep, complex flavor. The joy of pulling that first truly successful sourdough loaf from the oven, its aroma filling the house, was indescribable. It was a moment of triumph, a testament to perseverance, and the start of a deep love affair with baking this incredible bread. Now, years later, I’m excited to share my perfected sourdough recipe, designed to guide you through each step, making the process not just manageable, but truly enjoyable. This isn’t just about baking bread; it’s about connecting with an ancient craft, slowing down, and creating something truly nourishing from scratch. Get ready to bake the best sourdough of your life!
Why This Sourdough Recipe is a Must-Try
- Achieve the Perfect Crust and Crumb: This recipe is meticulously developed to help you get that elusive, perfectly crackling crust and an open, airy, tender interior that defines exceptional sourdough bread.
- Accessible for All Skill Levels: While baking can seem intimidating, my step-by-step instructions break down the process into manageable, easy-to-understand actions, making it perfect for both beginners and experienced bakers looking for a reliable method.
- Unforgettable Flavor Profile: Experience the rich, complex, and subtly tangy flavor that only naturally fermented bread can offer. It’s a taste that transforms any meal, from a simple toast to an elaborate sandwich.
- Boost Your Gut Health: Sourdough bread, through its natural fermentation process, helps break down gluten and phytic acid, making it easier to digest and potentially more nutritious than conventional bread.
Key Sourdough Ingredient Notes
While the beauty of this bread lies in its simplicity – just flour, water, salt, and starter – the quality and understanding of these few ingredients are paramount to your success. Here’s a closer look:
Active Sourdough Starter
Your starter is the heart and soul of your sourdough bread. It’s a living culture of wild yeasts and bacteria. For this recipe, you need an “active” or “ripe” starter. This means it should have been fed 4-8 hours prior, doubled or tripled in size, be bubbly, and pass the float test (a small spoonful should float in water). A healthy, vigorous starter is non-negotiable for a good rise and open crumb in your loaf.
High-Quality Bread Flour
Bread flour has a higher protein content (typically 12-14%) compared to all-purpose flour. This higher protein develops into stronger gluten, which is essential for trapping the gases produced by your starter, giving your bread its characteristic airy structure. While you can use all-purpose flour, you might find your loaves are a bit denser. Experiment with different brands to find your favorite – the quality truly makes a difference.
Filtered Water
Believe it or not, the water you use can impact your bread. Chlorine and chloramine, often found in tap water, can inhibit the activity of the wild yeasts and bacteria in your starter. Using filtered water, or letting tap water sit out for a few hours for the chlorine to evaporate, can make a noticeable difference in your starter’s health and, consequently, your bread’s rise and flavor.
Sea Salt
Salt isn’t just for flavor; it also plays a crucial role in controlling the fermentation rate of your dough and strengthening the gluten network. I prefer fine sea salt, as it dissolves easily and provides a clean taste. Avoid iodized table salt, as the additives can sometimes negatively affect the fermentation. Ensure you add the salt at the correct stage, as it can be detrimental if mixed directly with the starter too early.
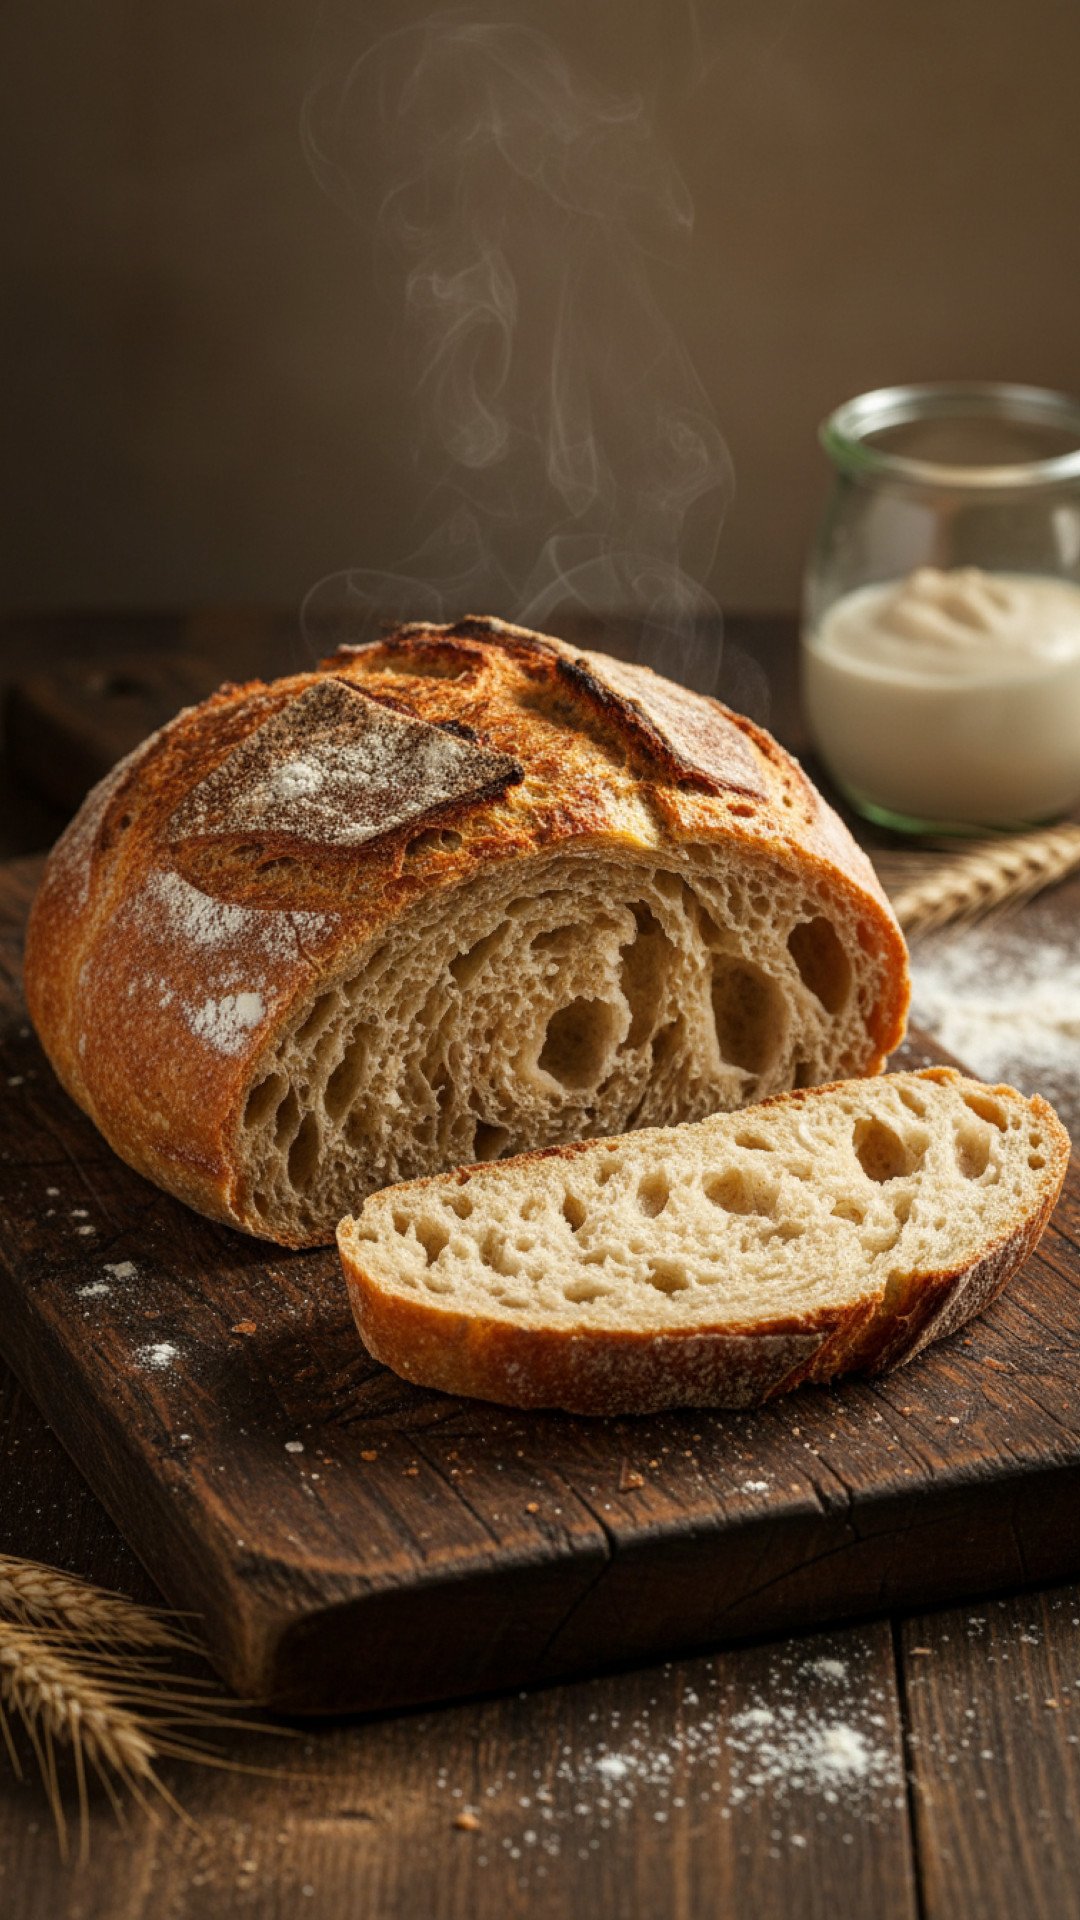
Step-by-Step Sourdough Guide with Pro Tips
Baking this bread is a dance between precision and intuition. Follow these steps carefully, and don’t be afraid to adjust slightly based on your kitchen’s temperature and your starter’s activity.
Day 1: Mixing and Bulk Fermentation
- Step 1: Autolyse (30 minutes – 1 hour): In a large mixing bowl, combine 350g lukewarm filtered water with 100g active sourdough starter. Mix gently until the starter is mostly dissolved. Add 450g bread flour and mix by hand until no dry spots remain. It will be shaggy. Cover the bowl with a damp towel or plastic wrap and let it rest for 30 minutes to 1 hour. This step, called autolyse, allows the flour to fully hydrate and gluten development to begin, making your dough easier to work with.
- Step 2: Add Salt and Mix (10 minutes): After the autolyse, sprinkle 10g sea salt over the dough. Dimple the salt into the dough with wet hands. Then, wet your hands again and squeeze the dough repeatedly for 5-7 minutes. This “pincer” method helps distribute the salt evenly and further develops the gluten for a stronger loaf. The dough will initially feel sticky, but as you mix, it will become smoother and more cohesive.
- Step 3: Stretch and Folds (3 hours, 4 sets): Over the next 3 hours, perform four sets of stretch and folds, spaced 30 minutes apart. To do a stretch and fold: with wet hands, grab a portion of the dough from one side, gently stretch it upwards, and fold it over to the opposite side of the bowl. Rotate the bowl a quarter turn and repeat this action 3-4 times until you’ve worked your way around the dough. Cover between sets. This process builds strength and elasticity in your dough, crucial for its rise.
- Step 4: Bulk Fermentation (2-6 hours): After the last set of stretch and folds, cover the bowl and let the dough rest at room temperature (ideally 72-78°F or 22-25°C). This is the bulk fermentation (or first rise). The duration depends heavily on your kitchen temperature and starter activity. Watch for the dough to increase in volume by about 20-30%, become puffy, and show signs of bubbles on the surface. For a truly excellent loaf, proper bulk fermentation is key.
Day 1/2: Shaping and Cold Proofing
- Step 5: Pre-Shape (20 minutes): Gently turn the dough out onto a lightly floured surface. Using a bench scraper, gently shape the dough into a loose round or rectangle. Try to create some surface tension without degassing too much. Cover with a damp towel and let it rest for 20 minutes. This allows the gluten to relax before final shaping.
- Step 6: Final Shape: Lightly flour your work surface again. Gently flatten the dough into a rough rectangle. Fold the top third down to the center, then the bottom third up and over the top. Turn the dough 90 degrees, then fold one side over to the center, and the other side over to meet it, creating a taut log. For a round loaf, fold the top third down, then the left and right sides into the center, and finally roll the dough from top to bottom, creating surface tension as you go. Place the dough, seam-side up, into a well-floured banneton or a bowl lined with a floured towel. This final shaping builds the structure that holds your bread’s shape.
- Step 7: Cold Proof (12-18 hours): Cover the banneton or bowl with plastic wrap and refrigerate for 12-18 hours (or up to 36 hours). Cold proofing slows down fermentation, develops deeper flavors, and makes the dough much easier to handle and score for your bake. This long, slow fermentation contributes immensely to the unique taste of sourdough.
Day 2: Baking
- Step 8: Preheat Oven & Dutch Oven (1 hour): About an hour before you plan to bake, place your Dutch oven (with its lid) into your oven and preheat to 500°F (260°C). Heating the Dutch oven thoroughly is crucial for achieving that incredible crust and oven spring. For baking truly amazing bread, a hot Dutch oven is your best friend. This Lodge Enameled Cast Iron Dutch Oven is a fantastic tool for getting a perfect crust on your homemade bread.
- Step 9: Score & Bake (Covered) (30 minutes): Carefully remove the hot Dutch oven from the oven. Gently invert your cold-proofed dough into the hot Dutch oven. Using a sharp lame or razor blade, score the top of the dough. Immediately cover the Dutch oven and bake for 30 minutes. The trapped steam inside the Dutch oven creates a humid environment, allowing the crust to expand before it sets, resulting in maximum oven spring for your loaf.
- Step 10: Bake (Uncovered) & Cool (15-20 minutes): Remove the lid from the Dutch oven. Reduce the oven temperature to 450°F (232°C). Continue baking for another 15-20 minutes, or until the crust is a deep golden brown and sounds hollow when tapped on the bottom. The internal temperature of your bread should reach around 200-210°F (93-99°C).
- Step 11: Cool Completely: Transfer the baked loaf to a wire rack and let it cool completely for at least 2 hours before slicing. Slicing too early can result in a gummy texture. Patience is a virtue when it comes to enjoying your freshly baked sourdough!
Sourdough Variations & Serving Suggestions
Once you’ve mastered the basic loaf, the possibilities are endless! Here are some ideas to inspire your culinary adventures:
Flavor Variations:
- Herbed Bread: Incorporate 2-3 tablespoons of fresh rosemary, thyme, or dried Italian herbs during the salt-mixing stage. This adds a wonderful aromatic touch to your classic bake.
- Cheese Bread: Mix in ½ cup of shredded cheese (cheddar, Gruyere, or Parmesan work well) during the last set of stretch and folds. The cheese will melt into savory pockets throughout your bread.
- Olive and Garlic Bread: Add ½ cup of chopped olives (Kalamata or green) and 2-3 cloves of minced garlic during the final shaping. A truly Mediterranean twist for your creation!
- Whole Wheat Sourdough: Substitute up to 100g of bread flour with whole wheat flour for a nuttier flavor and denser crumb. Adjust water as needed, as whole wheat flour absorbs more liquid.
Serving Suggestions:
- Classic Toast: Simply toast a thick slice of your homemade bread and slather it with butter, jam, or avocado. A timeless pleasure. For other great breakfast ideas, check out our guide on The Ultimate Guide to Perfectly Prepared Overnight Oats for Busy Mornings.
- Sandwiches & Paninis: The sturdy crust and flavorful crumb of this bread make it the perfect base for hearty sandwiches, whether it’s a classic BLT or a gourmet panini.
- Soup Dipper: There’s nothing quite like tearing off a piece of warm bread and dipping it into a rich, comforting soup or stew.
- Bruschetta or Crostini: Slice thinly, toast, rub with garlic, drizzle with olive oil, and top with fresh tomatoes, basil, and mozzarella for an elegant appetizer.
- Sourdough Discard 활용: Don’t let your leftover sourdough discard go to waste! It’s fantastic for pancakes, crackers, or even pasta. Explore amazing ways to use it with our recipe for Never Waste Again: Delicious Sourdough Discard Recipes for Every Occasion.
Sourdough Nutrition Information
Here’s an estimated nutritional breakdown for a single slice of this delicious bread:
| Nutrient | Amount Per Serving |
|---|---|
| Calories | 180 kcal |
| Carbohydrates | 35 g |
| Protein | 7 g |
| Fat | 1.5 g |
| Saturated Fat | 0.3 g |
| Trans Fat | 0 g |
| Unsaturated Fat | 0.8 g |
| Cholesterol | 0 mg |
| Fiber | 2 g |
| Sugar | 0.5 g |
| Sodium | 300 mg |
| Serving Size | 1 slice (approx. 50g) |
*Note: Nutritional values are estimates and may vary based on ingredients and preparation methods.
Conclusion
Baking your own sourdough bread is more than just following a recipe; it’s an incredibly rewarding experience that connects you to the ancient craft of bread-making. The aroma that fills your kitchen, the satisfaction of a perfectly baked loaf, and the unparalleled taste of homemade sourdough are truly special. Don’t be discouraged by initial attempts; every loaf is a learning opportunity. Embrace the journey, trust the process, and soon you’ll be enjoying the finest sourdough you’ve ever tasted, right from your own oven. Happy baking!
FAQs
What is an active sourdough starter?
An active sourdough starter is one that has been fed with fresh flour and water within 4-8 hours and has shown significant signs of activity, such as doubling or tripling in size, showing many bubbles, and passing the float test (a small spoonful floats in water).
Why do I need a Dutch oven to bake sourdough?
A Dutch oven creates a steamy environment during the initial baking phase, which is crucial for preventing the crust from setting too early. This allows the loaf to achieve maximum oven spring (rise) and develop a thin, crackly crust before it fully bakes and browns.
How long does homemade sourdough bread last?
Homemade sourdough bread is best enjoyed within 2-3 days at room temperature. For longer storage, you can slice the cooled loaf and freeze the slices in an airtight bag for up to 3 months. Thaw and toast slices as needed.
Can I use all-purpose flour instead of bread flour for sourdough?
While you can use all-purpose flour, bread flour is highly recommended because its higher protein content (and thus stronger gluten) is better suited to trapping the gases produced by the sourdough starter, resulting in a more open crumb and better structure. All-purpose flour may lead to a denser loaf.
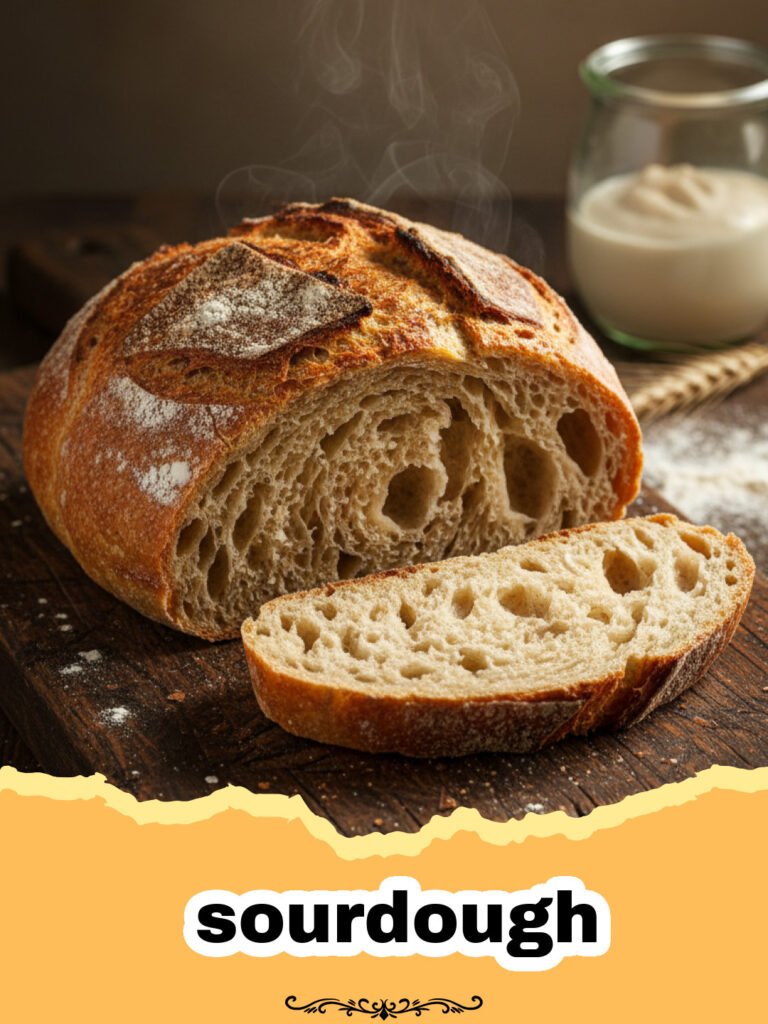
Classic Artisan Sourdough Bread
Master the art of baking a beautiful, crusty, and tender sourdough loaf with a rich, tangy flavor. This detailed recipe guides you through each step, ensuring a successful bake every time.
- Total Time: 10-15 hours (includes fermentation and proofing)
- Yield: 1 large loaf (approx. 8–10 slices) 1x
Ingredients
100g active sourdough starter
350g lukewarm filtered water (approx. 90-95°F / 32-35°C)
450g high-quality bread flour
10g fine sea salt
Instructions
Step 1: Autolyse (30 minutes – 1 hour): In a large mixing bowl, combine 350g lukewarm filtered water with 100g active sourdough starter. Mix gently until the starter is mostly dissolved. Add 450g bread flour and mix by hand until no dry spots remain. It will be shaggy. Cover the bowl with a damp towel or plastic wrap and let it rest for 30 minutes to 1 hour.
Step 2: Add Salt and Mix (10 minutes): After the autolyse, sprinkle 10g sea salt over the dough. Dimple the salt into the dough with wet hands. Then, wet your hands again and squeeze the dough repeatedly for 5-7 minutes. The dough will initially feel sticky, but as you mix, it will become smoother and more cohesive.
Step 3: Stretch and Folds (3 hours, 4 sets): Over the next 3 hours, perform four sets of stretch and folds, spaced 30 minutes apart. To do a stretch and fold: with wet hands, grab a portion of the dough from one side, gently stretch it upwards, and fold it over to the opposite side of the bowl. Rotate the bowl a quarter turn and repeat this action 3-4 times until you’ve worked your way around the dough. Cover between sets.
Step 4: Bulk Fermentation (2-6 hours): After the last set of stretch and folds, cover the bowl and let the dough rest at room temperature (ideally 72-78°F or 22-25°C). This is the bulk fermentation (or first rise). The duration depends heavily on your kitchen temperature and starter activity. Watch for the dough to increase in volume by about 20-30%, become puffy, and show signs of bubbles on the surface.
Step 5: Pre-Shape (20 minutes): Gently turn the dough out onto a lightly floured surface. Using a bench scraper, gently shape the dough into a loose round or rectangle. Try to create some surface tension without degassing too much. Cover with a damp towel and let it rest for 20 minutes.
Step 6: Final Shape: Lightly flour your work surface again. Gently flatten the dough into a rough rectangle. Fold the top third down to the center, then the bottom third up and over the top. Turn the dough 90 degrees, then fold one side over to the center, and the other side over to meet it, creating a taut log. For a round loaf, fold the top third down, then the left and right sides into the center, and finally roll the dough from top to bottom, creating surface tension as you go. Place the dough, seam-side up, into a well-floured banneton or a bowl lined with a floured towel.
Step 7: Cold Proof (12-18 hours): Cover the banneton or bowl with plastic wrap and refrigerate for 12-18 hours (or up to 36 hours).
Step 8: Preheat Oven & Dutch Oven (1 hour): About an hour before you plan to bake, place your Dutch oven (with its lid) into your oven and preheat to 500°F (260°C). Heating the Dutch oven thoroughly is crucial for achieving that incredible crust and oven spring.
Step 9: Score & Bake (Covered) (30 minutes): Carefully remove the hot Dutch oven from the oven. Gently invert your cold-proofed dough into the hot Dutch oven. Using a sharp lame or razor blade, score the top of the dough. Immediately cover the Dutch oven and bake for 30 minutes.
Step 10: Bake (Uncovered) & Cool (15-20 minutes): Remove the lid from the Dutch oven. Reduce the oven temperature to 450°F (232°C). Continue baking for another 15-20 minutes, or until the crust is a deep golden brown and sounds hollow when tapped on the bottom. The internal temperature of your bread should reach around 200-210°F (93-99°C).
Step 11: Cool Completely: Transfer the baked loaf to a wire rack and let it cool completely for at least 2 hours before slicing. Slicing too early can result in a gummy texture.
Notes
Always use an active, bubbly sourdough starter that has at least doubled in size after feeding. Room temperature and starter strength greatly influence bulk fermentation and proofing times, so observe your dough, don’t just rely on the clock. For best results, use a digital scale for accurate measurements.
- Prep Time: 20 minutes active + 10-14 hours fermentation
- Cook Time: 45 minutes
- Category: Baked Goods
- Cuisine: Artisan
Nutrition
- Serving Size: 1 slice (approx. 50g)
- Calories: 180 kcal
- Sugar: 0.5 g
- Sodium: 300 mg
- Fat: 1.5 g
- Saturated Fat: 0.3 g
- Unsaturated Fat: 0.8 g
- Trans Fat: 0 g
- Carbohydrates: 35 g
- Fiber: 2 g
- Protein: 7 g
- Cholesterol: 0 mg
Keywords: sourdough, sourdough bread, homemade sourdough, artisan bread, sourdough recipe, baking sourdough, sourdough starter, crusty bread




