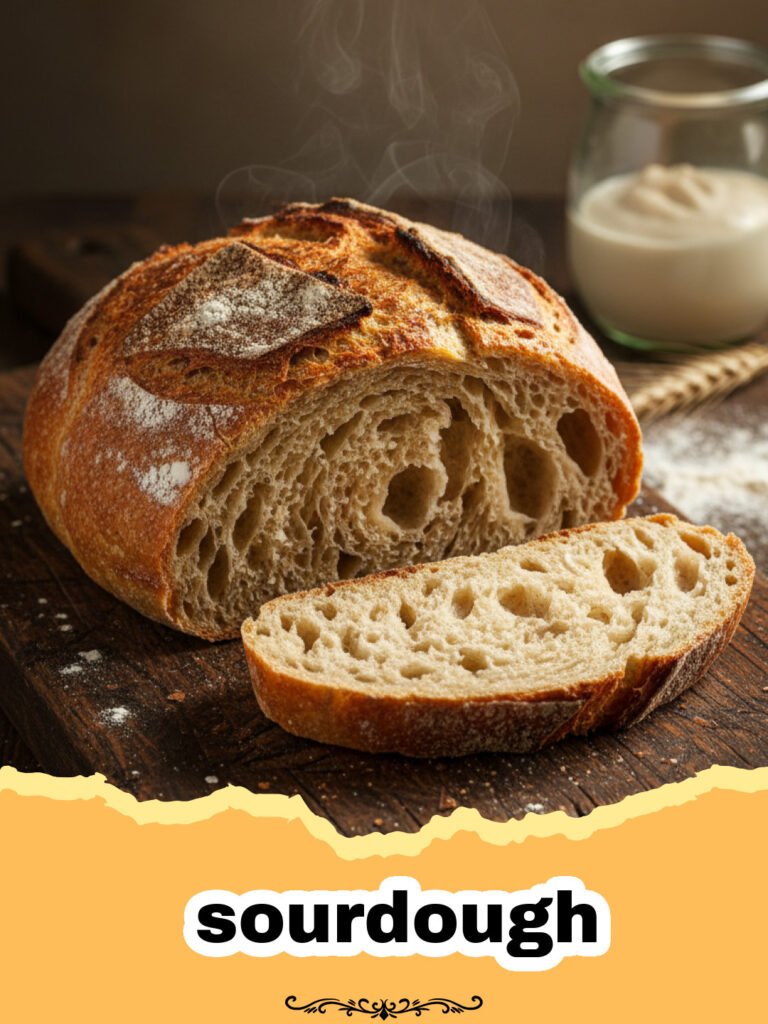
Ingredients
100g active sourdough starter
350g lukewarm filtered water (approx. 90-95°F / 32-35°C)
450g high-quality bread flour
10g fine sea salt
Instructions
Step 1: Autolyse (30 minutes – 1 hour): In a large mixing bowl, combine 350g lukewarm filtered water with 100g active sourdough starter. Mix gently until the starter is mostly dissolved. Add 450g bread flour and mix by hand until no dry spots remain. It will be shaggy. Cover the bowl with a damp towel or plastic wrap and let it rest for 30 minutes to 1 hour.
Step 2: Add Salt and Mix (10 minutes): After the autolyse, sprinkle 10g sea salt over the dough. Dimple the salt into the dough with wet hands. Then, wet your hands again and squeeze the dough repeatedly for 5-7 minutes. The dough will initially feel sticky, but as you mix, it will become smoother and more cohesive.
Step 3: Stretch and Folds (3 hours, 4 sets): Over the next 3 hours, perform four sets of stretch and folds, spaced 30 minutes apart. To do a stretch and fold: with wet hands, grab a portion of the dough from one side, gently stretch it upwards, and fold it over to the opposite side of the bowl. Rotate the bowl a quarter turn and repeat this action 3-4 times until you’ve worked your way around the dough. Cover between sets.
Step 4: Bulk Fermentation (2-6 hours): After the last set of stretch and folds, cover the bowl and let the dough rest at room temperature (ideally 72-78°F or 22-25°C). This is the bulk fermentation (or first rise). The duration depends heavily on your kitchen temperature and starter activity. Watch for the dough to increase in volume by about 20-30%, become puffy, and show signs of bubbles on the surface.
Step 5: Pre-Shape (20 minutes): Gently turn the dough out onto a lightly floured surface. Using a bench scraper, gently shape the dough into a loose round or rectangle. Try to create some surface tension without degassing too much. Cover with a damp towel and let it rest for 20 minutes.
Step 6: Final Shape: Lightly flour your work surface again. Gently flatten the dough into a rough rectangle. Fold the top third down to the center, then the bottom third up and over the top. Turn the dough 90 degrees, then fold one side over to the center, and the other side over to meet it, creating a taut log. For a round loaf, fold the top third down, then the left and right sides into the center, and finally roll the dough from top to bottom, creating surface tension as you go. Place the dough, seam-side up, into a well-floured banneton or a bowl lined with a floured towel.
Step 7: Cold Proof (12-18 hours): Cover the banneton or bowl with plastic wrap and refrigerate for 12-18 hours (or up to 36 hours).
Step 8: Preheat Oven & Dutch Oven (1 hour): About an hour before you plan to bake, place your Dutch oven (with its lid) into your oven and preheat to 500°F (260°C). Heating the Dutch oven thoroughly is crucial for achieving that incredible crust and oven spring.
Step 9: Score & Bake (Covered) (30 minutes): Carefully remove the hot Dutch oven from the oven. Gently invert your cold-proofed dough into the hot Dutch oven. Using a sharp lame or razor blade, score the top of the dough. Immediately cover the Dutch oven and bake for 30 minutes.
Step 10: Bake (Uncovered) & Cool (15-20 minutes): Remove the lid from the Dutch oven. Reduce the oven temperature to 450°F (232°C). Continue baking for another 15-20 minutes, or until the crust is a deep golden brown and sounds hollow when tapped on the bottom. The internal temperature of your bread should reach around 200-210°F (93-99°C).
Step 11: Cool Completely: Transfer the baked loaf to a wire rack and let it cool completely for at least 2 hours before slicing. Slicing too early can result in a gummy texture.
Notes
Always use an active, bubbly sourdough starter that has at least doubled in size after feeding. Room temperature and starter strength greatly influence bulk fermentation and proofing times, so observe your dough, don’t just rely on the clock. For best results, use a digital scale for accurate measurements.
- Prep Time: 20 minutes active + 10-14 hours fermentation
- Cook Time: 45 minutes
- Category: Baked Goods
- Cuisine: Artisan
Nutrition
- Serving Size: 1 slice (approx. 50g)
- Calories: 180 kcal
- Sugar: 0.5 g
- Sodium: 300 mg
- Fat: 1.5 g
- Saturated Fat: 0.3 g
- Unsaturated Fat: 0.8 g
- Trans Fat: 0 g
- Carbohydrates: 35 g
- Fiber: 2 g
- Protein: 7 g
- Cholesterol: 0 mg
Keywords: sourdough, sourdough bread, homemade sourdough, artisan bread, sourdough recipe, baking sourdough, sourdough starter, crusty bread
