

Ah, summer! The scent of freshly cut grass, the buzz of bees, and for me, the undeniable aroma of ripe, juicy strawberries. I remember my grandmother’s kitchen, a sun-drenched haven where summer wasn’t just a season, but a feeling captured in every jar of jam and every sweet treat she pulled from the oven. Growing up, our family had a sprawling strawberry patch, and come late spring, it was a race against the birds to pick the reddest, sweetest berries. My hands would be stained crimson, and my mouth would be perpetually sticky from ‘testing’ just one more. It was during one of those abundant harvests that my grandmother introduced me to her legendary strawberry crumble bars. She’d always say, “These bars are like sunshine you can eat!” And she was right. This particular strawberry recipe became a cornerstone of our summer gatherings, a simple yet utterly sublime way to celebrate the bounty of the season. It’s more than just a dessert; it’s a memory, a tradition, and a taste of home. I’m so excited to share this cherished strawberry recipe with you, hoping it brings as much joy to your kitchen as it has to ours for generations.
Why This Strawberry Recipe is a Must-Try
Effortless Elegance
These strawberry crumble bars look impressive, but are surprisingly simple to put together, making them perfect for both seasoned bakers and beginners. A truly delightful strawberry recipe for any skill level.
Seasonal Superstar
Highlighting the natural sweetness and vibrant color of fresh strawberries, this strawberry recipe is the ultimate way to enjoy peak-season produce. It’s a celebration of summer in every bite.
Perfectly Portable
Unlike pies or cakes that require plates and forks, these bars are sturdy and travel-friendly. They’re ideal for picnics, potlucks, or backyard barbecues. Take your favorite strawberry recipe on the go!
Versatile & Crowd-Pleasing
Everyone loves a good crumble, and when it’s filled with fresh strawberries, it’s simply irresistible. This strawberry recipe can be easily adapted to suit different tastes and occasions.
Key Ingredient Notes for Your Strawberry Recipe
The beauty of this strawberry recipe lies in its simplicity and the quality of its ingredients. Here are a few notes on making the most of what you use:
Fresh, Ripe Strawberries are Non-Negotiable
For the best flavor and texture in your strawberry recipe, always opt for fresh, ripe strawberries. Look for berries that are bright red, plump, and fragrant. Avoid any with white or green patches near the stem, as these haven’t fully ripened. While you can use frozen strawberries in a pinch, be sure to thaw them completely and drain any excess liquid to prevent a soggy filling. The fresh fruit makes all the difference in this strawberry recipe.
High-Quality Butter Makes a Difference
Butter is the backbone of our delicious crumble crust and topping. Using a good quality, unsalted butter will elevate the flavor of your strawberry recipe. It contributes to the rich, golden-brown crust and the tender, flaky crumble. Ensure your butter is cold for the crust for the best texture; this helps create those delightful pockets of flakiness. This is a critical component of a successful strawberry recipe.
Rolled Oats for the Perfect Crumble
Old-fashioned rolled oats are essential for achieving that rustic, chewy crumble topping. Instant oats or steel-cut oats will not yield the same texture. The rolled oats provide structure and a pleasant chewiness that contrasts beautifully with the soft strawberry filling. They also add a subtle nutty flavor that complements the sweet berries perfectly in this strawberry recipe.
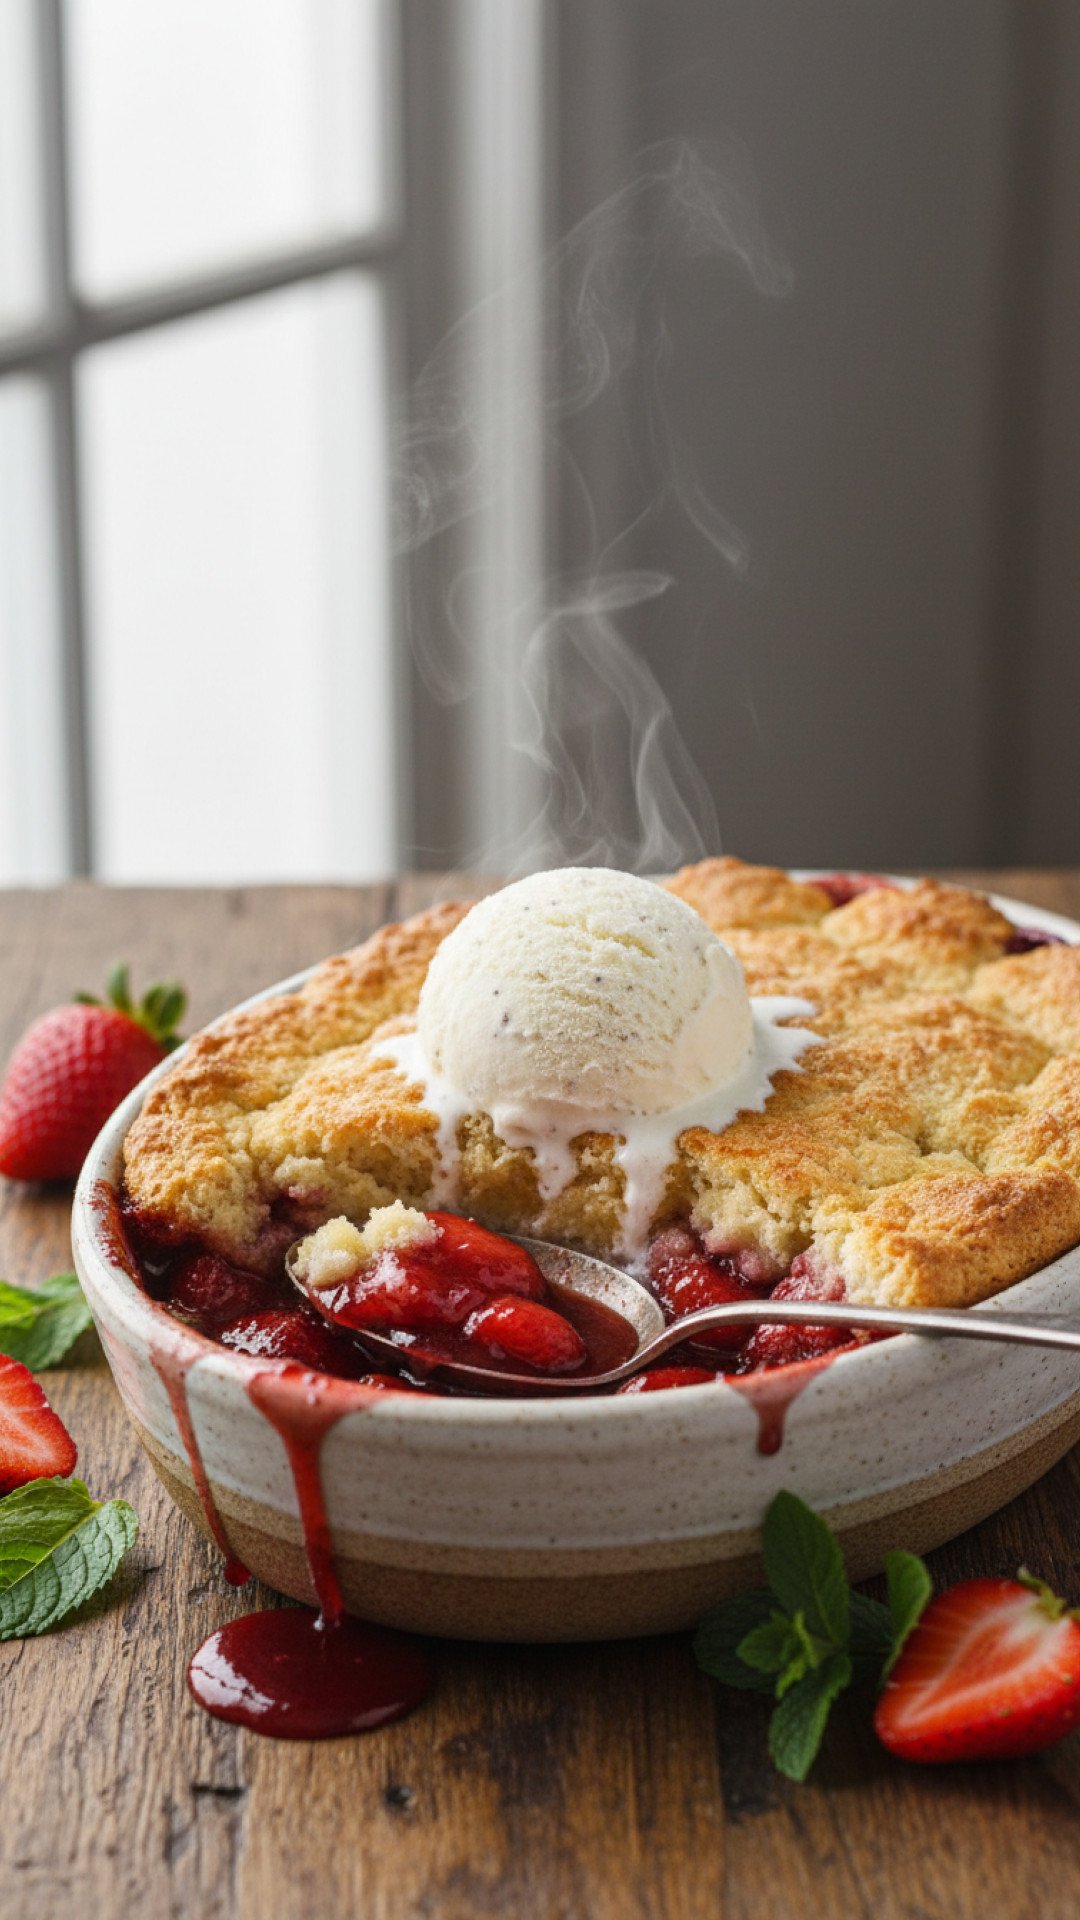
Step-by-Step Guide with Pro Tips for this Strawberry Recipe
Step 1: Prepare Your Pan and Oven
Preheat your oven to 375°F (190°C). Line a 9×13-inch baking pan with parchment paper, leaving an overhang on the sides. This makes lifting the bars out much easier and ensures clean cuts. A well-prepared pan is key for any strawberry recipe.
Step 2: Make the Crumble Base and Topping
In a large bowl, combine 2 cups all-purpose flour, 1 cup rolled oats, 1 cup packed light brown sugar, 1 teaspoon baking powder, and a pinch of salt. Whisk these dry ingredients together. Next, add 1 cup (2 sticks) of very cold, cubed unsalted butter. Using a pastry blender, your fingertips, or a food processor, cut the butter into the dry ingredients until the mixture resembles coarse crumbs. Be careful not to overmix; some larger pea-sized pieces are good. This crumble will serve as both the crust and the topping for your strawberry recipe.
Step 3: Press the Crust
Reserve about 1 cup of the crumble mixture for the topping. Press the remaining crumble mixture evenly into the bottom of the prepared baking pan. Use the bottom of a glass or your hands to compact it firmly. Bake this crust for 12-15 minutes, or until lightly golden. This pre-baking step helps create a crisp base for your strawberry recipe.
Step 4: Prepare the Strawberry Filling
While the crust bakes, wash and hull 4 cups of fresh strawberries. Slice them into quarters or halves, depending on their size. In a medium bowl, gently toss the sliced strawberries with 1/4 cup granulated sugar, 2 tablespoons cornstarch, and 1 teaspoon vanilla extract. The cornstarch helps to thicken the juices, preventing a watery filling. For an extra hint of citrus, you can add a tablespoon of lemon juice, which also brightens the strawberry flavor in this strawberry recipe.
Step 5: Assemble the Bars
Once the crust is lightly golden, carefully remove the pan from the oven. Evenly spread the strawberry filling over the warm crust. Then, sprinkle the reserved crumble mixture over the strawberry layer. For easy cleanup and storage, you might consider having some Basics Glass Food Storage containers ready for any delicious leftovers of this strawberry recipe!
Step 6: Bake Until Golden
Return the pan to the oven and bake for another 35-45 minutes, or until the crumble topping is golden brown and the strawberry filling is bubbly and tender. If the topping starts to brown too quickly, you can loosely tent the pan with foil. The aroma filling your kitchen will be incredible!
Step 7: Cool Completely and Serve
This is arguably the hardest step: letting them cool! It’s crucial to allow the bars to cool completely in the pan on a wire rack for at least 2-3 hours (or even longer) before slicing. This allows the strawberry filling to set properly, ensuring clean, beautiful bars. If you cut them too soon, they will be messy. Once cooled, use the parchment paper overhang to lift the entire slab out of the pan, then slice into squares or rectangles. Enjoy your amazing strawberry recipe!
Variations & Serving Suggestions for Your Strawberry Recipe
Creative Variations:
- Mixed Berry Medley: Replace half of the strawberries with other berries like blueberries, raspberries, or blackberries for a vibrant mixed berry crumble bar.
- Nutty Crumble: Add 1/2 cup of chopped nuts (pecans, walnuts, or almonds) to the crumble mixture for added crunch and flavor.
- Citrus Zest: Incorporate the zest of one lemon or orange into both the crumble and the strawberry filling for a brighter, more aromatic twist. This really enhances the classic strawberry recipe.
- Spiced Strawberries: A pinch of cinnamon or cardamom in the strawberry filling can add a warm, comforting note, especially if you’re making this strawberry recipe outside of peak summer.
Serving Suggestions:
- Classic with Vanilla: Serve these bars at room temperature, perhaps with a scoop of premium vanilla bean ice cream or a dollop of freshly whipped cream. The contrast of warm crumble and cold ice cream is heavenly.
- Breakfast Treat: These bars also make a delightful (and slightly indulgent) breakfast or brunch item, perhaps alongside a cup of coffee or a refreshing glass of homemade lemonade.
- Dessert Platter: Cut into smaller squares and arrange on a dessert platter with other treats, like our Easy Classic Chocolate Icebox Cake, for a varied offering.
Nutrition Information
| Nutrient | Amount Per Serving |
|---|---|
| Calories | 320 kcal |
| Carbohydrate Content | 45 g |
| Cholesterol Content | 30 mg |
| Fat Content | 15 g |
| Fiber Content | 3 g |
| Protein Content | 4 g |
| Saturated Fat Content | 9 g |
| Serving Size | 1 bar (approx. 80g) |
| Sodium Content | 110 mg |
| Sugar Content | 25 g |
| Trans Fat Content | 0.5 g |
| Unsaturated Fat Content | 5 g |
Conclusion
And there you have it – my grandmother’s beloved strawberry recipe for Divine Strawberry Crumble Bars, perfected over years and now shared with you. This simple yet utterly satisfying dessert encapsulates the essence of summer and the joy of home baking. Whether you’re making it for a family gathering, a quiet afternoon treat, or just because you have a bounty of fresh strawberries, I hope this strawberry recipe brings a little sunshine into your day. Happy baking!
FAQs
Can I use frozen strawberries for this strawberry recipe?
Yes, you can use frozen strawberries for this strawberry recipe, but make sure to thaw them completely and drain any excess liquid thoroughly before mixing with the sugar and cornstarch. This prevents the filling from becoming too watery.
How do I store leftover strawberry crumble bars?
Store leftover strawberry crumble bars in an airtight container at room temperature for up to 2-3 days, or in the refrigerator for up to 5 days. For longer storage, you can freeze them for up to 2 months; thaw at room temperature before serving.
Why are my strawberry crumble bars soggy?
Soggy bars can happen if the strawberries weren’t drained enough (if using frozen), if there wasn’t enough cornstarch to thicken the juices, or if the bars weren’t allowed to cool completely before slicing. Always ensure your strawberries are as dry as possible and allow ample cooling time for the filling to set.
Can I make this strawberry recipe gluten-free?
Yes, to make this strawberry recipe gluten-free, you can substitute the all-purpose flour with a 1:1 gluten-free baking flour blend (ensure it contains xanthan gum) and use certified gluten-free rolled oats.

Divine Strawberry Crumble Bars
These delightful strawberry crumble bars feature a buttery, oat-filled crust and crumble topping sandwiching a luscious, sweet fresh strawberry filling. Perfect for picnics, potlucks, or an everyday treat, this strawberry recipe is a true taste of summer.
- Total Time: 1 hour 20 minutes
- Yield: 12 bars 1x
Ingredients
2 cups all-purpose flour
1 cup old-fashioned rolled oats
1 cup packed light brown sugar
1 teaspoon baking powder
1/4 teaspoon salt
1 cup (2 sticks) unsalted butter, very cold and cubed
4 cups fresh strawberries, hulled and sliced
1/4 cup granulated sugar
2 tablespoons cornstarch
1 teaspoon vanilla extract
Optional: 1 tablespoon lemon juice
Instructions
Step 1: Preheat your oven to 375°F (190°C). Line a 9×13-inch baking pan with parchment paper, leaving an overhang on the sides for easy removal.
Step 2: In a large bowl, combine the all-purpose flour, rolled oats, light brown sugar, baking powder, and salt. Whisk them together until well combined.
Step 3: Add the very cold, cubed unsalted butter to the dry ingredients. Use a pastry blender, your fingertips, or a food processor to cut the butter into the mixture until it resembles coarse crumbs with some pea-sized pieces remaining.
Step 4: Reserve about 1 cup of the crumble mixture for the topping. Press the remaining crumble mixture evenly into the bottom of the prepared baking pan, compacting it firmly with the back of a spoon or your hands.
Step 5: Bake the crust for 12-15 minutes, or until it is lightly golden brown. Remove from the oven.
Step 6: While the crust bakes, prepare the strawberry filling. In a medium bowl, gently toss the hulled and sliced fresh strawberries with the granulated sugar, cornstarch, and vanilla extract (and optional lemon juice). Ensure the strawberries are evenly coated.
Step 7: Carefully spread the prepared strawberry filling evenly over the warm, pre-baked crust in the baking pan.
Step 8: Evenly sprinkle the reserved crumble mixture over the strawberry layer.
Step 9: Return the pan to the oven and bake for another 35-45 minutes, or until the crumble topping is golden brown and the strawberry filling is visibly bubbly and tender. If the top browns too quickly, you can loosely tent with aluminum foil.
Step 10: Allow the bars to cool completely in the pan on a wire rack for at least 2-3 hours before slicing. This is crucial for the filling to set properly, ensuring clean cuts. Once cooled, use the parchment paper overhang to lift the entire slab out and slice into 12 bars.
Notes
For best results, use fresh, peak-season strawberries. If using frozen strawberries, thaw completely and drain any excess liquid before tossing with sugar and cornstarch. Always allow the bars to cool fully before slicing to ensure a clean cut and set filling.
- Prep Time: 30 minutes
- Cook Time: 50 minutes
- Category: Baked Goods
- Cuisine: American
Nutrition
- Serving Size: 1 bar (approx. 80g)
- Calories: 320 kcal
- Sugar: 25 g
- Sodium: 110 mg
- Fat: 15 g
- Saturated Fat: 9 g
- Unsaturated Fat: 5 g
- Trans Fat: 0.5 g
- Carbohydrates: 45 g
- Fiber: 3 g
- Protein: 4 g
- Cholesterol: 30 mg
Keywords: strawberry recipe, strawberry bars, strawberry crumble, strawberry dessert, summer dessert, easy strawberry recipe, baked goods, fruit bars, oat crumble




