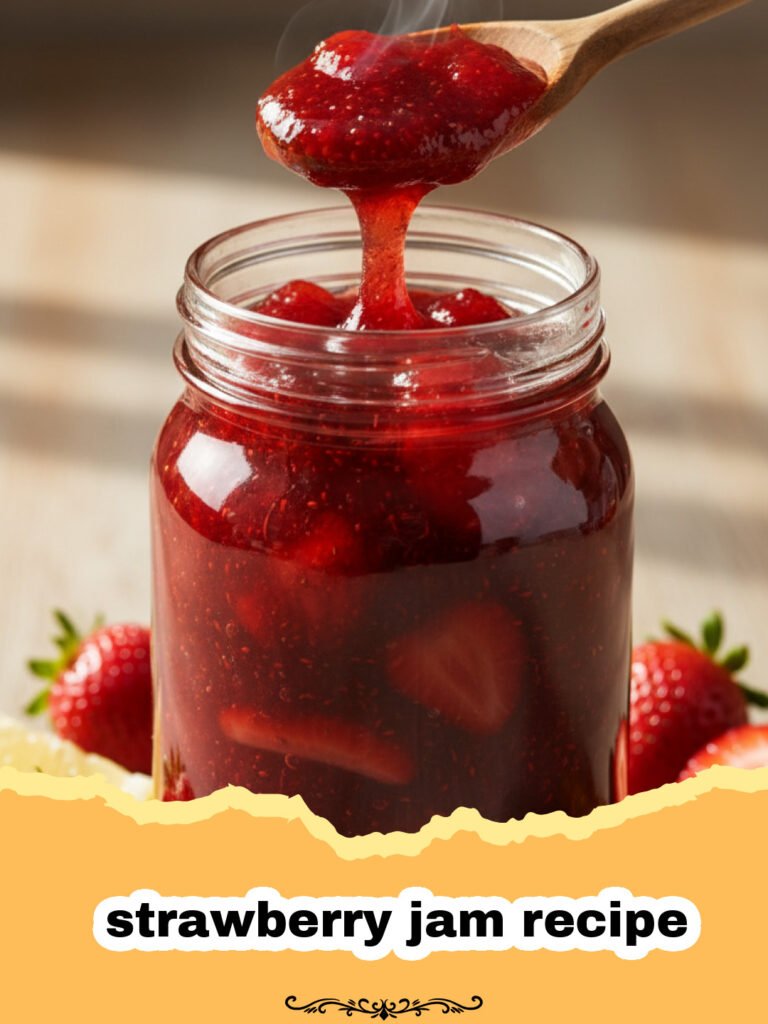
Ingredients
4 lbs (about 8 cups) fresh ripe strawberries, hulled and quartered
4 cups granulated sugar
1/4 cup fresh lemon juice
Instructions
Step 1: Prepare Your Jars & Strawberries. Sterilize your canning jars by washing them thoroughly in hot, soapy water, rinsing, and then placing them in a boiling water bath for at least 10 minutes, or running them through a dishwasher on a hot cycle. Keep them hot until ready to fill. Meanwhile, hull and quarter your fresh, ripe strawberries. For a smoother jam, you can mash them thoroughly using a potato masher. For a chunkier jam, mash about half the berries and leave the rest in larger pieces.
Step 2: Combine Ingredients. In a large, heavy-bottomed pot, combine the prepared strawberries, granulated sugar, and fresh lemon juice. Stir well to combine. Let the mixture sit for about 30 minutes to an hour. This allows the sugar to draw out some of the liquid from the strawberries, preventing scorching when you start cooking and helping to dissolve the sugar.
Step 3: Bring to a Boil. Place the pot over medium-high heat. Bring the mixture to a rolling boil, stirring frequently to prevent sticking. A rolling boil is one that cannot be stirred down.
Step 4: Cook and Thicken. Reduce the heat slightly to maintain a strong, steady boil. Continue to cook, stirring frequently, for about 25-40 minutes, or until the jam thickens. Skim off any foam that rises to the surface with a spoon.
Step 5: Test for Set. Place a small plate in the freezer before you start cooking. When you think the jam is ready, spoon a small amount onto the cold plate, return it to the freezer for 1-2 minutes. Then, push the jam with your finger. If it wrinkles and holds its shape, it’s ready. If it’s still runny, continue cooking and retest every 5 minutes. Alternatively, using a candy thermometer, cook the jam until it reaches 220°F (104°C) at sea level (adjust for altitude).
Step 6: Fill Jars. Once the jam has reached its setting point, remove the pot from the heat. Carefully ladle the hot jam into your hot, sterilized jars, leaving about 1/4 inch of headspace (the space between the jam and the rim of the jar). Wipe the rims of the jars clean with a damp paper towel to ensure a good seal. Place new lids and bands on the jars, tightening them to fingertip-tight.
Step 7: Process Jars (for long-term storage). If you plan to store your jam at room temperature for an extended period, you must water bath can it. Place the filled jars onto a rack in your canning pot, ensuring they are fully submerged in boiling water by at least 1-2 inches. Bring the water back to a rolling boil and process the jars for 10 minutes (for half-pints or pints). Carefully remove the jars from the water bath using a jar lifter and place them on a clean towel on your countertop to cool undisturbed for 12-24 hours. Once cooled, check the seals by pressing the center of each lid; if it doesn’t flex, it’s sealed. Any unsealed jars should be refrigerated and consumed within 3 weeks. Store your sealed jars in a cool, dark place.
Notes
For a chunkier jam, mash only half of the strawberries. For a smoother jam, mash them all thoroughly. Ensure jars are properly sterilized to prevent spoilage. This strawberry jam recipe can be stored in the refrigerator for up to 3 weeks or canned for longer shelf life.
- Prep Time: 20 minutes
- Cook Time: 45 minutes
- Category: Sweet Breakfasts
- Cuisine: American
Nutrition
- Serving Size: 2 tbsp (30g)
- Calories: 80 kcal
- Sugar: 18 g
- Sodium: 0 mg
- Fat: 0 g
- Saturated Fat: 0 g
- Unsaturated Fat: 0 g
- Trans Fat: 0 g
- Carbohydrates: 20 g
- Fiber: 1 g
- Protein: 0 g
- Cholesterol: 0 mg
Keywords: strawberry jam recipe, homemade jam, strawberry preserves, canning strawberries, fruit jam, easy jam recipe, summer jam, breakfast spread
