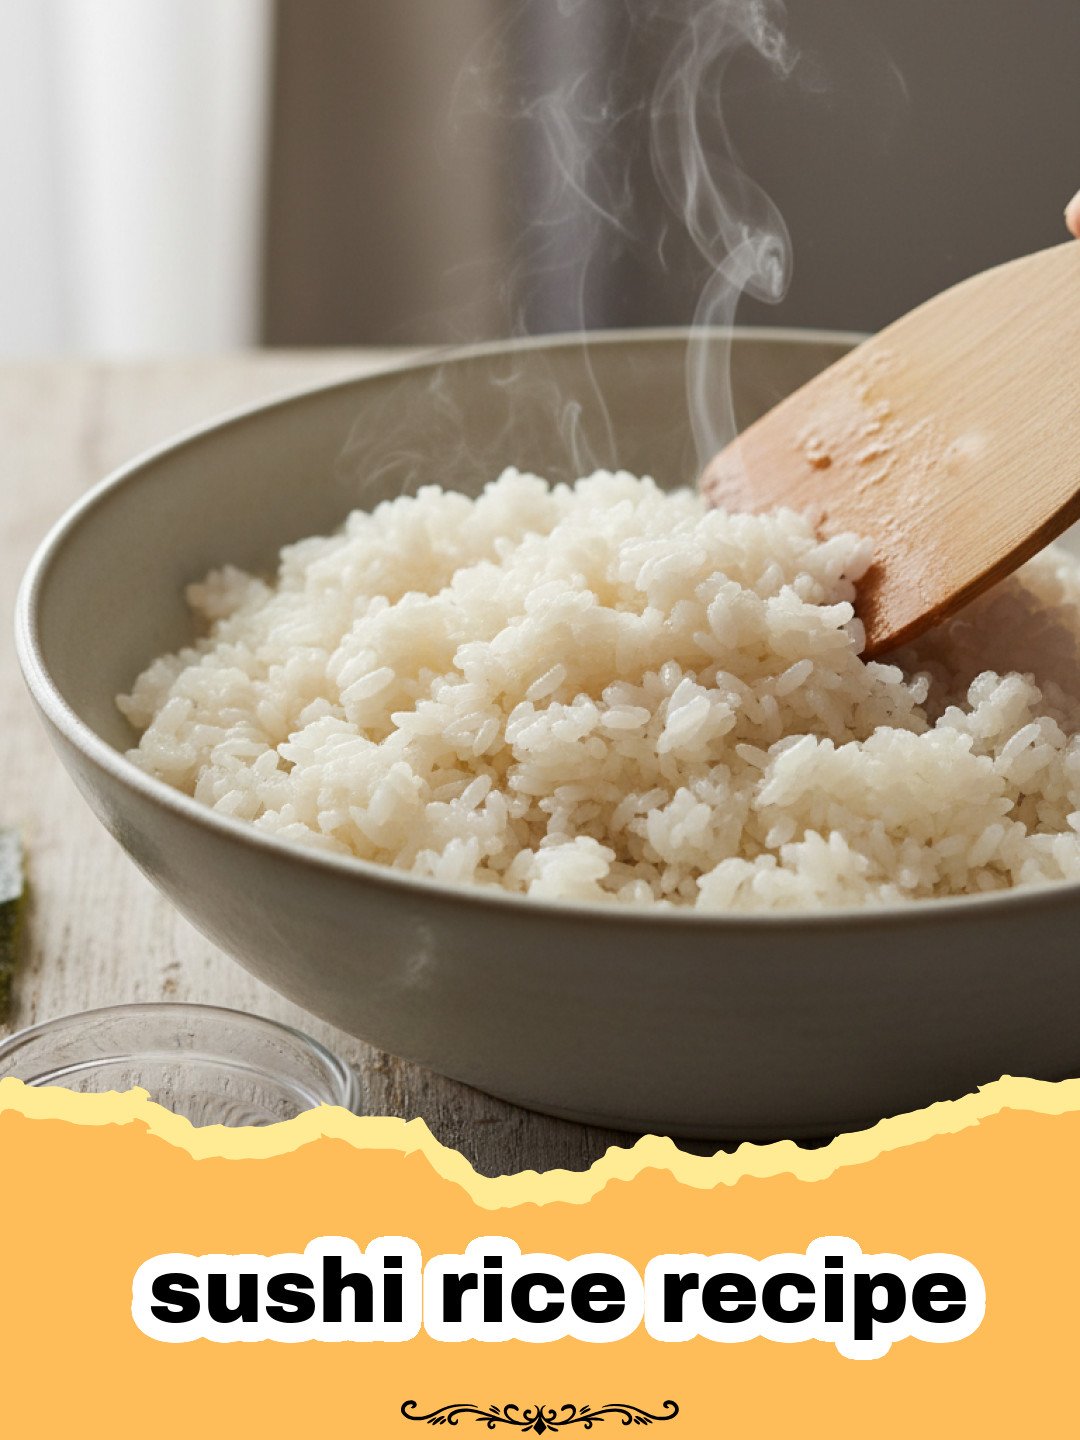
There’s a vivid memory I have from my early twenties, attempting to make sushi at home for the very first time. I had painstakingly rolled my California rolls, beaming with pride, only for them to fall apart the moment I picked them up. The culprit? My rice. It was either too mushy, too dry, or completely lacking that signature slightly sweet and tangy flavor. It wasn’t until I understood that the rice isn’t just a filler; it’s the heart and soul of any good sushi, that I truly began my journey to master the perfect sushi rice recipe. This wasn’t just about cooking rice; it was about understanding a delicate balance of moisture, texture, and flavor that transforms ordinary grains into something magical. My first few attempts were, well, edible, but far from perfect. It took patience, trial and error, and a deep dive into Japanese culinary techniques to truly crack the code. Now, years later, making sushi rice is almost therapeutic, a ritual that signals a delicious meal ahead. If you’ve ever struggled with homemade sushi, or simply want to elevate your Japanese cooking, then mastering this sushi rice recipe is your first and most crucial step. Trust me, it’s a game-changer, and I’m so excited to share all my secrets with you.
Why This Sushi Rice Recipe is a Must-Try
- Authentic Flavor & Texture: This sushi rice recipe yields rice that is perfectly sticky, fluffy, and infused with that characteristic sweet and tangy flavor, just like your favorite sushi restaurant.
- Foundation for Any Sushi Dish: Whether you’re making maki rolls, nigiri, chirashi bowls, or even just serving it as a side, perfectly prepared sushi rice is indispensable.
- Beginner-Friendly with Pro Tips: My step-by-step guide breaks down each part of the process, making it accessible for beginners, while offering pro tips to ensure success every time.
- Cost-Effective: Learning to make excellent sushi rice at home opens up a world of homemade sushi possibilities, saving you money on takeout. You’ll master this essential sushi rice recipe in no time.
Key Ingredient Notes
While the process is important, the ingredients you choose for your sushi rice recipe are equally crucial. Don’t skimp on quality here!
Japanese Short-Grain Rice (Sushi Rice)
This is non-negotiable. Japanese short-grain rice (often simply labeled ‘sushi rice’) has a higher starch content compared to medium or long-grain varieties. This starch is what gives sushi rice its distinct stickiness when cooked and cooled. Do NOT substitute with regular white rice; it simply won’t have the right texture. Look for brands like Nishiki, Kokuho Rose, or Tamaki Gold for excellent results in your sushi rice recipe.
Rice Vinegar
Unseasoned rice vinegar is key. While you can buy seasoned rice vinegar, it often contains too much sugar and salt for my preference. By using unseasoned rice vinegar and adding your own sugar and salt, you have complete control over the final flavor profile of your sushi rice recipe. This balance of sweet, salty, and tangy is what truly defines sushi rice.
Granulated Sugar & Fine Sea Salt
These two humble ingredients are what transform plain cooked rice into sushi rice. The sugar provides a subtle sweetness that balances the acidity of the vinegar, while the salt enhances all the flavors. Fine sea salt dissolves easily and distributes evenly. Don’t be tempted to skip these or adjust them too drastically without tasting – the ratio is critical for the classic sushi rice recipe flavor.
Step-by-Step Guide with Pro Tips
Mastering this sushi rice recipe is all about technique. Follow these steps closely for perfect results.
Step 1: Rinse the Rice Thoroughly. Place the measured sushi rice into a large bowl. Fill the bowl with cold water and gently agitate the rice with your hand in a circular motion. The water will become cloudy due to the starch. Drain the cloudy water and repeat this process 5-7 times, or until the water runs mostly clear. This step is crucial for achieving distinct, non-mushy grains in your sushi rice recipe.
Step 2: Soak the Rice. After the final rinse, drain the water completely. Add fresh, cold water (2 cups for 2 cups of rice) to the bowl with the rinsed rice. Let it soak for 20-30 minutes. Soaking allows the rice grains to absorb water evenly, leading to a more consistent cook.
Step 3: Cook the Rice. Transfer the soaked rice and its soaking water to a heavy-bottomed pot with a tight-fitting lid. Bring the water to a rolling boil over medium-high heat. Once boiling, immediately reduce the heat to the lowest setting, cover the pot tightly, and let it simmer for 15 minutes. Do NOT lift the lid during this time! After 15 minutes, remove the pot from the heat and let it rest, still covered, for another 10 minutes. This steaming period is vital for the rice to fully absorb the moisture and become perfectly fluffy.
Step 4: Prepare the Sushi Vinegar Seasoning. While the rice is cooking, combine the rice vinegar, granulated sugar, and fine sea salt in a small saucepan. Heat gently over low heat, stirring constantly, until the sugar and salt are completely dissolved. Do not boil. Remove from heat and set aside to cool slightly. This forms the essential dressing for your sushi rice recipe.
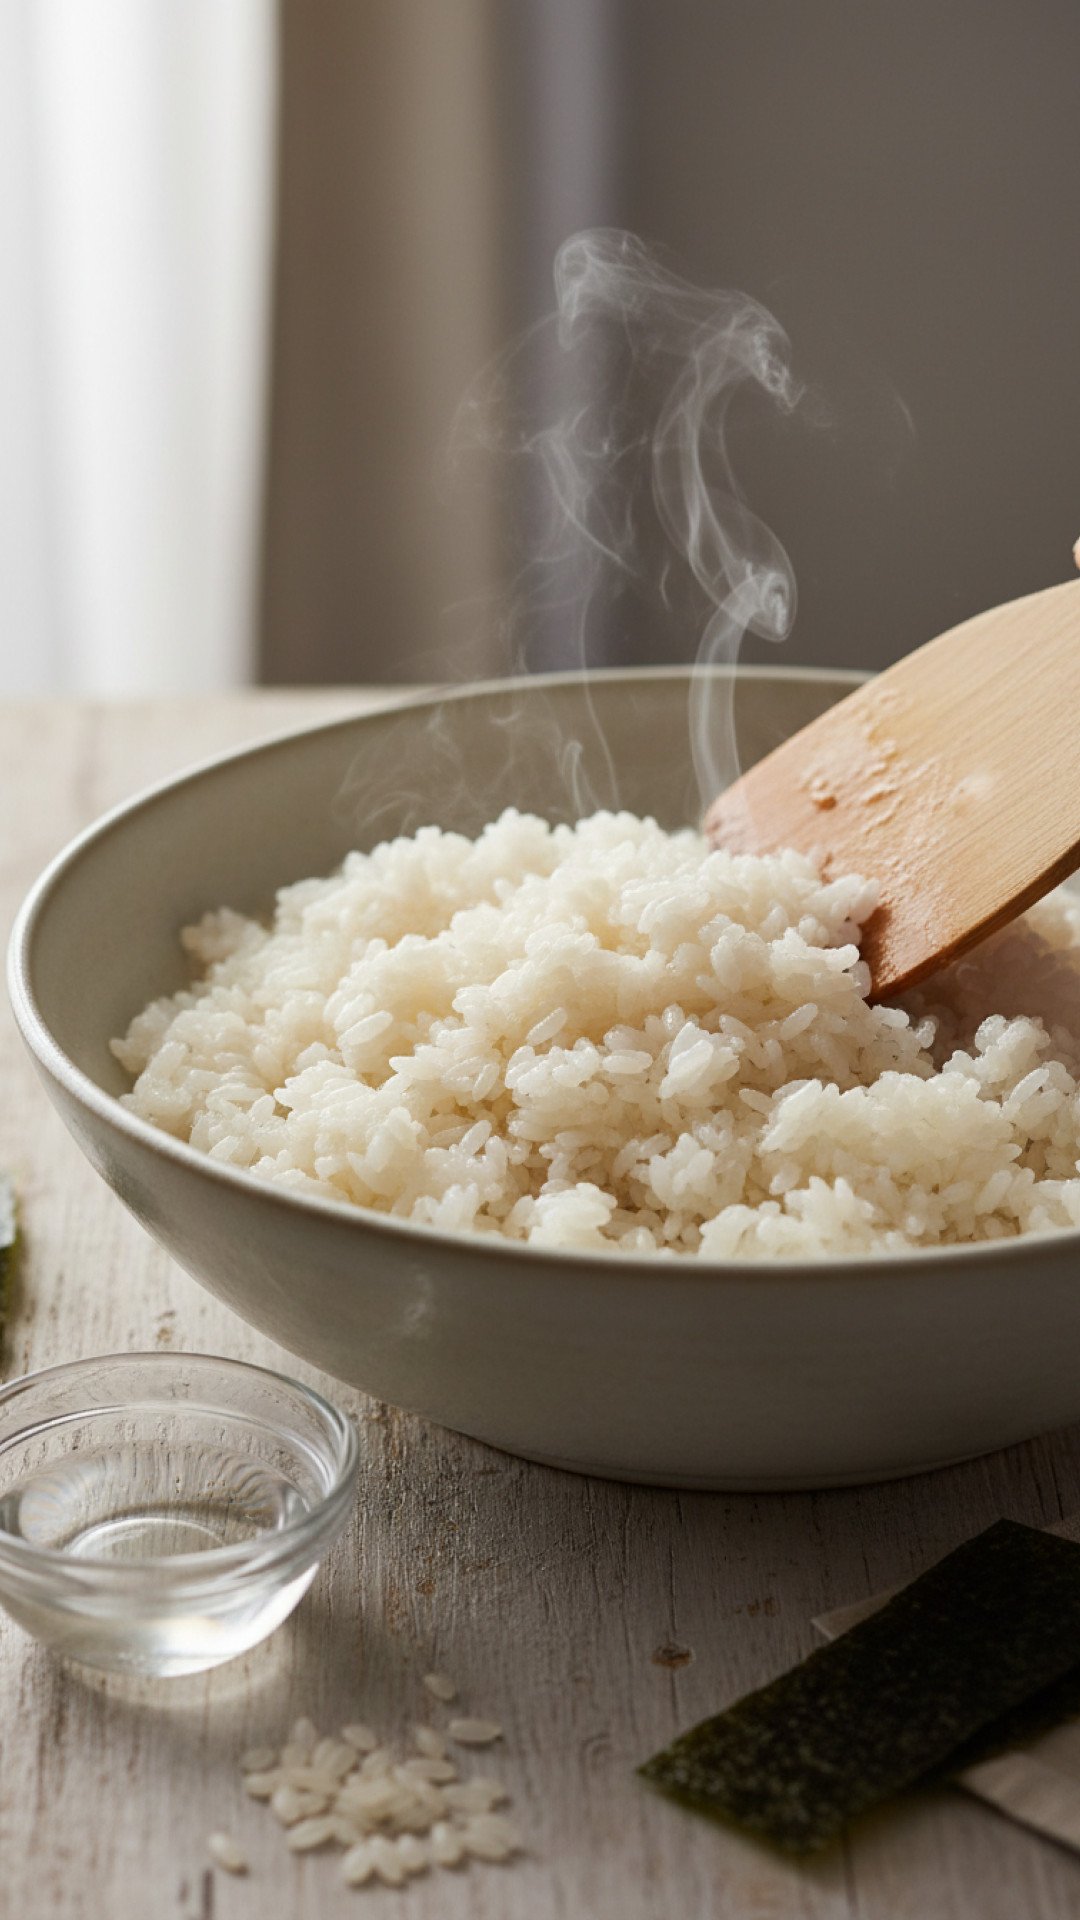
Step 5: Season the Cooked Rice. Once the rice has rested, gently transfer it to a large, wide, non-metallic bowl or a traditional Japanese hangiri (wooden tub). Traditionally, a wooden spoon or spatula is used. Pour the slightly cooled sushi vinegar seasoning evenly over the hot rice. Using a cutting motion (not stirring), gently fold and separate the rice grains with your spatula. This helps the seasoning distribute without mashing the rice. Continue this process, turning the rice frequently, until all the seasoning is absorbed and the rice is evenly coated. This is where the magic of the sushi rice recipe truly comes alive.
Step 6: Cool the Sushi Rice. Fan the rice gently while continuing to fold it. You can use a traditional uchiwa (hand fan) or even a piece of cardboard. Fanning helps the rice cool quickly and develops that characteristic shiny, slightly tacky texture. Continue until the rice reaches body temperature, around 95-100°F (35-38°C). Do not let it get completely cold. It should still be slightly warm and pliable for making sushi. This cooling process is critical to the texture of your sushi rice recipe.
Step 7: Store if Not Using Immediately. If not using immediately, cover the rice with a damp cloth or plastic wrap to prevent it from drying out. Store at room temperature for up to a few hours. Do not refrigerate sushi rice, as it will harden and lose its ideal texture. If you need to store it longer, consider using airtight Basics Glass Food Storage containers to maintain freshness for general rice dishes, but for sushi rice, fresh is always best. This ensures the integrity of your sushi rice recipe for later use.
Variations & Serving Suggestions
Now that you’ve mastered the basic sushi rice recipe, the possibilities are endless!
- Sushi Rolls (Maki): The most obvious use! Spread your perfectly seasoned sushi rice onto nori sheets and fill with your favorite ingredients like fresh fish, avocado, cucumber, or crab stick.
- Nigiri & Sashimi Bowls: Form small oblong mounds of rice for nigiri, topping with slices of fish. Or create a beautiful chirashi bowl by layering sushi rice with various toppings.
- Sushi Bowls/Poke Bowls: A deconstructed sushi experience! Use the sushi rice as the base for a bowl with raw fish, vegetables, and a delicious sauce.
- Onigiri (Rice Balls): Shape the sushi rice into triangles or spheres, often with a filling inside, and wrap with nori. A fantastic snack or light lunch.
- Side Dish: Believe it or not, this rice is so good, it can be a flavorful side dish for various Japanese meals. Try it with a classic Easy Teriyaki Chicken.
- Vegetarian Options: For delicious vegetarian sushi, pair this rice with ingredients like tempura sweet potato, avocado, cucumber, carrot, or even marinated tofu. Consider exploring other flavored rice options like our Zesty Cilantro Lime Rice for different cuisines.
Nutrition Information
| Nutrient | Amount Per Serving |
|---|---|
| Calories | 280 kcal |
| Carbohydrate Content | 58g |
| Cholesterol Content | 0mg |
| Fat Content | 0.5g |
| Fiber Content | 1.5g |
| Protein Content | 5g |
| Saturated Fat Content | 0g |
| Serving Size | 1 cup cooked rice |
| Sodium Content | 350mg |
| Sugar Content | 12g |
| Trans Fat Content | 0g |
| Unsaturated Fat Content | 0.5g |
*Nutritional values are estimates based on a standard preparation of this sushi rice recipe. Actual values may vary depending on specific ingredients and brands used.
Conclusion
And there you have it – the ultimate guide to making perfect sushi rice at home! This sushi rice recipe is more than just cooking grains; it’s an art that transforms simple ingredients into the sublime foundation for countless delicious Japanese dishes. From the initial rinsing to the final fanning, each step contributes to that ideal sticky, flavorful, and slightly shiny rice that is the hallmark of great sushi. Don’t be discouraged if your first attempt isn’t flawless; practice makes perfect. With this comprehensive sushi rice recipe, you’re well on your way to crafting homemade sushi that will impress friends, family, and most importantly, satisfy your own cravings. Enjoy the process, and happy rolling!
FAQs
What kind of rice should I use for sushi?
You must use Japanese short-grain rice, often labeled as ‘sushi rice’. This variety has the correct starch content to achieve the desired stickiness and texture for a successful sushi rice recipe. Do not use long-grain or jasmine rice.
How do I properly wash sushi rice?
To properly wash sushi rice, place it in a large bowl, cover with cold water, and gently agitate with your hand. Drain the cloudy water and repeat this process 5-7 times until the water runs mostly clear. This removes excess starch, preventing the rice from becoming mushy.
Why is seasoning the sushi rice important?
Seasoning the rice with a mixture of rice vinegar, sugar, and salt is crucial because it imparts the characteristic tangy, sweet, and savory flavor that defines sushi rice. It also helps preserve the rice slightly and gives it that glossy finish and perfect texture for sushi making.
Can I make sushi rice without a rice cooker?
Absolutely! This sushi rice recipe specifically uses a heavy-bottomed pot with a tight-fitting lid on the stovetop. While a rice cooker simplifies the process, you can achieve perfect sushi rice results without one by carefully following the cooking and resting times.
The Ultimate Perfect Sushi Rice Recipe
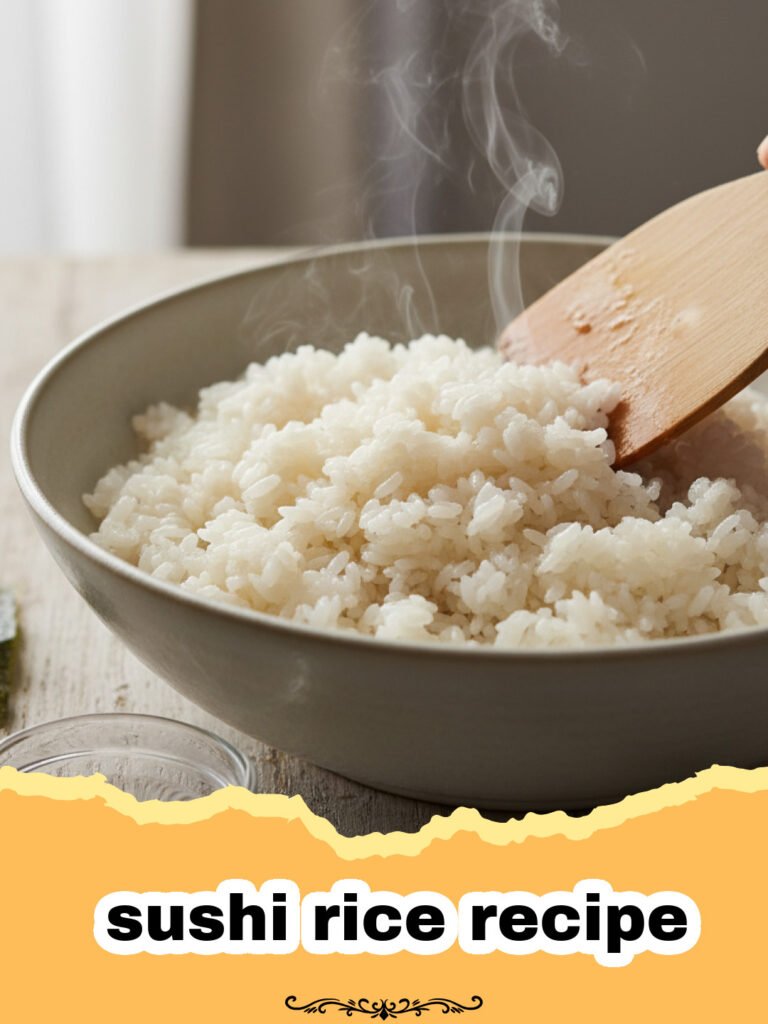
Learn how to make the perfect seasoned sushi rice at home, essential for any homemade sushi roll, nigiri, or bowl. This recipe guides you through washing, cooking, and seasoning for that authentic, slightly tangy, and perfectly sticky texture. Master this key sushi rice recipe for all your Japanese culinary adventures.
- Total Time: 40 minutes
- Yield: 4 cups cooked rice (approx. 4–6 servings) 1x
Ingredients
2 cups Japanese short-grain rice (sushi rice)
2 cups cold water (plus more for rinsing)
1/2 cup rice vinegar (unseasoned)
2 tablespoons granulated sugar
1 teaspoon fine sea salt
Instructions
Step 1: Rinse the Rice Thoroughly. Place the measured sushi rice into a large bowl. Fill the bowl with cold water and gently agitate the rice with your hand in a circular motion. The water will become cloudy due to the starch. Drain the cloudy water and repeat this process 5-7 times, or until the water runs mostly clear. This step is crucial for achieving distinct, non-mushy grains.
Step 2: Soak the Rice. After the final rinse, drain the water completely. Add fresh, cold water (2 cups for 2 cups of rice) to the bowl with the rinsed rice. Let it soak for 20-30 minutes. Soaking allows the rice grains to absorb water evenly, leading to a more consistent cook.
Step 3: Cook the Rice. Transfer the soaked rice and its soaking water to a heavy-bottomed pot with a tight-fitting lid. Bring the water to a rolling boil over medium-high heat. Once boiling, immediately reduce the heat to the lowest setting, cover the pot tightly, and let it simmer for 15 minutes. Do NOT lift the lid during this time! After 15 minutes, remove the pot from the heat and let it rest, still covered, for another 10 minutes. This steaming period is vital for the rice to fully absorb the moisture and become perfectly fluffy.
Step 4: Prepare the Sushi Vinegar Seasoning. While the rice is cooking, combine the rice vinegar, granulated sugar, and fine sea salt in a small saucepan. Heat gently over low heat, stirring constantly, until the sugar and salt are completely dissolved. Do not boil. Remove from heat and set aside to cool slightly.
Step 5: Season the Cooked Rice. Once the rice has rested, gently transfer it to a large, wide, non-metallic bowl or a traditional Japanese hangiri (wooden tub). Traditionally, a wooden spoon or spatula is used. Pour the slightly cooled sushi vinegar seasoning evenly over the hot rice. Using a cutting motion (not stirring), gently fold and separate the rice grains with your spatula. This helps the seasoning distribute without mashing the rice. Continue this process, turning the rice frequently, until all the seasoning is absorbed and the rice is evenly coated.
Step 6: Cool the Sushi Rice. Fan the rice gently while continuing to fold it. You can use a traditional uchiwa (hand fan) or even a piece of cardboard. Fanning helps the rice cool quickly and develops that characteristic shiny, slightly tacky texture. Continue until the rice reaches body temperature, around 95-100°F (35-38°C). Do not let it get completely cold. It should still be slightly warm and pliable for making sushi.
Step 7: Store if Not Using Immediately. If not using immediately, cover the rice with a damp cloth or plastic wrap to prevent it from drying out. Store at room temperature for up to a few hours. Do not refrigerate sushi rice, as it will harden and lose its ideal texture.
Notes
Always use Japanese short-grain rice for the best texture. Do not lift the lid while the rice is cooking or resting, as this releases steam crucial for proper cooking. For best results, use the sushi rice when it’s still slightly warm, at body temperature.
- Prep Time: 15 minutes
- Cook Time: 25 minutes
- Category: How To
- Cuisine: Japanese
Nutrition
- Serving Size: 1 cup cooked rice
- Calories: 280 kcal
- Sugar: 12g
- Sodium: 350mg
- Fat: 0.5g
- Saturated Fat: 0g
- Unsaturated Fat: 0.5g
- Trans Fat: 0g
- Carbohydrates: 58g
- Fiber: 1.5g
- Protein: 5g
- Cholesterol: 0mg
Keywords: sushi rice, Japanese rice, sticky rice, sushi, homemade sushi, rice vinegar, short grain rice, how to make sushi rice, authentic sushi rice recipe, sushi foundation