Ingredients
2 cups Japanese short-grain rice (sushi rice)
2 cups cold water (plus more for rinsing)
1/2 cup rice vinegar (unseasoned)
2 tablespoons granulated sugar
1 teaspoon fine sea salt
Instructions
Step 1: Rinse the Rice Thoroughly. Place the measured sushi rice into a large bowl. Fill the bowl with cold water and gently agitate the rice with your hand in a circular motion. The water will become cloudy due to the starch. Drain the cloudy water and repeat this process 5-7 times, or until the water runs mostly clear. This step is crucial for achieving distinct, non-mushy grains.
Step 2: Soak the Rice. After the final rinse, drain the water completely. Add fresh, cold water (2 cups for 2 cups of rice) to the bowl with the rinsed rice. Let it soak for 20-30 minutes. Soaking allows the rice grains to absorb water evenly, leading to a more consistent cook.
Step 3: Cook the Rice. Transfer the soaked rice and its soaking water to a heavy-bottomed pot with a tight-fitting lid. Bring the water to a rolling boil over medium-high heat. Once boiling, immediately reduce the heat to the lowest setting, cover the pot tightly, and let it simmer for 15 minutes. Do NOT lift the lid during this time! After 15 minutes, remove the pot from the heat and let it rest, still covered, for another 10 minutes. This steaming period is vital for the rice to fully absorb the moisture and become perfectly fluffy.
Step 4: Prepare the Sushi Vinegar Seasoning. While the rice is cooking, combine the rice vinegar, granulated sugar, and fine sea salt in a small saucepan. Heat gently over low heat, stirring constantly, until the sugar and salt are completely dissolved. Do not boil. Remove from heat and set aside to cool slightly.
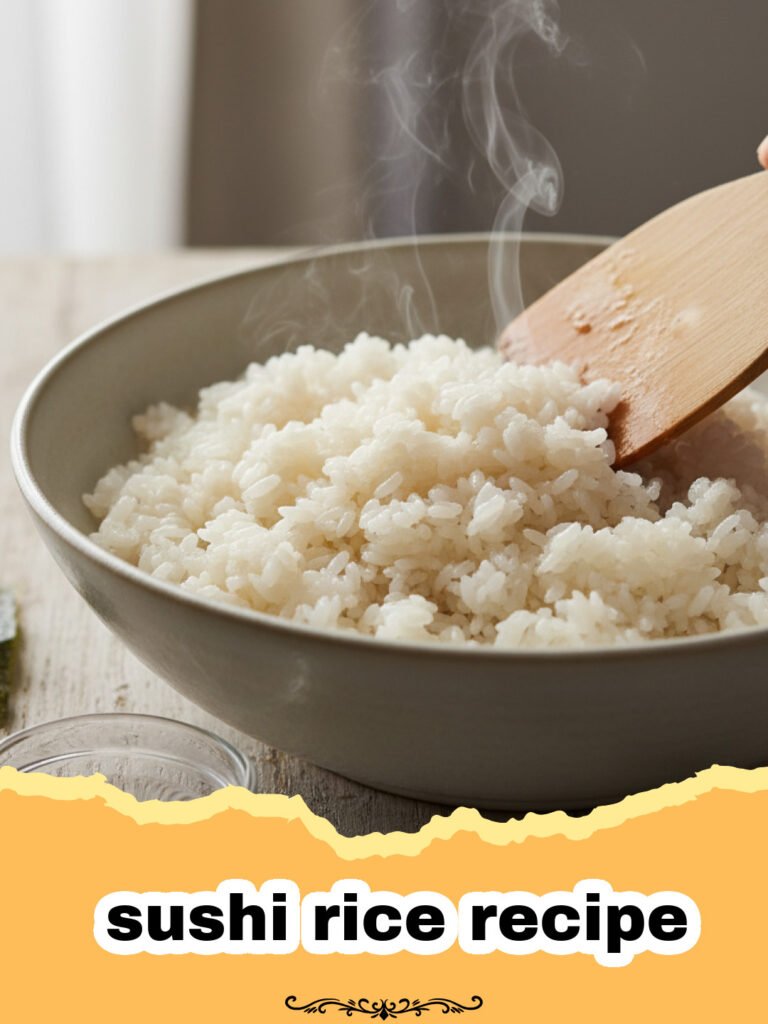
Step 5: Season the Cooked Rice. Once the rice has rested, gently transfer it to a large, wide, non-metallic bowl or a traditional Japanese hangiri (wooden tub). Traditionally, a wooden spoon or spatula is used. Pour the slightly cooled sushi vinegar seasoning evenly over the hot rice. Using a cutting motion (not stirring), gently fold and separate the rice grains with your spatula. This helps the seasoning distribute without mashing the rice. Continue this process, turning the rice frequently, until all the seasoning is absorbed and the rice is evenly coated.
Step 6: Cool the Sushi Rice. Fan the rice gently while continuing to fold it. You can use a traditional uchiwa (hand fan) or even a piece of cardboard. Fanning helps the rice cool quickly and develops that characteristic shiny, slightly tacky texture. Continue until the rice reaches body temperature, around 95-100°F (35-38°C). Do not let it get completely cold. It should still be slightly warm and pliable for making sushi.
Step 7: Store if Not Using Immediately. If not using immediately, cover the rice with a damp cloth or plastic wrap to prevent it from drying out. Store at room temperature for up to a few hours. Do not refrigerate sushi rice, as it will harden and lose its ideal texture.
Notes
Always use Japanese short-grain rice for the best texture. Do not lift the lid while the rice is cooking or resting, as this releases steam crucial for proper cooking. For best results, use the sushi rice when it’s still slightly warm, at body temperature.
- Prep Time: 15 minutes
- Cook Time: 25 minutes
- Category: How To
- Cuisine: Japanese
Nutrition
- Serving Size: 1 cup cooked rice
- Calories: 280 kcal
- Sugar: 12g
- Sodium: 350mg
- Fat: 0.5g
- Saturated Fat: 0g
- Unsaturated Fat: 0.5g
- Trans Fat: 0g
- Carbohydrates: 58g
- Fiber: 1.5g
- Protein: 5g
- Cholesterol: 0mg
Keywords: sushi rice, Japanese rice, sticky rice, sushi, homemade sushi, rice vinegar, short grain rice, how to make sushi rice, authentic sushi rice recipe, sushi foundation
