
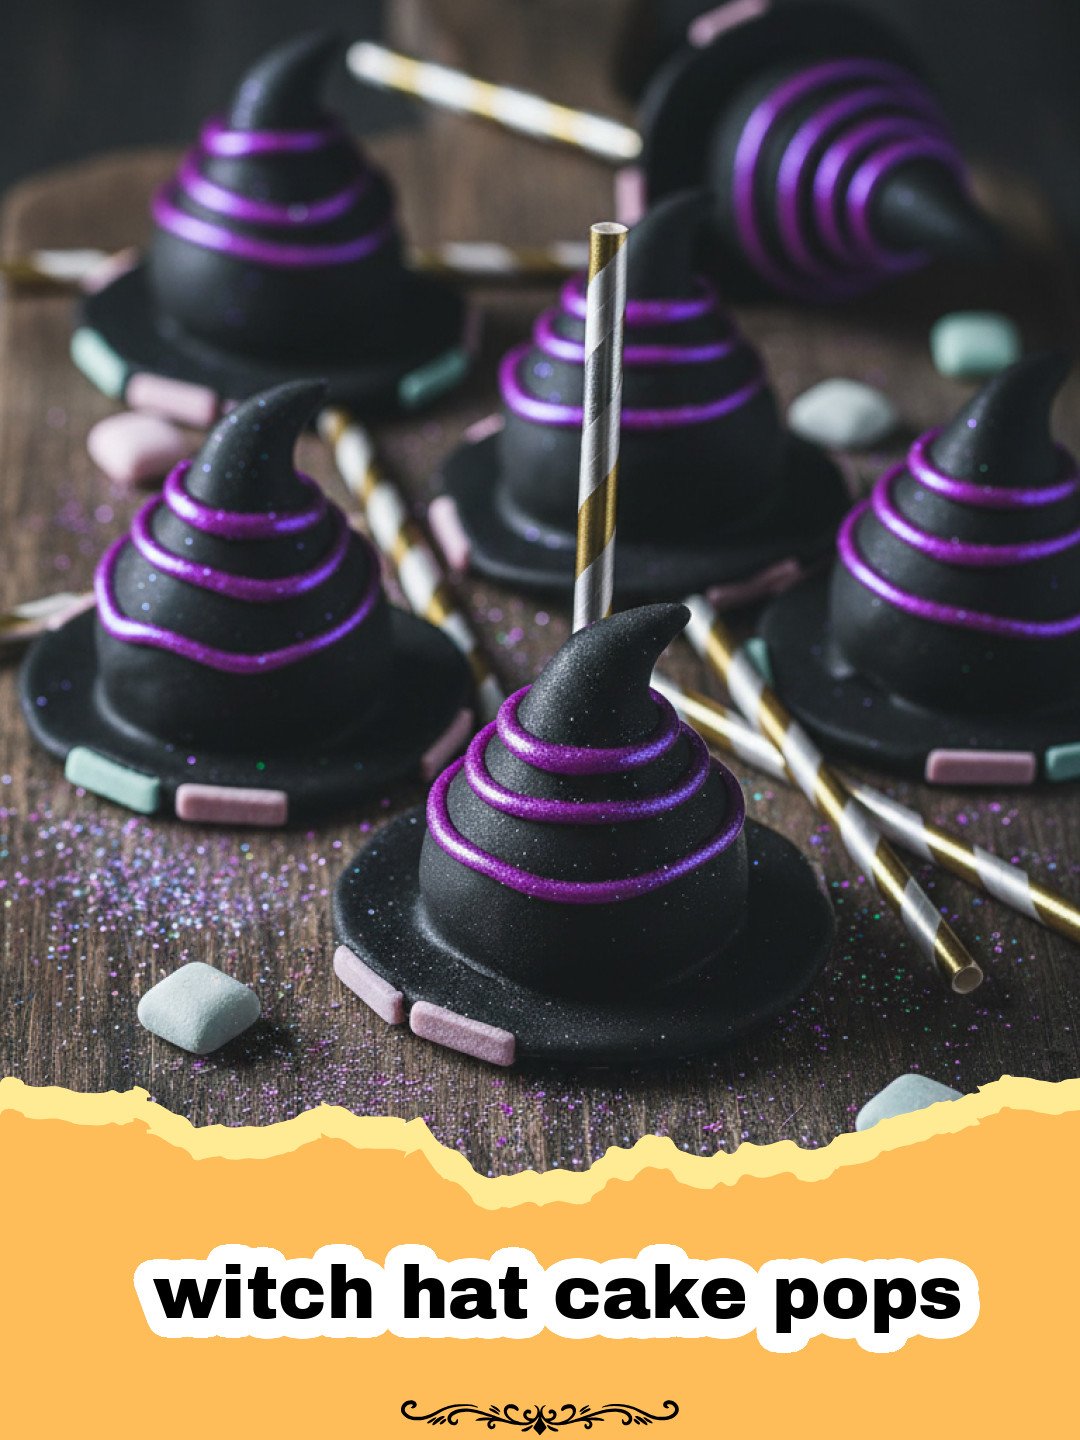
Making witch hat cake pops has become a beloved tradition in my household, marking the official start of the spooky season with a burst of sweetness and creativity. Every year, as the leaves begin to turn that crisp burnt orange and the smell of woodsmoke fills the air, my children and I gather in the kitchen to whip up a batch of these enchanting treats. The first time we made witch hat cake pops, it was almost by accident—a happy mishap with some leftover cake and a few chocolate cookies that turned into the centerpiece of our Halloween party. There is something truly magical about seeing a simple cake ball transformed into a tiny, edible sorceress’s accessory, complete with a chocolate brim and a colorful ribbon. These witch hat cake pops are not just a dessert; they are a conversation starter and a labor of love that brings the whole family together. Whether you are hosting a grand masquerade or just want to surprise your coworkers, these treats offer the perfect blend of whimsical design and decadent chocolate flavor. My secret to the perfect witch hat cake pops is all in the patience of the assembly, ensuring each hat sits perfectly on its cookie brim before the chocolate sets. It has been years since that first batch, and while our technique has improved, the joy of biting into a moist, chocolatey center remains exactly the same.
Why This Recipe is a Must-Try
- Perfect Party Centerpiece: These witch hat cake pops look incredibly professional but are actually achievable for bakers of all skill levels, making them the ultimate showstopper for any dessert table.
- Customizable Colors: You can easily swap the “ribbon” color on your witch hat cake pops to match your party theme, using purple, orange, or even lime green icing.
- Delicious Flavor Profile: By combining rich chocolate cake with a velvety frosting and a crunchy cookie base, these witch hat cake pops offer a satisfying variety of textures in every bite.
- Make-Ahead Friendly: You can prepare the cake balls and even assemble the hats a day in advance, leaving you more time to enjoy the Halloween festivities.
Key Ingredient Notes
The foundation of great witch hat cake pops starts with the cake itself. While you can use any flavor, a moist chocolate or vanilla sponge provides the best structural integrity for crumbling and mixing. I often find that using a slightly denser cake helps the balls hold their shape better during the dipping process. If you find yourself with extra cake scraps, I highly recommend storing them in Basics Glass Food Storage to keep them fresh for your next batch of treats. Another critical component is the coating. Using high-quality dark or semi-sweet chocolate melting wafers ensures a smooth, glossy finish that mimics the felt of a real witch’s hat. Finally, the brim of the hat is created using thin chocolate wafer cookies. These need to be flat and sturdy enough to support the weight of the cake pop without snapping. If you are looking for more spooky inspiration, you might want to check out my The Most Spooktacular Eyeball Cake Pops Recipe for a variety of cake-based treats.
Step-by-Step Guide with Pro Tips
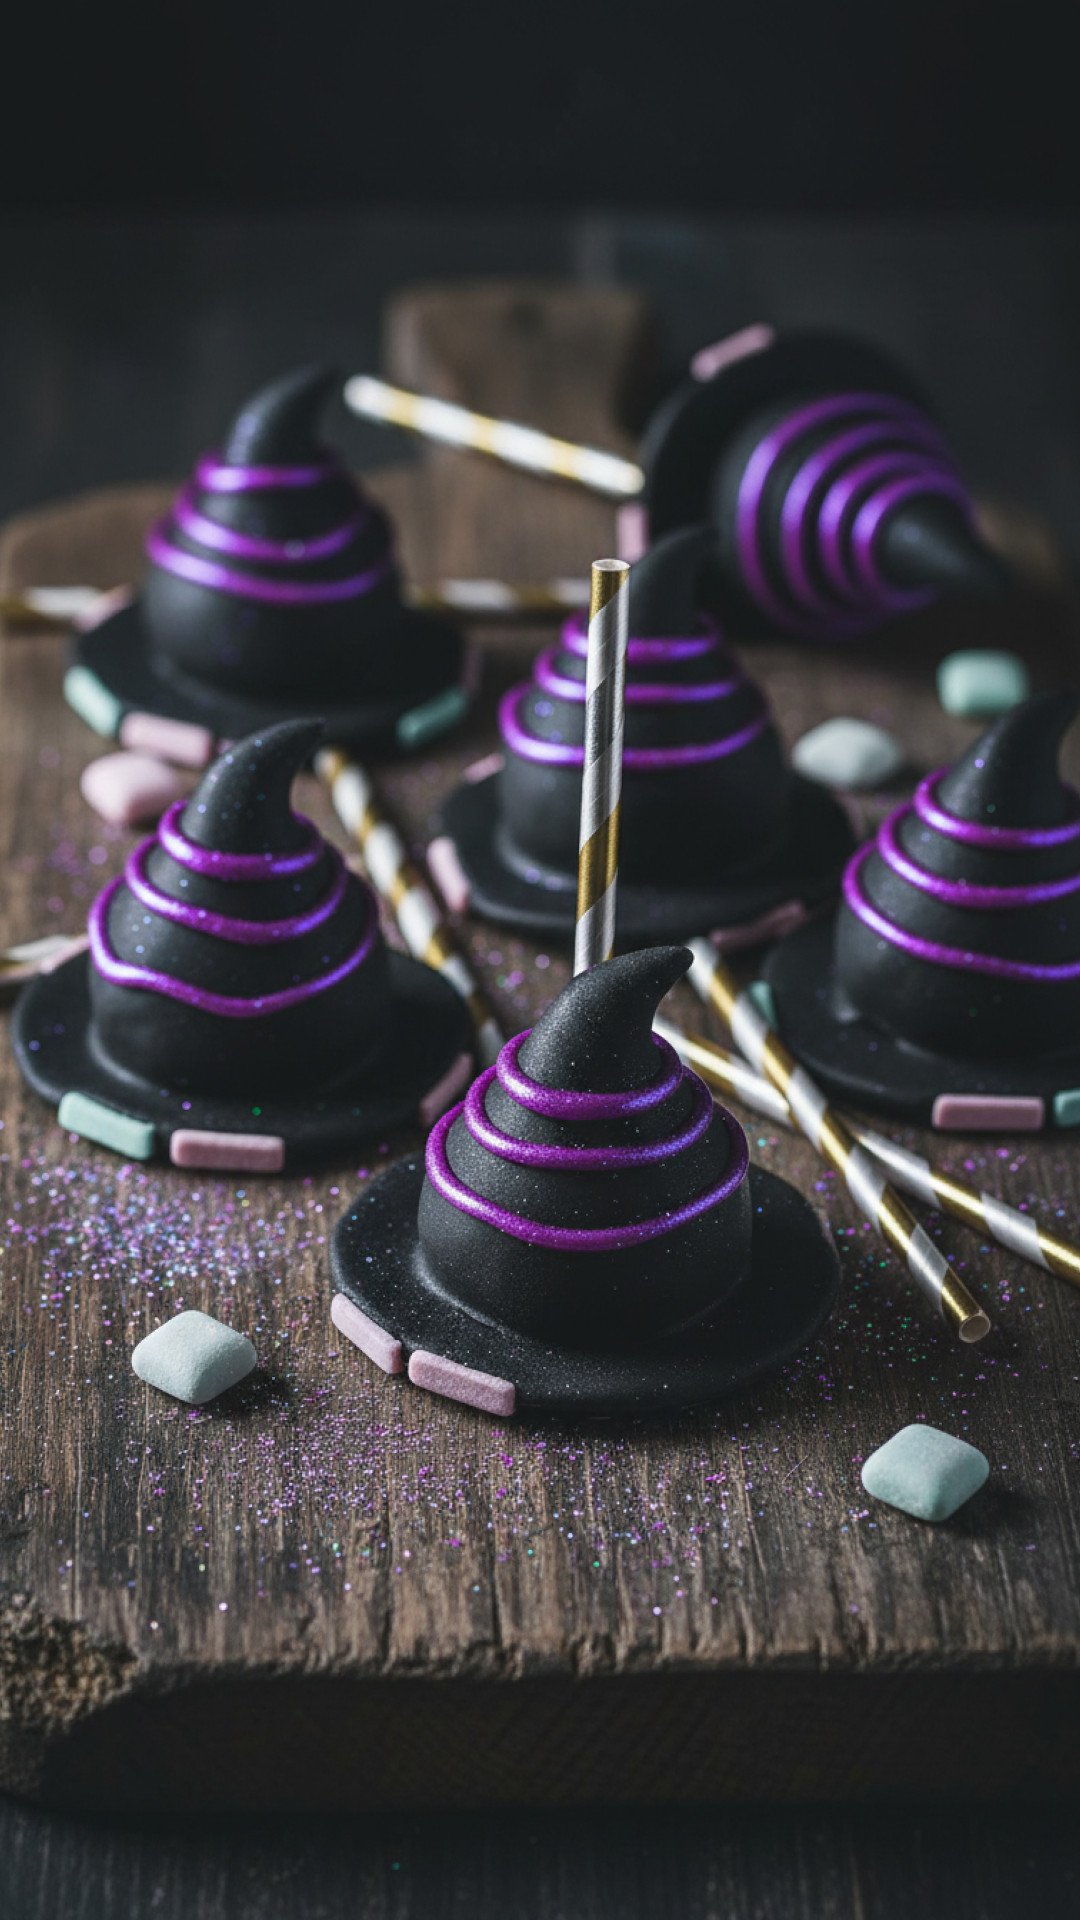
Creating witch hat cake pops is a multi-step process that requires a little bit of finesse but pays off in the end. Start by crumbling your baked and cooled cake into fine crumbs. You don’t want any large chunks, as this will make your witch hat cake pops look lumpy. When adding the frosting, do it gradually. You want just enough to hold the crumbs together so that when you squeeze a handful, it forms a ball without being greasy. If the mixture is too wet, your witch hat cake pops might slide off the stick or become too heavy for the cookie brim. Once you have shaped the cake into small cones rather than spheres, chill them thoroughly. This is a non-negotiable step; chilling firms up the fats and makes the cake easier to handle. When it comes time to dip, ensure your chocolate is melted smoothly but isn’t too hot, as extreme heat can cause the cake to expand and crack the coating. If you love working with chocolate and want to try something even richer, these treats are often served alongside Wicked Witch Brownies for a full-themed dessert board.
Pro Tips for Success
- Temperature Control: If your chocolate starts to thicken, reheat it in 10-second bursts. Cold cake and warm chocolate are the keys to a quick set.
- Tapping Technique: Gently tap your wrist, not the stick, to remove excess chocolate from your witch hat cake pops for a thin, even coat.
- The Ribbon: Use a small piping tip for the ribbon to ensure a clean, sharp line around the base of the hat.
Variations & Serving Suggestions
While the classic dark chocolate look is iconic, you can get creative with your witch hat cake pops. Try using white chocolate dyed with food coloring to create “Good Witch” hats in pastels. You can also add edible glitter or star-shaped sprinkles to the hats to give them a more celestial, magical feel. For serving, I love to stand these witch hat cake pops upright on a platter covered in crushed Oreo “dirt” or orange sanding sugar. They look fantastic when grouped together in different heights. If you are planning a large event, consider making a “Witch’s Grove” display with these pops and some dry ice for a smoky effect. You can also turn these into “Hat-less” pops by just using the cake balls and decorating them with spooky faces, though the witch hat cake pops always seem to be the first to disappear from the plate.
Nutrition Information
| Nutrient | Amount per Serving |
|---|---|
| Calories | 150 kcal |
| Carbohydrate Content | 20 g |
| Cholesterol Content | 5 mg |
| Fat Content | 7 g |
| Fiber Content | 1 g |
| Protein Content | 2 g |
| Saturated Fat Content | 4 g |
| Serving Size | 1 cake pop |
| Sodium Content | 80 mg |
| Sugar Content | 15 g |
| Trans Fat Content | 0 g |
| Unsaturated Fat Content | 3 g |
Conclusion
I hope these witch hat cake pops bring as much magic to your home as they have to mine. They are the perfect combination of spooky and sweet, making them a hit with kids and adults alike. Don’t be afraid to experiment with different decorations and flavors to make them your own. Happy Halloween and happy baking!
FAQs
Can I make these witch hat cake pops ahead of time?
Yes! You can make the cake balls and assemble the hats up to 2 days in advance. Store them in an airtight container in a cool, dry place.
What is the best way to prevent the cake pops from cracking?
Cracking usually happens when there is a large temperature difference between the cake and the chocolate. Let your chilled cake cones sit at room temperature for a few minutes before dipping into the warm chocolate.
Do I have to use a cake pop stick?
Not necessarily! These witch hat cake pops look great sitting directly on a platter as individual ‘truffles’ rather than on a stick.
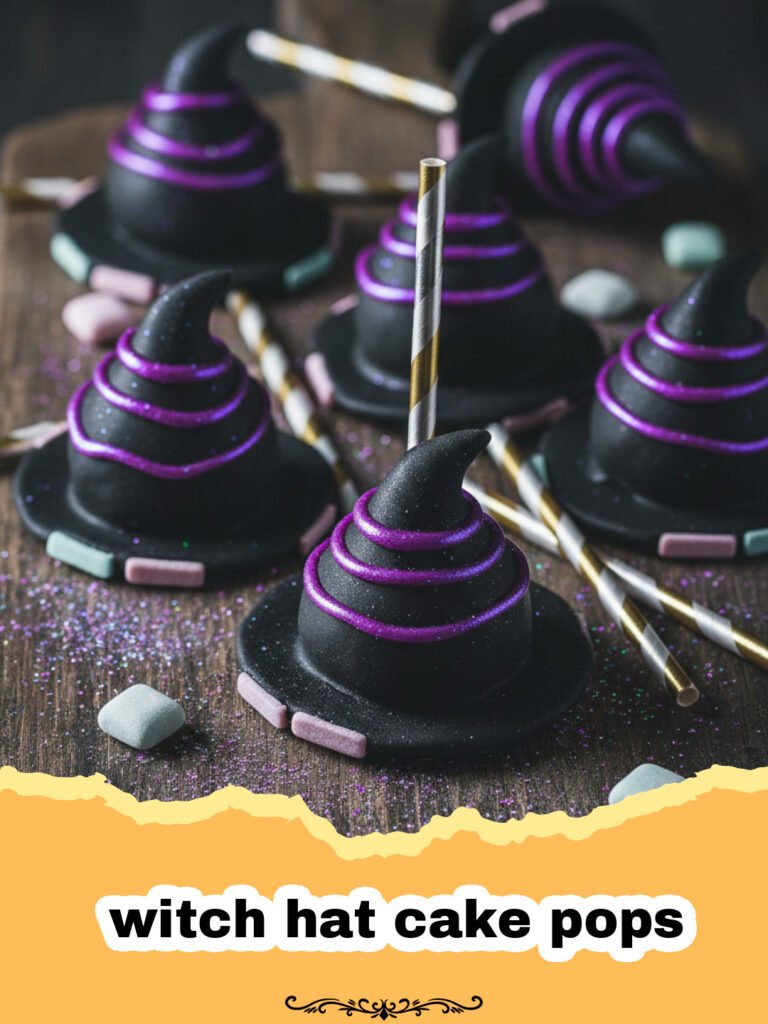
Magical Witch Hat Cake Pops
Adorable and spooky witch hat cake pops made with chocolate cake, chocolate coating, and a cookie brim. The perfect Halloween party treat!
- Total Time: 1 hour 15 minutes
- Yield: 24 cake pops 1x
Ingredients
1 box chocolate cake mix (plus ingredients to bake)
1/2 cup chocolate frosting
24 chocolate wafer cookies (like Oreos or thin chocolate wafers)
16 oz black or dark chocolate melting wafers
1/4 cup purple or orange candy melts (for the ribbon)
Yellow star sprinkles or yellow icing (for the buckle)
24 cake pop sticks
Instructions
Step 1: Bake the chocolate cake according to the box instructions and allow it to cool completely before crumbling it into a large bowl.
Step 2: Add the chocolate frosting to the cake crumbs and mix with your hands or a spatula until the mixture holds its shape when pressed.
Step 3: Roll the mixture into 24 cone-shaped pieces (roughly 1.5 inches tall) to form the top of the witch hat cake pops and chill in the freezer for 20 minutes.
Step 4: Melt a small amount of chocolate coating. Dip the end of a cake pop stick into the chocolate and then insert it into the flat base of a cake cone.
Step 5: Dip the entire cake cone into the melted black chocolate, allowing the excess to drip off, then immediately press it onto the center of a chocolate wafer cookie.
Step 6: Once the chocolate has set, melt the purple or orange candy melts and pipe a thin line around the base of the cone where it meets the cookie.
Step 7: Use a yellow star sprinkle or a small dot of yellow icing to create the buckle on the front of the ribbon, then let the witch hat cake pops set completely before serving.
Notes
Ensure the cake cones are very cold before dipping to prevent them from crumbling into the chocolate.
- Prep Time: 45 minutes
- Cook Time: 30 minutes
- Category: Baked Goods
- Cuisine: American
Nutrition
- Serving Size: 1 cake pop
- Calories: 150 kcal
- Sugar: 15 g
- Sodium: 80 mg
- Fat: 7 g
- Saturated Fat: 4 g
- Unsaturated Fat: 3 g
- Trans Fat: 0 g
- Carbohydrates: 20 g
- Fiber: 1 g
- Protein: 2 g
- Cholesterol: 5 mg
Keywords: witch hat cake pops, Halloween treats, cake pops recipe, spooky desserts, witch hats




