
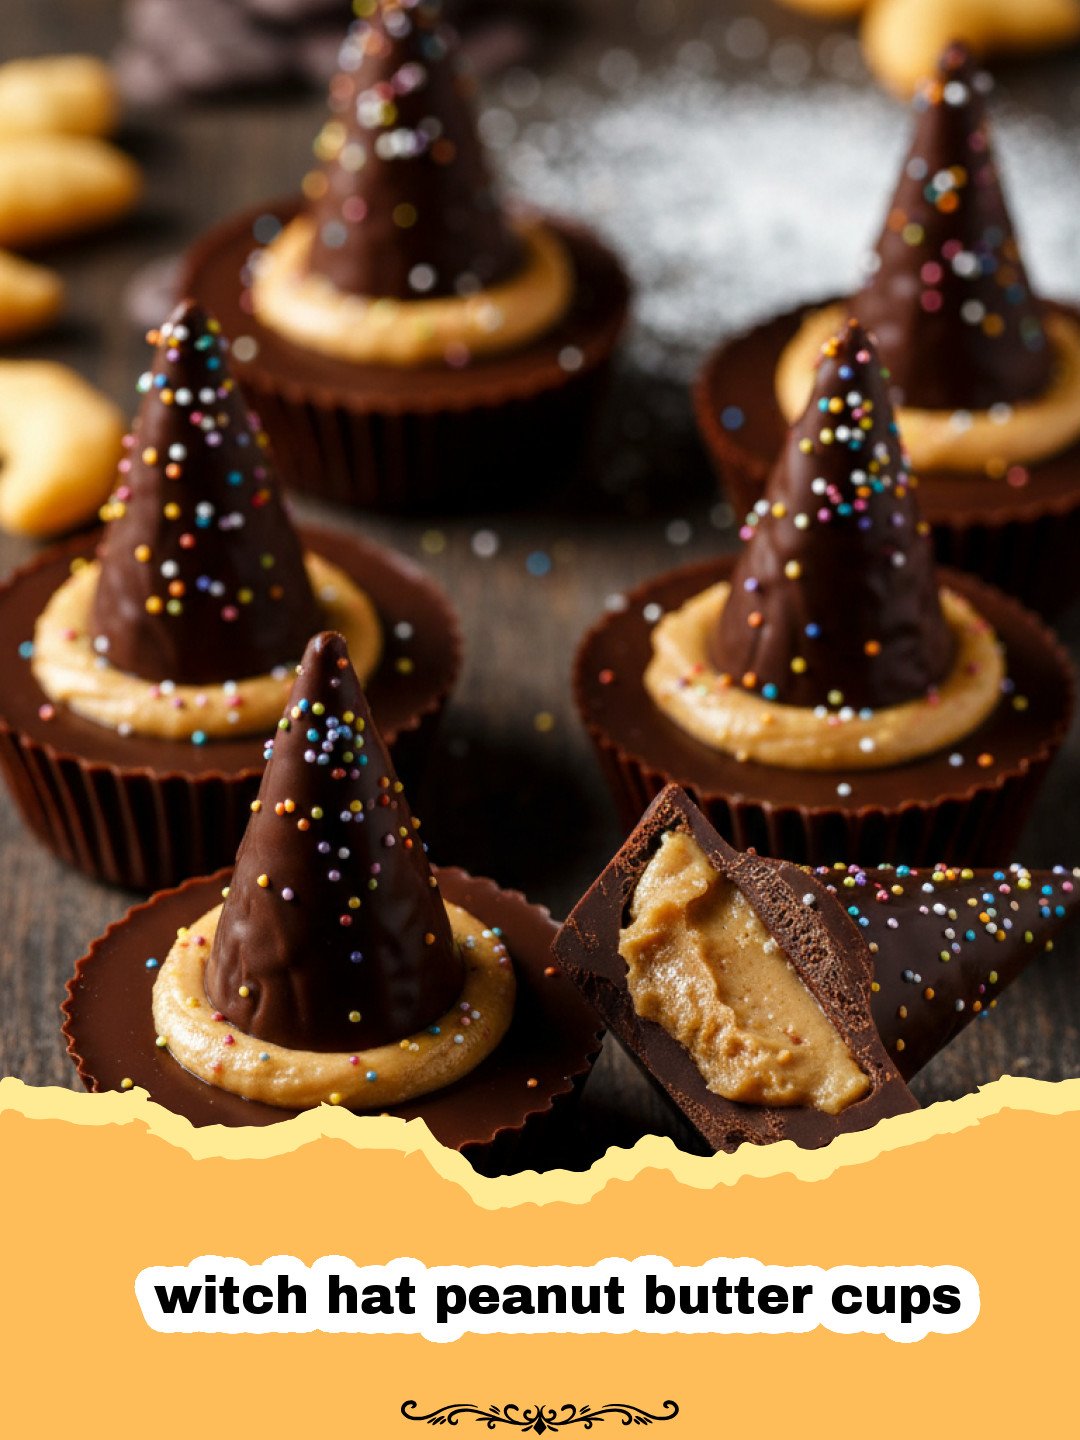
When October rolls around, my kitchen transforms into a bubbling cauldron of creativity, and these witch hat peanut butter cups are always the first thing on the menu. There is something truly magical about the combination of creamy peanut butter and rich milk chocolate that captures the essence of Halloween nostalgia. I remember my mother setting out a spread of candies every year, but it wasn’t until I started experimenting with my own children that we discovered how a simple assembly process could turn standard pantry staples into enchanting little hats. These witch hat peanut butter cups are more than just a snack; they are a tradition that brings the whole family together at the kitchen island, sticky-handed and smiling.
Why This Recipe is a Must-Try
- Zero Baking Required: This is a completely no-bake project, which means you can save your oven space for other Halloween delights.
- Kid-Friendly Crafting: The assembly of witch hat peanut butter cups is simple enough for little hands to help with, making it a great afternoon activity.
- Highly Customizable: You can change the colors of the hat bands to match any party theme or house color if you are a fan of wizarding worlds.
- Perfect for Gifting: These sturdy little treats hold up well when packaged in 1500-word containers or small cellophane bags for school parties.
Key Ingredient Notes
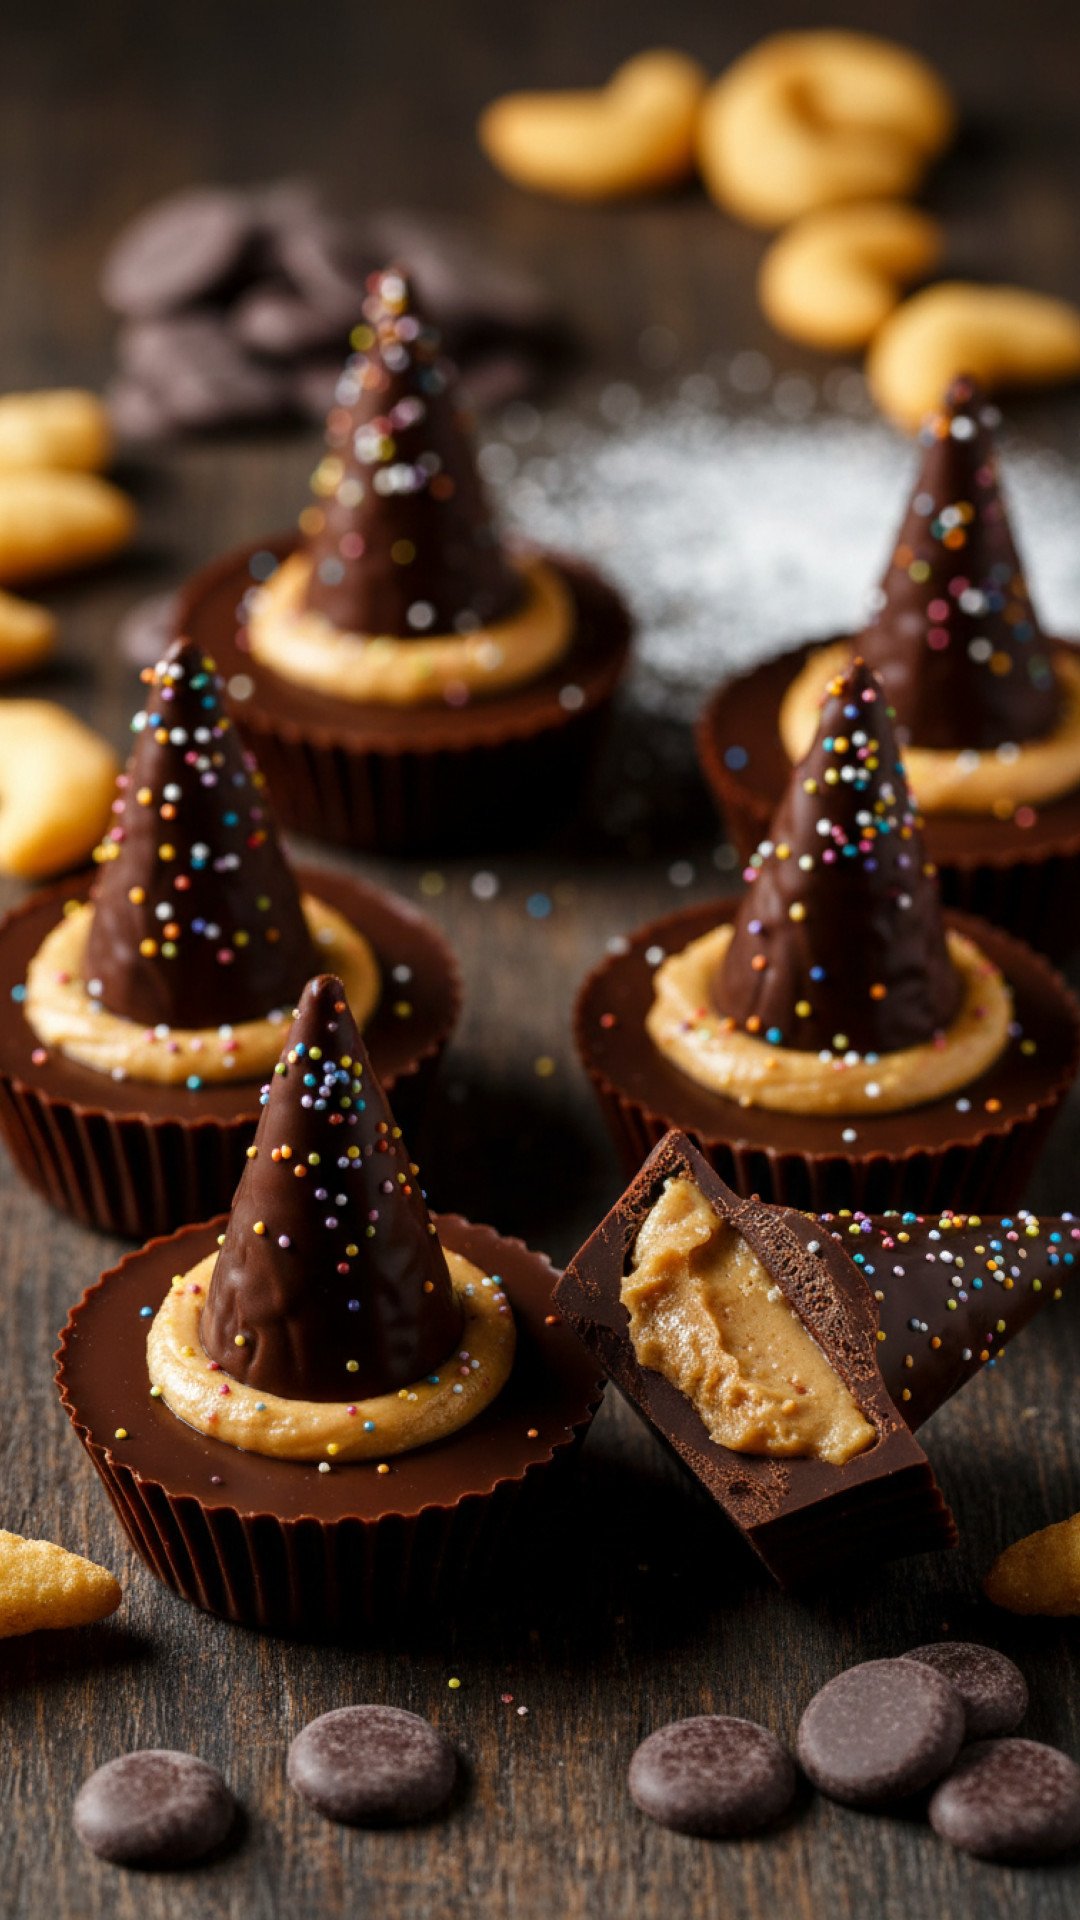
To make the perfect witch hat peanut butter cups, you need to start with quality components. The base of our hat is a chocolate wafer cookie. I typically use the thin, dark chocolate wafers because they provide a sturdy brim and a nice color contrast. If you cannot find specific wafers, the chocolate side of a sandwich cookie works just as well. The crown of the hat is, of course, a miniature peanut butter cup. For the best flavor, ensure your peanut butter cups are fresh and not bloomed (that white powdery look), as this affects the ‘glue’ we use to stick them together. Speaking of glue, you will need a small amount of melted chocolate or colored royal icing. If you are looking for a reliable way to store your leftover ingredients, consider using Basics Glass Food Storage to keep your cookies crisp and your chocolate fresh.
Step-by-Step Guide with Pro Tips
Creating witch hat peanut butter cups is an art of assembly. First, lay out your chocolate wafers on a flat surface lined with parchment paper. This prevents any stray chocolate from sticking to your counters. Step 1: Melt a small bowl of chocolate chips or prepare your orange-tinted icing. Step 2: Gently unwrap each miniature peanut butter cup, being careful not to crack the ridged edges. Step 3: Apply a small dollop of melted chocolate to the wider top of the peanut butter cup and press it firmly into the center of the wafer cookie. This creates the classic silhouette of the witch hat peanut butter cups. Step 4: Using a piping bag with a small round tip, draw a ‘ribbon’ around the base of the peanut butter cup where it meets the cookie. Step 5: Add a tiny star sprinkle or a yellow dot of icing to represent the buckle. Pro tip: If your kitchen is warm, pop your witch hat peanut butter cups into the refrigerator for 10 minutes to ensure the chocolate ‘glue’ sets firmly before you try to move them. These witch hat peanut butter cups are delicate until fully set, so patience is key for a professional look.
Variations & Serving Suggestions
While the classic milk chocolate look is iconic, you can diversify your witch hat peanut butter cups by using white chocolate peanut butter cups for ‘ghostly’ hats or even dark chocolate for a more sinister aesthetic. If you are hosting a large bash, I highly recommend serving these alongside other themed desserts like The Ultimate Trick or Treat Cookie Bars for Halloween for a complete dessert table experience. You can even place these witch hat peanut butter cups on top of cupcakes or use them as a garnish for Wicked Witch Hat Brownies: The Ultimate Halloween Party Treat. To make them even more festive, try using different colored icing for the bands—purple, lime green, and orange are the ‘big three’ of Halloween colors that really make these witch hat peanut butter cups pop on a serving platter.
Nutrition Information
| Nutrient | Amount |
|---|---|
| Calories | 145 kcal |
| Total Fat | 8g |
| Saturated Fat | 4g |
| Cholesterol | 2mg |
| Sodium | 85mg |
| Total Carbohydrates | 18g |
| Fiber | 1g |
| Sugar | 14g |
| Protein | 2g |
| Serving Size | 1 hat |
Conclusion
Making witch hat peanut butter cups is a delightful way to embrace the spooky season without the stress of complicated baking. Whether you are prepping for a classroom party or just want a sweet treat to enjoy while watching scary movies, these witch hat peanut butter cups are a guaranteed hit. They capture the whimsical side of Halloween and remind us that sometimes the best treats are the ones that are as fun to make as they are to eat. Happy haunting and happy snacking!
FAQs
Can I use full-sized peanut butter cups?
Full-sized cups are usually too large for standard wafer cookies. For the best witch hat peanut butter cups proportions, stick to the miniature or snack-sized cups.
How do I store witch hat peanut butter cups?
Store them in an airtight container at room temperature for up to one week. If your environment is warm, store them in the refrigerator to keep the chocolate firm.
Can I make these vegan?
Yes! Use vegan chocolate wafers and dairy-free dark chocolate peanut butter cups along with melted vegan chocolate chips for the assembly.
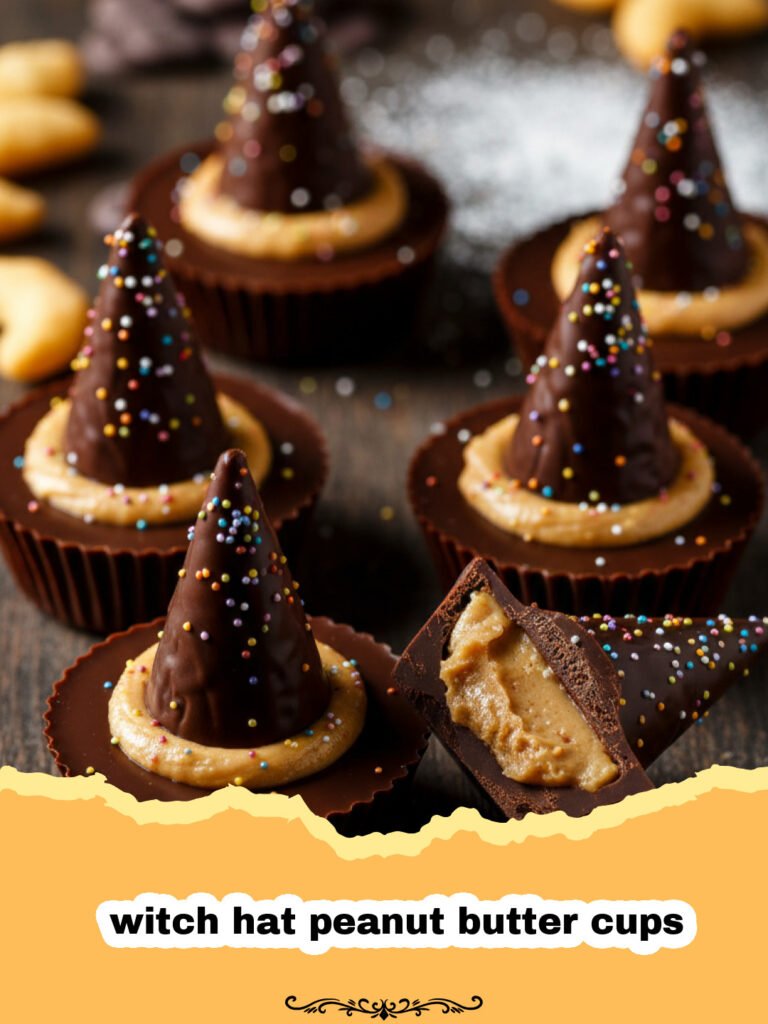
Witch Hat Peanut Butter Cups
A whimsical, no-bake Halloween treat made with chocolate wafers and miniature peanut butter cups.
- Total Time: 20 minutes
- Yield: 24 treats 1x
Ingredients
24 Chocolate wafer cookies
24 Miniature peanut butter cups, unwrapped
1/2 cup Chocolate chips, melted (for glue)
1/4 cup Orange royal icing or tinted white chocolate
Optional: Yellow star sprinkles for buckles
Instructions
Step 1: Line a large baking sheet with parchment paper and lay out 24 chocolate wafer cookies in a single layer.
Step 2: Unwrap all 24 miniature peanut butter cups and place them upside down (wider part down) near your workstation.
Step 3: Dip the wide end of a peanut butter cup into the melted chocolate and press it onto the center of a wafer cookie to form the witch hat peanut butter cups base.
Step 4: Let the chocolate set for 5 minutes, then pipe a small ribbon of orange icing around the base of each cup.
Step 5: Add a star sprinkle to the center of the orange ribbon for a buckle, then let the witch hat peanut butter cups set completely before serving.
Notes
Store in a cool, dry place. If the kitchen is hot, keep them in the fridge to prevent melting.
- Prep Time: 20 minutes
- Cook Time: 0 minutes
- Category: Baked Goods
- Cuisine: American
Nutrition
- Serving Size: 1 witch hat
- Calories: 145
- Sugar: 14g
- Sodium: 85mg
- Fat: 8g
- Saturated Fat: 4g
- Unsaturated Fat: 3g
- Trans Fat: 0g
- Carbohydrates: 18g
- Fiber: 1g
- Protein: 2g
- Cholesterol: 2mg
Keywords: witch hat peanut butter cups, Halloween treats, no-bake desserts, peanut butter cup crafts




