
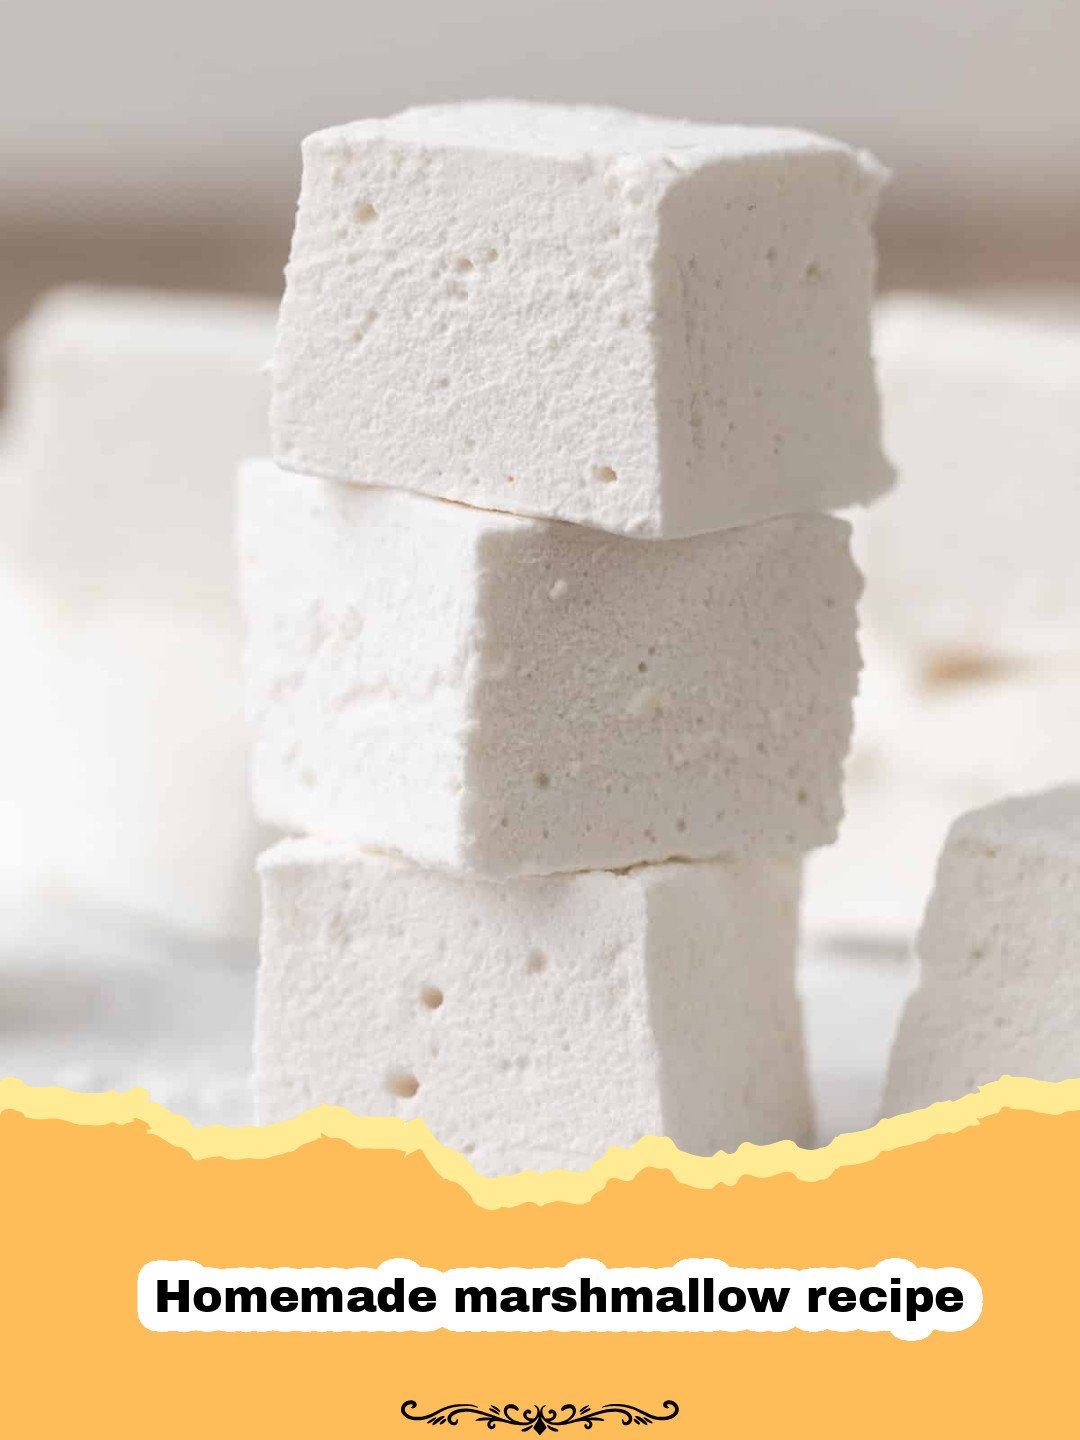
There’s something truly magical about the first bite of a homemade marshmallow recipe. For years, I settled for the store-bought variety, pulling them out of a bag, never quite understanding what I was missing. It wasn’t until a cold winter’s night, bundled up with my family, trying to recreate a campfire experience in our living room with our fireplace, that I decided to embark on a sweet adventure. The sad, stiff store-bought marshmallows just weren’t cutting it for our gourmet hot chocolate. That night, I vowed to learn how to make a proper homemade marshmallow recipe. The kitchen transformed into a sticky, sugar-dusted wonderland as I experimented, failed, and finally, triumphed. The result? Pillowy, vanilla-scented clouds that melted exquisitely in hot cocoa and toasted to a golden perfection. This homemade marshmallow recipe isn’t just about a treat; it’s about creating memories, the joy of a simple indulgence, and the sheer delight of tasting something so superior to anything you can buy. Trust me, once you try this homemade marshmallow recipe, there’s no going back.
Why This Homemade Marshmallow Recipe is a Must-Try
- Unbeatable Texture: Forget the rubbery store-bought kind! This homemade marshmallow recipe yields marshmallows that are incredibly soft, airy, and melt-in-your-mouth tender.
- Customizable Flavors: While vanilla is classic, this homemade marshmallow recipe is a fantastic base for endless flavor experiments, from peppermint to coffee.
- Perfect for Everything: Elevate your hot chocolate, s’mores, or even just snack on them plain. A good homemade marshmallow recipe makes all the difference.
- Impressive & Rewarding: Making marshmallows from scratch feels fancy, but this homemade marshmallow recipe is surprisingly straightforward, offering a huge payoff for your effort.
Key Ingredient Notes for Your Homemade Marshmallow Recipe
While the list of ingredients for a homemade marshmallow recipe is short, each plays a vital role in achieving that perfect fluffy texture. Understanding them is key to success.
Gelatin – The Structure
Gelatin is the unsung hero of any homemade marshmallow recipe. It’s what gives marshmallows their iconic bouncy, yet yielding structure. I always recommend using unflavored powdered gelatin. Bloom it correctly by sprinkling it over cold water and letting it sit for about 5-10 minutes until it hydrates and softens. Don’t rush this step! If you try to dissolve unbloomed gelatin directly into hot syrup, you’ll end up with lumps, and your marshmallows won’t set properly. The quality of your gelatin can make a difference, so opt for a reputable brand.
Sugar – The Sweetness & Body
Granulated sugar provides the primary sweetness and also contributes significantly to the body and texture of this homemade marshmallow recipe. When cooked with water to a specific temperature, it forms a syrup that, when whipped, traps air to create that airy structure. The key here is not just the amount, but the temperature it reaches. Too low, and your marshmallows will be too soft or runny; too high, and they’ll be hard and brittle. A candy thermometer is absolutely essential for a successful homemade marshmallow recipe.
Corn Syrup – The Secret to Smoothness
Corn syrup, specifically light corn syrup, is a crucial anti-crystallization agent in this homemade marshmallow recipe. Without it, your sugar syrup would be prone to crystallizing, resulting in grainy marshmallows. Corn syrup helps keep the sugar molecules from forming large crystals, ensuring a smooth, glossy, and perfectly chewy marshmallow. Don’t substitute it with other syrups like maple syrup or honey, as they have different properties and will alter the texture and flavor significantly. This is one of the little secrets to a truly great homemade marshmallow recipe.
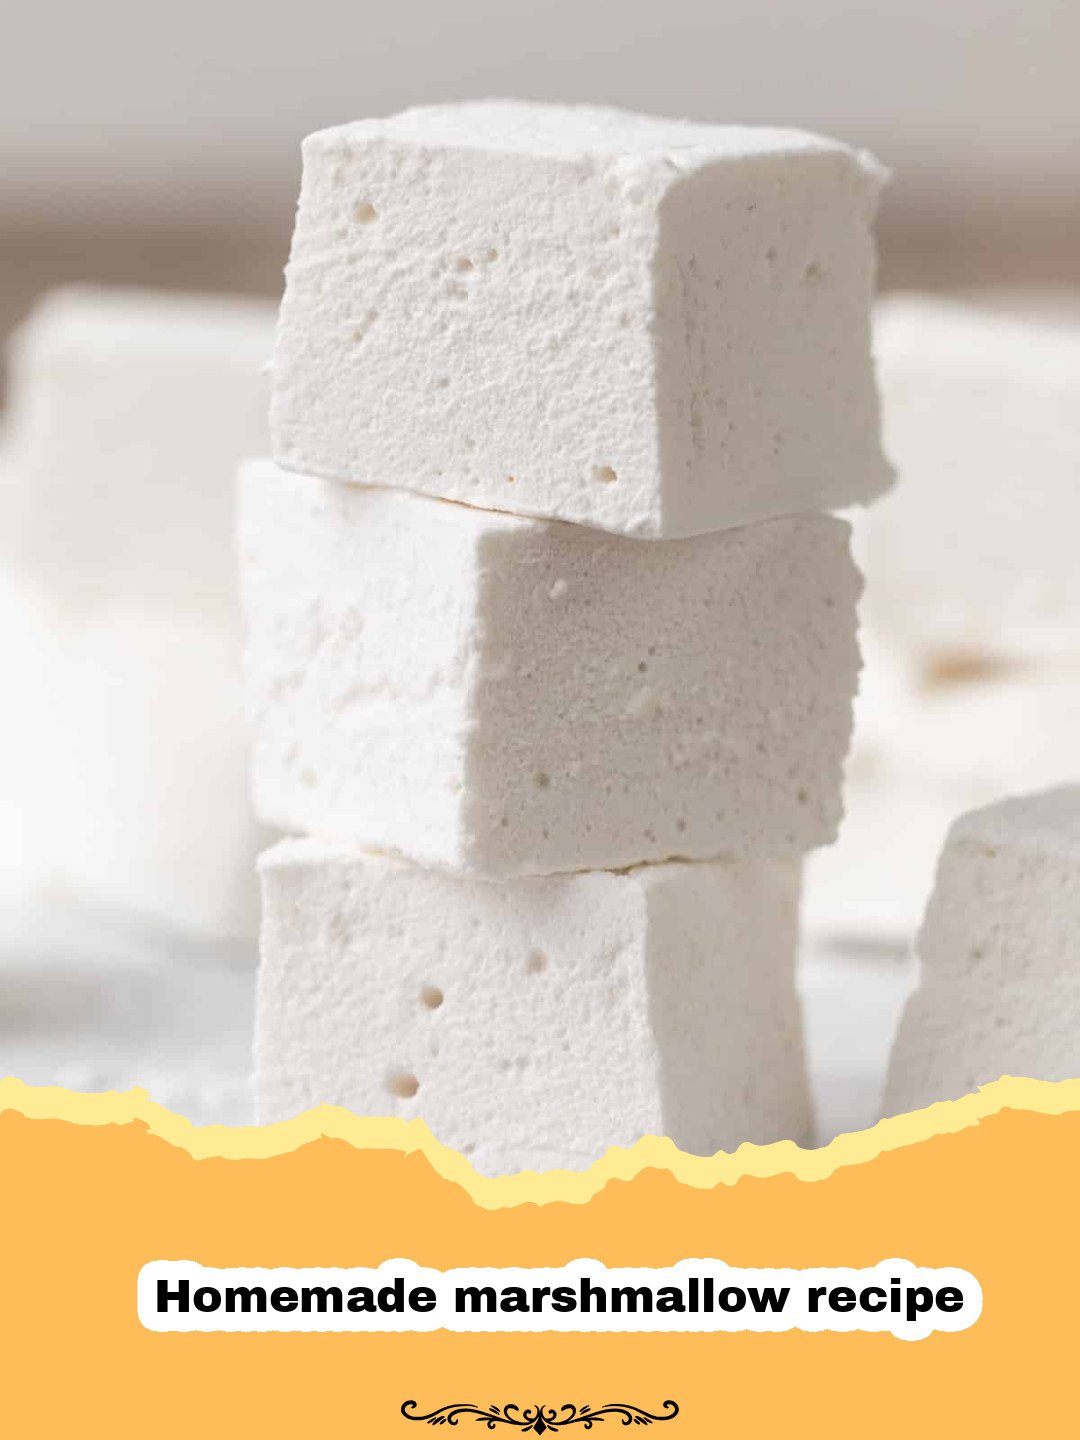
Step-by-Step Guide with Pro Tips for Your Homemade Marshmallow Recipe
Making a homemade marshmallow recipe might seem intimidating, but with the right steps and a few pro tips, you’ll be a marshmallow master in no time!
- Step 1: Prepare your pan. Lightly grease a 9×13 inch baking pan with a neutral oil or non-stick spray. Dust generously with a mixture of powdered sugar and cornstarch (about 1/2 cup powdered sugar to 1/4 cup cornstarch), ensuring the bottom and sides are well coated. Tap out any excess. This mixture is vital to prevent sticking for your homemade marshmallow recipe.
- Step 2: Bloom the gelatin. In the bowl of a stand mixer fitted with the whisk attachment, sprinkle the unflavored gelatin over 1/2 cup of cold water. Let it sit undisturbed for 5-10 minutes to bloom and soften.
- Step 3: Make the sugar syrup. In a medium saucepan, combine the granulated sugar, light corn syrup, the remaining 1/2 cup of water, and a pinch of salt. Stir gently over medium heat until the sugar dissolves.
- Step 4: Cook the syrup. Increase the heat to medium-high and bring the mixture to a boil without stirring. Clip a candy thermometer to the side of the pan, ensuring it doesn’t touch the bottom. Continue to cook until the syrup reaches 240°F (115°C) (soft ball stage). This is the critical temperature for a successful homemade marshmallow recipe.
- Step 5: Combine and whip. Once the syrup reaches 240°F, immediately remove it from the heat. With the mixer on low speed, carefully and slowly pour the hot sugar syrup in a steady stream down the side of the bowl into the bloomed gelatin mixture. Be careful, as the syrup is extremely hot.
- Step 6: Whip until fluffy. Once all the syrup is added, increase the mixer speed to high. Whip for 10-15 minutes, or until the mixture is very thick, glossy, opaque white, and has tripled in volume. It should form stiff peaks when you lift the whisk. Add the vanilla extract during the last minute of whipping. This long whipping process is essential for the airy texture of your homemade marshmallow recipe.
- Step 7: Pour and set. Quickly scrape the marshmallow mixture into your prepared pan, using an oiled spatula or offset knife to spread it evenly. Work quickly as it sets fast. You can also lightly oil your hands to help pat it down smoothly.
- Step 8: Rest and dust. Let the marshmallows sit uncovered at room temperature for at least 4-6 hours, or preferably overnight, to set completely.
- Step 9: Cut and coat. Invert the marshmallow slab onto a cutting board heavily dusted with the powdered sugar/cornstarch mixture. Dust the top generously as well. Using an oiled pizza cutter or sharp knife, cut the marshmallows into desired shapes (squares are common). Dip each cut side into the powdered sugar/cornstarch mixture to prevent sticking. For storage, I love using these Basics Glass Food Storage containers to keep them fresh.
- Step 10: Store. Store your homemade marshmallows in an airtight container at room temperature for up to 2 weeks. They might clump a little, but a quick shake with extra dusting powder will fix that. Enjoy your incredible homemade marshmallow recipe!
Variations & Serving Suggestions for Your Homemade Marshmallow Recipe
Once you master this classic homemade marshmallow recipe, a world of possibilities opens up!
Flavor Variations:
- Peppermint Marshmallows: Add 1 teaspoon of peppermint extract with the vanilla. For extra flair, fold in crushed candy canes at the end of whipping. Perfect for the holidays!
- Coffee Marshmallows: Replace 1/4 cup of the water in the syrup with strong brewed coffee or add 1-2 teaspoons of instant espresso powder to the hot syrup before whipping.
- Citrus Marshmallows: Add 1-2 teaspoons of citrus zest (lemon, orange, or lime) to the syrup as it cooks, straining it out before whipping, or add citrus extract with the vanilla.
- Chocolate Marshmallows: Sift 1/4 cup unsweetened cocoa powder with the powdered sugar/cornstarch for dusting. You can also melt 2 oz of unsweetened chocolate and fold it into the marshmallow mixture during the last minute of whipping.
Serving Suggestions:
- Elevated Hot Chocolate: Nothing beats a generous homemade marshmallow in a mug of rich homemade hot chocolate mix. Try our Ultimate Homemade Hot Cocoa Mix for an unparalleled experience!
- Gourmet S’mores: Toast these over a fire or broiler for the ultimate s’mores experience. The way they melt is pure bliss.
- Fruity Skewers: Alternate marshmallows with fresh fruit on skewers for a light dessert.
- Dessert Topping: Cut into smaller pieces and use as a topping for ice cream sundaes, fruit salads, or even sweet potato casserole.
- Edible Gifts: Package them in pretty bags or boxes for a thoughtful homemade gift. Everyone appreciates a homemade marshmallow recipe gift!
Nutrition Information
| Nutrient | Amount per Serving |
|---|---|
| Calories | 60 kcal |
| Carbohydrate Content | 15g |
| Cholesterol Content | 0mg |
| Fat Content | 0g |
| Fiber Content | 0g |
| Protein Content | 1g |
| Saturated Fat Content | 0g |
| Serving Size | 1 marshmallow (approx. 15g) |
| Sodium Content | 5mg |
| Sugar Content | 14g |
| Trans Fat Content | 0g |
| Unsaturated Fat Content | 0g |
Conclusion
Mastering this homemade marshmallow recipe is a truly rewarding experience that transforms a simple treat into something extraordinary. From the first pour of the syrup to the final dusting of powdered sugar, each step brings you closer to a confectionary delight that’s far superior to anything you can buy. Whether you’re making them for a cozy night in, a special occasion, or as a thoughtful gift, this homemade marshmallow recipe is sure to impress. So, gather your ingredients, fire up your stand mixer, and prepare to fall in love with the incredible fluffiness of your very own homemade marshmallows. Happy baking!
FAQs
What is the best way to cut homemade marshmallows?
The best way to cut homemade marshmallows is by first dusting your cutting board and the top of the marshmallow slab generously with a mixture of powdered sugar and cornstarch. Then, use an oiled pizza cutter or a sharp knife (oiling it periodically helps prevent sticking) to cut them into desired shapes. Toss each cut side in the dusting mixture to prevent them from sticking to each other.
How long do homemade marshmallows last?
When stored in an airtight container at room temperature, homemade marshmallows can last for up to 2 weeks. Avoid refrigerating them, as the humidity can make them sticky and hard.
Can I make this homemade marshmallow recipe without a stand mixer?
While a stand mixer is highly recommended for its power and consistency, you can attempt this homemade marshmallow recipe with a powerful handheld electric mixer. Be prepared for a significant arm workout, as the whipping process is long and the mixture becomes very thick. Ensure your mixer can handle thick batters.
What is the role of corn syrup in a homemade marshmallow recipe?
Light corn syrup is a crucial ingredient in this homemade marshmallow recipe because it acts as an invert sugar, preventing the granulated sugar from crystallizing. Without it, your sugar syrup could form large, crunchy crystals, resulting in grainy marshmallows. Corn syrup ensures a smooth, glossy, and perfectly chewy texture.
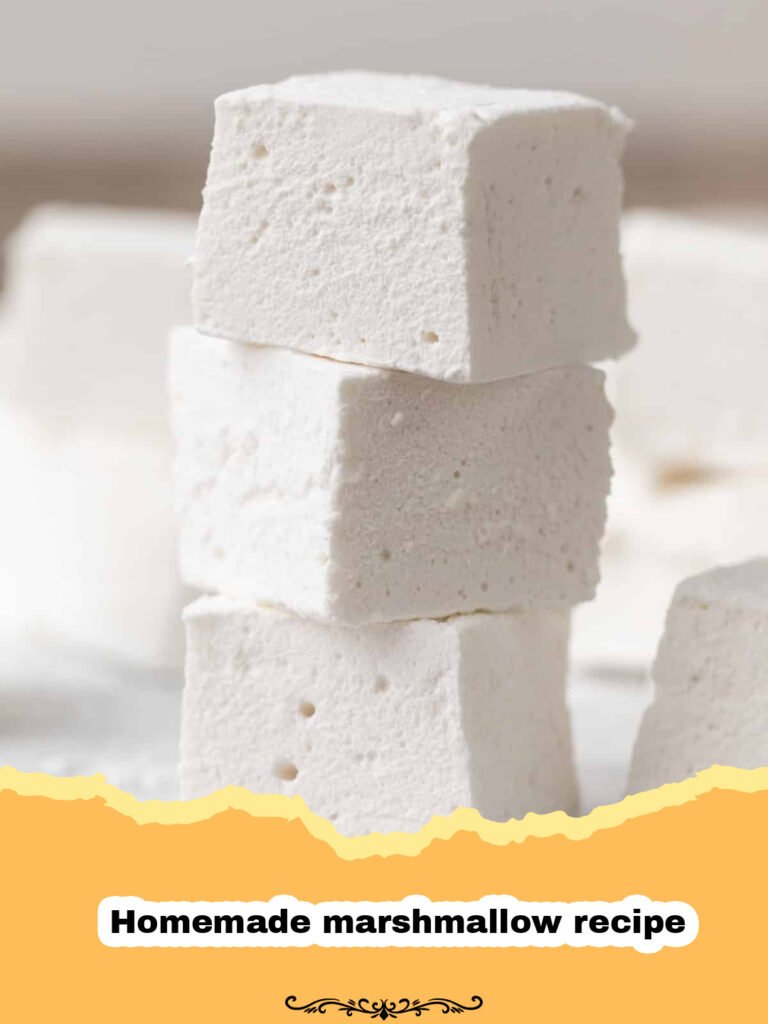
Classic Homemade Marshmallows
Learn how to make the ultimate fluffy, soft, and delicious homemade marshmallows from scratch with this easy-to-follow recipe. Perfect for hot chocolate, s’mores, or simply enjoying on their own.
- Total Time: 1 hour 45 minutes (plus 4-6 hours setting time)
- Yield: Around 48–60 (1-inch) marshmallows 1x
Ingredients
3 packets (1/4 oz each) unflavored gelatin
1 cup cold water, divided
2 cups granulated sugar
1 cup light corn syrup
1/4 teaspoon salt
1 tablespoon vanilla extract
1/2 cup powdered sugar, for dusting
1/4 cup cornstarch, for dusting
Instructions
Step 1: Grease a 9×13 inch baking pan with a neutral oil or non-stick spray. In a small bowl, whisk together the powdered sugar and cornstarch, then generously dust the prepared pan, tapping out any excess. Set aside.
Step 2: In the bowl of a stand mixer fitted with the whisk attachment, sprinkle the gelatin over 1/2 cup of the cold water. Let it sit undisturbed for 5-10 minutes to bloom and soften.
Step 3: In a medium heavy-bottomed saucepan, combine the granulated sugar, light corn syrup, the remaining 1/2 cup of water, and salt. Stir gently over medium heat until the sugar dissolves completely.
Step 4: Increase the heat to medium-high and bring the syrup to a boil without stirring. Clip a candy thermometer to the side of the pan, ensuring it doesn’t touch the bottom. Cook the syrup until it reaches 240°F (115°C) (soft ball stage).
Step 5: Carefully remove the hot sugar syrup from the heat. With the mixer on low speed, slowly and steadily pour the hot syrup down the side of the bowl into the bloomed gelatin mixture. Be very cautious, as the syrup is extremely hot.
Step 6: Once all the syrup is added, increase the mixer speed to high. Whip the mixture for 10-15 minutes, or until it becomes very thick, glossy, opaque white, and has tripled in volume, forming stiff peaks. Add the vanilla extract during the last minute of whipping.
Step 7: Working quickly, scrape the marshmallow mixture into the prepared pan. Use an oiled spatula or offset knife to spread it evenly. You can also lightly oil your hands to help pat the top smooth.
Step 8: Let the marshmallows set uncovered at room temperature for at least 4-6 hours, or preferably overnight, until firm.
Step 9: Once set, invert the marshmallow slab onto a cutting board heavily dusted with the remaining powdered sugar and cornstarch mixture. Dust the top generously as well. Using an oiled pizza cutter or sharp knife, cut the marshmallows into desired shapes (e.g., 1-inch squares).
Step 10: Toss each cut marshmallow piece in the powdered sugar and cornstarch mixture to coat all sides, preventing sticking. Store in an airtight container at room temperature for up to 2 weeks.
Notes
A stand mixer is highly recommended for this recipe. Ensure your candy thermometer is accurate for best results. For flavored marshmallows, add extracts during the last minute of whipping.
- Prep Time: 30 minutes
- Cook Time: 15 minutes
- Category: Dessert
- Cuisine: American
Keywords: homemade marshmallow recipe, marshmallows from scratch, fluffy marshmallows, vanilla marshmallows, easy marshmallow recipe, marshmallow recipe, candy recipe, dessert, confectionery




