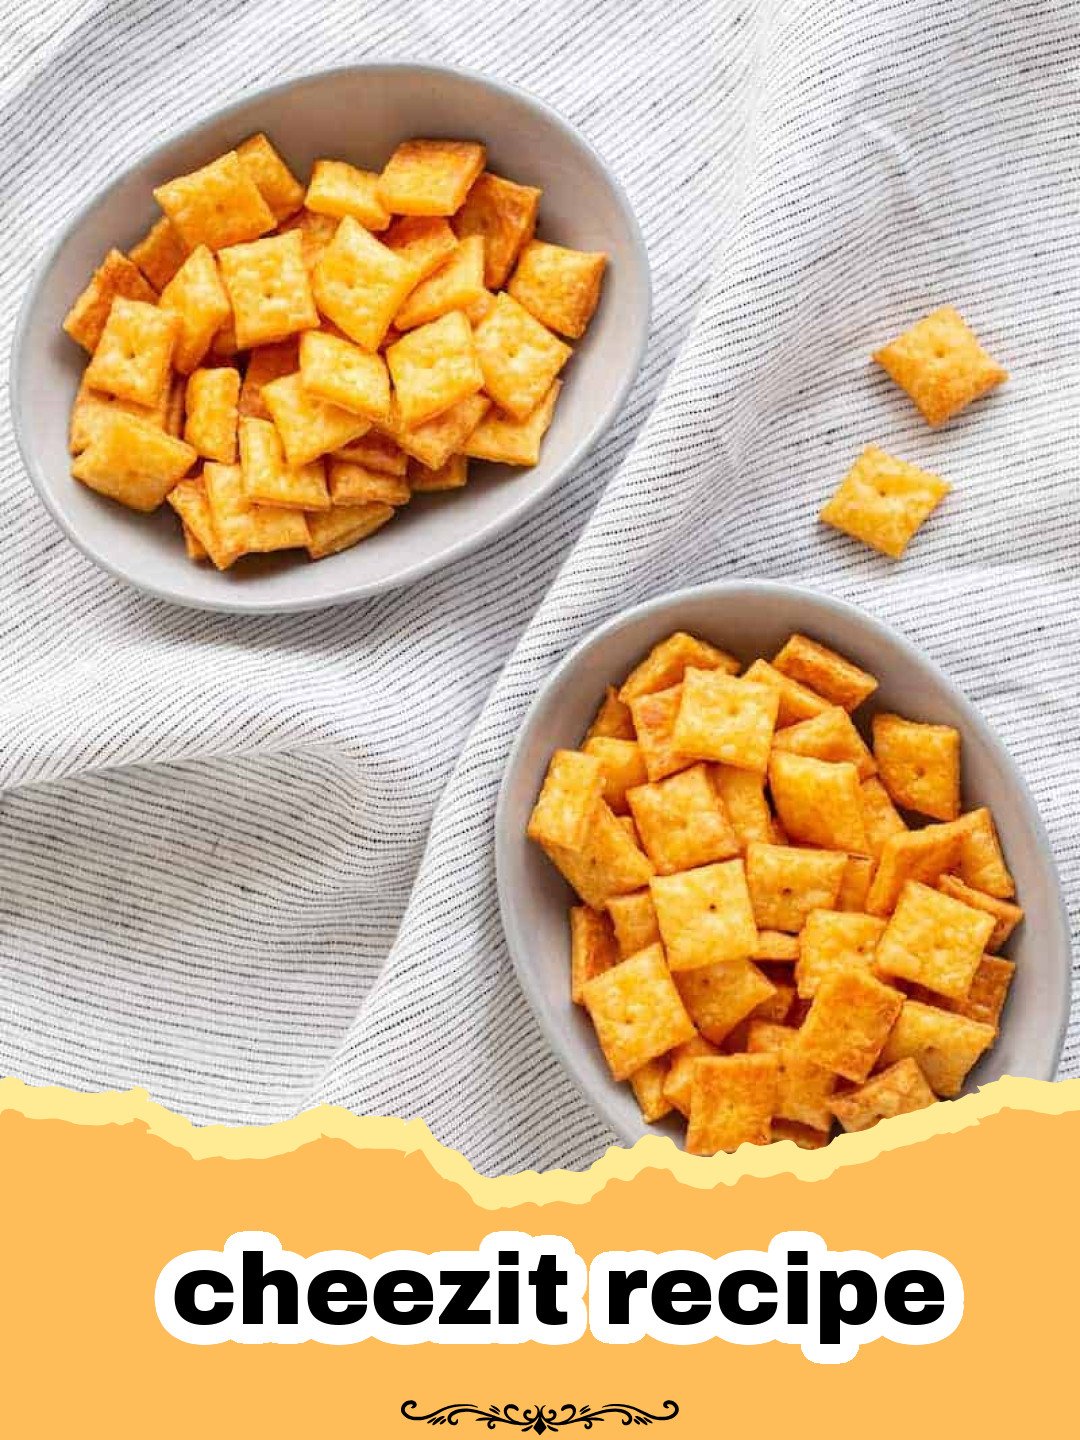
Oh, the humble Cheez-It. For me, it’s not just a cracker; it’s a golden ticket back to my grandmother’s kitchen, where a simple cheezit recipe wasn’t just about baking, but about connection. I can still close my eyes and smell the sharp cheddar, hear the satisfying crunch, and feel the warmth of her oven radiating through the cozy space. Every Saturday, after school, she’d have a batch ready, a small bowl placed just so on the kitchen counter, waiting for my arrival. Those crispy, cheesy squares were more than a snack; they were a symbol of comfort, tradition, and unconditional love. As I grew older, I tried to recreate that magic. Through countless attempts, tweaking, and a little bit of culinary detective work, I’ve finally perfected a homemade cheezit recipe that brings me right back to those cherished afternoons. And today, I’m so excited to share it with you, so you can create your own delicious memories with this amazing cheezit recipe.
Why This Homemade Cheez-It Recipe is a Must-Try
- Unbeatable Freshness & Flavor: Forget store-bought! This homemade cheezit recipe delivers a punch of real cheese flavor and a crispness that’s simply addictive. You control the ingredients, meaning no artificial flavors or preservatives.
- Perfectly Customizable: Want it spicier? Add cayenne! Craving a different cheese? Go for it! This cheezit recipe is a fantastic canvas for your culinary creativity.
- Fun & Rewarding Project: Making crackers from scratch is incredibly satisfying. It’s a fantastic activity for a weekend afternoon, and the aroma filling your kitchen is a bonus. Plus, you’ll impress everyone with your homemade cheezit recipe skills!
- Kid-Friendly & Nostalgic: Kids adore these cheesy bites, and for adults, it’s a delightful trip down memory lane, but with a gourmet twist. This cheezit recipe is perfect for lunchboxes, after-school snacks, or game day munching.
Key Ingredient Notes for Your Cheez-It Recipe
Getting the best results from your homemade cheezit recipe relies on a few key players. Here’s what to keep in mind:
Sharp Cheddar Cheese
This is the star of our cheezit recipe! Don’t skimp on quality here. A good, sharp cheddar cheese will give you that iconic, intense cheesy flavor that defines a Cheez-It. Skip the pre-shredded stuff, as it often contains anti-caking agents that can affect the texture and melt of your crackers. Grate a block of extra-sharp cheddar yourself for the best results. You want that robust, tangy flavor to shine through in every bite of this homemade cheezit recipe.
All-Purpose Flour
While seemingly simple, flour plays a crucial role in the structure and crispness of your crackers. Using a standard all-purpose flour will give you the perfect balance for a sturdy yet delicate cracker. Ensure your flour is fresh. If you’re looking to experiment, a small portion of whole wheat flour can add a nuttier depth, but for a classic cheezit recipe, stick to all-purpose.
Cold Butter
Just like in pie crusts or biscuits, cold butter is essential for achieving that flaky, crisp texture in this cheezit recipe. The cold butter creates steam pockets as it melts in the oven, preventing the crackers from becoming dense or tough. Make sure your butter is cut into small cubes and kept chilled until you’re ready to incorporate it into the dough. This attention to detail will elevate your homemade cheezit recipe from good to absolutely amazing.
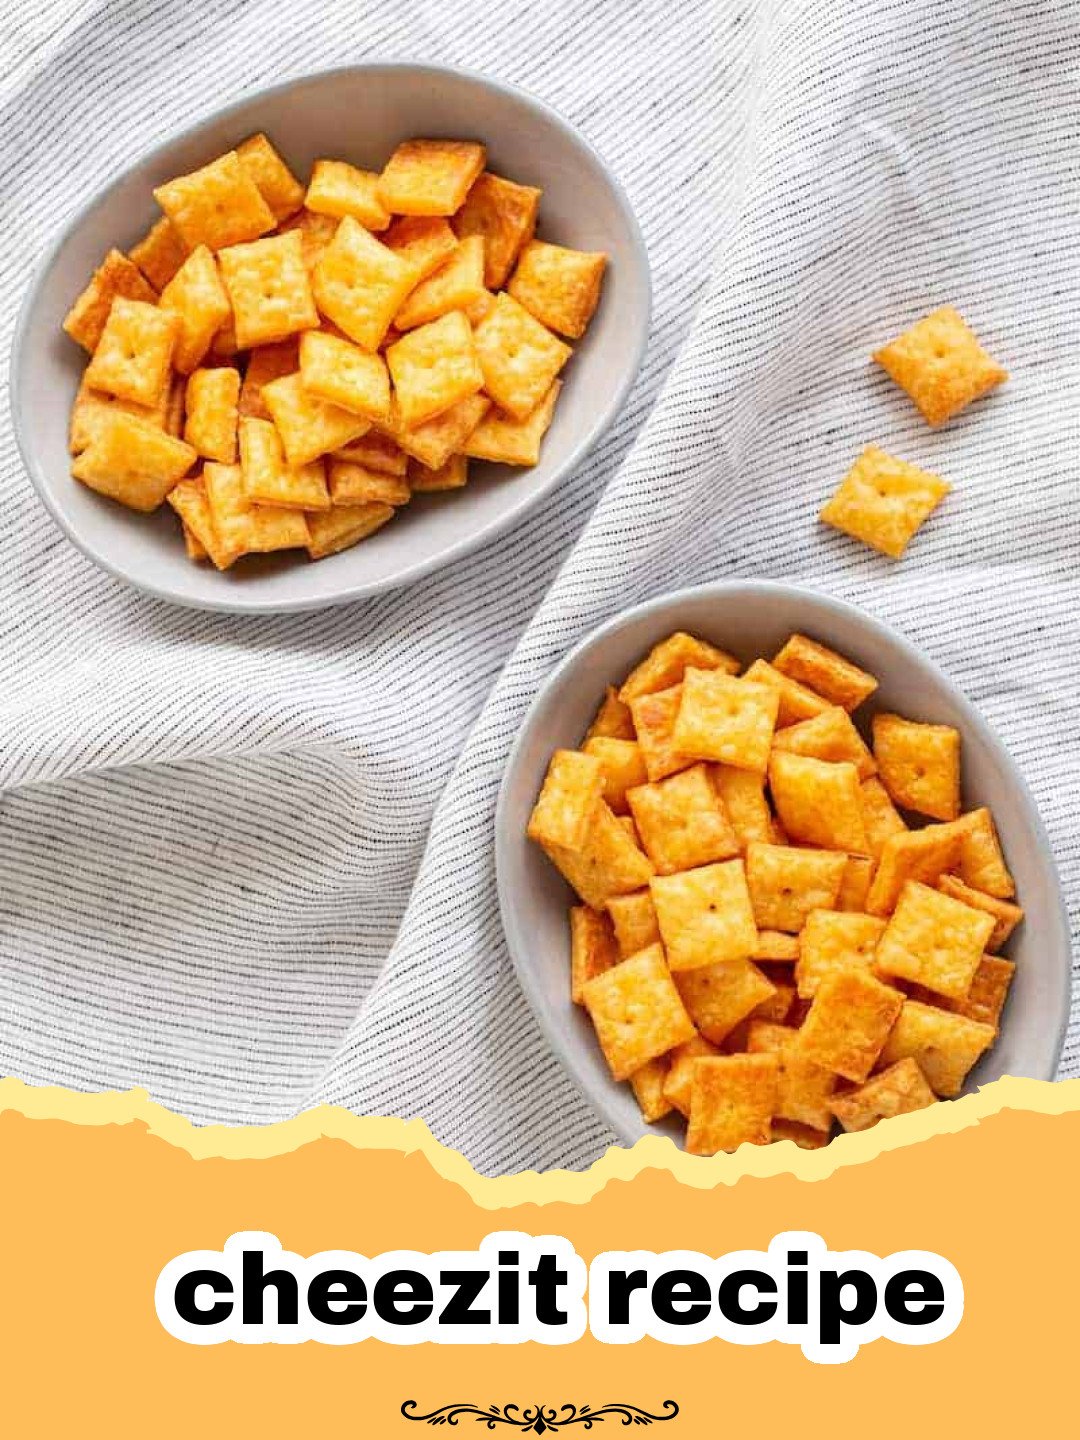
Step-by-Step Guide with Pro Tips for this Cheez-It Recipe
Ready to bake some magic? Follow these detailed steps to create your perfect homemade cheezit recipe!
Making the Dough
Step 1: In a food processor, combine the grated sharp cheddar cheese, all-purpose flour, and salt. Pulse several times until the cheese is finely chopped and well distributed throughout the flour mixture. This ensures every piece of your homemade cheezit recipe is packed with flavor.
Step 2: Add the cold, cubed unsalted butter to the food processor. Pulse until the mixture resembles coarse crumbs, with some pea-sized pieces of butter remaining. Don’t overmix; we want those little pockets of butter for flakiness in our cheezit recipe!
Step 3: With the food processor running, slowly add the ice water, one tablespoon at a time, until the dough just comes together into a ball. You might not need all the water. The dough should be firm but pliable, not sticky. This is crucial for the texture of your cheezit recipe.
Step 4: Turn the dough out onto a lightly floured surface. Briefly knead it a few times to bring it fully together. Divide the dough in half, flatten each half into a disc, wrap tightly in plastic wrap, and refrigerate for at least 30 minutes. This chilling step is vital for easy rolling and preventing shrinkage when baking this cheezit recipe.
Rolling and Cutting the Crackers
Step 5: Preheat your oven to 375°F (190°C). Line two baking sheets with parchment paper. This will prevent sticking and help achieve even baking for your cheezit recipe.
Step 6: On a lightly floured surface, roll out one disc of dough very thinly, about 1/16 inch thick. The thinner you roll it, the crispier your homemade cheezit recipe will be. Aim for an even thickness across the entire sheet of dough.
Step 7: Using a fluted pastry wheel or a sharp knife, cut the dough into 1-inch squares. You can also use a small square cookie cutter for more uniform results. For that classic Cheez-It look, use a skewer or toothpick to poke a small hole in the center of each square. This helps prevent puffing during baking.
Step 8: Carefully transfer the cut squares to the prepared baking sheets, leaving a small space between each cracker. Repeat with the second disc of dough. Any scraps can be gently re-rolled once or twice. If you have extra dough, consider making a batch of Puppy Chow Chex Mix with any leftover cheese powder for another delightful snack!
Baking to Perfection
Step 9: Bake for 12-18 minutes, or until the crackers are golden brown and crisp. Keep a close eye on them, as baking times can vary between ovens. The edges should be a deeper golden color. You might need to rotate the baking sheets halfway through for even browning. The aroma of this cheezit recipe baking will fill your kitchen with joy!
Step 10: Once baked, remove the crackers from the oven and immediately transfer them to a wire rack to cool completely. They will crisp up further as they cool. Store cooled crackers in an airtight container at room temperature for up to one week. We love using Basics Glass Food Storage containers to keep them fresh and crispy! This is truly the best cheezit recipe for homemade goodness.
Variations & Serving Suggestions for Your Cheez-It Recipe
This homemade cheezit recipe is incredibly versatile! Once you master the basic version, the possibilities are endless. Here are some ideas:
- Spicy Cheez-Its: Add 1/2 teaspoon of cayenne pepper or a pinch of smoked paprika to the dough mixture for a delightful kick. You can also sprinkle a little chili powder before baking. This variation of the cheezit recipe is perfect for those who like a bit of heat.
- Herb & Garlic: Incorporate 1/2 teaspoon of garlic powder and 1 tablespoon of finely chopped fresh chives or dried herbs like oregano or thyme into the dough. This adds an aromatic complexity to your cheezit recipe.
- Parmesan & Black Pepper: Replace a quarter of the cheddar with grated Parmesan cheese and add a generous grind of fresh black pepper for a more sophisticated flavor profile.
- Everything Bagel Seasoning: Before baking, lightly brush the crackers with an egg wash and sprinkle with everything bagel seasoning. It adds fantastic texture and flavor to this cheezit recipe.
- Serving Suggestions: Enjoy your homemade Cheez-Its on their own, or serve them alongside a bowl of Loaded Nachos for a snack spread! They’re fantastic with dips like salsa, guacamole, or a creamy onion dip. They also make a wonderful crunchy topping for soups and salads. This cheezit recipe is truly a crowd-pleaser for any occasion.
Nutrition Information
Here’s a look at the estimated nutrition information for one serving of our homemade Cheez-Its:
| Calories | 130 kcal |
| Carbohydrate Content | 10g |
| Cholesterol Content | 25mg |
| Fat Content | 8g |
| Fiber Content | 0.5g |
| Protein Content | 5g |
| Saturated Fat Content | 5g |
| Serving Size | 1 oz (approx. 15 crackers) |
| Sodium Content | 180mg |
| Sugar Content | 0g |
| Trans Fat Content | 0g |
| Unsaturated Fat Content | 3g |
Please note that these are estimated values and can vary based on specific ingredients and preparation methods for your cheezit recipe.
Conclusion
There’s nothing quite like the satisfaction of creating something delicious from scratch, and this homemade cheezit recipe is a perfect example. From the sharp cheddar aroma filling your kitchen to that satisfying crunch with every bite, these crackers are a labor of love that pays off in spades. Whether you’re making them for nostalgic reasons, for a healthier snack option, or just for the sheer joy of baking, this cheezit recipe is sure to become a cherished favorite in your household. So, roll up your sleeves, get cheesy, and enjoy the incredible flavor of your very own homemade Cheez-Its!
FAQs
What type of cheese is best for this cheezit recipe?
For the most authentic and intense cheesy flavor, extra-sharp cheddar cheese is highly recommended. Grating it yourself from a block will give you superior results compared to pre-shredded cheese, as it melts better and doesn’t contain anti-caking agents.
Can I make this cheezit recipe gluten-free?
While this specific cheezit recipe uses all-purpose flour, you can experiment with a 1:1 gluten-free flour blend. The texture might be slightly different, but many gluten-free blends work well in cracker recipes. Ensure the blend contains xanthan gum for structure.
How do I store homemade Cheez-Its to keep them crispy?
Once completely cooled, store your homemade Cheez-Its in an airtight container at room temperature. They will stay crispy for up to one week. Avoid refrigeration, as it can make them soft.
Why is cold butter important for this cheezit recipe?
Using cold butter, cut into small cubes, is crucial because it creates small pockets of steam when baked. This steam helps to separate the layers of dough, resulting in a wonderfully flaky and crisp cracker, preventing them from becoming dense or tough.
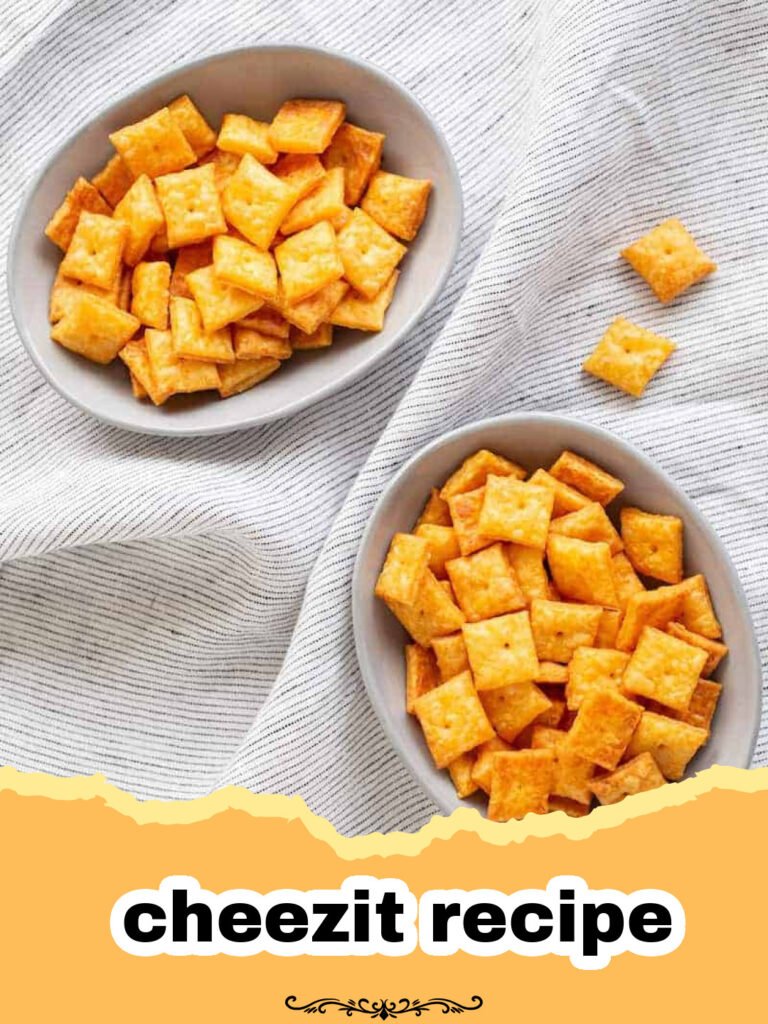
Homemade Cheez-Its
An incredibly addictive and flavorful homemade cheezit recipe that brings the classic cheesy cracker to your kitchen with fresh ingredients and an unbeatable crunch.
- Total Time: 45 minutes
- Yield: Approximately 4–5 dozen crackers 1x
Ingredients
1 1/2 cups (180g) all-purpose flour
8 oz (226g) extra-sharp cheddar cheese, finely grated
1/2 teaspoon salt, plus more for sprinkling
1/2 cup (113g) unsalted butter, cold and cubed
3–5 tablespoons ice water
Instructions
Step 1: In a food processor, combine the grated sharp cheddar cheese, all-purpose flour, and salt. Pulse several times until the cheese is finely chopped and well distributed throughout the flour mixture.
Step 2: Add the cold, cubed unsalted butter to the food processor. Pulse until the mixture resembles coarse crumbs, with some pea-sized pieces of butter remaining. Don’t overmix.
Step 3: With the food processor running, slowly add the ice water, one tablespoon at a time, until the dough just comes together into a ball. You might not need all the water; the dough should be firm but pliable, not sticky.
Step 4: Turn the dough out onto a lightly floured surface. Briefly knead it a few times to bring it fully together. Divide the dough in half, flatten each half into a disc, wrap tightly in plastic wrap, and refrigerate for at least 30 minutes.
Step 5: Preheat your oven to 375°F (190°C). Line two baking sheets with parchment paper.
Step 6: On a lightly floured surface, roll out one disc of dough very thinly, about 1/16 inch thick. Aim for an even thickness across the entire sheet of dough.
Step 7: Using a fluted pastry wheel or a sharp knife, cut the dough into 1-inch squares. Use a skewer or toothpick to poke a small hole in the center of each square. Repeat with the second disc of dough.
Step 8: Carefully transfer the cut squares to the prepared baking sheets, leaving a small space between each cracker. Any scraps can be gently re-rolled once or twice.
Step 9: Bake for 12-18 minutes, or until the crackers are golden brown and crisp. Keep a close eye on them, as baking times can vary between ovens. Rotate the baking sheets halfway through if needed.
Step 10: Once baked, remove the crackers from the oven and immediately transfer them to a wire rack to cool completely. They will crisp up further as they cool. Store cooled crackers in an airtight container at room temperature for up to one week.
Notes
Ensure all ingredients, especially butter, are very cold for the best flaky texture. Do not overmix the dough. Roll the dough as thin as possible for extra crispiness. Baking time can vary, so keep a close watch to prevent burning.
- Prep Time: 30 minutes
- Cook Time: 15 minutes
- Category: Snacks
- Cuisine: American
Nutrition
- Serving Size: 1 oz (approx. 15 crackers)
- Calories: 130 kcal
- Sugar: 0g
- Sodium: 180mg
- Fat: 8g
- Saturated Fat: 5g
- Unsaturated Fat: 3g
- Trans Fat: 0g
- Carbohydrates: 10g
- Fiber: 0.5g
- Protein: 5g
- Cholesterol: 25mg
Keywords: cheezit recipe, homemade cheezits, cheese crackers, snack recipe, savory snacks, cheddar crackers, easy crackers