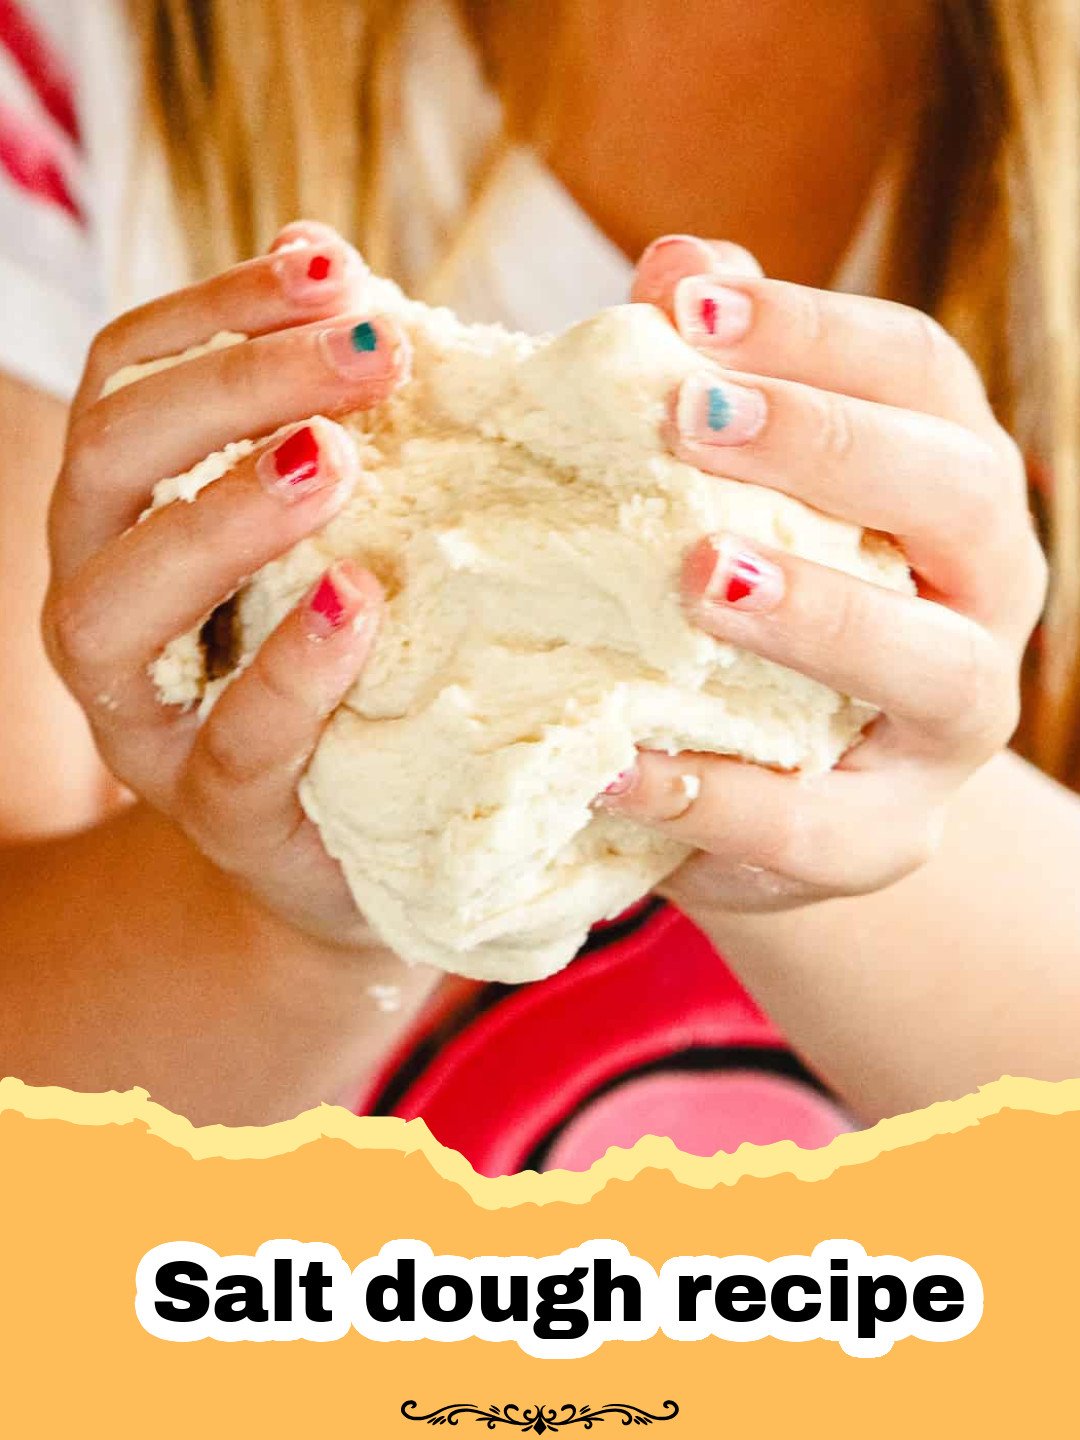
There’s something truly magical about creating with your hands, especially when it involves simple, wholesome ingredients from your kitchen. My earliest memories are often tied to the kitchen counter, not just for baking cookies, but for crafting the most imaginative ornaments and figures. I can still vividly recall the joy of mixing flour, salt, and water with my grandmother, her hands guiding mine as we brought a simple **salt dough recipe** to life. The aroma of the baking dough, not for eating, but for hardening, filled our little home with a cozy, creative scent. It wasn’t about culinary perfection; it was about the process, the shared laughter, and the tangible keepsakes we made together. These moments, building little sculptures that felt like treasures, cemented a lifelong love for DIY projects and the simple pleasures of making. This classic **salt dough recipe** isn’t just a craft; it’s a bridge to cherished memories and an invitation to create new ones with your loved ones.
Over the years, this humble **salt dough recipe** has become a staple in my home, especially during holidays or on rainy afternoons. It’s incredibly forgiving, endlessly versatile, and the perfect medium for crafters of all ages. From tiny handprint ornaments to intricate festive decorations, the possibilities are only limited by your imagination. It’s also an excellent way to introduce children to basic measurements and the transformation of raw ingredients into something beautiful and lasting. I’ve even used it to create personalized gift tags and decorative elements for my kitchen, like little faux bread loaves that sit alongside my actual homemade sandwich bread. The simple ingredients mean it’s budget-friendly, making it an accessible craft for everyone. So, let’s dive into how you can make your own perfect batch and unleash your inner artist!
Why This Salt Dough Recipe is a Must-Try
Incredibly Easy & Budget-Friendly
Forget expensive craft kits! This **salt dough recipe** uses just three common household ingredients: flour, salt, and water. You likely already have everything you need in your pantry, making it an incredibly economical choice for hours of creative fun. It’s perfect for large groups or classrooms without breaking the bank.
Versatile for All Ages & Projects
Whether you’re making handprint keepsakes with toddlers, intricate ornaments with older kids, or sophisticated decorative pieces as an adult, this **salt dough recipe** is wonderfully adaptable. It holds its shape well, making it suitable for cutting, molding, and stamping. Once baked, it’s a blank canvas ready for paint, glitter, or varnish.
Durable & Long-Lasting Keepsakes
Unlike some other craft doughs, salt dough bakes hard and durable, ensuring your creations will last for years to come. Properly dried and sealed, salt dough pieces can withstand the test of time, becoming cherished mementos or beautiful, reusable decorations. I have ornaments from my childhood that are still going strong!
Non-Toxic & Safe
Since it’s made from food-grade ingredients, this **salt dough recipe** is non-toxic, offering peace of mind, especially when crafting with young children who might be tempted to taste (though it tastes awful due to the high salt content, deterring ingestion!). It’s a safer alternative to many polymer clays.
Key Ingredient Notes
While the **salt dough recipe** calls for incredibly simple ingredients, understanding their roles can help you achieve the best results.
All-Purpose Flour
All-purpose flour forms the bulk of your salt dough, providing its structure and workability. You don’t need any fancy or specialized flour here; your standard all-purpose flour from the grocery store will work perfectly. The gluten in the flour is what gives the dough its elasticity and allows it to hold its shape. While some recipes might suggest other flours, all-purpose is the most reliable and easiest to work with for a consistent **salt dough recipe**. Avoid self-rising flour, as the leavening agents can cause unexpected bubbles or cracks during baking.
Table Salt
This is where the magic (and the name!) comes from. The high salt content isn’t just for durability; it also acts as a natural preservative, inhibiting mold growth, and helps the dough dry hard. Fine table salt is crucial here. Coarse salts like kosher or sea salt have larger granules that may not dissolve fully, leading to a grainy texture in your finished dough and potentially creating weak spots in your creations. Stick to fine table salt for the smoothest, most pliable dough. The ratio of salt to flour is key for a successful **salt dough recipe**.
Water
Water binds the flour and salt together, creating a cohesive, pliable dough. The amount of water can vary slightly depending on the humidity in your environment and the exact type of flour you’re using. It’s always best to add water gradually, a little at a time, until your dough reaches the perfect consistency. You want it firm enough to hold its shape but soft enough to be easily kneaded and molded without cracking. Too much water will make it sticky; too little will make it crumbly. Room temperature water is fine; there’s no need for hot or cold.
Step-by-Step Guide with Pro Tips
Crafting with this **salt dough recipe** is a rewarding experience. Follow these steps for the best results!
Ingredients:
- 2 cups all-purpose flour
- 1 cup fine table salt
- 1 cup warm water (approximately)
Equipment:
- Large mixing bowl
- Measuring cups
- Rolling pin
- Baking sheet lined with parchment paper
- Oven
- Paints, brushes, glitter, varnish (optional, for decorating)
- Step 1: In a large mixing bowl, combine the all-purpose flour and fine table salt. Use a spoon or whisk to mix them thoroughly. This ensures the salt is evenly distributed, which is essential for the dough’s texture and durability.
- Step 2: Gradually add the warm water, about half a cup at a time, stirring with a spoon after each addition. The exact amount of water can vary, so add slowly until a shaggy dough begins to form. You might not need the entire cup, or you might need a tiny bit more.
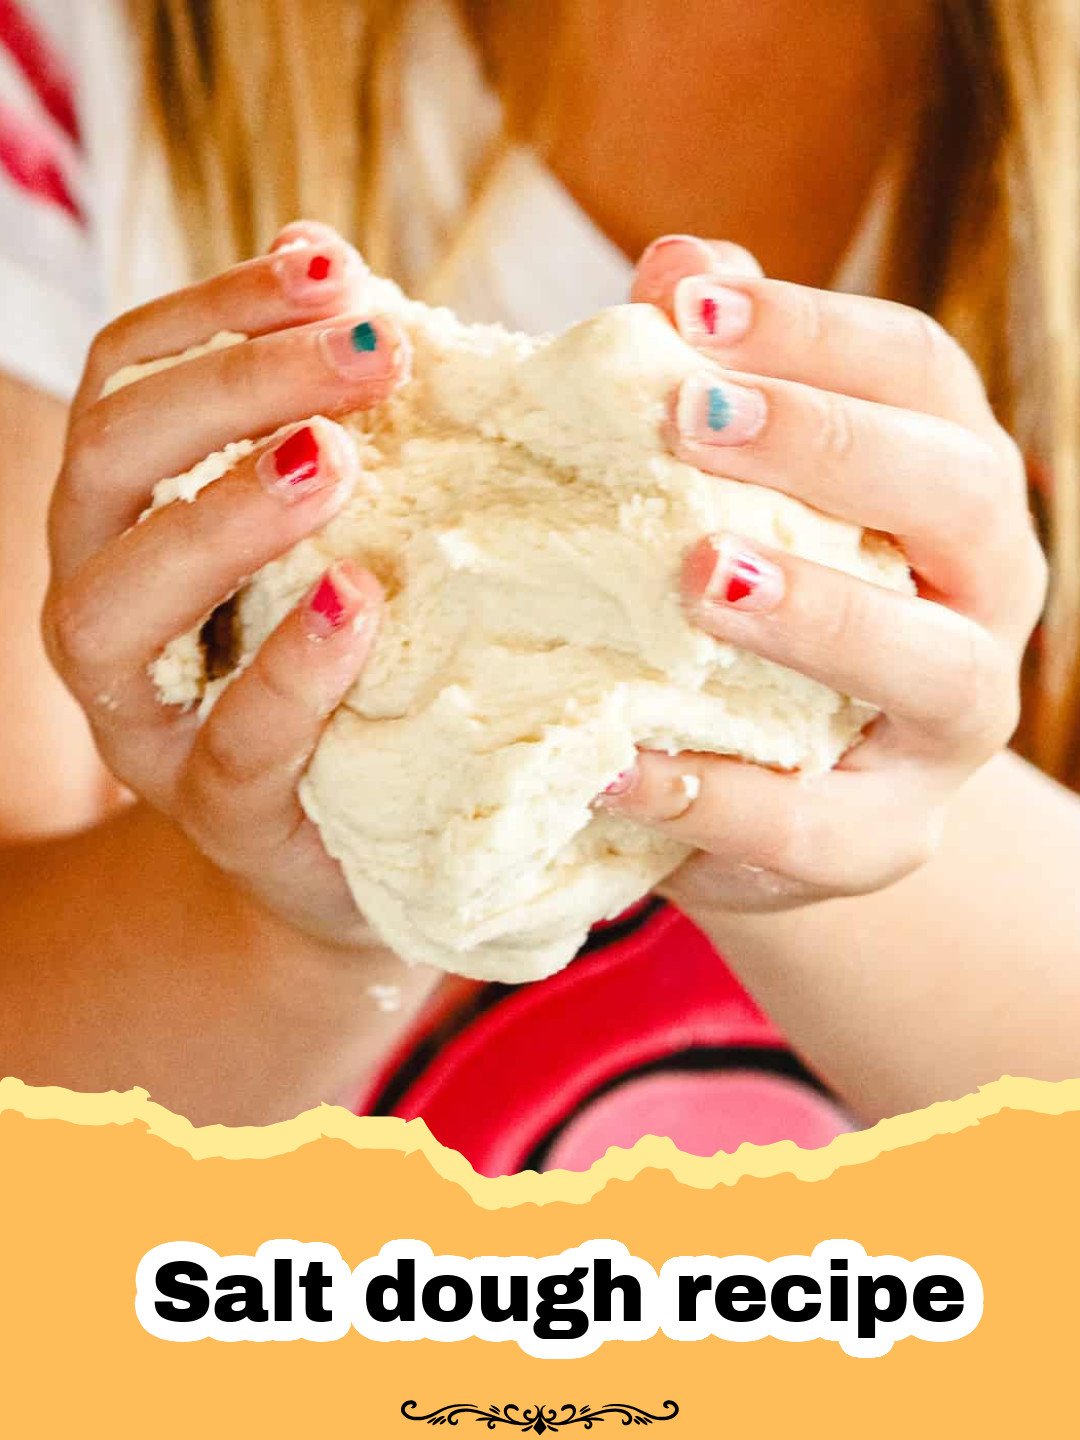
- Step 3: Once the mixture comes together into a rough ball, turn it out onto a lightly floured surface. Knead the dough for about 5-10 minutes, until it becomes smooth, elastic, and no longer sticky. If it’s too sticky, add a tiny bit more flour. If it’s too dry and crumbly, add water a teaspoon at a time. The kneading process is crucial for developing the gluten and achieving the perfect consistency for your **salt dough recipe**.
- Step 4: Once kneaded, the dough is ready for crafting! Roll it out to your desired thickness (typically ¼ to ½ inch for ornaments) using a rolling pin. For very thin items, be mindful that they can become brittle.
- Step 5: Use cookie cutters, knives (adult supervision recommended!), or your hands to cut and mold your desired shapes. For handprint ornaments, press hands firmly into the rolled-out dough. Remember to poke a hole at the top of any ornaments if you plan to hang them, using a straw or skewer.
- Step 6: Carefully transfer your salt dough creations to a baking sheet lined with parchment paper. Leave a little space between each piece to allow for even drying.
- Step 7: Bake your salt dough creations in a preheated oven at the lowest possible temperature (around 200°F or 95°C) for 2-4 hours, or even longer for thicker pieces. The goal is to dry them out, not to bake them. The drying time will vary significantly depending on the thickness and size of your crafts. They are done when they are hard to the touch and sound hollow when tapped. For very thick pieces, you might need to flip them halfway through to ensure even drying.
- Step 8: Once completely dry and hard, turn off the oven and let the creations cool completely on the baking sheet inside the oven, or on a wire rack. This slow cooling helps prevent cracking.
- Step 9: Your salt dough creations are now ready for decorating! Paint them with acrylic paints, add glitter, or seal them with a clear varnish for extra durability and shine. Sealing is especially important if they’re exposed to humidity, as unsealed salt dough can absorb moisture and soften.
Pro Tip: For any unused **salt dough recipe** dough, wrap it tightly in plastic wrap and store it in an airtight container in the refrigerator for up to a week. For best results, I recommend using Basics Glass Food Storage containers to keep it fresh and prevent it from drying out.
Variations & Crafting Ideas
This basic **salt dough recipe** is just the beginning! Here are some creative ways to customize your dough and unleash your crafting potential:
Adding Color to the Dough
- Food Coloring: Before adding water, mix a few drops of gel food coloring into the dry ingredients. Add water gradually until the desired color and consistency are achieved. This makes the dough vibrant all the way through, great for marbled effects or solid colored pieces that don’t need painting.
- Liquid Watercolor: Similar to food coloring, liquid watercolors can be added to the water before mixing with the dry ingredients. Start with a small amount and add more for intensity.
Scented Salt Dough
For a delightful sensory experience, add a few drops of essential oils or spices to your dry ingredients before adding water. Cinnamon, nutmeg, ginger, or cloves are perfect for festive holiday ornaments. Lavender or vanilla essential oils can create soothing, fragrant keepsakes. Just remember these are for craft, not consumption!
Glitter Salt Dough
Who doesn’t love a bit of sparkle? Mix fine craft glitter directly into your dry flour and salt mixture before adding water. The glitter will be embedded throughout the dough, creating shimmering creations that catch the light even before any additional decoration.
Crafting Project Ideas:
- Handprint/Footprint Ornaments: A timeless classic, perfect for baby showers, Christmas, or Mother’s Day gifts.
- Holiday Ornaments: Use cookie cutters to make stars, hearts, angels, or snowflakes. Decorate with festive colors.
- Decorative Bowls/Trays: Mold the dough over oven-safe bowls (lined with foil) to create unique decorative dishes. Remove from the mold before baking.
- Game Pieces/Magnets: Create custom chess pieces, checkers, or fun fridge magnets. Attach magnets with strong craft glue after baking and decorating.
- Nature Impressions: Press leaves, flowers, or textured fabrics into rolled-out dough for beautiful natural designs.
- Gift Tags: Cut small shapes, stamp letters, and personalize for unique gift tags. They can be painted or left natural.
Remember, the goal is to have fun and express your creativity. Don’t be afraid to experiment with different tools, textures, and decorative techniques. The simple nature of this **salt dough recipe** makes it an excellent canvas for all sorts of artistic endeavors. You can even use it to create unique displays for other homemade items, like a small stand for your homemade granola jars!
Nutrition Information
Note: This nutrition information is for the ingredients combined to make the dough and is provided for informational purposes only. Salt dough is a craft material and is not intended for human consumption due to its extremely high sodium content and lack of nutritional balance. The values below are estimates per 100g of prepared dough.
| Nutrient | Amount per 100g (Approx.) |
|---|---|
| Calories | ~350 kcal |
| Carbohydrate Content | ~70g |
| Cholesterol Content | 0 mg |
| Fat Content | ~1g |
| Fiber Content | ~2g |
| Protein Content | ~10g |
| Saturated Fat Content | 0g |
| Serving Size | 100g (for craft, not consumption) |
| Sodium Content | ~18,000 mg |
| Sugar Content | 0g |
| Trans Fat Content | 0g |
| Unsaturated Fat Content | ~1g |
Conclusion
This **salt dough recipe** is more than just a list of ingredients and steps; it’s an invitation to create, to connect, and to make lasting memories. Whether you’re a seasoned crafter or just looking for a fun, budget-friendly activity for a rainy day, salt dough offers endless possibilities. From simple handprint ornaments that capture a moment in time to intricate decorative pieces, the joy is in the making. So gather your flour, salt, and water, call your loved ones, and embark on a crafting adventure that promises not just beautiful results, but also cherished moments and a tangible reminder of the simple, creative magic that resides in every home. Happy crafting!
FAQs
Can I eat salt dough?
No, salt dough is not for consumption. While made from food-grade ingredients, it contains an extremely high amount of salt, making it unsafe and unpleasant to eat. It is strictly a craft material.
How do I prevent my salt dough from cracking?
To prevent cracking, ensure your oven temperature is very low (around 200u00b0F or 95u00b0C) and allow for a slow, thorough drying process. Thicker pieces require longer drying times. Also, let the creations cool completely in the oven or on a wire rack after drying.
How long does salt dough last?
Properly dried and sealed salt dough creations can last for many years. Sealing them with a clear varnish or sealant protects them from moisture, which can cause them to soften or degrade over time.
Can I color salt dough?
Yes, you can easily color salt dough! Add a few drops of gel food coloring or liquid watercolor to the water before mixing it with the flour and salt. You can also paint the finished, dried salt dough with acrylic paints.
Classic Salt Dough Recipe for Crafts
An incredibly easy and versatile salt dough recipe perfect for creating durable, long-lasting crafts like ornaments, keepsakes, and decorative figures. Made with just three simple ingredients: flour, salt, and water.
- Total Time: 2 hours 15 minutes – 4 hours 15 minutes
- Yield: Enough for several medium ornaments or a few larger pieces
Ingredients
2 cups all-purpose flour
1 cup fine table salt
1 cup warm water (approximately)
Instructions
Step 1: In a large mixing bowl, combine the all-purpose flour and fine table salt. Mix them thoroughly to ensure even distribution of the salt.
Step 2: Gradually add the warm water, about half a cup at a time, stirring with a spoon after each addition. Continue adding water slowly until a shaggy dough begins to form.
Step 3: Turn the dough out onto a lightly floured surface. Knead the dough for 5-10 minutes until it becomes smooth, elastic, and no longer sticky. Adjust with small amounts of flour or water if needed.
Step 4: Roll out the dough to your desired thickness (typically ¼ to ½ inch for most crafts) using a rolling pin. Ensure an even thickness for uniform drying.
Step 5: Use cookie cutters, knives (with adult supervision), or your hands to cut and mold your desired shapes. For ornaments, remember to poke a hole at the top for hanging before drying.
Step 6: Carefully transfer your salt dough creations to a baking sheet lined with parchment paper, leaving some space between each piece.
Step 7: Bake in a preheated oven at the lowest possible temperature (around 200°F or 95°C) for 2-4 hours or longer, depending on the thickness of your items. The goal is to dry and harden, not to bake. They are done when completely hard to the touch.
Step 8: Once completely dry, turn off the oven and let the creations cool completely on the baking sheet inside the oven or on a wire rack. This slow cooling helps prevent cracking.
Step 9: Your salt dough crafts are now ready for decorating! Paint with acrylics, add glitter, or seal with a clear varnish for durability and shine. Sealing protects against humidity.
Notes
Always use fine table salt for the best texture. The baking time is actually a slow drying process; keeping the oven temperature low is key to preventing cracks. For best results and longevity, seal your finished salt dough creations with a clear varnish, especially if they will be exposed to humidity. Unused dough can be stored tightly wrapped in plastic in the refrigerator for up to a week.
- Prep Time: 15 minutes
- Cook Time: 2-4 hours (drying time)
- Category: Crafts & DIY
- Cuisine: N/A (Craft)
Nutrition
- Serving Size: 100g (for craft, not consumption)
- Calories: ~350 kcal
- Sugar: 0g
- Sodium: ~18,000 mg
- Fat: ~1g
- Saturated Fat: 0g
- Unsaturated Fat: ~1g
- Trans Fat: 0g
- Carbohydrates: ~70g
- Fiber: ~2g
- Protein: ~10g
- Cholesterol: 0 mg
Keywords: salt dough recipe, salt dough crafts, easy crafts, kids crafts, homemade ornaments, DIY projects, non-toxic crafts, crafting with kids