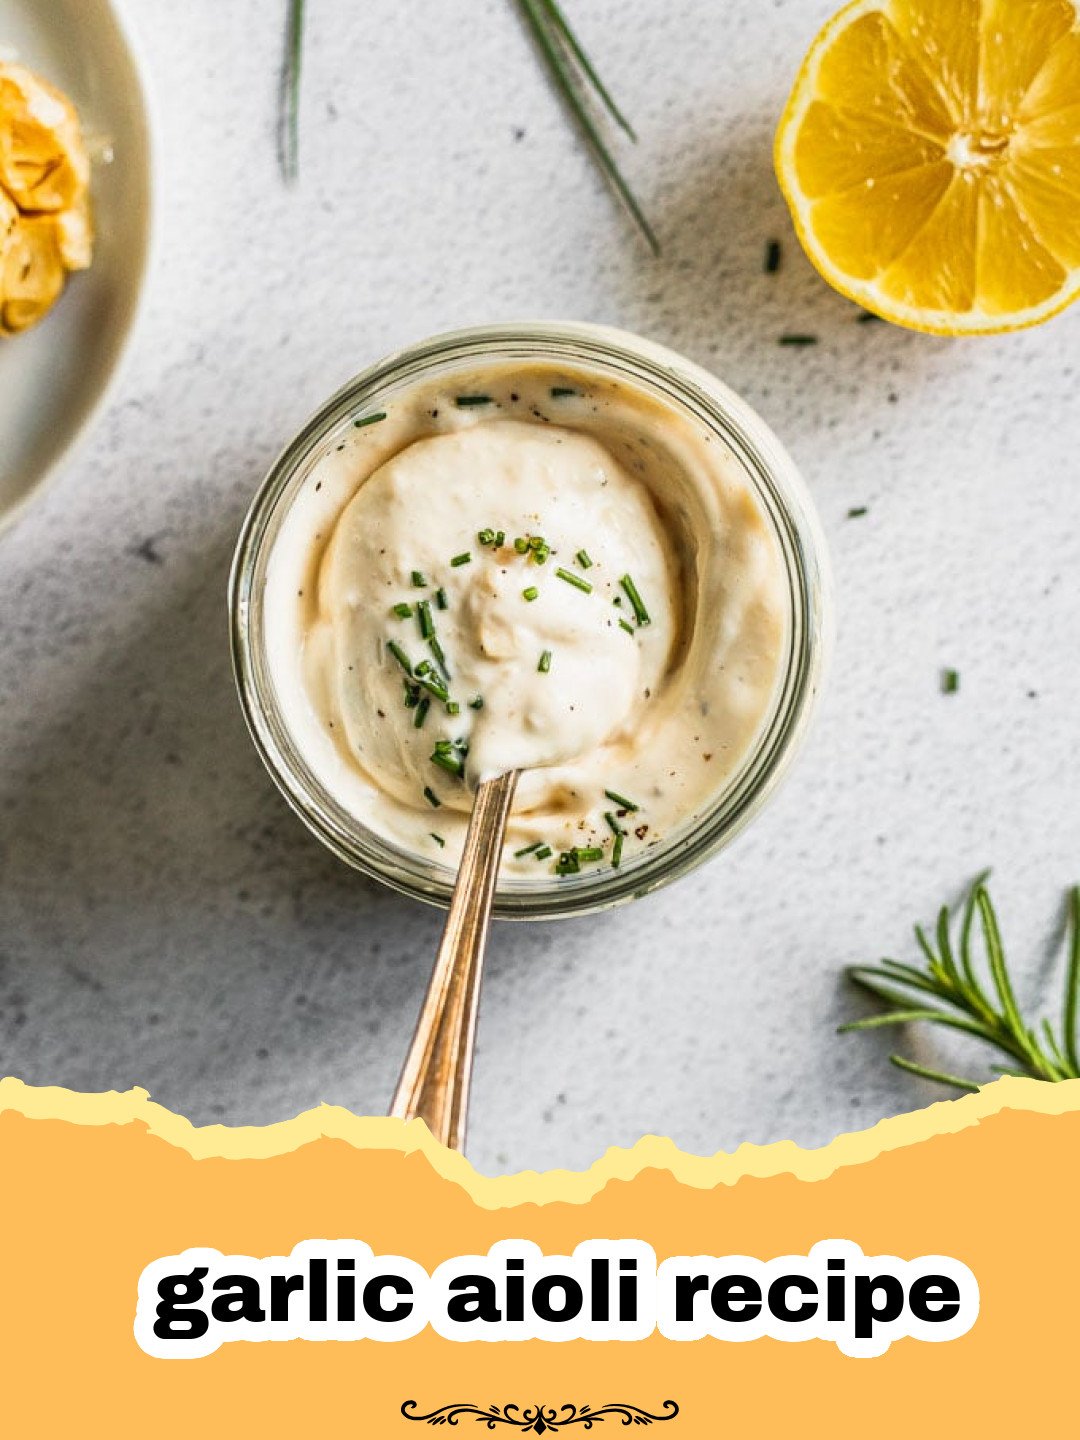
I remember the first time I truly understood the magic of a good garlic aioli. It wasn’t in a fancy restaurant with white tablecloths, but at a bustling seaside shack during a summer vacation. We’d ordered a plate of crispy, golden-brown fish and chips, and alongside the usual ketchup, there was a small ramekin of something pale yellow, thick, and incredibly fragrant. Hesitantly, I dipped a fry, and my world changed. The creamy texture, the punchy garlic, the subtle tang of lemon – it was an explosion of flavor that elevated a simple potato to gourmet status. From that day on, I was on a mission to replicate that experience, to find the perfect garlic aioli recipe that could bring that same sunshine and seaside joy to my own kitchen. After many attempts, tweaks, and a few minor kitchen disasters (we’ve all been there!), I’ve finally perfected a homemade garlic aioli recipe that is utterly irresistible. This isn’t just a sauce; it’s an experience, a flavor enhancer that will transform your meals and become an indispensable part of your culinary repertoire.
Why This Garlic Aioli Recipe is a Must-Try
- Incredible Flavor: This garlic aioli recipe boasts a rich, creamy texture and a robust garlic flavor that’s perfectly balanced with a hint of citrus. It’s far superior to any store-bought version.
- Versatility: Whether you’re dipping fries, spreading it on sandwiches, or using it as a base for dressings, this garlic aioli recipe is incredibly adaptable and elevates almost any dish.
- Surprisingly Easy: Don’t be intimidated by the idea of making your own aioli! With a few simple techniques and fresh ingredients, you’ll master this garlic aioli recipe in no time.
- Fresh & Wholesome Ingredients: You control exactly what goes into your aioli, ensuring a fresh, preservative-free condiment.
Key Ingredient Notes for the Best Garlic Aioli Recipe
While this garlic aioli recipe uses simple ingredients, their quality makes all the difference:
Fresh Garlic
This is non-negotiable for a truly exceptional garlic aioli recipe. Forget the jarred stuff! Fresh garlic cloves, finely minced or grated, provide that pungent, aromatic kick that defines aioli. The amount of garlic is somewhat to taste, but for a true garlic aioli recipe, don’t be shy!
High-Quality Olive Oil
Since olive oil forms the base and a significant portion of the flavor profile, choose a good quality extra virgin olive oil for this garlic aioli recipe. However, be mindful that a very strong, peppery olive oil can sometimes overpower the other flavors. If you prefer a milder taste, you can use a light olive oil or even a neutral oil like grapeseed or avocado oil, or a blend of both. The goal is a smooth, rich flavor that complements, not competes with, the garlic.
Fresh Egg Yolk
Egg yolk is the emulsifier that brings our garlic aioli recipe together, creating that beautiful, creamy texture. While some recipes use whole eggs, I find that yolks alone create a richer, more stable emulsion. Ensure your egg is fresh and at room temperature, which helps with the emulsification process. If you’re concerned about raw eggs, you can use pasteurized eggs or try a vegan version (though that’s a different recipe!).
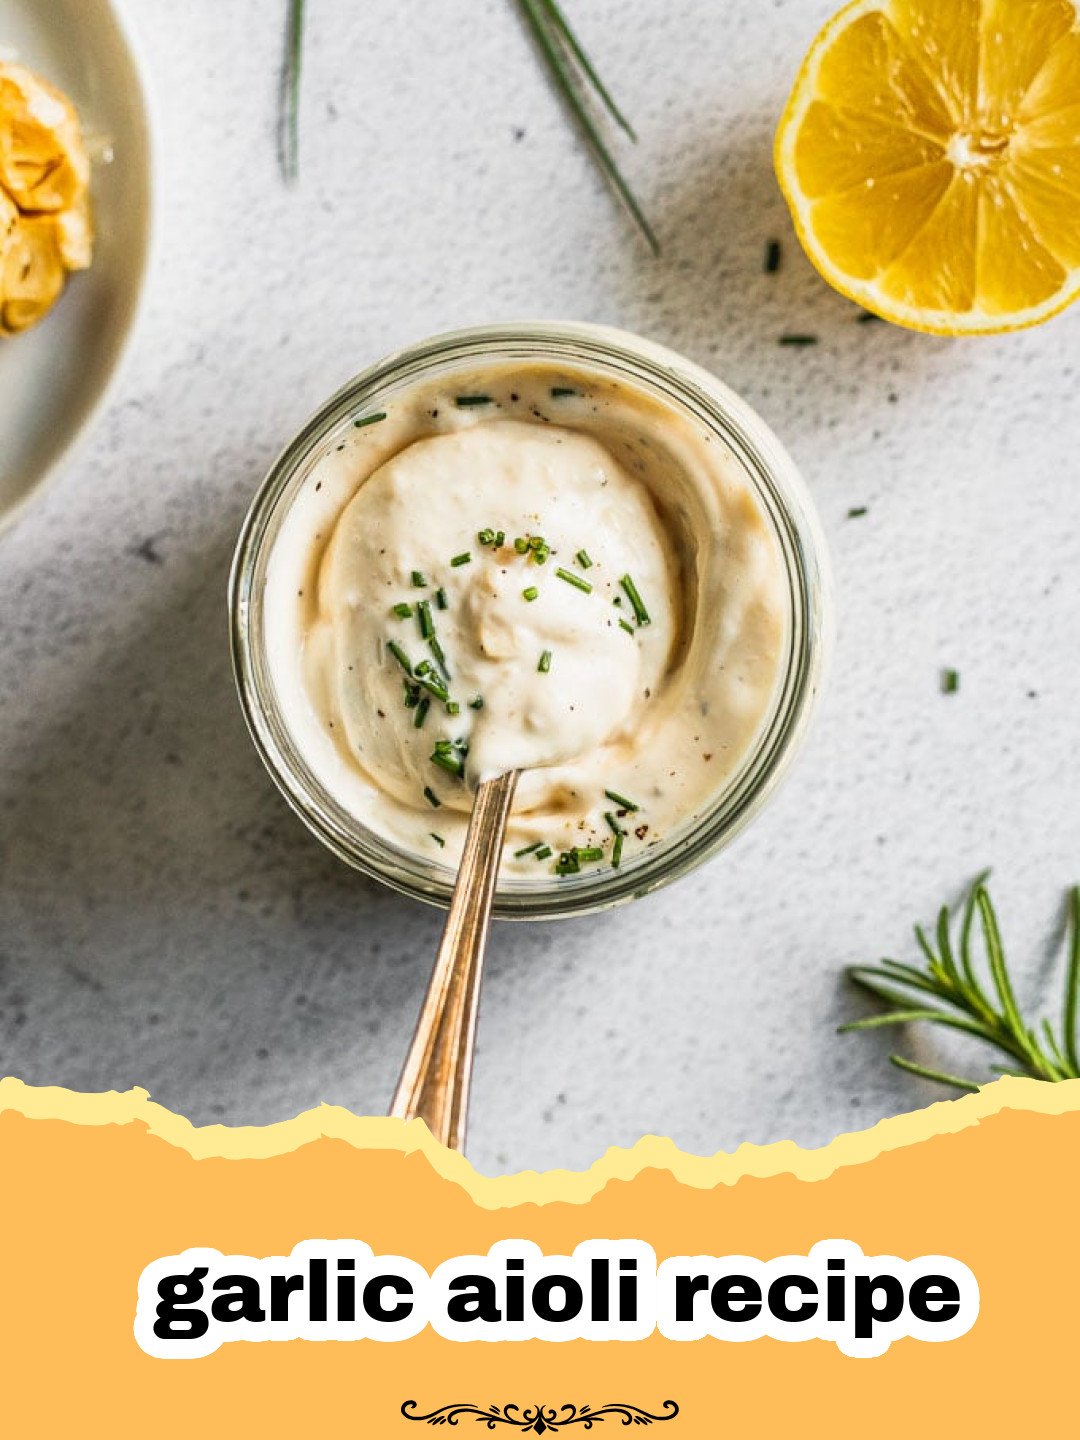
Step-by-Step Guide with Pro Tips for this Garlic Aioli Recipe
Making homemade aioli is all about emulsification. The key is to add the oil slowly and steadily. You can make this by hand, with an immersion blender, or in a food processor.
Making Garlic Aioli by Hand (The Traditional Method)
This method requires a little arm strength but yields a truly artisanal garlic aioli recipe.
- Whisk the Base: In a medium bowl, whisk together the egg yolk, minced garlic, Dijon mustard, and lemon juice until well combined and slightly pale. Season with salt and pepper.
- Slow Oil Drizzle: This is the most crucial step for a successful garlic aioli recipe. Begin by adding the olive oil drop by drop, whisking continuously and vigorously. Seriously, just a few drops at a time to start.
- Gradual Stream: As the mixture starts to thicken and emulsify (it will look creamy and pale), you can gradually increase the oil to a very thin, steady stream, still whisking constantly. Continue until all the oil is incorporated and you have a thick, creamy garlic aioli.
- Taste & Adjust: Taste your homemade garlic aioli recipe and adjust seasoning as needed. You might want more lemon juice for tang, more salt, or a touch more garlic (though raw garlic can get very strong, very fast!).
Using an Immersion Blender (My Favorite Method for Speed)
This is by far the easiest and fastest way to achieve a perfect garlic aioli recipe.
- Combine Ingredients: In a tall, narrow jar or the container that comes with your immersion blender, combine the egg yolk, minced garlic, Dijon mustard, lemon juice, salt, pepper, and *all* of the olive oil.
- Blend and Emulsify: Place the immersion blender directly onto the egg yolk at the bottom of the jar. Turn it on high and hold it there for about 15-20 seconds without moving it. You will see a thick, creamy emulsion forming at the bottom.
- Lift Slowly: Once a good amount of aioli has formed, slowly lift the immersion blender upwards through the oil, allowing the remaining oil to be incorporated. Move it up and down a few times until the entire mixture is thick and emulsified into a beautiful garlic aioli.
- Taste & Adjust: Taste and adjust seasoning as desired.
Using a Food Processor
Another great option for a hands-off approach to this garlic aioli recipe.
- Combine Base: Add the egg yolk, minced garlic, Dijon mustard, lemon juice, salt, and pepper to the bowl of a food processor fitted with the blade attachment. Process for 10-15 seconds until well combined.
- Slow Oil Drizzle: With the food processor running, slowly drizzle in the olive oil through the feed tube, literally drop by drop to start. This slow addition is key to emulsification.
- Steady Stream: Once the mixture begins to thicken, you can increase the oil to a very thin, steady stream. Continue processing until all the oil is incorporated and the garlic aioli is thick and creamy.
- Taste & Adjust: Season to your preference.
Variations & Serving Suggestions
Once you master this basic garlic aioli recipe, the possibilities are endless!
Flavor Variations:
- Spicy Aioli: Add a pinch of cayenne pepper, a dash of hot sauce, or a teaspoon of sriracha to the base ingredients.
- Herb Aioli: Finely chop fresh herbs like parsley, chives, tarragon, or dill and fold them into your finished garlic aioli.
- Smoked Paprika Aioli: Add ½-1 teaspoon of smoked paprika for a lovely smoky depth.
- Roasted Garlic Aioli: For a milder, sweeter garlic flavor, roast a head of garlic until soft, then mash the cloves and incorporate them into the aioli base. This creates an unbelievably delicious roasted garlic aioli recipe.
- Lime Aioli: Swap lemon juice for lime juice for a zippier, brighter flavor, especially good with seafood.
Serving Suggestions:
- Dipping Sauce: The classic use! Perfect for French fries, sweet potato fries, crispy onion rings, or even jacket potatoes.
- Sandwich & Burger Spread: Elevate any sandwich, burger, or wrap with a generous smear of this creamy garlic aioli. It’s fantastic on grilled chicken sandwiches!
- Vegetable Dip: A delightful accompaniment for roasted vegetables (asparagus, broccoli, Brussels sprouts), grilled corn on the cob, or a fresh crudité platter.
- Seafood Pairing: Absolutely incredible with grilled fish, shrimp, crab cakes, or calamari. A seafood boil would also be fantastic with this garlic aioli recipe.
- Potato Salad Base: Use it instead of plain mayonnaise in your potato salad for a garlicky kick.
- Side for Meats: Serve alongside grilled steak, chicken, or even for dipping homemade meatballs.
- Sauce for Tacos/Bowls: Drizzle over fish tacos, chicken bowls, or grain bowls for an extra layer of flavor.
Once you’ve made your delicious garlic aioli, you’ll want to store it properly. I highly recommend using airtight glass containers. Basics Glass Food Storage containers are fantastic for keeping your homemade condiments fresh in the refrigerator.
Nutrition Information
| Nutrient | Amount Per Serving |
|---|---|
| Calories | 130 kcal |
| Carbohydrate Content | 1g |
| Cholesterol Content | 20mg |
| Fat Content | 14g |
| Fiber Content | 0g |
| Protein Content | 0g |
| Saturated Fat Content | 2g |
| Serving Size | 1 tbsp |
| Sodium Content | 35mg |
| Sugar Content | 0g |
| Trans Fat Content | 0g |
| Unsaturated Fat Content | 11g |
Conclusion
This garlic aioli recipe isn’t just a condiment; it’s a game-changer. It’s the secret weapon that transforms ordinary meals into something extraordinary, bringing a gourmet touch to your everyday cooking. The rich, creamy texture and bold garlic flavor are incredibly addictive, and knowing you made it from scratch makes it all the more satisfying. So, next time you’re looking to elevate your fries, enhance your sandwiches, or simply impress your dinner guests, whip up a batch of this homemade garlic aioli recipe. You’ll wonder how you ever lived without it. Happy cooking!
FAQs
What is the difference between aioli and mayonnaise?
Traditionally, aioli is a Mediterranean sauce made specifically with garlic, olive oil, and sometimes egg yolk, while mayonnaise is an emulsion of egg yolk, oil (often neutral-flavored), and an acid like vinegar or lemon juice. Modernly, many ‘aiolis’ are simply flavored mayonnaises, but a true garlic aioli recipe emphasizes the potent garlic and often olive oil flavor.
How long does homemade garlic aioli last?
Due to the fresh egg yolk, homemade garlic aioli should be stored in an airtight container in the refrigerator and consumed within 5-7 days for best quality and safety. Always use fresh, high-quality ingredients.
Can I make garlic aioli without raw egg?
Yes, you can. For a raw egg-free version of this garlic aioli recipe, you can use aquafaba (the liquid from a can of chickpeas) as an emulsifier for a vegan version, or you can use pasteurized egg yolks. Another option is to use a pre-made mayonnaise as a base and then stir in fresh minced garlic, lemon juice, and seasonings, though this isn’t a traditional aioli.
What are the best uses for homemade garlic aioli?
Homemade garlic aioli is incredibly versatile! It’s fantastic as a dipping sauce for fries, sweet potato fries, or roasted vegetables. It makes an excellent spread for sandwiches, burgers, or wraps. You can also serve it with grilled fish, shrimp, crab cakes, or as a flavorful addition to potato salad or a cruditu00e9 platter. This garlic aioli recipe truly enhances almost any savory dish.
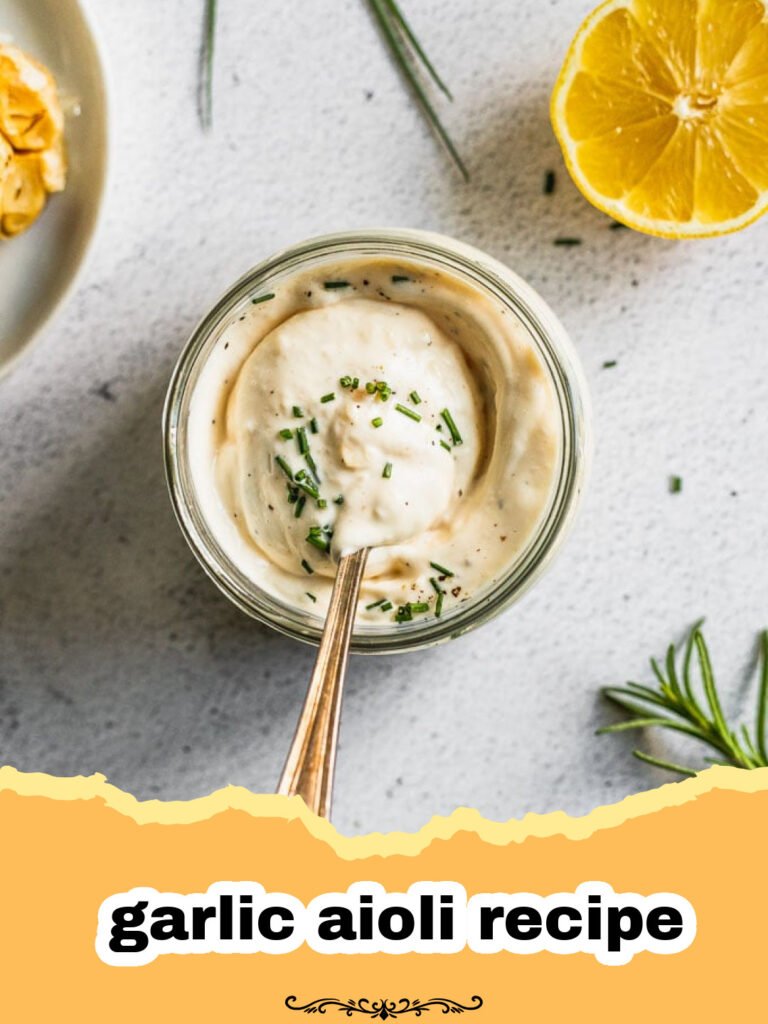
Homemade Garlic Aioli Recipe
Unlock the secret to the best homemade garlic aioli recipe! This creamy, zesty condiment elevates any dish, from fries and sandwiches to seafood. Easy to make with simple ingredients and a few pro tips.
- Total Time: 10 minutes
- Yield: 1 cup 1x
Ingredients
1 large egg yolk, at room temperature
2–3 cloves garlic, minced (or 1 tbsp roasted garlic)
1/2 teaspoon Dijon mustard
1 tablespoon fresh lemon juice
1/2 cup extra virgin olive oil (or light olive oil/neutral oil)
1/4 teaspoon salt (or to taste)
Pinch of black pepper (or to taste)
Instructions
Step 1: In a medium bowl, combine the egg yolk, minced garlic, Dijon mustard, lemon juice, salt, and pepper. Whisk vigorously until the mixture is well combined and slightly pale.
Step 2: For the traditional method, slowly begin to add the olive oil, literally drop by drop, while whisking continuously and vigorously. This is crucial for emulsion.
Step 3: As the mixture starts to thicken and emulsify into a creamy consistency, you can gradually increase the olive oil to a very thin, steady stream, continuing to whisk constantly.
Step 4: Continue whisking until all the oil is incorporated and the aioli is thick, smooth, and creamy. If using an immersion blender, combine all ingredients in a tall, narrow jar, place the blender on the bottom covering the yolk, turn on high for 15-20 seconds, then slowly lift upwards.
Step 5: Taste the homemade garlic aioli and adjust seasoning if necessary. You might want more salt, lemon juice, or a tiny pinch of extra garlic (be careful, raw garlic can be strong).
Step 6: Transfer the garlic aioli to an airtight container. Refrigerate for at least 30 minutes before serving to allow the flavors to meld. This garlic aioli recipe is best consumed within 5-7 days.
Notes
Ensure your egg yolk is at room temperature to help with emulsification. If your aioli breaks, you can sometimes fix it by whisking another egg yolk with a teaspoon of the broken aioli, then slowly whisking in the remaining broken aioli drop by drop until it emulsifies again.
- Prep Time: 10 minutes
- Cook Time: 0 minutes
- Category: Condiment, Sauce, Dip
- Cuisine: Mediterranean
Nutrition
- Serving Size: 1 tbsp
- Calories: 130 kcal
- Sugar: 0g
- Sodium: 35mg
- Fat: 14g
- Saturated Fat: 2g
- Unsaturated Fat: 11g
- Trans Fat: 0g
- Carbohydrates: 1g
- Fiber: 0g
- Protein: 0g
- Cholesterol: 20mg
Keywords: garlic aioli, homemade aioli, garlic sauce, aioli recipe, condiment, dip, easy aioli, lemon garlic aioli