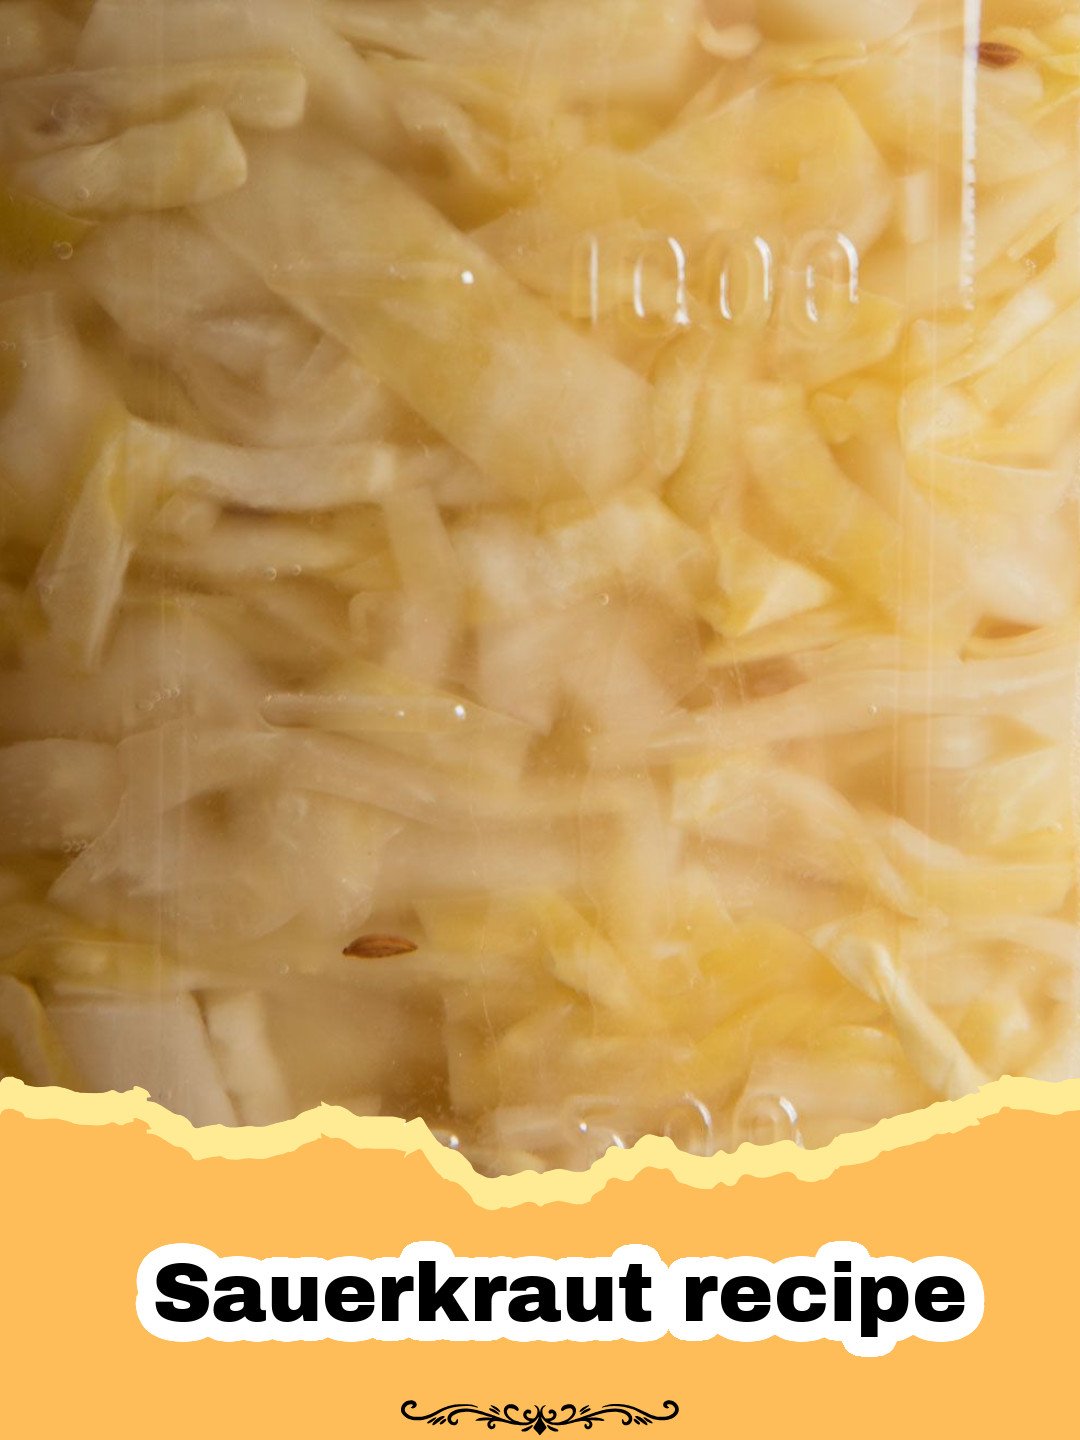
There’s something incredibly satisfying about making food from scratch, especially when it involves a bit of tradition and a whole lot of flavor. My earliest memory of a true sauerkraut recipe isn’t from a rustic German festival, but from my grandmother’s kitchen, where she’d always have a large ceramic crock bubbling gently in a cool corner. The scent was distinct – a little sour, a little earthy – and as a child, I admit, I was skeptical. But then came the holidays, the roasted pork, and a generous dollop of her golden, tangy sauerkraut, softening the richness of the meat and adding an unbeatable zing. It was more than just a side dish; it was a story, a connection to heritage, and a testament to the magic of simple ingredients. It wasn’t until much later that I fully appreciated the probiotic power and incredible versatility of this fermented cabbage, but the memory of her kitchen, and that unique aroma, always brings me back to wanting to recreate that perfect batch. This homemade sauerkraut recipe is a tribute to those memories and a guide for you to create your own.
Why This Sauerkraut Recipe is a Must-Try
Unbeatable Flavor & Texture
Forget the watery, overly sour store-bought versions. Our homemade sauerkraut recipe yields a product that’s wonderfully crisp, deeply tangy, and has a complex flavor profile that evolves with fermentation. It’s truly a game-changer for anyone who thinks they don’t like sauerkraut.
Boost Your Gut Health
Fermented foods like sauerkraut are packed with beneficial probiotics, which are fantastic for gut health, digestion, and even your immune system. Making your own ensures you get a living, vibrant product full of these good bacteria.
Surprisingly Simple to Make
Many people are intimidated by fermentation, but this sauerkraut recipe is incredibly straightforward. With just cabbage and salt, you can create a culinary masterpiece with minimal hands-on time. The process is more art than science, allowing for a forgiving and rewarding experience.
Incredibly Versatile
Once you have a batch of this homemade fermented goodness, the possibilities are endless! It’s not just for hot dogs and sausages. Enjoy it as a side, in sandwiches, salads, or even as a flavorful topping for various main dishes. This simple sauerkraut recipe provides a versatile base for countless meals.
Key Ingredient Notes for Your Sauerkraut Recipe
While this sauerkraut recipe relies on only a couple of main ingredients, their quality and type make a significant difference in the final product. Understanding these nuances will elevate your homemade sauerkraut from good to truly exceptional.
Cabbage: The Star of the Show
For the best homemade sauerkraut, opt for fresh, firm green cabbage heads. Look for ones that feel heavy for their size and have tightly packed leaves. Avoid red cabbage for your first attempt at a traditional sauerkraut recipe, as it can produce a different flavor and color. Organic cabbage is often preferred, as it hasn’t been treated with pesticides that could interfere with the fermentation process. However, even conventional green cabbage will work wonderfully if that’s what’s available. The fresher the cabbage, the better it will break down and ferment, leading to a crispier, more flavorful sauerkraut.
Salt: More Than Just Seasoning
The type of salt you use is critical for a successful sauerkraut recipe. You absolutely must use non-iodized salt, such as sea salt, pickling salt, or kosher salt (ensure it’s pure and free of anti-caking agents, as some brands contain them). Iodine and anti-caking agents can inhibit the beneficial bacteria responsible for fermentation, leading to a failed batch. Fine-grain salt dissolves more easily, but medium-grain salt is also fine. The salt draws water out of the cabbage, creating the brine in which the cabbage ferments, and also helps to inhibit undesirable bacteria while allowing beneficial lactobacillus to thrive. It’s the unsung hero of this simple sauerkraut recipe.
Optional: Caraway Seeds
While not strictly necessary for a basic sauerkraut recipe, caraway seeds are a traditional addition that brings a warm, earthy, slightly anise-like flavor. They complement the tanginess of the fermented cabbage beautifully. If you enjoy the classic German flavor profile, I highly recommend adding them. A tablespoon or two per batch is usually sufficient. Feel free to experiment with other additions later, but for your first homemade sauerkraut recipe, cabbage and salt are truly all you need to master.

Step-by-Step Guide with Pro Tips for Your Sauerkraut Recipe
Making homemade sauerkraut is a journey of patience and observation. Follow these steps carefully, and you’ll be rewarded with a fantastic batch of fermented goodness. This simple sauerkraut recipe is designed for success.
Step 1: Prepare Your Cabbage
Remove any bruised or damaged outer leaves from your cabbage. Save a few large, intact outer leaves for later (these will act as a ‘lid’). Quarter the cabbage and carefully cut out the tough core. Using a sharp knife or a mandoline, finely shred the cabbage. Aim for consistent, thin shreds, about 1/8 to 1/4 inch thick. Thinner shreds will release water more easily and ferment faster. Place the shredded cabbage into a very large bowl or a clean food-grade bucket. This is the foundation of your homemade sauerkraut recipe.
Step 2: Salt the Cabbage
Sprinkle the non-iodized salt evenly over the shredded cabbage. A good general rule is 2 tablespoons of salt per 3 pounds of cabbage. This precise ratio is key for a safe and flavorful sauerkraut recipe. Begin to massage the salt into the cabbage using your clean hands. Squeeze, scrunch, and pound the cabbage for 5-10 minutes. You’ll notice the cabbage starting to soften and release its liquid. This initial brining is crucial for kicking off the fermentation.
Step 3: Pound and Pack the Cabbage
Once the cabbage has softened and released some liquid, begin to pack it tightly into your fermentation vessel. This could be a large glass jar, a ceramic crock, or even food-grade plastic buckets. If you’re using a large jar, pack it in layers, pressing down firmly with your fist, a wooden pounder, or a clean, heavy glass jar (like a pint jar) to release more brine and eliminate air pockets. The goal is to get all the cabbage submerged under its own liquid. If you want to explore more hearty comfort foods that pair well with your finished product, check out our Hoppin’ John recipe for a different culinary journey.
Step 4: Create the Brine and Weight It Down
Continue packing and pressing until the cabbage is fully submerged under its own brine. If, after vigorously pounding and waiting for an hour or two, you don’t have enough liquid to cover the cabbage, you may need to add a little supplemental brine. Dissolve 1 teaspoon of non-iodized salt in 1 cup of filtered water and add just enough to cover the cabbage. Place one of the reserved whole cabbage leaves over the shredded cabbage as a barrier. Then, place a weight on top to keep the cabbage submerged below the brine. This is critical to prevent mold. Common weights include a smaller glass jar filled with water, a clean river rock, or specialized fermentation weights. An excellent option for safe and effective food storage, including fermentation, is to use Basics Glass Food Storage containers, which can often double as fermentation vessels or storage for your finished sauerkraut recipe.
Step 5: Ferment Your Sauerkraut
Cover your fermentation vessel loosely. If using a jar, you can use a lid with an airlock or simply a loose lid that allows gas to escape (or burp it daily). Place the vessel in a cool, dark place, ideally between 60-75°F (15-24°C). This is where the magic of the sauerkraut recipe happens! Fermentation will typically take 2-4 weeks. During this time, beneficial bacteria convert the sugars in the cabbage into lactic acid, which gives sauerkraut its characteristic tangy flavor and acts as a natural preservative. The warmer the temperature, the faster it will ferment, but also the higher the risk of undesirable microbes if not careful. Taste periodically after about 2 weeks. It’s ready when it reaches your desired level of tanginess and crispness. Some prefer a milder, younger sauerkraut, while others love a deeply fermented, very sour batch. This truly customizable sauerkraut recipe allows you to dictate the flavor.
Step 6: Monitor and Skim (Optional)
During fermentation, you might notice a white film or scum on the surface of the brine. This is usually kahm yeast, a harmless type of yeast. If it appears, simply skim it off with a clean spoon. If you see any fuzzy, colored mold (green, black, pink), that means your batch has gone bad, and unfortunately, you’ll need to discard it and start fresh, ensuring all your equipment is thoroughly sanitized for your next sauerkraut recipe attempt. Maintaining proper submersion under the brine is your best defense against mold.
Step 7: Store Your Homemade Sauerkraut
Once your sauerkraut has reached its desired flavor, remove the weight and the outer cabbage leaf. Transfer the fermented sauerkraut and its brine into clean glass jars, making sure the sauerkraut remains submerged in its liquid. Seal the jars tightly and store them in the refrigerator. The cold temperature will significantly slow down the fermentation process, preserving your sauerkraut for several months. Your hard work on this amazing sauerkraut recipe is now ready to be enjoyed!
Variations & Serving Suggestions for Your Sauerkraut Recipe
Once you’ve mastered the basic sauerkraut recipe, you can start to experiment and customize. Sauerkraut is incredibly versatile and pairs well with a wide variety of dishes.
Flavorful Variations:
- Caraway & Juniper: For a classic German twist, add 1-2 tablespoons of caraway seeds and a teaspoon of juniper berries to the cabbage along with the salt in Step 2.
- Garlic & Dill: Incorporate a few cloves of sliced garlic and a sprig or two of fresh dill for a more savory, Eastern European-inspired sauerkraut.
- Spicy Kick: Add a pinch of red pepper flakes or a sliced jalapeño along with the cabbage and salt for a bit of heat.
- Apple & Onion: For a sweeter, milder flavor, finely slice a Granny Smith apple and a small onion and mix them in with the cabbage. This makes for a fantastic side for pork dishes, complementing the rich flavors.
Serving Suggestions:
- Classic Pairings: Serve your homemade sauerkraut with sausages, bratwurst, hot dogs, or alongside roasted pork. It’s a match made in heaven! If you want to delve deeper into perfect pairings, explore our Pork and Sauerkraut recipe for ultimate comfort.
- Reuben Sandwiches: It’s an essential ingredient in a classic Reuben or Rachel sandwich, offering that perfect tangy crunch against corned beef or pastrami.
- Salad Topping: Add a spoonful to green salads for a vibrant burst of flavor and a probiotic boost.
- Egg Topper: Believe it or not, a small amount of sauerkraut adds a wonderful tang to scrambled eggs or omelets.
- Burger & Sandwich Condiment: Use it instead of pickles on your favorite burgers or any sandwich for an unexpected twist.
- Side Dish: Simply serve a small bowl of cold sauerkraut as a refreshing and healthy side with almost any meal.
Nutrition Information
Here’s a detailed look at the estimated nutrition information for a serving of this homemade sauerkraut recipe. Please note that these values can vary based on specific ingredients and fermentation duration.
| Nutrient | Amount Per Serving |
|---|---|
| Calories | 25 kcal |
| Carbohydrate Content | 6g |
| Cholesterol Content | 0mg |
| Fat Content | 0g |
| Fiber Content | 3g |
| Protein Content | 1g |
| Saturated Fat Content | 0g |
| Serving Size | 1/2 cup (75g) |
| Sodium Content | 350mg |
| Sugar Content | 2g |
| Trans Fat Content | 0g |
| Unsaturated Fat Content | 0g |
Conclusion
Embarking on the journey of making your own sauerkraut is a rewarding experience that connects you to a timeless tradition of food preservation and flavor development. This homemade sauerkraut recipe is not just about creating a delicious condiment; it’s about embracing simplicity, nourishing your body with beneficial probiotics, and perhaps, creating new cherished kitchen memories of your own. So gather your cabbage and salt, embrace the art of fermentation, and get ready to enjoy the most flavorful, crisp, and gut-healthy sauerkraut you’ve ever tasted. Happy fermenting!
FAQs
What kind of cabbage is best for this sauerkraut recipe?
For the best homemade sauerkraut, use fresh, firm green cabbage heads. Look for organic options if possible. Avoid red cabbage for a traditional flavor profile on your first attempt.
What type of salt should I use for this sauerkraut recipe?
You must use non-iodized salt for fermentation. Good options include pure sea salt, pickling salt, or pure kosher salt. Iodine and anti-caking agents in regular table salt can inhibit the beneficial bacteria needed for proper fermentation.
How long does homemade sauerkraut last once refrigerated?
Properly stored homemade sauerkraut will last for several months in the refrigerator. Ensure it remains submerged in its brine in an airtight container to maintain freshness and quality.
What should I do if mold forms on my sauerkraut during fermentation?
If you see a white film (kahm yeast), it’s generally harmless and can be skimmed off. However, if you see fuzzy, colored mold (green, black, or pink), the batch is spoiled and should be discarded. Always ensure your cabbage stays submerged under the brine to prevent mold.
Homemade Fermented Sauerkraut
A classic, simple sauerkraut recipe that results in perfectly tangy, crunchy, and probiotic-rich fermented cabbage. Ideal for beginners!
- Total Time: 2-4 weeks, 30 minutes active
- Yield: 2 quarts 1x
Ingredients
5 lbs green cabbage (about 2 large heads)
3–4 tablespoons non-iodized sea salt (fine-grain or pickling salt)
Optional: 1-2 tablespoons caraway seeds
Instructions
Step 1: Prepare your cabbage. Remove any bruised outer leaves, reserving 2-3 large, intact outer leaves. Quarter the cabbage and cut out the tough core. Finely shred the cabbage using a sharp knife or mandoline (about 1/8 to 1/4 inch thick). Place shredded cabbage in a very large bowl or food-grade bucket.
Step 2: Salt the cabbage. Sprinkle 3-4 tablespoons of non-iodized salt over the shredded cabbage. Using clean hands, vigorously massage, squeeze, and scrunch the salt into the cabbage for 10-15 minutes until it starts to soften and release a significant amount of liquid. If using, mix in caraway seeds now.
Step 3: Pack the cabbage. Begin packing the salted cabbage tightly into a clean 2-quart glass jar or ceramic crock. Pack it in layers, pressing down firmly with your fist or a wooden pounder to release more brine and eliminate air pockets. The goal is to get all the cabbage submerged under its own liquid.
Step 4: Submerge and weight. Continue pressing until the cabbage is fully submerged under the brine that has been released. If, after vigorously pounding, you don’t have enough liquid to cover the cabbage, dissolve 1 teaspoon of non-iodized salt in 1 cup of filtered water and add just enough to ensure the cabbage is covered. Place one of the reserved whole cabbage leaves over the shredded cabbage, then place a fermentation weight (or a smaller, clean glass jar filled with water) on top to keep the cabbage completely submerged.
Step 5: Ferment your sauerkraut. Cover the fermentation vessel loosely (with an airlock lid or a regular lid that allows gas to escape, or burp daily). Place it in a cool, dark place (ideally 60-75°F / 15-24°C) for 2-4 weeks. During this time, beneficial bacteria will convert sugars into lactic acid, creating the tangy flavor. Check periodically for mold (see Step 6).
Step 6: Monitor and skim (optional). If a white film (kahm yeast) appears on the surface, simply skim it off with a clean spoon. If you see any fuzzy, colored mold (green, black, pink), discard the entire batch, sanitize your equipment, and start again.
Step 7: Store your homemade sauerkraut. Once the sauerkraut has reached your desired level of tanginess and crispness (taste after 2 weeks), remove the weight and outer leaf. Transfer the fermented sauerkraut and its brine into clean, airtight glass jars, ensuring the cabbage remains submerged in the liquid. Store in the refrigerator for several months.
Notes
Always use clean, sanitized equipment to prevent undesirable microbial growth. The exact fermentation time can vary significantly based on ambient temperature; warmer temperatures lead to faster fermentation. Taste frequently after the second week to achieve your preferred level of tanginess. Ensure the cabbage stays submerged under the brine at all times to prevent mold.
- Prep Time: 30 minutes
- Cook Time: 2-4 weeks (fermentation)
- Category: Side Dish
- Cuisine: German
Keywords: sauerkraut, fermentation, cabbage, probiotic, homemade sauerkraut recipe, easy sauerkraut, healthy side dish, gut health, fermented vegetables