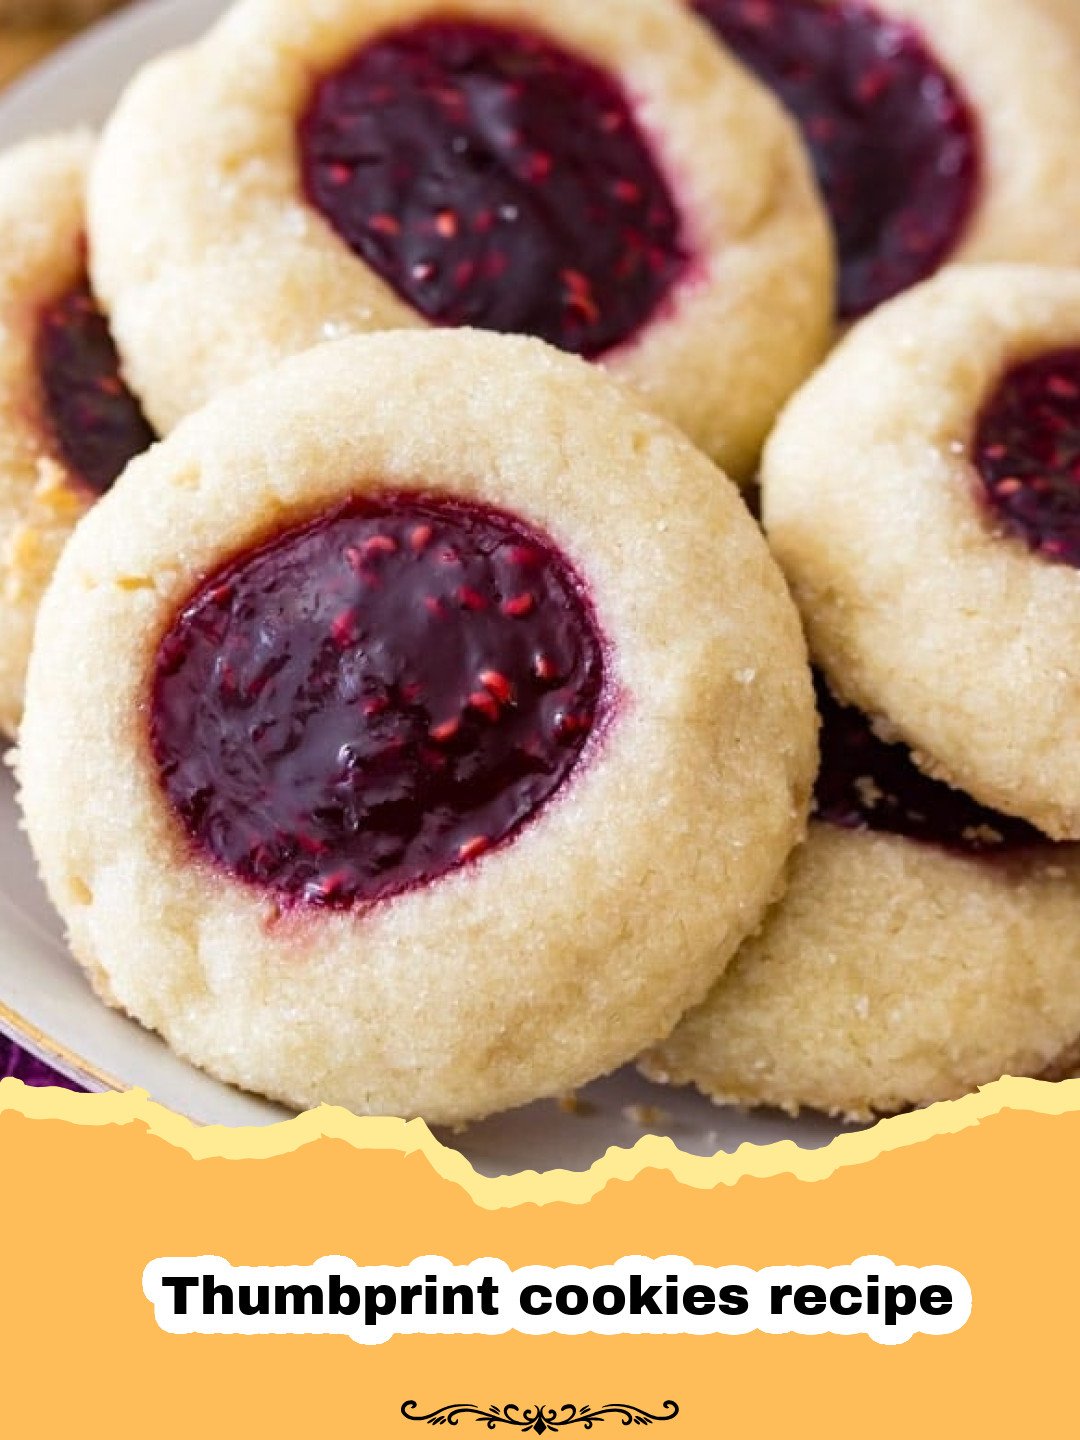
There’s a special kind of magic that fills the kitchen during the holidays, a scent memory woven with flour, butter, and the sweet promise of something delicious baking. For me, that magic is inextricably linked to my grandmother’s kitchen and her legendary thumbprint cookies. Every year, without fail, a plate of these jewel-toned beauties would appear, each one a testament to her love and the simple joy of baking. The buttery, tender cookie, the perfectly indented ‘thumbprint’ cradling a spoonful of vibrant jam – it was pure perfection. This isn’t just any thumbprint cookies recipe; it’s a piece of my heritage, a tradition I’ve cherished and perfected over the years, and now, I’m thrilled to share it with you. These cookies are more than just a treat; they’re a hug in edible form, a taste of nostalgia that brings warmth to any gathering. Get ready to create some beautiful memories in your own kitchen!
Why This Thumbprint Cookies Recipe is a Must-Try
- Unforgettable Texture: These cookies boast an incredibly tender, melt-in-your-mouth texture that makes them utterly addictive.
- Simple Elegance: Despite their sophisticated appearance, this thumbprint cookies recipe is surprisingly easy to follow, making it perfect for bakers of all skill levels.
- Customizable Delights: The classic jam filling is just the beginning! This recipe is a fantastic canvas for your creativity, allowing for endless variations to suit any taste.
- Perfect for Gifting: Beautifully arranged on a platter or packaged in a festive box, these thumbprint cookies make a heartfelt and delicious gift during the holiday season or any time of year.
Key Ingredient Notes
Unsalted Butter, Room Temperature
Butter is the heart of any good cookie, and for this thumbprint cookies recipe, using unsalted butter allows you to control the salt content precisely. Make sure your butter is truly at room temperature – soft enough to leave an indent when pressed, but not melted or greasy. This ensures it creams properly with the sugar, creating a light, airy base for your cookies.
Granulated Sugar
While often seen as a simple sweetener, granulated sugar plays a crucial role in the texture of these thumbprint cookies. It helps tenderize the dough and contributes to that delightful crispness around the edges, balancing the soft interior.
All-Purpose Flour
Measuring your flour correctly is paramount for this thumbprint cookies recipe. Too much flour can lead to dry, crumbly cookies, while too little might make them spread excessively. I highly recommend using a kitchen scale for accuracy, or if using cups, spoon the flour into the measuring cup and level it off with a straight edge, rather than scooping directly from the bag.
Your Favorite Jam
This is where the ‘thumbprint’ truly shines! While raspberry is a classic choice, don’t hesitate to experiment. Apricot, strawberry, or even a tart cherry jam can be absolutely divine. Choose a good quality jam with a relatively thick consistency, as thinner jams might bubble over and become too sticky during baking. You could also try a delicious Peanut Butter Blossoms Recipe if you’re a fan of peanut butter!
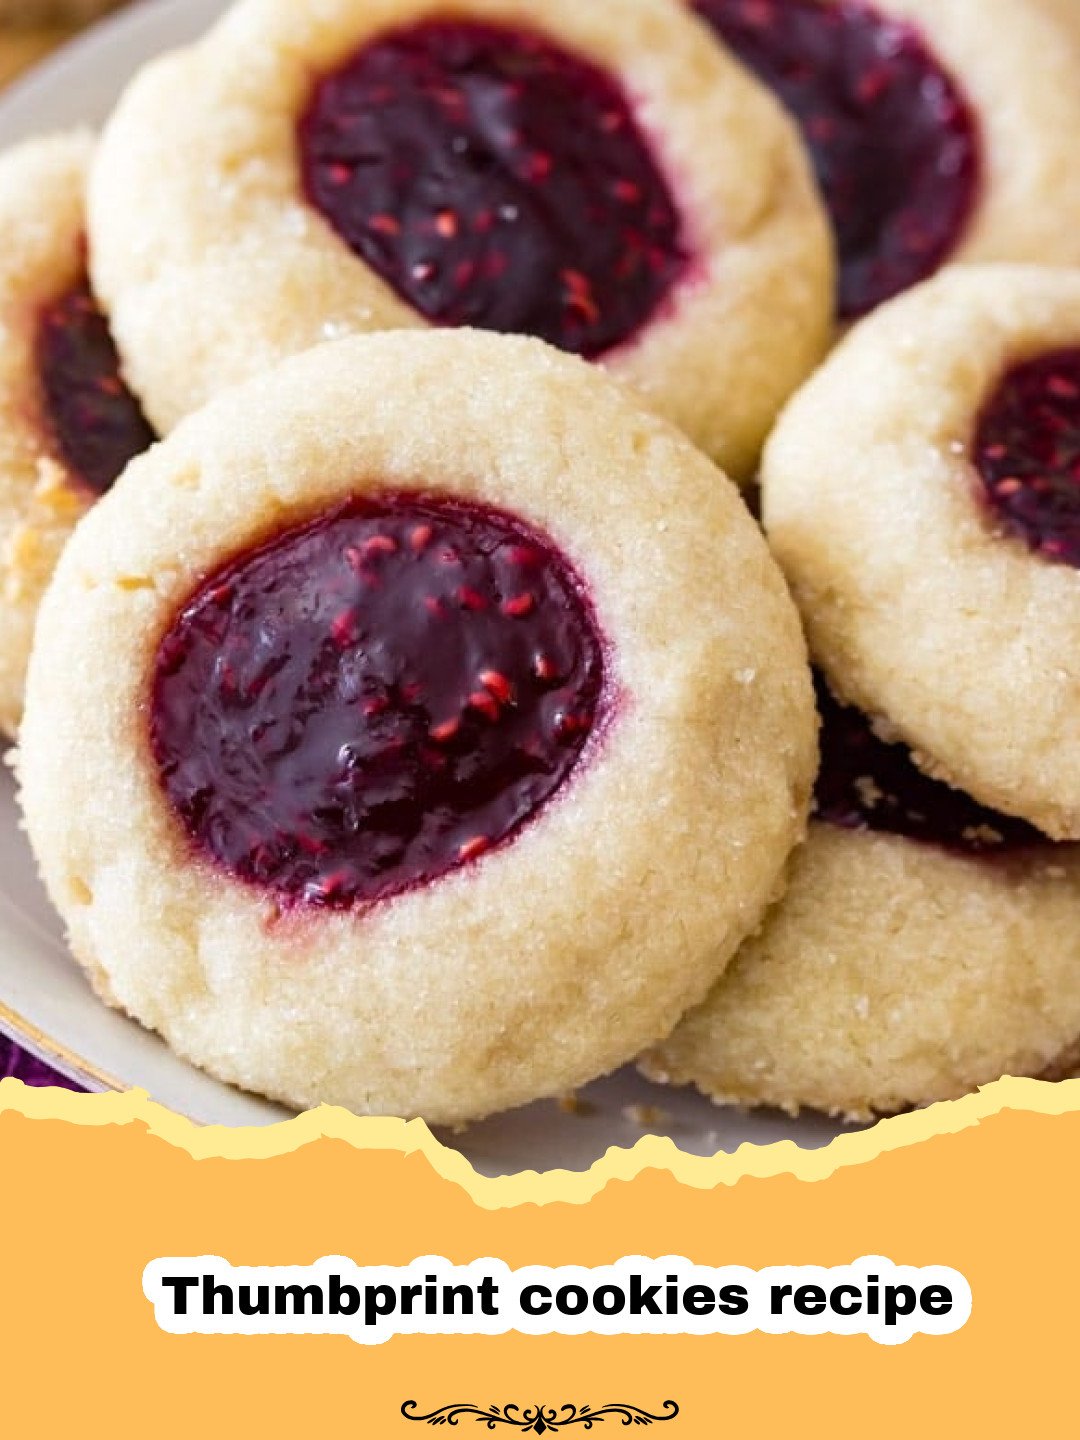
Step-by-Step Guide with Pro Tips for this Thumbprint Cookies Recipe
Baking these classic thumbprint cookies is a joyous process, and following these steps will ensure perfect results every time. This thumbprint cookies recipe is designed for success!
Preparing the Dough
Step 1: In a large mixing bowl, using an electric mixer, cream together the softened unsalted butter and granulated sugar on medium speed until the mixture is light and fluffy. This usually takes about 2-3 minutes. This step is crucial for incorporating air into your dough, which contributes to the cookies’ tender texture.
Step 2: Beat in the egg yolk and vanilla extract until well combined. Scrape down the sides of the bowl to ensure everything is incorporated.
Step 3: In a separate small bowl, whisk together the all-purpose flour and a pinch of salt. Gradually add the dry ingredients to the wet ingredients, mixing on low speed until just combined. Be careful not to overmix, as this can develop the gluten too much, leading to tough cookies. The dough will be soft and pliable, perfect for this thumbprint cookies recipe.
Forming and Filling the Cookies
Step 4: Preheat your oven to 375°F (190°C). Line baking sheets with parchment paper or silicone baking mats. This prevents sticking and ensures even baking.
Step 5: Roll the dough into 1-inch balls. If you want perfectly uniform cookies, use a small cookie scoop or a measuring spoon. Place the balls about 2 inches apart on the prepared baking sheets.
Step 6: Using your thumb or the back of a small round measuring spoon, gently press an indentation into the center of each cookie dough ball. Be careful not to press all the way through to the baking sheet. If the edges crack, gently smooth them with your fingers.
Step 7: Fill each indentation with about ½ teaspoon of your chosen jam. Don’t overfill, as the jam can bubble up during baking. This is the fun part of making this thumbprint cookies recipe – seeing the vibrant colors come to life!
Baking and Cooling
Step 8: Bake for 10-12 minutes, or until the edges are lightly golden and the cookies are set. Keep a close eye on them, as ovens can vary. You want them just baked through, still soft in the center.
Step 9: Remove the cookies from the oven and let them cool on the baking sheets for about 5 minutes before transferring them to a wire rack to cool completely. The jam will be very hot, so handle with care. Once cool, these thumbprint cookies are ready to be devoured!
Variations & Serving Suggestions
This thumbprint cookies recipe is wonderfully versatile, offering a playground for your culinary imagination:
- Nutty Crunch: Before baking, roll the dough balls in finely chopped nuts like pecans, walnuts, or almonds for an added layer of flavor and texture. This gives a delightful crunch to your thumbprint cookies.
- Chocolate Lovers: Instead of jam, fill the cooled indentations with a dollop of melted chocolate or a small spoonful of chocolate ganache. A sprinkle of sea salt on top of the chocolate is a divine touch.
- Citrus Burst: Lemon curd makes an exquisite filling for a brighter, tarter thumbprint cookie. Consider adding a touch of lemon zest to the cookie dough itself for an extra zing.
- Spiced Dough: Enhance the cookie dough with a pinch of cinnamon, nutmeg, or cardamom for a warm, spiced twist, especially lovely for a holiday thumbprint cookies recipe. You might also enjoy my recipe for The Ultimate Chewy and Spiced Molasses Cookies Recipe!
- Caramel Delight: Fill the baked indentations with a store-bought caramel sauce or homemade dulce de leche for a rich, sweet treat.
Serve these thumbprint cookies with a warm cup of tea or coffee, or as a delightful addition to any dessert platter. They also make excellent gifts when stored in an airtight container. For long-term freshness, consider storing them in Basics Glass Food Storage containers.
Nutrition Information
| Nutrient | Amount Per Serving |
|---|---|
| Calories | 180 kcal |
| Carbohydrate Content | 25g |
| Cholesterol Content | 25mg |
| Fat Content | 9g |
| Fiber Content | 1g |
| Protein Content | 2g |
| Saturated Fat Content | 5g |
| Serving Size | 1 cookie |
| Sodium Content | 30mg |
| Sugar Content | 15g |
| Trans Fat Content | 0g |
| Unsaturated Fat Content | 4g |
Conclusion
Baking this thumbprint cookies recipe is more than just following steps; it’s about creating warmth, sharing joy, and making memories. Whether you’re a seasoned baker or just starting your culinary journey, these classic jam-filled treats are sure to bring smiles to faces and a sweet aroma to your home. I hope this thumbprint cookies recipe becomes a cherished tradition in your household, just as it has been in mine. Happy baking!
FAQs
How long do thumbprint cookies last and how should I store them?
Thumbprint cookies can be stored in an airtight container at room temperature for up to 5-7 days. To maintain freshness, keep them in a cool, dry place.
Can I use different fillings for this thumbprint cookies recipe?
Absolutely! While jam is traditional, you can get creative. Try lemon curd, chocolate ganache, caramel, or even a nut butter filling. Just ensure the filling is relatively thick so it doesn’t spread too much during or after baking.
Can I freeze thumbprint cookies?
Yes, you can! You can freeze the baked and cooled cookies (with or without jam) in an airtight container for up to 2-3 months. If freezing with jam, place parchment paper between layers to prevent sticking. Thaw at room temperature before serving. You can also freeze the unbaked dough balls and bake from frozen, adding a few extra minutes to the baking time.
Why are my thumbprint cookies spreading too much during baking?
Excessive spreading is often due to butter being too warm, insufficient flour, or overmixing the dough. Ensure your butter is at room temperature but not melted, measure your flour accurately (preferably by weight), and mix the dough only until combined. Chilling the dough for 30 minutes before rolling can also help prevent spreading for this thumbprint cookies recipe.
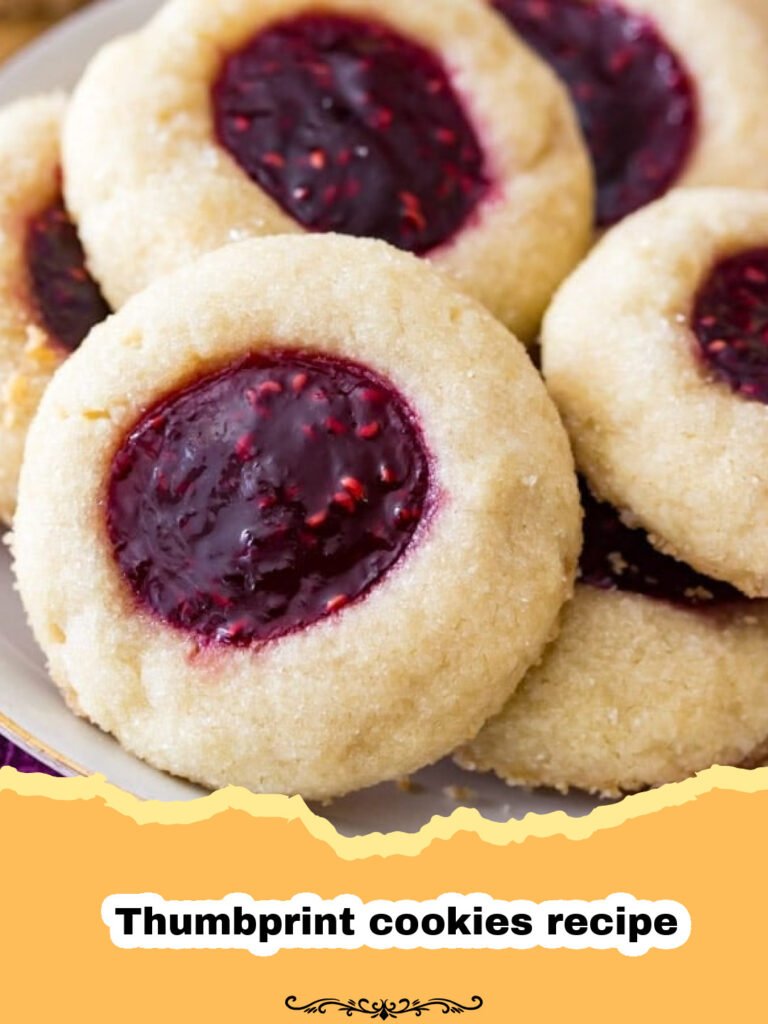
Classic Jam Thumbprint Cookies
This classic thumbprint cookies recipe yields a tender, buttery cookie with a vibrant jam center. Perfect for holidays, gifting, or a sweet treat any time, these cookies are easy to make and universally loved.
- Total Time: 32 minutes
- Yield: 36 cookies 1x
Ingredients
1 cup (2 sticks) unsalted butter, softened
¾ cup granulated sugar
1 large egg yolk
1 teaspoon vanilla extract
2 cups all-purpose flour
¼ teaspoon salt
½ cup good quality jam (raspberry, apricot, or strawberry preferred)
Instructions
Step 1: In a large mixing bowl, cream together the softened unsalted butter and granulated sugar on medium speed until light and fluffy, about 2-3 minutes.
Step 2: Beat in the egg yolk and vanilla extract until well combined, scraping down the sides of the bowl as needed.
Step 3: In a separate small bowl, whisk together the all-purpose flour and salt. Gradually add the dry ingredients to the wet, mixing on low speed until just combined. Do not overmix.
Step 4: Preheat your oven to 375°F (190°C). Line baking sheets with parchment paper or silicone baking mats.
Step 5: Roll the dough into 1-inch balls and place them about 2 inches apart on the prepared baking sheets.
Step 6: Using your thumb or the back of a small round measuring spoon, gently press an indentation into the center of each cookie dough ball.
Step 7: Fill each indentation with about ½ teaspoon of your chosen jam.
Step 8: Bake for 10-12 minutes, or until the edges are lightly golden and the cookies are set.
Step 9: Remove from the oven and let cool on the baking sheets for 5 minutes before transferring to a wire rack to cool completely. The jam will be very hot.
Notes
For best results, ensure butter is at room temperature and do not overmix the dough. Experiment with different jam flavors for a variety of treats!
- Prep Time: 20 minutes
- Cook Time: 12 minutes
- Category: Dessert
- Cuisine: American
Nutrition
- Serving Size: 1 cookie
- Calories: 180 kcal
- Sugar: 15g
- Sodium: 30mg
- Fat: 9g
- Saturated Fat: 5g
- Unsaturated Fat: 4g
- Trans Fat: 0g
- Carbohydrates: 25g
- Fiber: 1g
- Protein: 2g
- Cholesterol: 25mg
Keywords: thumbprint cookies, jam cookies, christmas cookies, holiday baking, easy cookie recipe, classic cookies