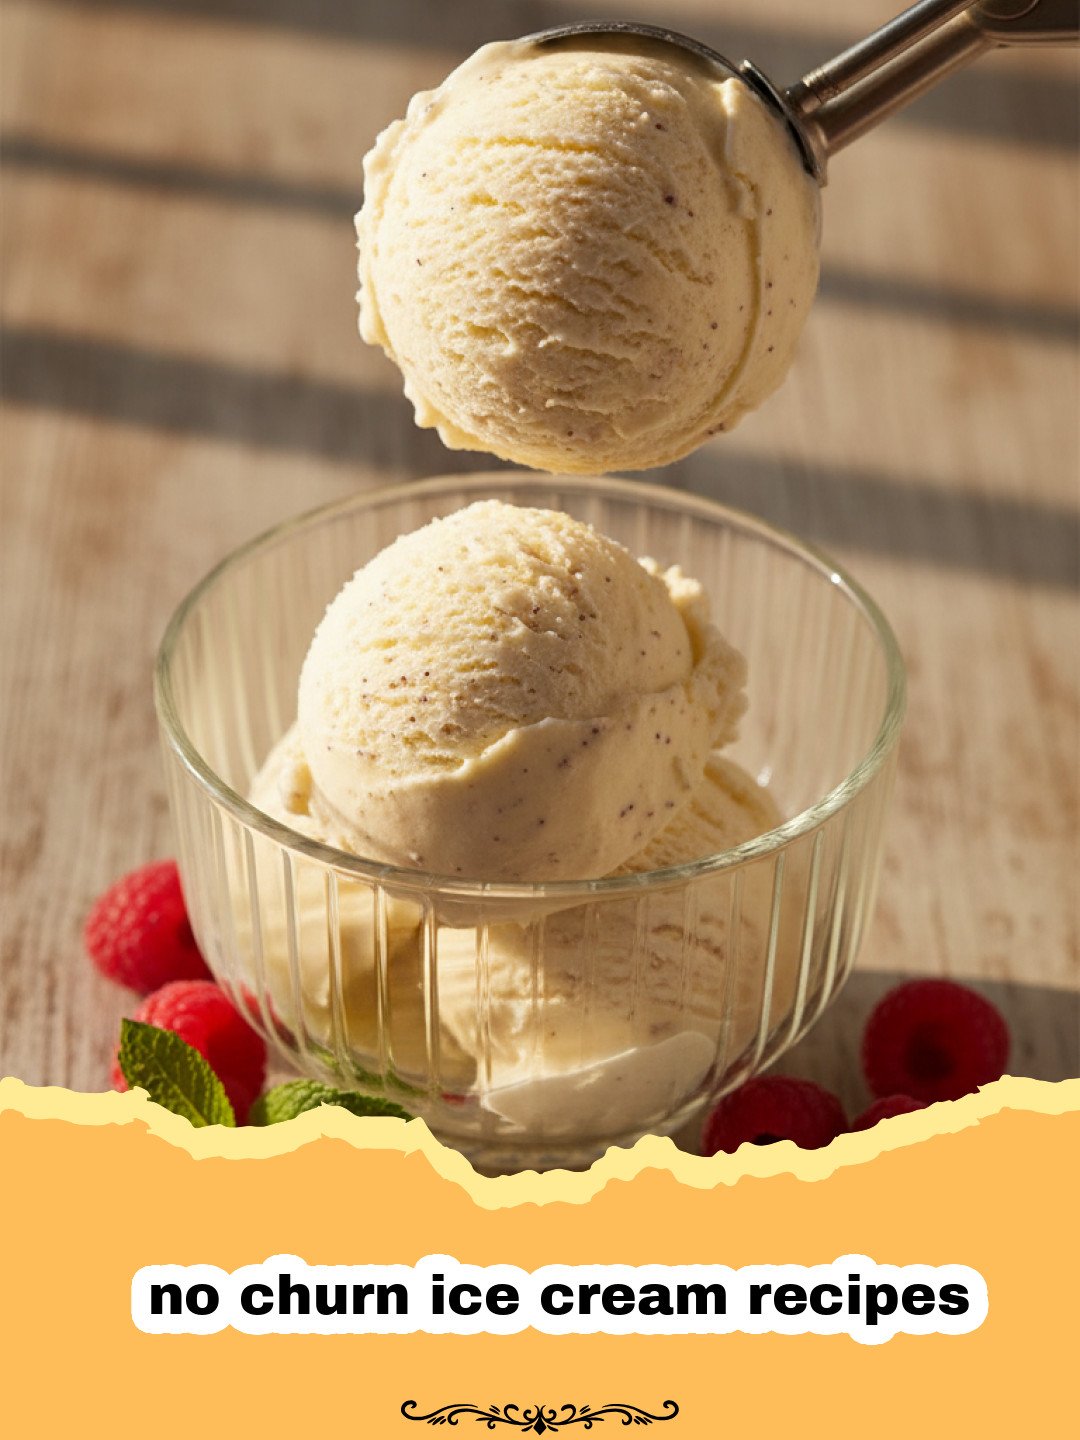
My earliest summer memories are drenched in the golden glow of late afternoon sun, the distant jingle of an ice cream truck, and the excited scramble to be the first one to hand over coins for a treat. Growing up, an ice cream maker felt like a luxury, a gadget reserved for serious dessert enthusiasts or those with ample kitchen space. For years, I just assumed homemade ice cream was beyond my reach, a culinary Everest I wasn’t equipped to climb. That all changed one sweltering August afternoon when a friend introduced me to the magic of no churn ice cream recipes. It was a revelation! The idea that I could whip up creamy, dreamy ice cream with just a few simple ingredients and no fancy machine felt like discovering a secret superpower. Suddenly, the limitations I’d placed on my dessert ambitions melted away faster than a scoop of vanilla on a hot day. This method transformed my summer entertaining and weeknight dessert game forever. If you, like me, once thought an ice cream maker was essential, prepare to have your mind (and taste buds) blown by these incredible no churn ice cream recipes.
Why These No-Churn Ice Cream Recipes Are a Must-Try
No Special Equipment Required: Forget bulky ice cream makers! These no churn ice cream recipes only require a hand mixer or stand mixer and a freezer-safe container. It’s perfect for small kitchens or those just starting their culinary journey.
Effortlessly Easy & Quick Prep: With minimal ingredients and straightforward steps, you can have a batch of delicious, homemade ice cream prepped and in the freezer in under 15 minutes. It’s truly one of the simplest no churn ice cream recipes you’ll ever make.

Endless Flavor Customization: This basic recipe is a blank canvas. From rich chocolate to vibrant fruit swirls, coffee, nuts, or even cookie dough, the possibilities for creating unique no churn ice cream recipes are limited only by your imagination. Get creative and make your signature flavor!
Unbelievably Creamy Texture: Despite the lack of churning, the combination of heavy cream and sweetened condensed milk results in an incredibly smooth, rich, and scoopable texture that rivals traditional ice cream. You won’t believe it’s homemade and made without a machine.
Key Ingredient Notes for Perfect No-Churn Ice Cream Recipes
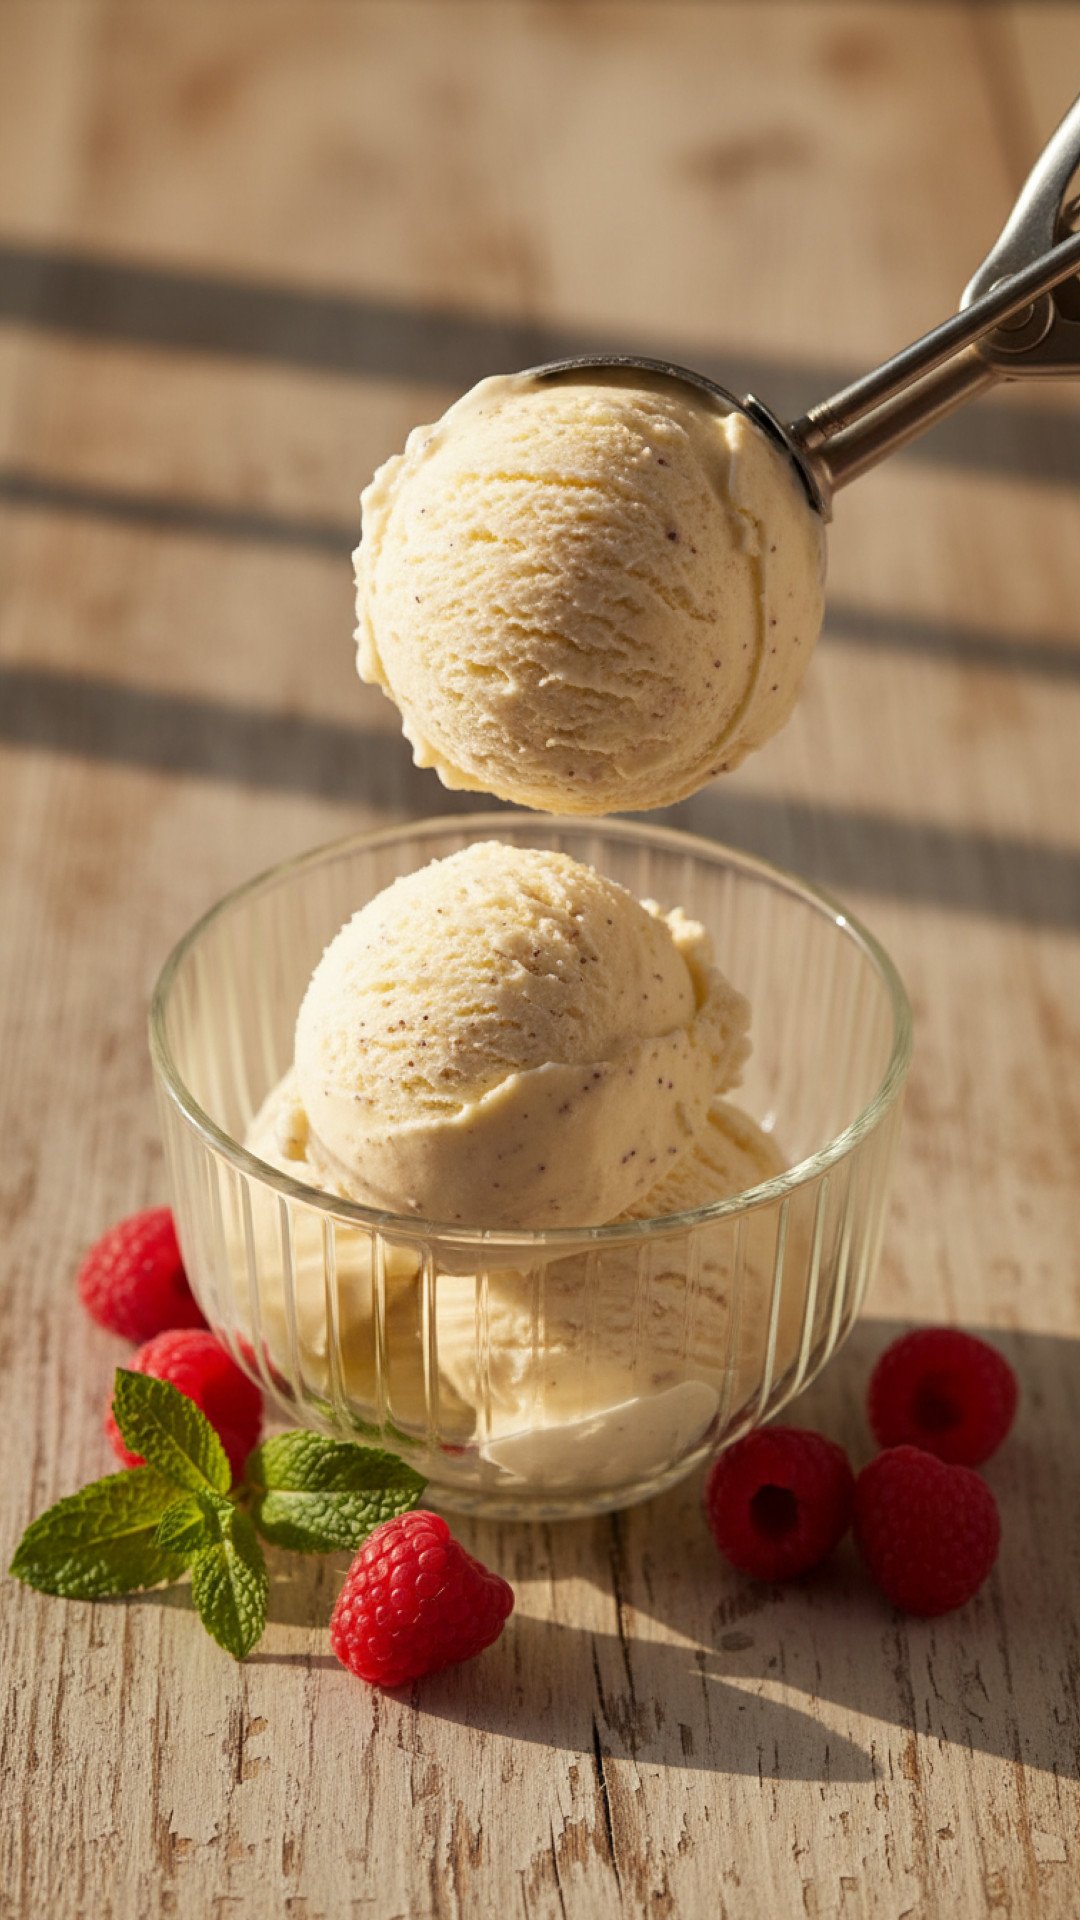
While the beauty of no churn ice cream recipes lies in their simplicity, understanding the role of a few key ingredients will elevate your homemade treat from good to absolutely divine. These components are non-negotiable for achieving that luxurious, creamy texture without an ice cream maker.
Heavy Cream (or Heavy Whipping Cream): This is the backbone of your no-churn ice cream. For the best results, use heavy cream with at least 36% milk fat. When whipped, it incorporates air, creating a light, airy base that prevents ice crystals from forming and gives the ice cream its signature creamy texture. Ensure your cream is very cold before whipping – this helps it whip up faster and hold its volume better. Do not substitute with half-and-half or light cream, as they lack the fat content needed for this process.
Sweetened Condensed Milk: This magical ingredient serves a dual purpose in no churn ice cream recipes. Firstly, it provides the necessary sweetness without adding extra liquid that could turn icy. Secondly, its high sugar content and viscosity lower the freezing point of the mixture, contributing significantly to that smooth, scoopable texture. Make sure you’re using sweetened condensed milk, not evaporated milk, as they are very different products.
Vanilla Extract: While often seen as just a flavor enhancer, a good quality vanilla extract is crucial for rounding out the flavors in many no churn ice cream recipes. It adds a depth and warmth that makes the ice cream taste truly homemade. Don’t skimp on this one; a pure vanilla extract makes a noticeable difference. For an extra special touch, consider using vanilla bean paste.
Step-by-Step Guide to the Best No-Churn Ice Cream Recipes with Pro Tips
Making your own ice cream without an ice cream maker might sound like a dream, but with these no churn ice cream recipes, it’s an easy reality. Follow these steps for perfectly creamy results every time. Remember, the key is gentle handling once the cream is whipped!
Step 1: Chill your mixing bowl and whisk attachment (if using a stand mixer) or beaters (if using a hand mixer) in the freezer for 10-15 minutes. This helps the heavy cream whip up faster and achieve maximum volume.
Step 2: In the chilled bowl, pour the very cold heavy cream. Begin whipping on medium-low speed, gradually increasing to medium-high. Whip until stiff peaks form. This means when you lift the whisk, the peaks hold their shape firmly. Be careful not to over-whip, or it will become grainy.
Step 3: In a separate large bowl, combine the sweetened condensed milk and vanilla extract (and any other liquid flavorings like almond extract or a dash of coffee liqueur). Stir until well combined. This is where your base flavor begins.
Step 4: Gently fold about one-third of the whipped cream into the sweetened condensed milk mixture. This lightens the condensed milk base, making it easier to incorporate the rest of the cream without deflating it.
Step 5: Add the remaining whipped cream to the sweetened condensed milk mixture. Using a spatula, gently fold until just combined. Over-mixing will deflate the cream, leading to a less airy and icy ice cream. The goal is to retain as much air as possible.
Step 6: At this stage, fold in any desired add-ins like chocolate chips, chopped nuts, fruit purées, cookie crumbles, or swirls of caramel/fudge. Again, fold gently to distribute them evenly without overworking the mixture. This is the fun part of creating custom no churn ice cream recipes!
Step 7: Transfer the ice cream mixture into a freezer-safe container. A loaf pan, a large plastic container, or even an old ice cream tub works perfectly. For best results, use a container that minimizes air exposure. I often use Basics Glass Food Storage containers for freezing leftovers and desserts, and they work great for this too.
Step 8: Cover the container tightly with plastic wrap, pressing the wrap directly onto the surface of the ice cream to prevent ice crystals from forming. Then, secure the lid. Freeze for at least 6 hours, or preferably overnight, until firm.
Step 9: When ready to serve, let the ice cream sit at room temperature for 5-10 minutes to soften slightly for easier scooping. Enjoy your homemade, machine-free treat!
Creative Variations & Serving Suggestions for Your No-Churn Ice Cream Recipes
The beauty of these no churn ice cream recipes truly shines in their versatility. Once you’ve mastered the basic technique, the world of flavors opens up. Here are some of my favorite ways to get creative and elevate your homemade ice cream experience:
Flavor Variations:
Chocolate Lover’s Dream: For a rich chocolate ice cream, fold in 1/2 cup unsweetened cocoa powder along with the sweetened condensed milk. For extra decadence, stir in 1 cup of mini chocolate chips or a swirl of chocolate fudge sauce at the end.
Fruity & Fresh: Purée 1 cup of fresh or frozen (thawed) berries (strawberries, raspberries, blueberries) or mango. Gently swirl this purée into the ice cream base during Step 6. You can also add some finely chopped fruit for texture. For another fruity treat, consider trying our homemade blackberry jam as a swirl!
Coffee Kick: Dissolve 2 tablespoons of instant espresso powder or instant coffee in 2 tablespoons of hot water, then let it cool completely. Mix this into the sweetened condensed milk mixture for a delightful coffee-flavored ice cream.
Nutty Indulgence: Fold in 1/2 cup of chopped toasted nuts (pecans, walnuts, almonds) and a drizzle of caramel or butterscotch sauce for a delightful crunch and sweetness.
Cookie & Candy Swirls: Crush your favorite cookies (Oreos, graham crackers, chocolate chip cookies) or candy bars and fold them into the base. For an extra classic touch, consider making some classic Rice Krispie treats and crumbling them in for a unique texture!
Mint Chocolate Chip: Add 1 teaspoon of peppermint extract along with the vanilla, and fold in 3/4 cup of mini chocolate chips.
Serving Suggestions:
Classic Scoop: Sometimes, simplicity is best. Serve a generous scoop (or two!) in a bowl or cone, letting the creamy texture and pure flavor shine.
Sundae Bar: Set up a DIY sundae bar with various toppings: hot fudge, caramel sauce, sprinkles, whipped cream, chopped nuts, fresh fruit, and cherries. Let everyone customize their own creation.
Affogato: Pour a shot of hot espresso over a scoop of vanilla or coffee-flavored no-churn ice cream for a sophisticated dessert.
Dessert Sandwich: Sandwich a scoop of your favorite no-churn flavor between two cookies (chocolate chip, oatmeal, or even shortbread) for a delightful handheld treat.
Pie a la Mode: A warm slice of apple pie or chocolate cake is always better with a cold scoop of homemade no-churn ice cream melting over it.
Don’t be afraid to experiment with these no churn ice cream recipes. They are designed to be forgiving and fun, allowing you to create personalized frozen delights for any occasion.
Nutrition Information
| Nutrient | Amount Per Serving |
|---|---|
| Calories | 310 kcal |
| Carbohydrates | 28g |
| Cholesterol | 85mg |
| Total Fat | 22g |
| Fiber | 0g |
| Protein | 4g |
| Saturated Fat | 14g |
| Serving Size | 1/2 cup |
| Sodium | 60mg |
| Sugar | 26g |
| Trans Fat | 1g |
| Unsaturated Fat | 7g |
*Approximate values based on a standard vanilla no-churn ice cream recipe. Nutritional content will vary based on specific ingredients, brand choices, and any added mix-ins or variations.
Conclusion
And there you have it! The secret to incredibly creamy, homemade ice cream, no fancy machine required. These no churn ice cream recipes are a game-changer, proving that delicious desserts don’t have to be complicated or intimidating. From the simple joy of whipping up a batch on a whim to experimenting with endless flavor combinations, this method opens up a whole new world of frozen treats for the home cook. Whether you’re making a classic vanilla, a decadent chocolate, or a fruity swirl, you’ll be amazed at the rich texture and vibrant taste you can achieve. So next time that ice cream craving hits, skip the store and dive into the delightful simplicity of no churn ice cream recipes. Your taste buds (and your inner child) will thank you!
FAQs
What is no-churn ice cream?
No-churn ice cream is a type of homemade ice cream that does not require an ice cream maker. It typically uses a base of whipped heavy cream and sweetened condensed milk, which, when combined, create a creamy, scoopable texture once frozen, mimicking traditional ice cream without the need for churning.
Why is my no-churn ice cream icy?
Icy no-churn ice cream usually happens if the heavy cream wasn’t whipped to stiff peaks, or if the mixture was over-mixed after combining the whipped cream and condensed milk. Both actions can deflate the air, which is essential for preventing ice crystal formation. Also, ensure your container is tightly sealed to prevent moisture from entering.
Can I make no-churn ice cream with regular milk instead of heavy cream?
No, regular milk or light cream cannot be substituted for heavy cream in no-churn ice cream recipes. Heavy cream’s high fat content (at least 36%) is crucial for whipping into stiff peaks and providing the rich, creamy texture that prevents ice crystals from forming. Lower-fat dairy products will result in an icy and unappetizing dessert.
How long does homemade no-churn ice cream last in the freezer?
When stored properly in an airtight, freezer-safe container with plastic wrap pressed directly onto the surface to prevent freezer burn, homemade no-churn ice cream can last for up to 2-3 weeks in the freezer. While it might still be safe to eat after this, its texture and flavor quality may begin to decline.
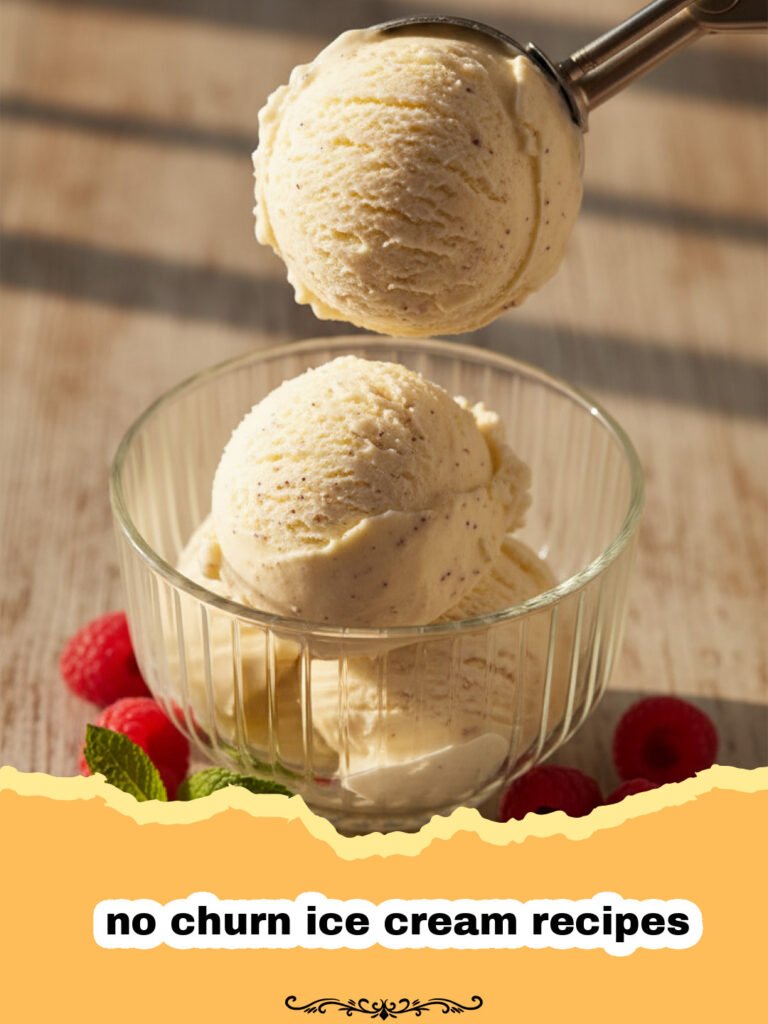
Classic Vanilla No-Churn Ice Cream
Discover how to make incredibly easy and creamy vanilla no-churn ice cream at home with just a few simple ingredients and no ice cream maker. Perfect for customizing with your favorite flavors!
- Total Time: 6 hours 15 minutes
- Yield: 1.5 quarts (approx. 6 servings) 1x
Ingredients
2 cups (480ml) cold heavy cream (at least 36% milk fat)
1 (14-ounce/397g) can sweetened condensed milk
1 teaspoon pure vanilla extract
Optional: pinch of salt
Instructions
Step 1: Chill your mixing bowl and whisk attachment (if using a stand mixer) or beaters (if using a hand mixer) in the freezer for 10-15 minutes. This helps the heavy cream whip up faster and achieve maximum volume.
Step 2: In the chilled bowl, pour the very cold heavy cream. Begin whipping on medium-low speed, gradually increasing to medium-high. Whip until stiff peaks form. This means when you lift the whisk, the peaks hold their shape firmly. Be careful not to over-whip, or it will become grainy.
Step 3: In a separate large bowl, combine the sweetened condensed milk and vanilla extract (and any other liquid flavorings like almond extract or a dash of coffee liqueur). Stir until well combined. This is where your base flavor begins.
Step 4: Gently fold about one-third of the whipped cream into the sweetened condensed milk mixture. This lightens the condensed milk base, making it easier to incorporate the rest of the cream without deflating it.
Step 5: Add the remaining whipped cream to the sweetened condensed milk mixture. Using a spatula, gently fold until just combined. Over-mixing will deflate the cream, leading to a less airy and icy ice cream. The goal is to retain as much air as possible.
Step 6: At this stage, fold in any desired add-ins like chocolate chips, chopped nuts, fruit purées, cookie crumbles, or swirls of caramel/fudge. Again, fold gently to distribute them evenly without overworking the mixture.
Step 7: Transfer the ice cream mixture into a freezer-safe container. Cover tightly with plastic wrap, pressing the wrap directly onto the surface of the ice cream to prevent ice crystals from forming. Then, secure the lid.
Step 8: Freeze for at least 6 hours, or preferably overnight, until firm.
Step 9: When ready to serve, let the ice cream sit at room temperature for 5-10 minutes to soften slightly for easier scooping. Enjoy your homemade, machine-free treat!
Notes
For best results, ensure your heavy cream is very cold before whipping. Do not overmix the whipped cream into the condensed milk mixture to maintain aeration and creaminess. Experiment with different mix-ins and flavorings after Step 6.
- Prep Time: 15 minutes
- Cook Time: 0 minutes
- Category: How To
- Cuisine: American
Nutrition
- Serving Size: 1/2 cup
- Calories: 310 kcal
- Sugar: 26g
- Sodium: 60mg
- Fat: 22g
- Saturated Fat: 14g
- Unsaturated Fat: 7g
- Trans Fat: 1g
- Carbohydrates: 28g
- Fiber: 0g
- Protein: 4g
- Cholesterol: 85mg
Keywords: no churn ice cream, homemade ice cream, easy ice cream, vanilla ice cream, dessert without machine, simple dessert, ice cream recipe, no churn vanilla