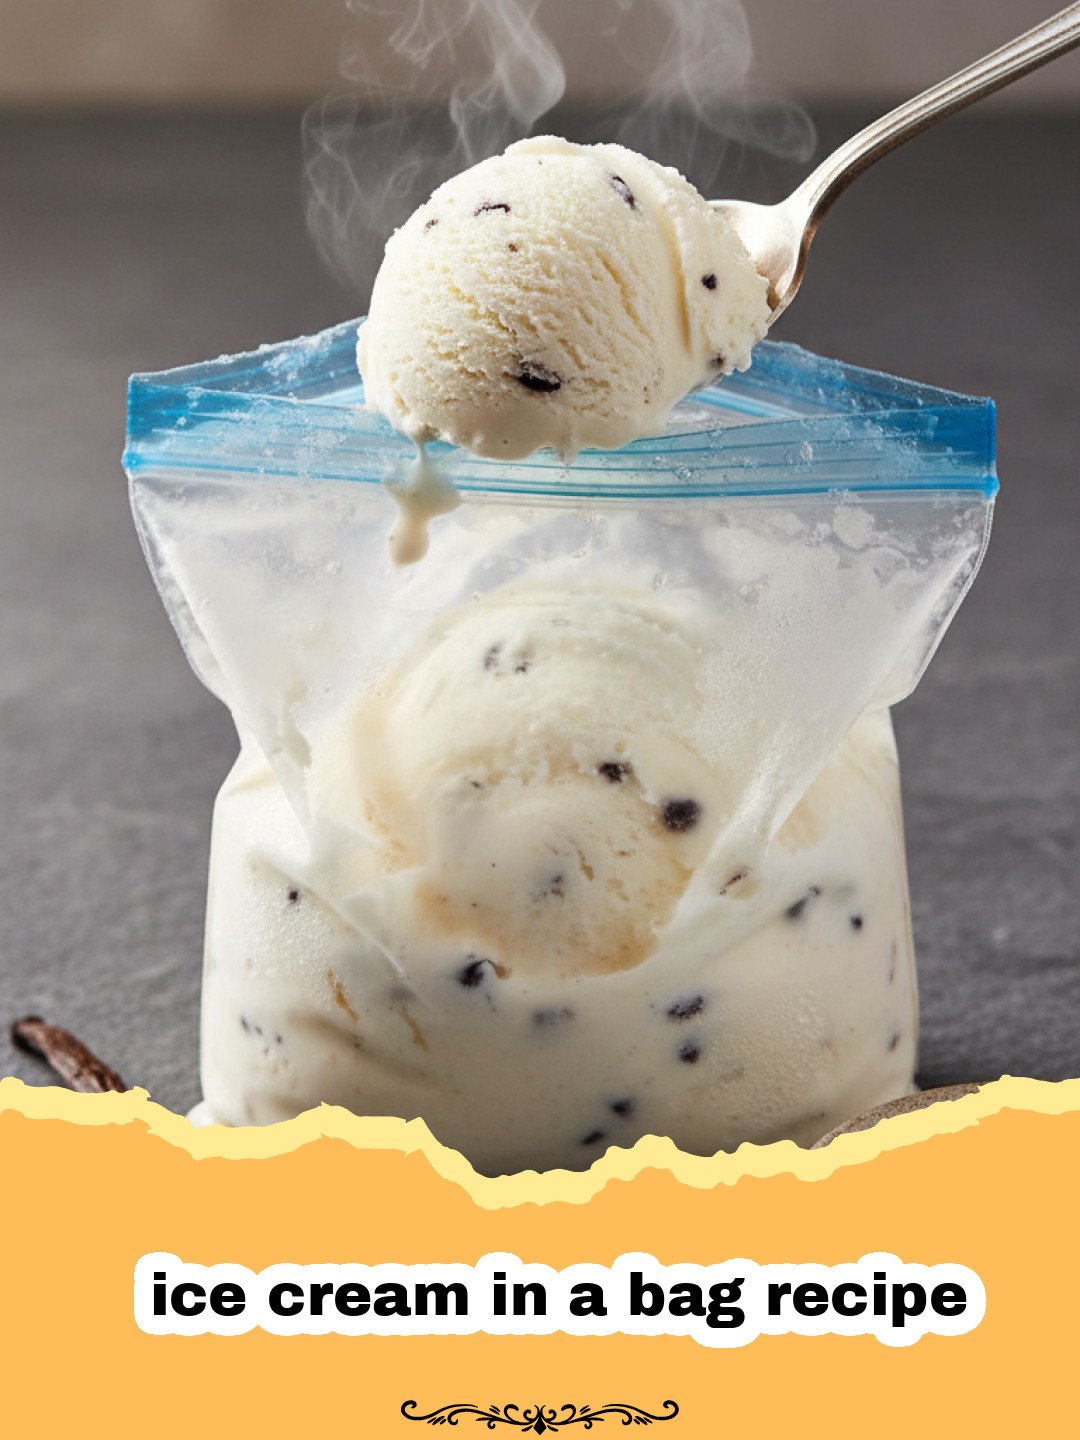
I will never forget the first time I discovered how easy an ice cream in a bag recipe could be during a sweltering July afternoon in my grandmother’s backyard. We were looking for a way to stay cool, and she pulled out two boxes of salt and some heavy cream with a mischievous glint in her eye. At the time, I couldn’t fathom how shaking a plastic bag could result in anything edible, let alone the creamiest vanilla ice cream I had ever tasted. That day, we sat on the porch, hands chilled and hearts warm, as we transformed simple pantry staples into a frozen masterpiece. This ice cream in a bag recipe isn’t just about the food; it is about the tactile joy of creating something from scratch without the need for fancy machinery. It is a science experiment you can eat, a physical activity that burns off energy before the sugar rush, and a guaranteed way to make memories that last a lifetime. Whether you are a parent looking for a rainy-day activity or a dessert lover craving a quick fix, this method is a game-changer.
Why This Recipe is a Must-Try
- Instant Gratification: While traditional churned ice cream takes hours to freeze, this ice cream in a bag recipe yields a delicious treat in less than 10 minutes of active shaking.
- No Special Equipment Required: Forget the expensive electric makers; all you need are standard zip-top bags and a little bit of muscle.
- Educational Fun: This is a fantastic way to teach children about the freezing point of water and how salt lowers it, making this ice cream in a bag recipe a perfect homeschooling or summer camp activity.
- Complete Customization: Once you master the base, you can adjust the sweetness and mix-ins to suit your specific cravings every single time.
Key Ingredient Notes
The success of any ice cream in a bag recipe hinges on the quality and type of ingredients you choose. First and foremost, the fat content of your dairy is crucial. I highly recommend using half-and-half or a mixture of heavy cream and whole milk. The higher the fat content, the creamier and less ‘icy’ your final product will be. If you try to use skim milk, you will likely end up with a texture more similar to ice milk or a slushy. Secondly, the type of salt used in the outer bag is vital. While table salt technically works, coarse rock salt or kosher salt is much more effective. Rock salt is specifically designed to melt ice quickly, which creates a super-cooled brine that freezes your cream mixture in record time. Finally, don’t skimp on the vanilla extract. Since the ingredients are so simple, a high-quality pure vanilla bean paste or extract will really shine through. If you are looking for more frozen delights to pair with your creations, you might also enjoy these Sunshine Berry Yogurt Popsicles for a fruitier alternative.
Step-by-Step Guide with Pro Tips
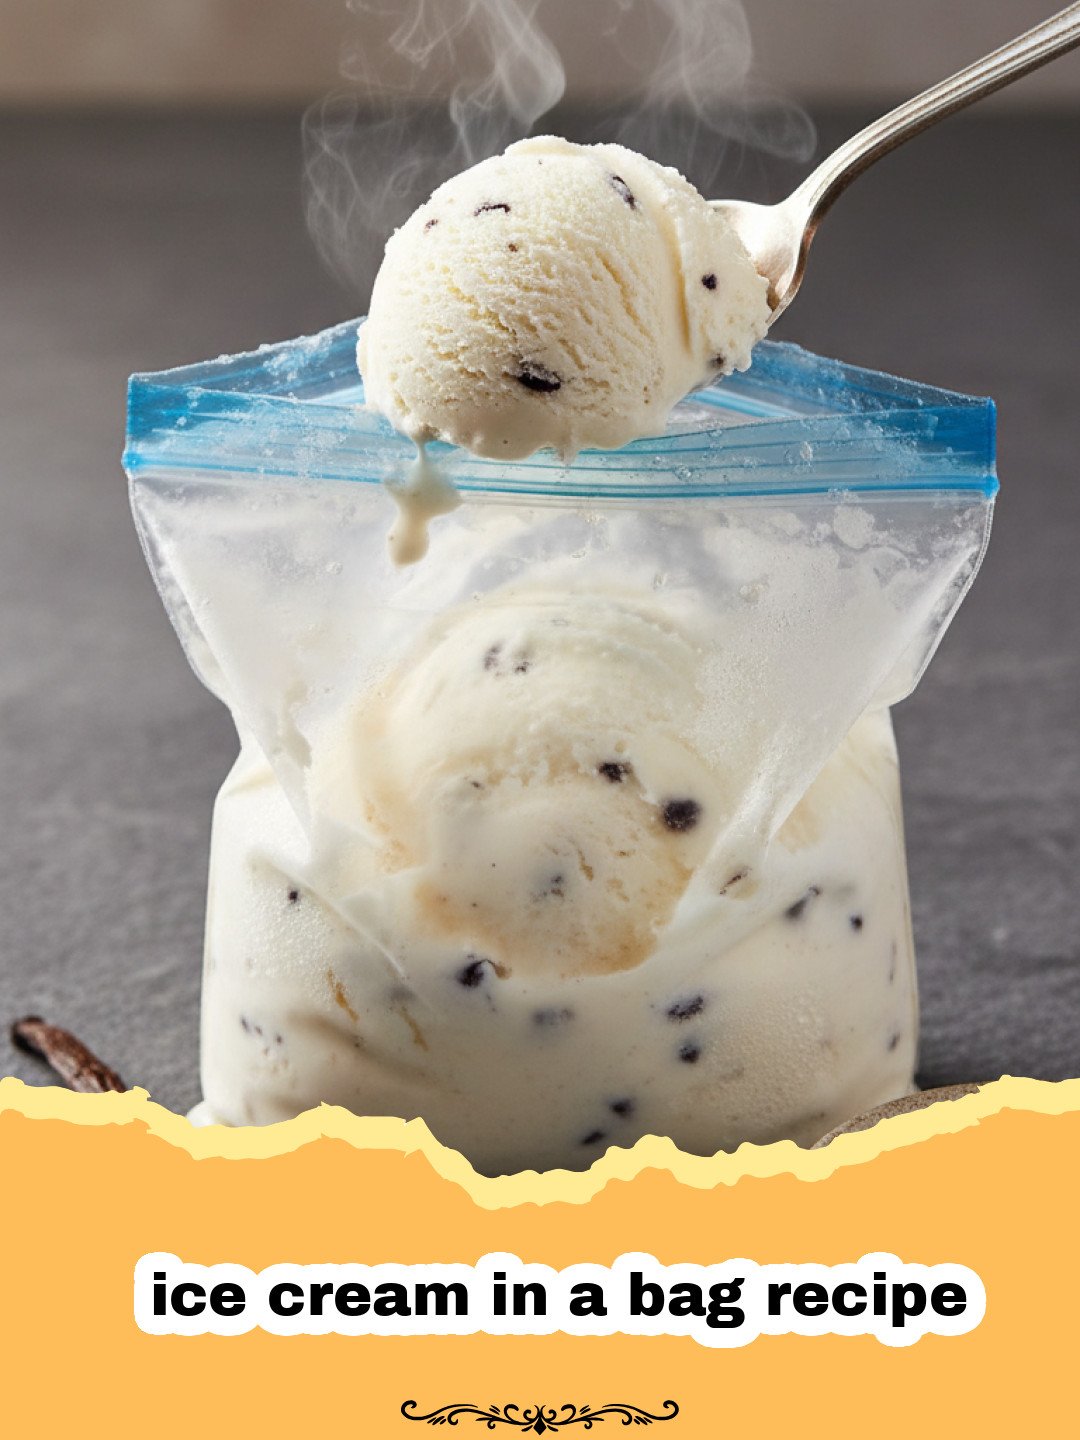
Starting your ice cream in a bag recipe is incredibly straightforward, but there are a few professional tips that ensure success every time. Begin by mixing your cream, sugar, and vanilla in a small, high-quality quart-sized freezer bag. It is essential to squeeze out as much air as possible before sealing to prevent the bag from popping during the shaking process. I always recommend double-bagging the liquid mixture just in case the seal fails; nobody wants salty ice cream! Once your small bag is secure, place it inside a gallon-sized bag filled halfway with ice and a generous half-cup of salt. Now comes the fun part: the shaking. You will need to shake the bag vigorously for 5 to 10 minutes. Pro Tip: The bag gets extremely cold—often well below freezing—so I suggest wearing oven mitts or wrapping the bag in a thick kitchen towel to protect your hands. If you find the ice cream is still too soft after 10 minutes, add more salt and a bit more ice and keep going. The friction and the salt-ice reaction are what do the heavy lifting here. To store any leftovers (though there rarely are any!), I recommend using Basics Glass Food Storage to keep it fresh in the freezer.
Variations & Serving Suggestions
One of the best things about this ice cream in a bag recipe is how easily it adapts to different flavors. For a chocolate version, simply whisk a tablespoon of high-quality cocoa powder into your liquid base before freezing. If you prefer a fruity twist, add finely mashed strawberries or raspberries to the bag. For the ultimate indulgence, consider adding ‘mix-ins’ during the final minute of shaking, such as mini chocolate chips, crushed sandwich cookies, or a swirl of caramel sauce. If you want to keep the meal theme going, pair this homemade dessert with a refreshing homemade strawberry lemonade for the ultimate summer picnic experience. You can also serve your ice cream in a bag recipe creation inside a hollowed-out fruit shell or atop a warm brownie for a restaurant-style presentation. For those with dietary restrictions, you can substitute the half-and-half with full-fat coconut milk for a rich, vegan-friendly alternative that still maintains that iconic creamy texture.
Nutrition Information
Understanding the nutritional profile of your homemade treats is always helpful. This ice cream in a bag recipe provides a balanced indulgence that is far better than many processed store-bought options because you control the sugar levels and the quality of the fats. Below is a breakdown of the typical nutritional values for a single serving of this delicious treat.
| Nutrient | Amount |
|---|---|
| Calories | 280 kcal |
| Total Fat | 18g |
| Saturated Fat | 11g |
| Cholesterol | 55mg |
| Sodium | 45mg |
| Total Carbohydrates | 24g |
| Dietary Fiber | 0g |
| Sugars | 22g |
| Protein | 4g |
Conclusion
Making an ice cream in a bag recipe is a timeless tradition that brings out the inner child in everyone. It is a reminder that the best things in life are often the simplest, requiring nothing more than basic ingredients and a bit of effort. I hope this guide inspires you to grab some bags, head to the kitchen, and start shaking up some joy. Whether you enjoy it straight from the bag or in a fancy bowl, the satisfaction of eating ice cream you made yourself in minutes is unparalleled. Don’t forget to share your favorite mix-ins with your friends and family!
FAQs
Can I use regular table salt for this ice cream in a bag recipe?
While table salt will technically work, it is much less efficient than rock salt or kosher salt. Larger salt crystals melt the ice more effectively to create the super-cold environment needed to freeze the cream quickly.
How long do I need to shake the bag?
Typically, it takes between 5 to 10 minutes of constant, vigorous shaking for the liquid to solidify into a creamy ice cream consistency.
Can I make this ice cream in a bag recipe dairy-free?
Yes! You can substitute the half-and-half with full-fat coconut milk or a high-fat oat milk. Avoid thin milks like almond milk as they will result in an icy texture.
Why is my ice cream still liquid after shaking?
This usually happens if there isn’t enough salt or if the ice has melted too much. Add more ice and a fresh handful of salt, then continue shaking for another few minutes.
10-Minute Ice Cream in a Bag
A fast, fun, and delicious ice cream in a bag recipe that uses simple ingredients and a bit of science to create a creamy treat in minutes.
- Total Time: 15 minutes
- Yield: 1 serving 1x
Ingredients
1 cup half-and-half (or 1/2 cup milk + 1/2 cup heavy cream)
2 tablespoons granulated sugar
1/2 teaspoon pure vanilla extract
3 cups ice
1/3 cup kosher salt or rock salt
Optional mix-ins: chocolate chips, sprinkles, or crushed cookies
Instructions
Step 1: In a small quart-sized zip-top freezer bag, combine the half-and-half, sugar, and vanilla extract. Squeeze out as much air as possible and seal the bag tightly.
Step 2: Place the sealed small bag into a second quart-sized bag to ensure no leaks occur during the shaking process.
Step 3: In a large gallon-sized zip-top bag, add the ice and the salt. The salt is what lowers the freezing point of the ice, allowing the cream to harden.
Step 4: Place the double-bagged cream mixture into the large gallon bag with the ice and salt. Seal the large bag securely.
Step 5: Shake the bag vigorously for 5 to 10 minutes. Use a towel or gloves to protect your hands from the extreme cold. Check the consistency after 5 minutes; it should be firm and scoopable.
Step 6: Carefully remove the small bag, wipe away any salt from the outside of the seal, and enjoy your ice cream in a bag recipe creation directly from the bag or in a bowl.
Notes
Make sure to use freezer-grade bags as they are thicker and less likely to rip during the shaking process.
- Prep Time: 5 minutes
- Cook Time: 10 minutes
- Category: Cooking Hacks & Techniques
- Cuisine: American
Nutrition
- Serving Size: 1 bowl
- Calories: 280
- Sugar: 22g
- Sodium: 45mg
- Fat: 18g
- Saturated Fat: 11g
- Unsaturated Fat: 7g
- Trans Fat: 0g
- Carbohydrates: 24g
- Fiber: 0g
- Protein: 4g
- Cholesterol: 55mg
Keywords: ice cream in a bag recipe, homemade ice cream, easy kids recipes, 10 minute dessert, science experiment food