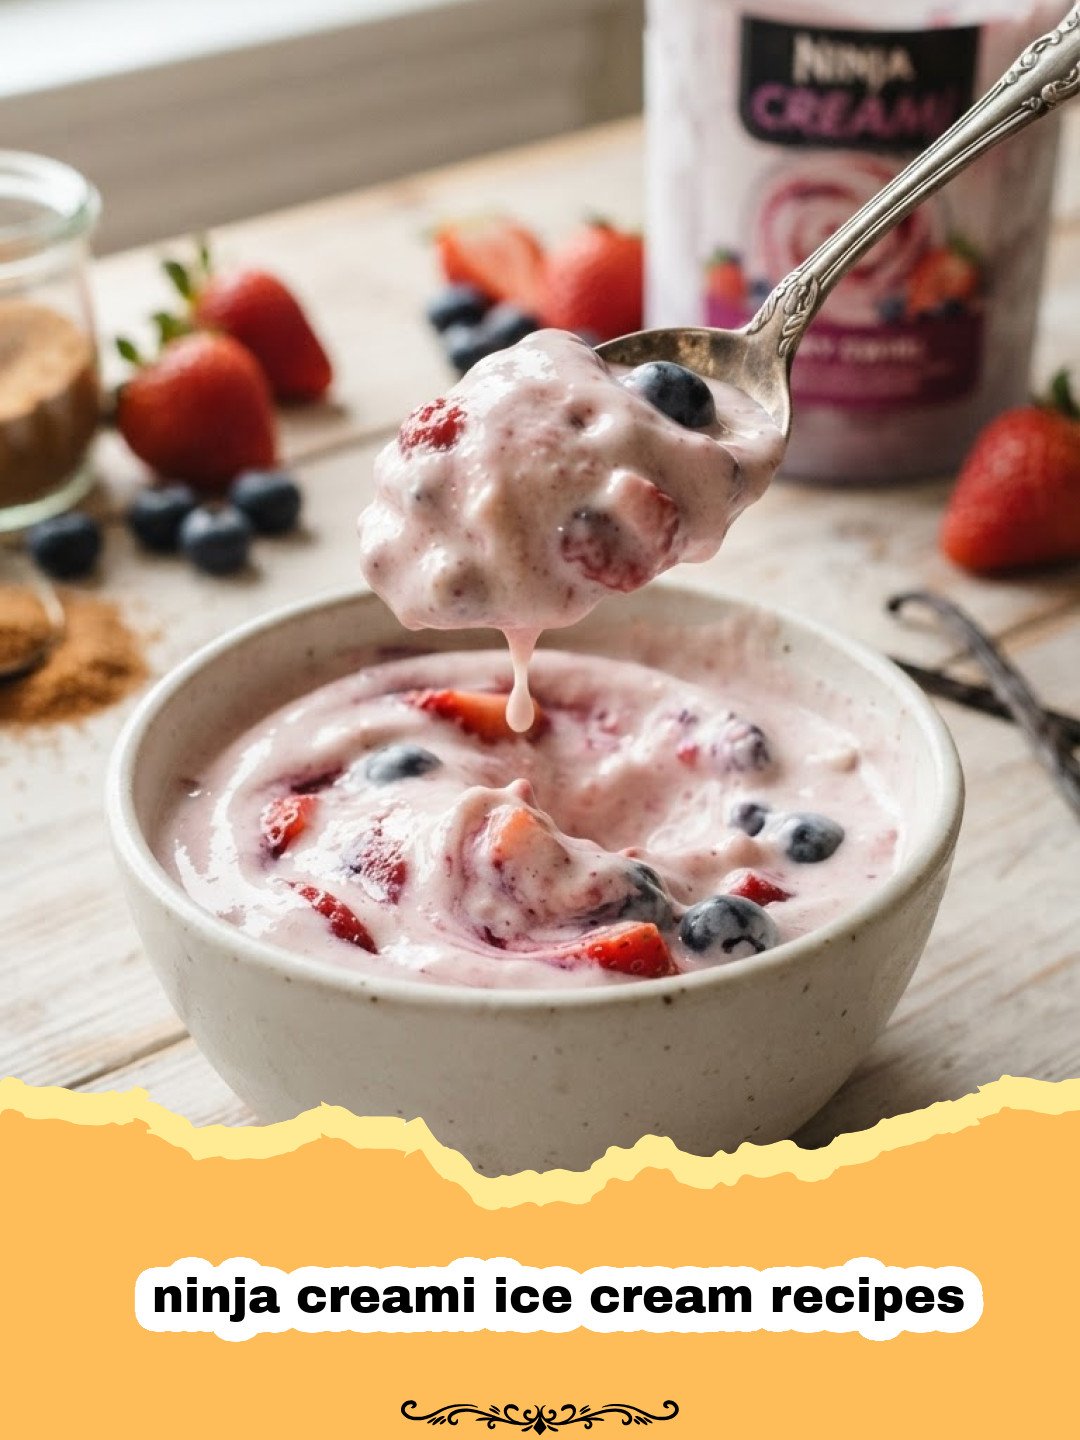
Ah, the sweet hum of summer evenings, the gentle clinking of spoons against cold bowls, and the pure joy of a perfect scoop of ice cream. For years, I chased that elusive, perfectly creamy texture in my homemade frozen treats. Blenders left me with icy shards, and traditional ice cream makers required tedious churning and often produced results that were just… fine. Then, a few years ago, a new kitchen gadget entered my life – the Ninja Creami. It felt like a game-changer, promising velvety smooth ice cream from virtually any base. Initially, I was skeptical. Could it really transform frozen blocks of fruit and liquid into something rivaling my favorite gelato? The answer, I quickly discovered, was a resounding yes! My first attempt at a simple vanilla base, following one of the many promising ninja creami ice cream recipes I found online, was a revelation. It wasn’t just good; it was *perfect*. Creamy, rich, and utterly devoid of ice crystals. It tasted like something from a high-end dessert parlor, but it was made in my own kitchen, with ingredients I controlled. This little machine has since become a cornerstone of my healthy eating journey and a constant source of delicious experimentation. From guilt-free sorbets to decadent protein ice creams, the possibilities seem endless. My family now expects a creamy treat almost daily, and honestly, who can blame them when these ninja creami ice cream recipes are so effortlessly delicious? It’s more than just a dessert maker; it’s a creative outlet, a way to use up ripe fruit, and a healthy snack solution all rolled into one. If you’ve been on the fence about getting one, or if yours is gathering dust, prepare to be inspired. This guide will walk you through the magic of creating your own perfect ninja creami ice cream recipes, ensuring every scoop is a dream come true.
Why This Recipe is a Must-Try
- Unrivaled Creaminess: Unlike traditional blenders or food processors, the Ninja Creami’s unique blade system shaves through frozen blocks, producing an incredibly smooth and luxurious texture, free from icy bits. It truly mimics store-bought premium ice cream and makes mastering ninja creami ice cream recipes a breeze.
- Healthy & Customizable: With these ninja creami ice cream recipes, you are in complete control of your ingredients. You can easily make dairy-free, sugar-free, or high-protein versions to fit any dietary need or preference. It’s fantastic for managing allergies or just enjoying a treat without guilt.
- Effortlessly Easy & Quick: The prep work is minimal – just blend your base and freeze. The “churning” part takes mere minutes, meaning you’re only moments away from a fresh, cold dessert after the initial freeze time. Forget the long waiting periods of old-school ice cream makers!
- Endless Flavor Exploration: From classic vanilla and chocolate to exotic fruit blends and savory concoctions, the Ninja Creami opens up a world of flavor possibilities. You can experiment with mix-ins, extracts, and fresh ingredients to create unique ninja creami ice cream recipes every time.
Key Ingredient Notes
The beauty of ninja creami ice cream recipes lies in their simplicity, but understanding the role of each key ingredient can elevate your results from good to absolutely phenomenal.
Milk/Cream Base
Your liquid base is the foundation of your creamy creation. For a classic, rich ice cream, whole milk, half-and-half, or heavy cream are excellent choices. Whole milk strikes a good balance, offering creaminess without being overly indulgent. If you’re looking for a dairy-free option, unsweetened almond milk, oat milk, or coconut milk (from a carton, not canned for this base) work wonderfully. Coconut milk will yield a slightly richer, more tropical flavor. For a protein boost, I often use a cup of protein shake as my base – it works surprisingly well and is one of my favorite ninja creami ice cream recipes for post-workout treats. The fat content in your chosen liquid will directly impact the final texture, with higher fat content generally leading to a smoother result.
Sweeteners
Sweetness is, of course, essential for ice cream. Granulated sugar, maple syrup, honey, or agave nectar are all fantastic natural choices. If you’re aiming for a lower-sugar or sugar-free treat, erythritol, stevia, or monk fruit sweeteners can be used. Remember that sugar not only adds sweetness but also contributes to the overall texture by slightly lowering the freezing point, which helps prevent an overly hard block. When using alternative sweeteners, you might find the base freezes a bit harder, potentially requiring an extra “Re-spin” cycle. Always taste your base before freezing to adjust sweetness to your preference, as the cold dulls sweetness slightly.
Flavorings & Extracts
This is where the magic truly happens and where you can customize your ninja creami ice cream recipes. High-quality vanilla extract is a must-have for a classic vanilla bean flavor. Don’t skimp here; a good vanilla can make all the difference. For chocolate, cocoa powder or melted chocolate chips (cooled!) are your go-to. Fresh or frozen fruits can be pureed directly into the base. Spices like cinnamon or nutmeg, a pinch of salt to enhance other flavors, or even a shot of espresso can transform your base. Remember to add extracts or spices to the liquid base before freezing for even distribution. For a fun twist, consider adding a teaspoon of homemade raspberry jam to your vanilla base before freezing for a ripple effect after spinning!
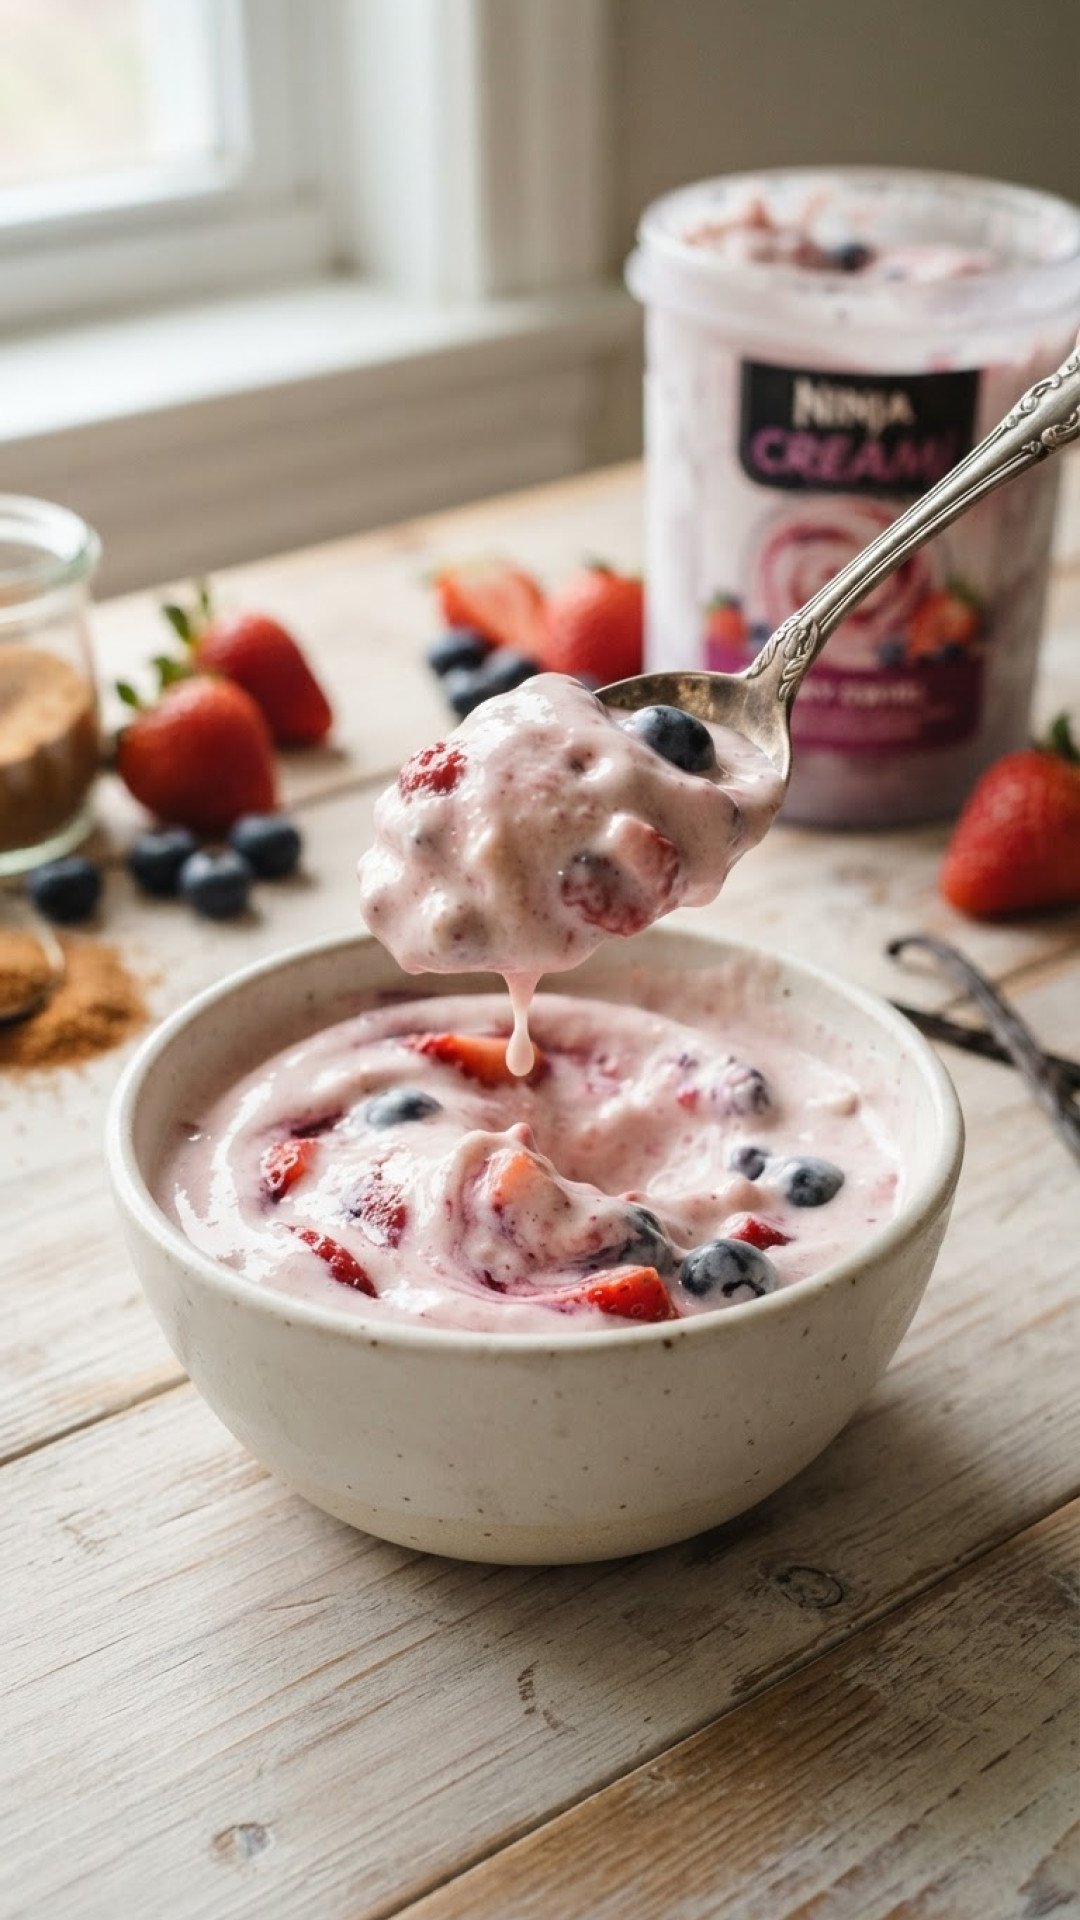
Step-by-Step Guide with Pro Tips
Creating perfect ninja creami ice cream recipes is a straightforward process, but a few pro tips can make all the difference. Follow these steps for consistently delicious results:
- Step 1: Prepare Your Base: In a blender or mixing bowl, combine all your liquid ingredients (milk, cream, flavorings, sweeteners) until well combined. Ensure any sugar or powders are fully dissolved. For fruit-based ninja creami ice cream recipes, blend the fruit directly into your liquid base until smooth.
- Step 2: Pour into Pint Container: Carefully pour your prepared base mixture into the Ninja Creami pint container. Do not fill past the MAX FILL line. This is crucial for proper freezing and processing.
- Step 3: Freeze Solid (24 Hours): Place the sealed pint container on a flat, level surface in your freezer. For optimal results, freeze for at least 24 hours at -7°F (-22°C) or colder. A properly frozen block is key to the Creami’s performance. If your freezer runs warmer, you might need a bit longer.
- Step 4: Process in the Ninja Creami: Once your pint is frozen solid, remove it from the freezer. Place the pint into the outer bowl, attach the lid with the paddle, and lock it into the Ninja Creami machine. Select the “ICE CREAM” function for most ninja creami ice cream recipes. If your base is fruit-heavy, you might start with “SORBET.”
- Step 5: Assess Texture & Re-spin (if needed): After the first spin, your mixture might appear crumbly or powdery. This is completely normal! This is often the case with lower-fat or sugar-free ninja creami ice cream recipes. If it’s crumbly, remove the pint from the outer bowl, create a small hole in the center of the mixture (this helps the paddle reach the bottom), and then return it to the machine for a “RE-SPIN” cycle. You might need to re-spin 1-2 times until it achieves a smooth, creamy consistency.
- Step 6: Add Mix-Ins (Optional): If you’re adding solid mix-ins (chocolate chips, nuts, cookie pieces, fruit chunks), create a 1.5-inch wide hole down to the bottom of the pint after achieving a creamy texture. Add your desired mix-ins to this hole, then place the pint back in the machine and select the “MIX-IN” function. This will perfectly incorporate them without over-processing.
- Step 7: Serve & Enjoy: Scoop your freshly made, velvety ice cream into bowls and enjoy immediately! For storage, smooth the top of any leftover ice cream, place the lid back on the pint, and return it to the freezer.
- Pro Tip for Storage: If you have leftovers, they might freeze hard. When you want to enjoy them again, simply place the pint back in the Ninja Creami and use the “RE-SPIN” function to bring it back to that delightful creamy texture. This is one of the best tricks for maximizing your ninja creami ice cream recipes! Using a good Basics Glass Food Storage container can help keep your base fresh before freezing, though the Creami pints are designed for this purpose.
- Pro Tip for Flavor Enhancers: A tiny pinch of salt in almost any sweet base will enhance the flavors. Also, if your base feels a little bland, a teaspoon of clear vanilla extract or a touch more sweetener can often brighten it up after the initial spin and before any re-spins.
- Pro Tip for Fruit Bases: For the best fruit-based ninja creami ice cream recipes, ensure your fruit is very ripe before blending. The natural sugars contribute significantly to the flavor and texture. If using frozen fruit, blend it thoroughly with your liquid base to avoid chunks.
Variations & Serving Suggestions
The true magic of ninja creami ice cream recipes lies in their incredible versatility. Once you master the basic technique, the flavor possibilities are limited only by your imagination!
- Fruity Delights: Blend 1 cup of your favorite frozen fruit (berries, mango, pineapple, peaches) with 1 cup of coconut water or milk. Freeze and process for a refreshing sorbet or a lighter ice cream. For extra creaminess, add a tablespoon of Greek yogurt or a banana cream pie inspired flavor.
- Chocolate Indulgence: Add 2 tablespoons of unsweetened cocoa powder to your base for a rich chocolate ice cream. Mix in chocolate chips, brownie chunks, or a swirl of fudge after the initial spin using the “MIX-IN” function.
- Protein Powerhouse: Substitute your liquid base with a protein shake (dairy or plant-based). Add a scoop of your favorite protein powder along with your chosen flavorings. This is perfect for a post-workout recovery treat that actually tastes good.
- Coffee Lover’s Dream: Add 1-2 tablespoons of instant coffee powder or a shot of espresso to your base for a robust coffee ice cream. A drizzle of caramel or a sprinkle of chocolate-covered espresso beans makes it extra special.
- Nut Butter Bliss: Blend in a tablespoon or two of peanut butter, almond butter, or cashew butter to your base before freezing for a nutty, rich ice cream. Swirl in extra nut butter or chopped nuts as a mix-in.
- Serving Suggestions: Serve your creamy creations in classic bowls or waffle cones. Top with fresh berries, a dollop of whipped cream, a sprinkle of granola, or a drizzle of chocolate sauce. For a more decadent dessert, serve alongside warm brownies or a slice of pie. Don’t forget that extra cherry pie filling on top!
Nutrition Information
Here’s an estimated nutrition breakdown for one serving (half a pint) of our Velvet Vanilla Ninja Creami Ice Cream, made with whole milk and moderate sugar. Keep in mind that actual values will vary based on specific ingredients and brands used.
| Nutrient | Amount per Serving |
|---|---|
| Calories | 280 |
| Carbohydrates | 30g |
| Cholesterol | 50mg |
| Total Fat | 15g |
| Fiber | 0g |
| Protein | 7g |
| Saturated Fat | 9g |
| Serving Size | 1/2 pint (approx. 200g) |
| Sodium | 70mg |
| Sugar | 25g |
| Trans Fat | 0g |
| Unsaturated Fat | 6g |
Conclusion
Embracing ninja creami ice cream recipes in my kitchen has truly transformed the way my family and I enjoy frozen desserts. What once felt like a complex, hit-or-miss endeavor is now a simple, joyful process that consistently delivers exceptional results. Whether you’re a health-conscious individual looking for guilt-free treats, a parent trying to sneak more fruit into your kids’ diets, or simply a dessert enthusiast craving that perfect creamy texture, the Ninja Creami is an invaluable tool. I hope this guide has inspired you to dust off your machine, experiment with new flavors, and create your own signature ninja creami ice cream recipes. The journey from a frozen block to a velvety scoop of deliciousness is not just satisfying but endlessly fun. So go ahead, blend, freeze, spin, and savor the incredible world of homemade ice cream!
FAQs
Print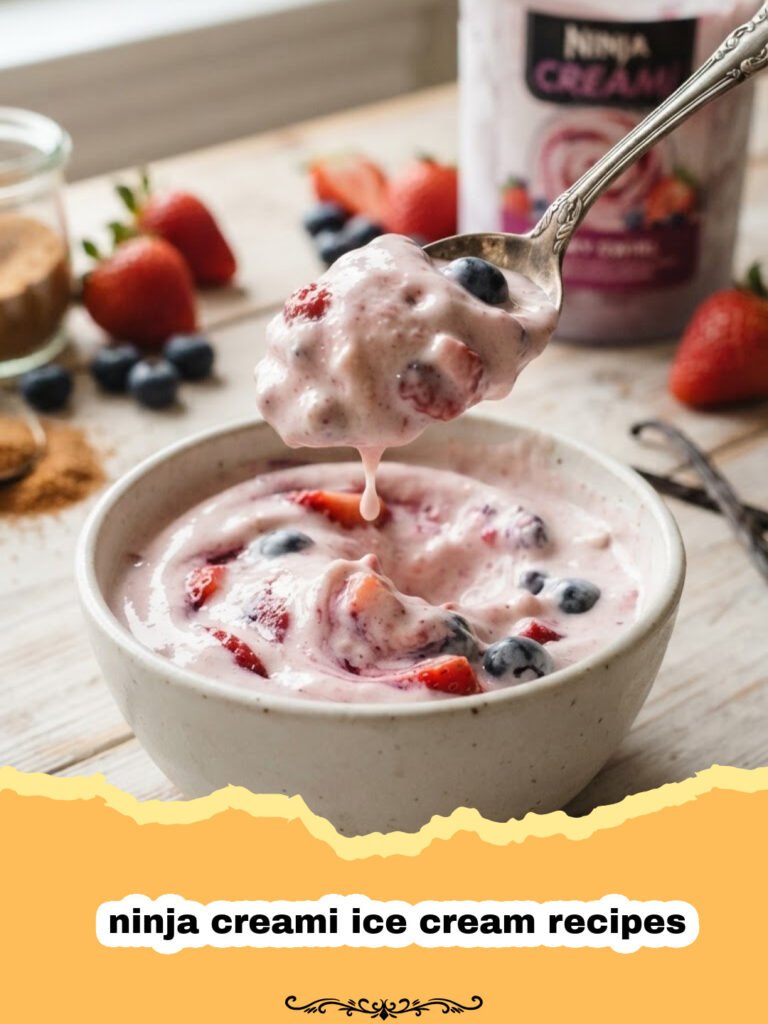
Velvet Vanilla Ninja Creami Ice Cream
Achieve perfectly smooth and creamy homemade vanilla ice cream every time with your Ninja Creami. This recipe is simple, customizable, and utterly delicious.
- Total Time: 24 hours 7 minutes
- Yield: 2 servings (1 pint) 1x
Ingredients
1 cup whole milk (or dairy-free alternative)
1/2 cup heavy cream (or full-fat coconut milk for dairy-free)
1/4 cup granulated sugar (or sweetener of choice, adjusted to taste)
1 teaspoon pure vanilla extract
Pinch of salt
Instructions
Step 1: In a medium bowl, whisk together the whole milk, heavy cream, granulated sugar, vanilla extract, and a pinch of salt until the sugar is fully dissolved.
Step 2: Pour the mixture into a Ninja Creami pint container, ensuring it does not exceed the MAX FILL line.
Step 3: Place the sealed pint on a flat surface in your freezer and freeze for at least 24 hours until completely solid. The ideal freezer temperature is -7°F (-22°C) or colder.
Step 4: Once frozen, remove the pint from the freezer. Place the pint into the outer bowl, attach the lid with the paddle, and lock it into your Ninja Creami machine.
Step 5: Select the “ICE CREAM” function and process. The mixture may appear crumbly after the first spin; this is normal.
Step 6: If the ice cream is crumbly, remove the pint from the outer bowl, create a small hole in the center of the mixture with a spoon, and then return it for a “RE-SPIN” cycle. Repeat if necessary until a smooth, creamy consistency is achieved.
Step 7: Serve immediately and enjoy your perfectly creamy vanilla ice cream!
Notes
For best results, ensure your base is frozen solid for at least 24 hours at a low temperature. If your freezer is not cold enough, the block may be too soft, resulting in a less creamy texture. Always perform a “RE-SPIN” if the texture is crumbly after the first process.
- Prep Time: 5 minutes
- Cook Time: 2 minutes
- Category: Cooking Hacks & Techniques
- Cuisine: American
Nutrition
- Serving Size: 1/2 pint (approx. 200g)
- Calories: 280
- Sugar: 25g
- Sodium: 70mg
- Fat: 15g
- Saturated Fat: 9g
- Unsaturated Fat: 6g
- Trans Fat: 0g
- Carbohydrates: 30g
- Fiber: 0g
- Protein: 7g
- Cholesterol: 50mg
Keywords: ninja creami ice cream recipes, homemade ice cream, healthy ice cream, vanilla ice cream, dessert, ninja creami, creami recipes, easy ice cream