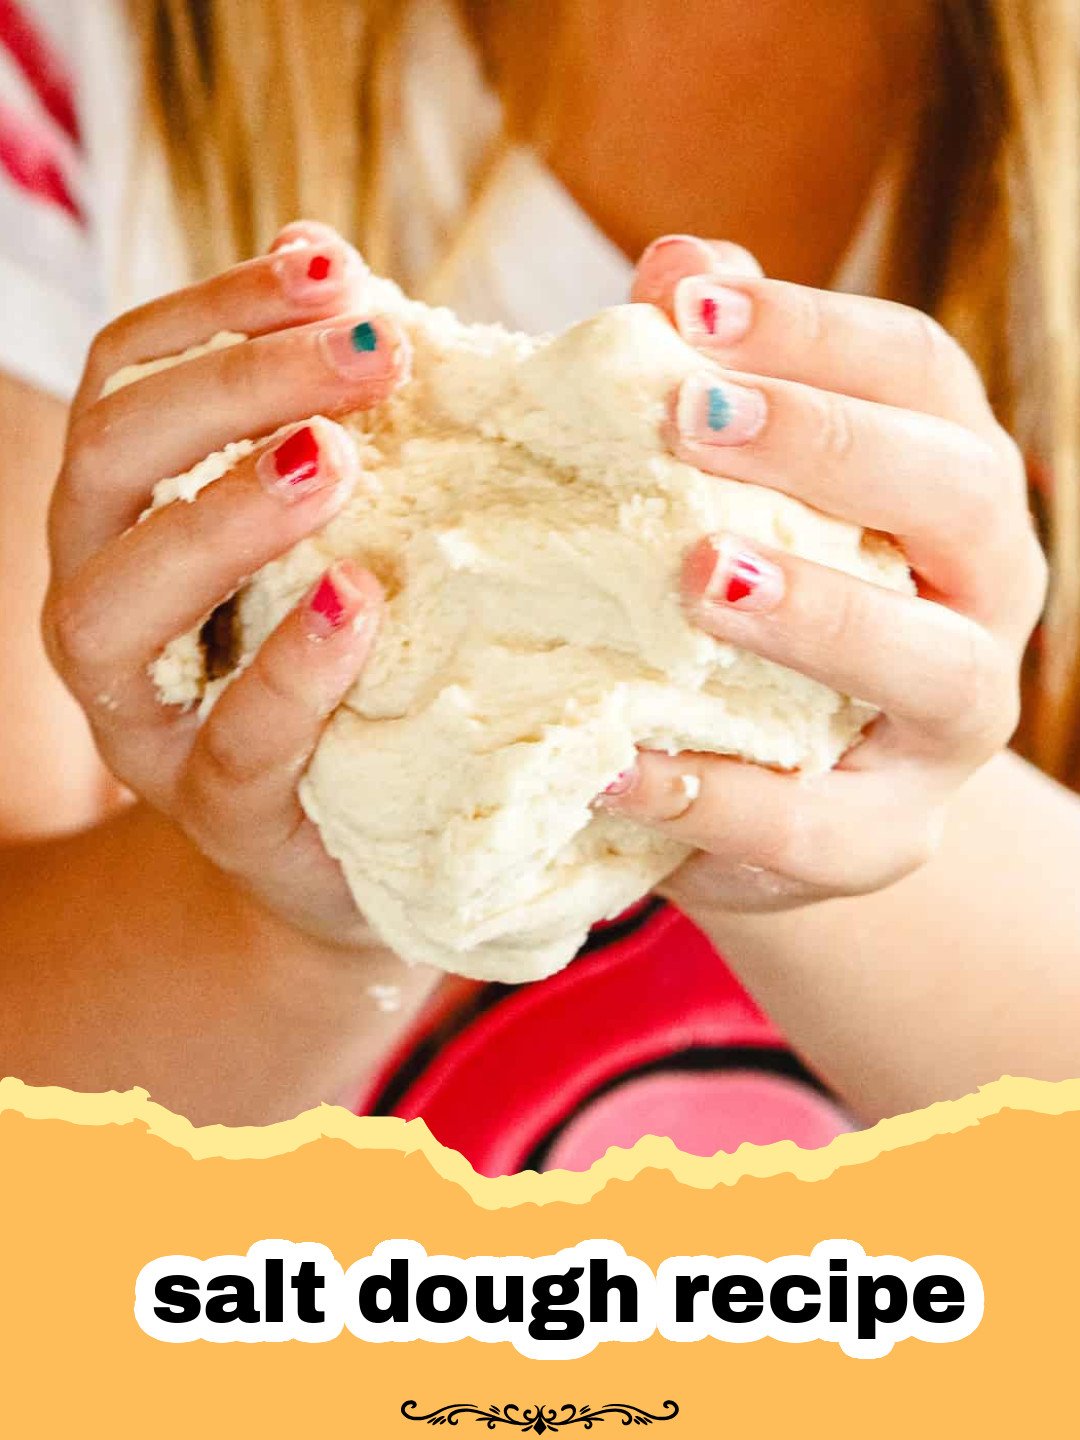
There’s something uniquely magical about the simple things in life, especially when they connect us to cherished memories. I vividly recall chilly autumn afternoons as a child, gathered around our kitchen table, flour dusting every surface, as my grandmother introduced me to the wonders of the salt dough recipe. It wasn’t about baking a culinary masterpiece; it was about creating. The scent of salt and flour, the soft, pliable texture beneath my small hands, the anticipation of transforming a humble dough into something beautiful – these moments forged a lasting love for homemade crafts. Each Christmas, our tree sparkled with hand-painted salt dough ornaments, little time capsules of holidays past. Fast forward to today, and that same joy is rekindled whenever I introduce my own children to this timeless activity. This simple salt dough recipe isn’t just a craft; it’s a bridge to childhood, a canvas for imagination, and a wonderful way to create lasting keepsakes without breaking the bank. Join me as we explore how to make the perfect salt dough and turn everyday ingredients into extraordinary memories.
Why This Salt Dough Recipe is a Must-Try
- Incredibly Versatile: From handprints and ornaments to intricate sculptures and decorative bowls, this salt dough recipe is a blank canvas for countless creative projects. The possibilities are truly endless, making it perfect for every season and occasion.
- Budget-Friendly & Accessible: You likely have all the ingredients for this easy salt dough recipe in your pantry right now – flour, salt, and water. It’s an economical way to unleash creativity without needing special art supplies.
- Kid-Friendly Fun: It’s a fantastic sensory activity for children of all ages, promoting fine motor skills, creativity, and imaginative play. Mixing, kneading, rolling, and decorating provide hours of engaging fun for everyone involved in making this salt dough recipe.
- Creates Lasting Keepsakes: Once dried and sealed, salt dough crafts can last for years, becoming treasured mementos of special occasions, childhood milestones, or thoughtful handmade gifts. This durable salt dough recipe ensures your creations stand the test of time.
Key Ingredient Notes
While the salt dough recipe calls for just three basic ingredients, understanding their roles is key to achieving the perfect consistency and durability for your crafts.
All-Purpose Flour
The foundation of your salt dough, all-purpose flour provides the structure. You don’t need anything fancy here; standard white all-purpose flour works perfectly. Avoid self-rising flour as the leavening agents can cause unexpected bubbles or expansion during drying. The quantity of flour can be adjusted slightly if your dough feels too sticky, but always add gradually.
Fine Salt
Salt is not just for taste (though this isn’t for eating!) in this salt dough recipe; it’s crucial for the dough’s texture and its preservative qualities. Use fine-grained table salt rather than coarse sea salt or kosher salt, as the finer grains dissolve better and create a smoother, more uniform dough. The high salt content is what makes the dough resistant to mold and helps it dry hard. Don’t skimp on the salt; it’s half the name of this salt dough recipe for a reason!
Warm Water
Warm water helps dissolve the salt more effectively and makes the dough easier to mix and knead into a smooth, pliable consistency. Start with the recommended amount and add more a tiny bit at a time if your dough is too dry or crumbly. Conversely, if it’s too sticky, add a little extra flour. The goal is a dough that’s firm but flexible, like play-doh, which is perfect for any salt dough recipe endeavor.

Step-by-Step Guide with Pro Tips
Ready to make your own masterpieces? Follow this simple salt dough recipe to craft beautiful and durable keepsakes.
Materials Needed:
- 2 cups all-purpose flour
- 1 cup fine salt
- 1 cup warm water
- Large mixing bowl
- Rolling pin
- Cookie cutters (optional)
- Baking sheet lined with parchment paper
- Spatula or butter knife
- Drinking straw (for making holes in ornaments)
- Acrylic paints, brushes, glitter, sealant (for decorating)
Step 1: Combine the dry ingredients. In a large mixing bowl, thoroughly combine the 2 cups of all-purpose flour and 1 cup of fine salt. Use a whisk to ensure they are well mixed. This initial step is critical for an even texture in your finished salt dough recipe.
Step 2: Gradually add water. Slowly pour in the 1 cup of warm water, mixing with a spoon or your hands as you go. Continue to mix until a shaggy dough forms. Depending on humidity and flour type, you might need a tiny bit more water, but add it sparingly, a teaspoon at a time. The aim is a dough that comes together but isn’t overly sticky, making this salt dough recipe truly manageable.
Step 3: Knead the dough. Turn the dough out onto a lightly floured surface. Knead for 5-10 minutes until it’s smooth, elastic, and no longer sticky. If it sticks, dust your hands and the surface with a little more flour. This kneading process develops the gluten, resulting in a strong, pliable dough perfect for your salt dough recipe creations. For easy cleanup, consider kneading on a silicone mat.
Step 4: Roll out the dough. Using a rolling pin, roll the salt dough to your desired thickness. For ornaments and handprints, 1/4 to 1/2 inch is ideal. Thinner pieces will dry faster but can be more fragile, while thicker pieces are sturdier but require longer drying times. Ensure even thickness for consistent drying results from this salt dough recipe.
Step 5: Cut out your shapes. Use cookie cutters, a knife, or your hands to cut out your desired shapes. If making ornaments or tags, use a drinking straw to create a hole at the top before drying. Carefully transfer your shapes to a baking sheet lined with parchment paper. This parchment paper prevents sticking and makes cleanup a breeze.
Step 6: Dry the salt dough. There are two primary methods for drying your salt dough creations:
- Air Drying: Place your shapes on a cooling rack in a dry, well-ventilated area. This can take several days (2-5 days) depending on humidity and thickness. Flip them periodically to ensure even drying.
- Oven Drying: For faster results, preheat your oven to its lowest setting (usually 200-250°F / 95-120°C). Place the baking sheet with your salt dough shapes in the oven. Bake for 2-3 hours, or until completely hardened. Thicker pieces may take longer. If you notice any puffing or bubbling, reduce the temperature further. Allow to cool completely on a wire rack. This is my preferred method for a reliable salt dough recipe.
Step 7: Decorate and seal. Once your salt dough creations are completely dry and cooled, it’s time for the fun part! Decorate them with acrylic paints, markers, glitter, or whatever your imagination desires. Once the decorations are dry, apply a clear sealant (like Mod Podge, clear varnish, or acrylic spray sealant) to protect them from moisture and give them a durable finish. This step is essential for the longevity of your salt dough recipe crafts.
Pro Tip for Storage: If you have leftover raw salt dough, wrap it tightly in plastic wrap and store it in an airtight container or a product like Basics Glass Food Storage in the refrigerator for up to 3-5 days. Always bring it to room temperature before rolling and cutting.
Variations & Serving Suggestions
While we’re not ‘serving’ this salt dough recipe in the traditional sense, there are countless ways to present and enjoy your finished crafts!
- Seasonal Ornaments: Perfect for Christmas trees, Easter baskets, or Halloween decorations. Paint them to match the holiday theme!
- Handprint & Footprint Keepsakes: A beautiful way to capture the size of little hands and feet at different ages. Just press them into the rolled dough before drying.
- Gift Tags: Cut out small shapes, poke a hole, and write names or messages on them for a personalized touch to gifts.
- Decorative Magnets: Glue a small magnet to the back of dried and decorated salt dough shapes for charming fridge decor.
- Bowl or Dish Creation: Drape rolled salt dough over an oven-safe bowl (lined with foil) before drying in the oven to create unique decorative dishes.
- Adding Color to the Dough: You can add a few drops of food coloring to the water in Step 2 to create colored salt dough. This adds another layer of fun to your salt dough recipe experience.
- Textured Designs: Before drying, press lace, leaves, stamps, or even textured rolling pins into the dough for interesting patterns.
Looking for other delightful homemade projects, perhaps culinary ones? You might enjoy mastering the delicate art of our Ultimate Classic French Crepe Recipe, a treat that, while edible, shares the satisfaction of creating something beautiful from scratch. Or for a savory delight, learn how to make an incredible Ultimate Flaky All-Butter Pie Crust for your next baking adventure!
Nutrition Information
Please note: This salt dough recipe is intended for crafting purposes only and is not meant for human or animal consumption. While made from edible ingredients, the high salt content makes it unsafe to eat.
| Nutrient | Amount Per Serving |
|---|---|
| Calories | Not intended for consumption |
| Carbohydrate Content | Not intended for consumption |
| Cholesterol Content | Not intended for consumption |
| Fat Content | Not intended for consumption |
| Fiber Content | Not intended for consumption |
| Protein Content | Not intended for consumption |
| Saturated Fat Content | Not intended for consumption |
| Serving Size | N/A |
| Sodium Content | Not intended for consumption |
| Sugar Content | Not intended for consumption |
| Trans Fat Content | Not intended for consumption |
| Unsaturated Fat Content | Not intended for consumption |
Conclusion
There you have it – a comprehensive guide to mastering the classic salt dough recipe. From humble ingredients to treasured keepsakes, this craft offers endless possibilities for creative expression and memory-making. Whether you’re making festive ornaments for the holidays, capturing a child’s handprint, or simply enjoying a quiet afternoon of crafting, this reliable salt dough recipe is your perfect companion. So gather your ingredients, clear your table, and dive into the wonderful world of salt dough. Happy crafting!
FAQs
Can you eat salt dough?
No, salt dough is not intended for consumption by humans or animals. While it’s made from non-toxic ingredients, the high salt content makes it extremely unpalatable and potentially harmful if ingested in large quantities. This salt dough recipe is purely for crafting.
How long does salt dough take to dry?
Drying time for this salt dough recipe varies depending on the method and thickness. Air drying can take 2-5 days, or even longer in humid conditions. Oven drying at the lowest temperature (200-250u00b0F or 95-120u00b0C) typically takes 2-3 hours for thinner pieces, with thicker items requiring more time.
What’s the best way to decorate salt dough?
Once your salt dough creations are completely dry and cool, they are ready for decoration! Acrylic paints work wonderfully, offering vibrant colors. You can also use markers, glitter, or even glue on small embellishments like beads or buttons. After decorating, apply a clear sealant (such as Mod Podge, clear varnish, or acrylic spray) to protect your crafts from moisture and give them a durable finish.
How should I store finished salt dough crafts?
Properly dried and sealed salt dough crafts can last for many years. Store them in a dry, cool place away from direct sunlight and excessive humidity. If sealed well, they are quite durable, but avoid prolonged exposure to moisture which can cause them to soften or degrade.

Classic Salt Dough
A simple and versatile salt dough recipe perfect for crafting ornaments, handprints, and other keepsakes. Easy to make with common household ingredients, it’s a fantastic activity for all ages.
- Total Time: 2 hours 10 minutes – 3 hours 10 minutes
- Yield: 1 batch (enough for several small ornaments or one large handprint) 1x
Ingredients
2 cups all-purpose flour
1 cup fine salt
1 cup warm water
Optional: food coloring, acrylic paints, brushes, glitter, clear sealant
Instructions
Step 1: In a large mixing bowl, combine the 2 cups of all-purpose flour and 1 cup of fine salt. Whisk them together thoroughly to ensure an even mixture.
Step 2: Gradually pour in the 1 cup of warm water, mixing with a spoon or your hands until a shaggy dough begins to form. Add a tiny bit more water if needed, one teaspoon at a time, until the dough comes together.
Step 3: Turn the dough out onto a lightly floured surface. Knead the dough for 5-10 minutes until it is smooth, elastic, and no longer sticky. Add a sprinkle of flour if it’s too sticky, or a drop of water if too dry.
Step 4: Using a rolling pin, roll the salt dough to your desired thickness, typically 1/4 to 1/2 inch for most crafts like ornaments or handprints. Ensure the thickness is uniform for even drying.
Step 5: Use cookie cutters, a knife, or your hands to cut out your desired shapes. For ornaments or tags, use a drinking straw to make a hole at the top before drying. Carefully transfer your shapes to a baking sheet lined with parchment paper.
Step 6: Dry the salt dough creations. For oven drying, preheat your oven to its lowest setting (200-250°F / 95-120°C). Bake for 2-3 hours, or until the pieces are completely hard. Thicker pieces will require more time. Allow to cool completely on a wire rack. Alternatively, air dry for 2-5 days, flipping periodically.
Step 7: Once completely dry and cooled, decorate your salt dough crafts with acrylic paints, markers, or glitter. After the decorations are dry, apply a clear sealant (like Mod Podge or a clear varnish) to protect them from moisture and provide a durable finish.
Notes
While edible, salt dough is extremely salty and not meant for consumption. Always supervise children during the crafting and drying process. Store leftover raw dough tightly wrapped in plastic wrap in the refrigerator for up to 3-5 days.
- Prep Time: 10 minutes
- Cook Time: 2-3 hours (drying in oven)
- Category: Crafts
- Cuisine: N/A
Keywords: salt dough, salt dough recipe, kid crafts, DIY ornaments, homemade gifts, easy crafts, keepsake crafts